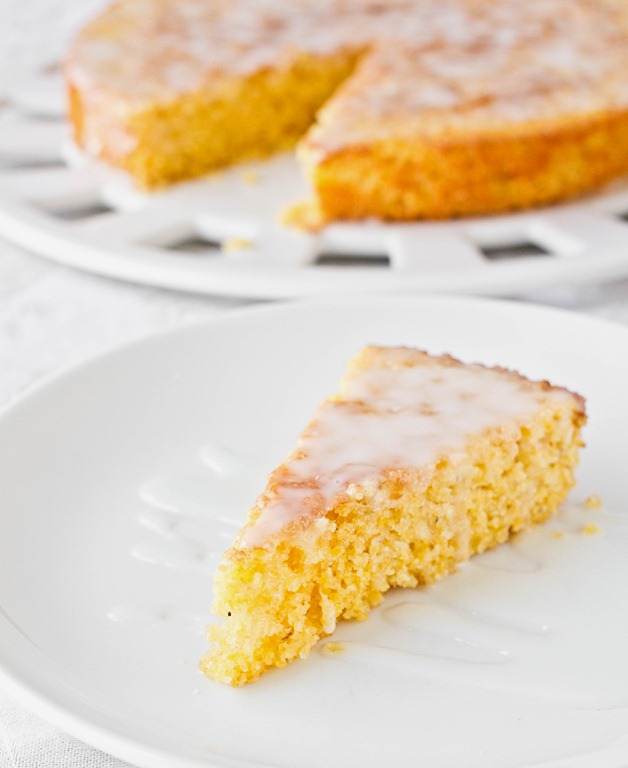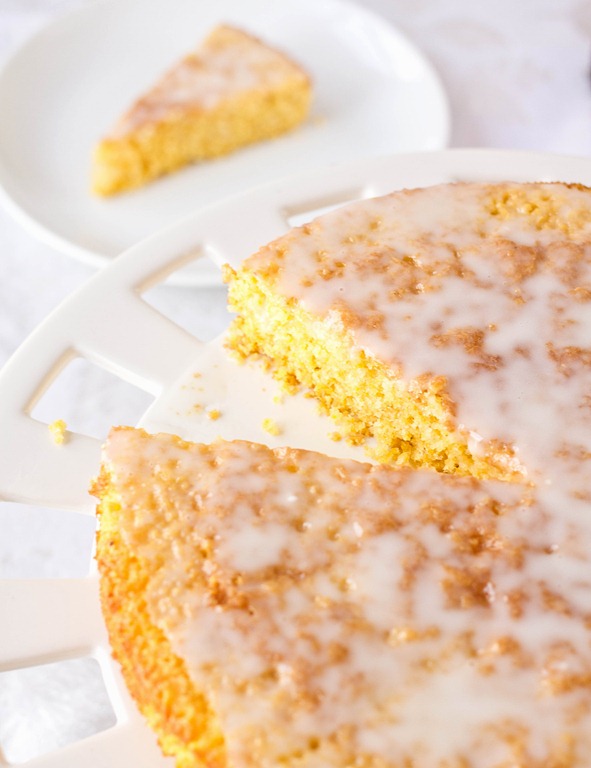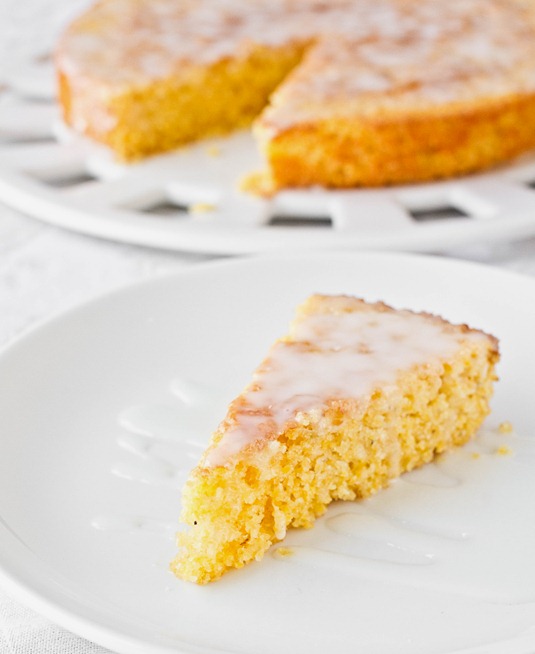
When it comes to dessert, I love lemon just as much as any chocolate torte or cake. Even though it’s typically a Summer flavor, I think it’s great to end a heavy Winter meal on a light and refreshing note.
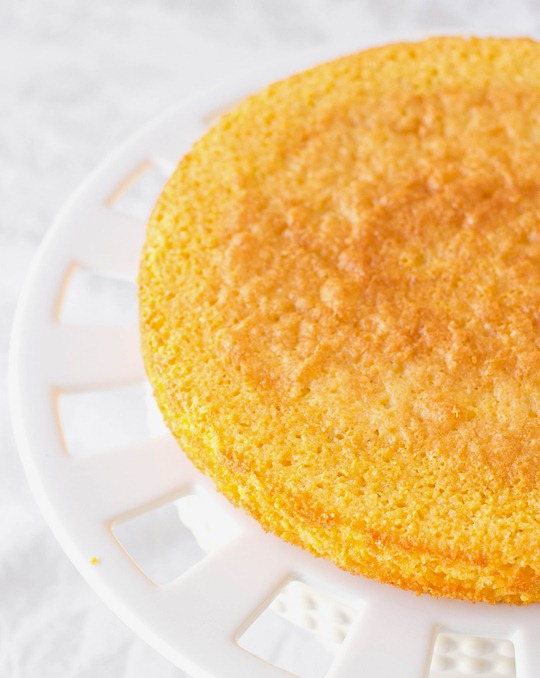
Cornmeal is one of my favorite underrated gluten-free flours. It’s made to use polenta and corn tortillas all the time but hardly ever makes it into desserts. The texture is certainly more coarse than your typical flour but it has a charming rusticness to it.
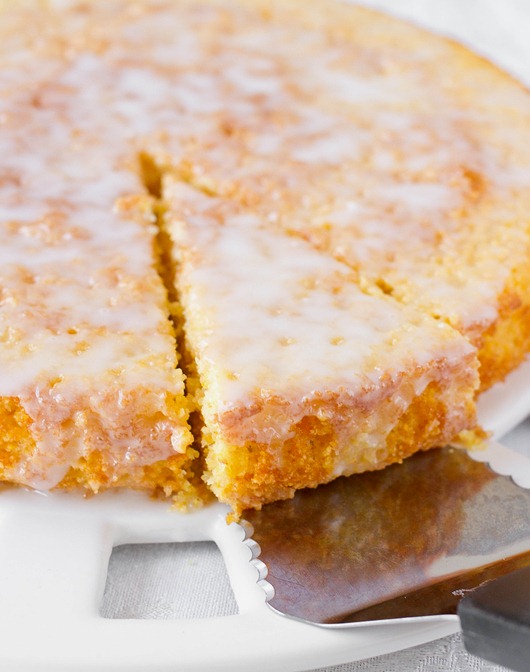
Make sure to find a finely ground cornmeal rather than a coarse one. The cake will bake either way but the coarse cornmeal will have a tougher texture to it once baked.
Lemon Cornmeal Cake
Prep time: 10 minutes
Cook time: 30 minutes
Ingredients:
- 1 1/2 cups finely ground cornmeal
- 3/4 cup sugar
- 1 teaspoon baking soda
- 3 Tablespoons cornstarch
- 3 eggs
- 1/4 cup vegetable oil
- 1/2 cup milk, divided
- 1/2 Tablespoon + 1 teaspoon lemon extract, divided
- 1/2 Tablespoon lemon zest
- 1 cup powdered sugar
Method:
- Preheat your oven to 350 degrees.
- In a large bowl, whisk together the cornmeal, sugar, cornstarch and baking soda until mixed.
- In a separate bowl, whisk together the eggs, oil, 6 1/2 Tablespoons of milk, 1/2 Tablespoon of lemon extract and the lemon zest.
- Mix the dry and wet ingredients and whisk well.
- Grease an 8-inch cake pan on all sides.
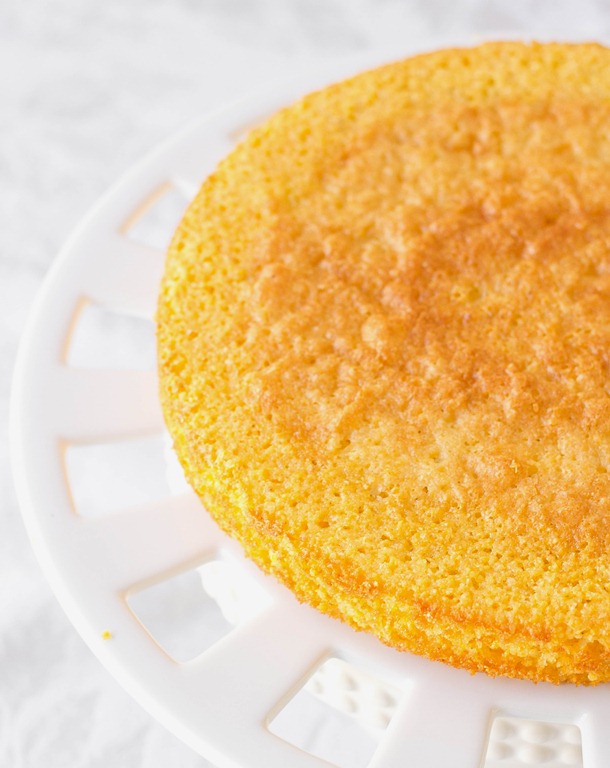
- Pour the batter into the cake pan. Place in the oven and bake for 25-30 minutes until the top is browning and the center is cooked.
- Remove from the oven and let the cake cool.
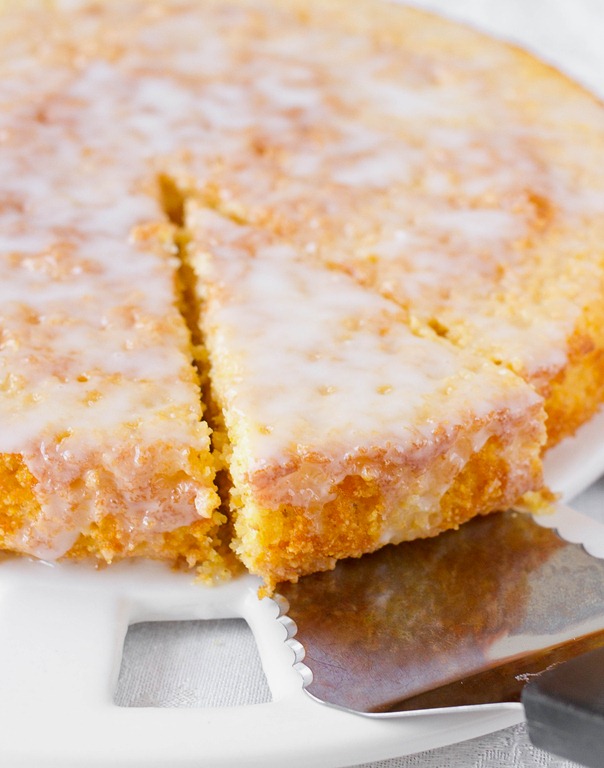
- After the cake is cooled, make the icing by mixing the powdered sugar with the extra milk and lemon extract until it’s smooth and runny. If you need to, add 1/2 – 1 extra Tablespoon of milk to get it to the right consistency.
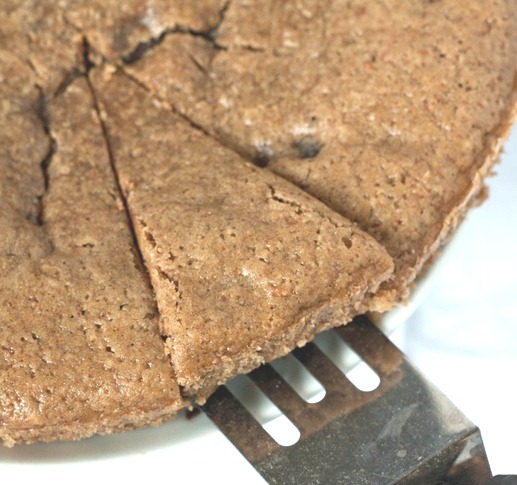
- Drizzle the icing on top of the cake before slicing and serve.
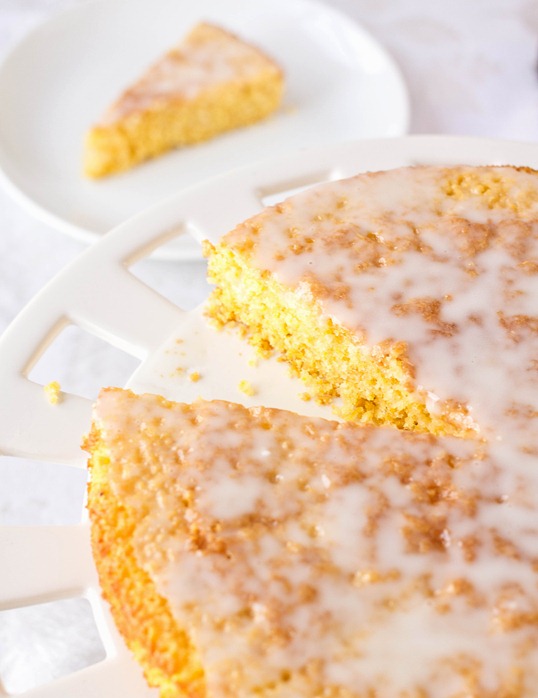
An icing is an easy and light way to frost this but you could also make a lemon or vanilla buttercream for something richer.
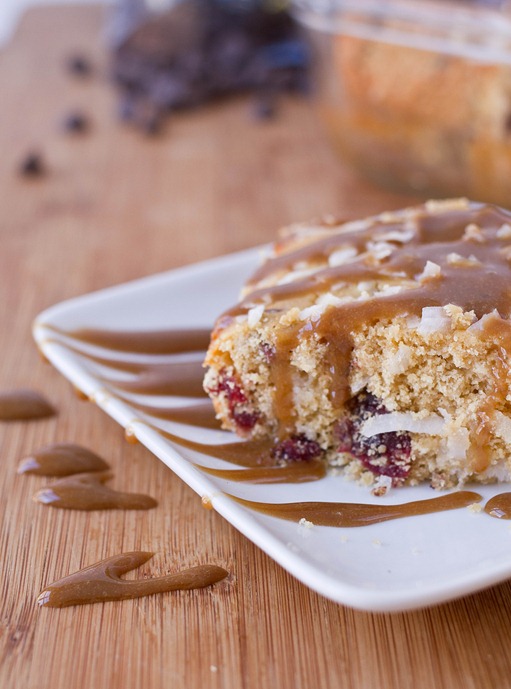
As I’ve been eating my way through yogurt that Chobani sent me, I’ve been trying to get creative on new ways to cook with it. Everyone knows yogurt is a great low-fat alternative for baking so I took that as my starting point and took off from there.
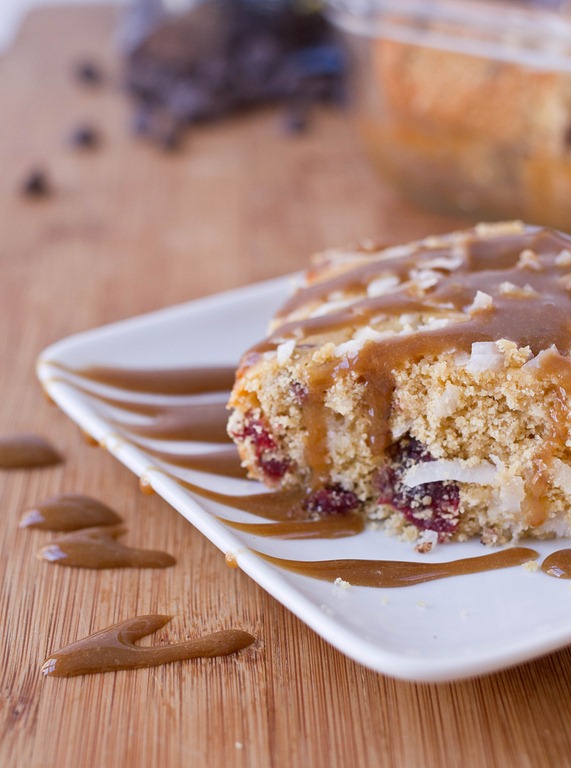
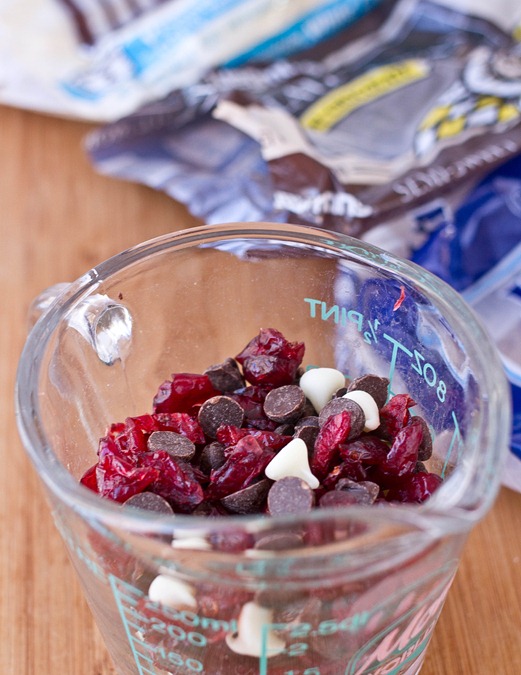
While a good base recipe is essential, a lot of the fun of cakes and brownies is what you put inside or on top of them. Chocolate chips and coconut are among my favorites. These might not seem healthy but with Greek yogurt in place of oil and butter and craisins and coconut filling it up(in addition to some chocolate chips, of course) these won’t do you wrong or steer you off your New Year resolutions.
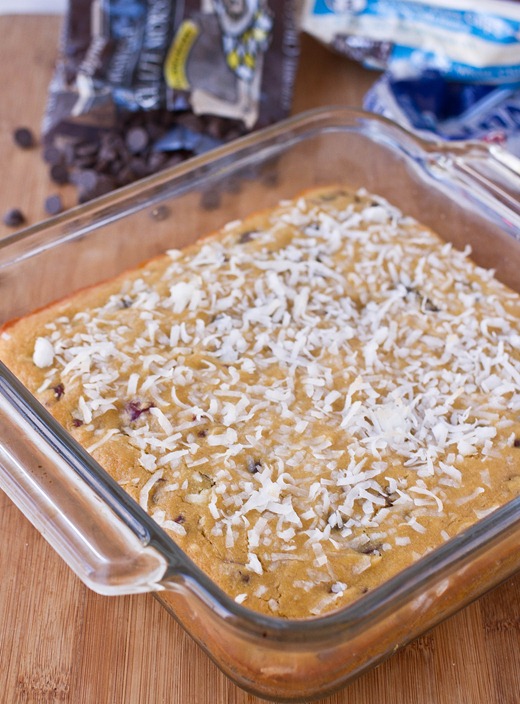
If you want to make this more of a healthy snack, swap in 1/2 cup of crushed walnuts or slivered almonds in for the chocolate chips. Either way it’ll taste great.
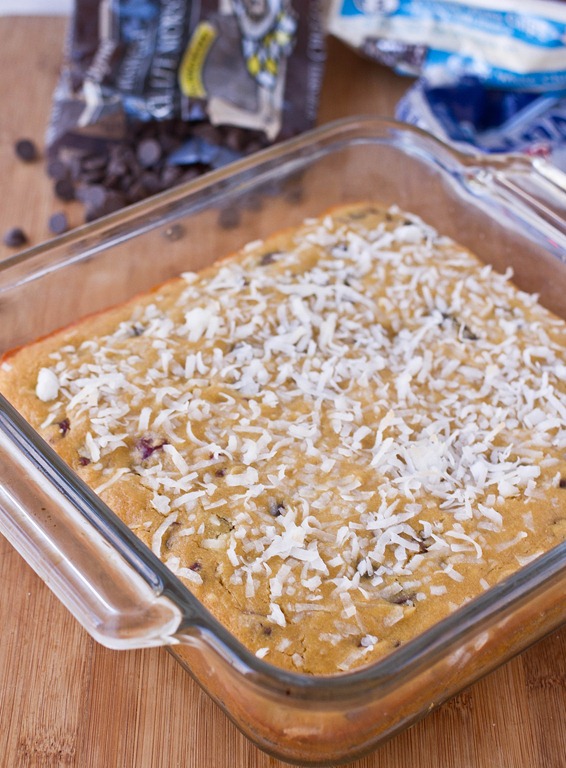
Loaded Coconut Cake Squares
Prep time: 15 minutes
Cook time: 30 minutes
Ingredients(Makes 1 8 x 8 pan):
-
1 1/2 cups gluten-free all-purpose flour
-
1/2 Tablespoon baking powder
-
1/2 cup dried cranberries
-
1/2 cup sweetened shredded coconut
-
1/4 cup white chocolate chips
-
1/4 cup chocolate chips
-
1/2 cup dark brown sugar
-
-
2 eggs
Method:
- Preheat your oven to 350 degrees.
- In a large bowl sift together the gluten-free flour and baking powder.
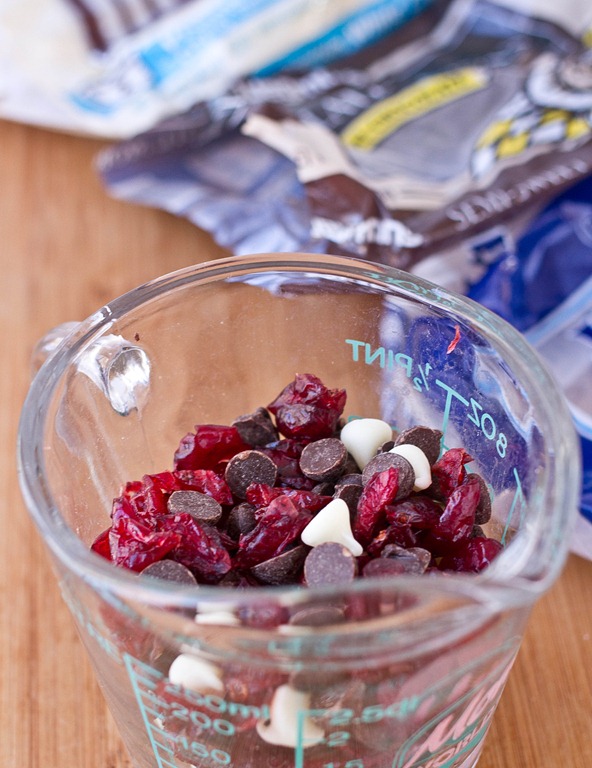
- Add in the craisins, 1/4 cup shredded coconut, white and dark chocolate chips and mix.
- In a separate bowl, mix together the yogurt, brown sugar, and eggs until homogenous.
- Mix the wet ingredients in with the dry until the batter is well mixed.
- Lightly grease an 8 x 8 baking pan.
- Pour the batter into the pan and press down evenly.
- Sprinkle the remaining 1/4 cup coconut on top of the batter and press in lightly.
- Bake for 25-30 minutes until the center of the cake has set and the coconut on top begins to toast.
- Remove from the oven and let cool before cutting into squares.
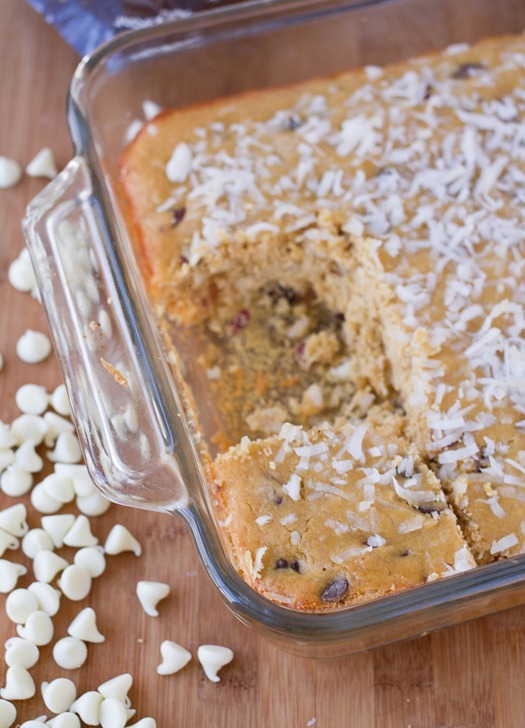
Don’t forget to add caramel or fudge sauce just in case this doesn’t have enough flavors going on for you.

A new year brings new changes, right? I’m hoping in 2013 to share more drink recipes as I get comfortable trying to make them myself. When it comes to alcohol I’m not a big fan of gluten-free beer, cider, or wine, but I love hard liquor and mixed drinks which are just as fun to drink as they are to make.
One of the first mixed drinks I ordered was a sweet tea vodka lemonade. My roommate being from Texas always orders these and turned me on to them. They get a name for being a Summer drink given the flavors but these are delicious any time of the year.

I like to make the tea in advanced and refrigerate it for a day to get it extra cold. You can buy the lemonade or sweet tea on their own but the drink tastes noticeably fresher when you make it from scratch.
Organic Sweet Tea Vodka Lemonade
Prep time: 1 hour
Cook time: 0 minutes
Ingredients(Make about 4 cups or 12 servings):
-
4 black tea bags
-
3 1/2 cups water, separated
-
1/2-3/4 cup agave or maple syrup
-
3 Tablespoons lemon juice
-
Vodka
-
Mint and lemon to garnish

Method:
- Bring 2 cups of water to a boil in a small pot.
- Remove the water from the heat and add in the tea bags. Let them steep for about 30 minutes up to an hour.
- Remove the tea bags and add in 1/2 cup of sweetener and the lemon juice. Stir well.
- Dilute the tea with 1 1/2 cups cold water. Add extra sweetener to your preferred sweetness.
- Pour about 1/3 cup sweet tea lemonade over ice. Add an ounce of vodka into each glass and stir well.
- Garnish with mint or an extra lemon slice before serving if desired.

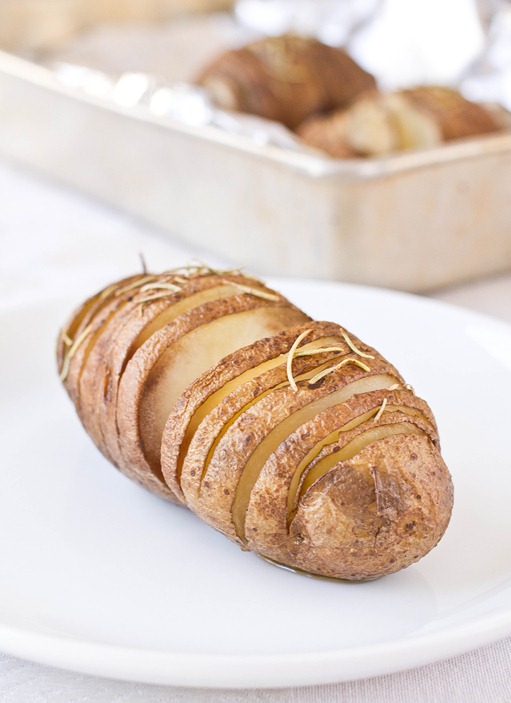
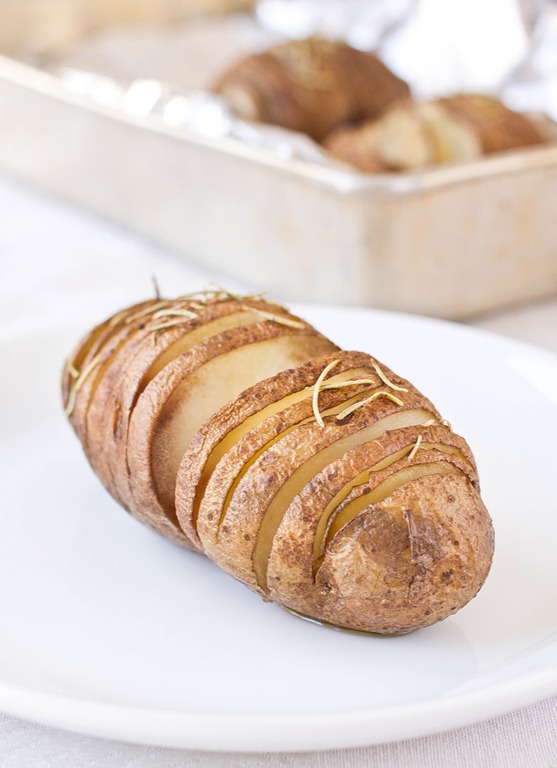
Potatoes are one of my favorite foods. You can mash them, hash them, fry them, roast them—cook them just about any way imaginable(you can also distill them and make vodka but that’s a whole different blog post entirely). And they’re so healthy, too. It’s funny how many times I get asked if I can eat potatoes and if they’re gluten-free; they’re probably one of the foods I eat the most.
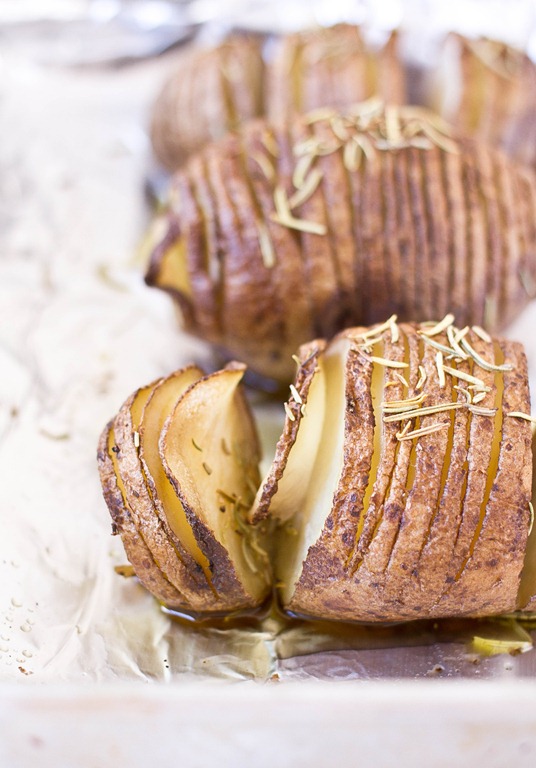
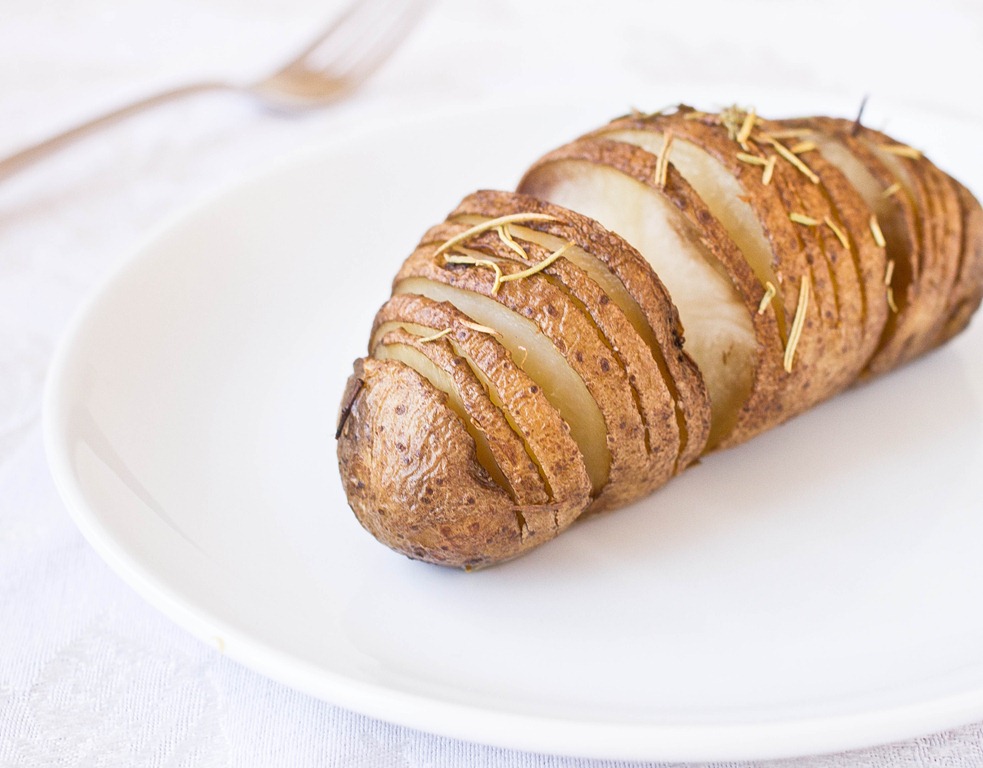
Hasselback style is just one more ingenious way to enjoy potatoes. Slicing them creates more surface area for the fat to coat the potatoes and cook in, adding tons of flavor. It also gives the potatoes a nice presentation that’s sure to brighten up a meal.
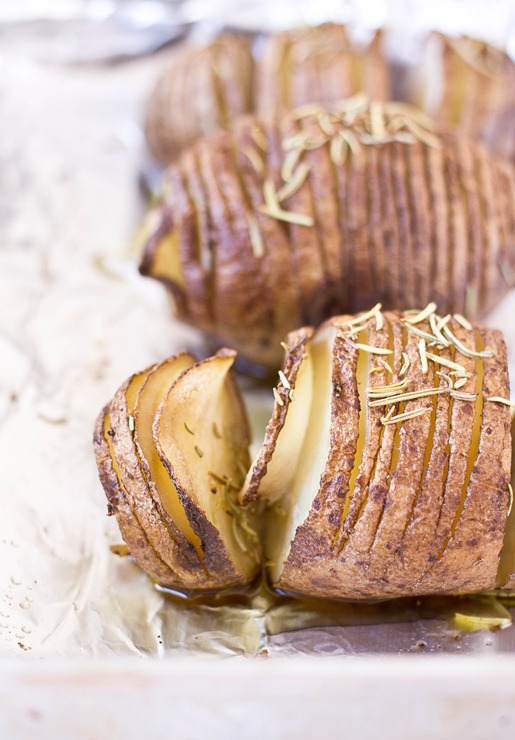
You can use any oil or solid fat in making these. Truffle oil would be a great way to add an expensive flavor. If you want to use butter or a butter substitute, melt it first before mixing it with the salt and rosemary and pouring it onto the potatoes.
Vegan Rosemary Hasselback Potatoes
Prep time: 10 minutes
Cook time: 1 hour
Ingredients(Makes 4 servings):
- 4 medium-sized russet potatoes
- 1/4 cup olive oil
- 3/4 teaspoon kosher salt
- 1 Tablespoon dried rosemary
Method:
- Preheat your oven to 350 degrees.
- Slice each potato about 1/4-inch apart most of the way through without cutting through the entire potato.
- Place the potatoes on a baking tray.
- In a small bowl, quickly whisk together the olive oil, salt, and rosemary.
- Drizzle the infused oil over each potato, letting the oil drip into the slices.
- Bake for 60-70 minutes until the potato is cooked through and the edges are crispy.
- Serve hot.

Enjoy!
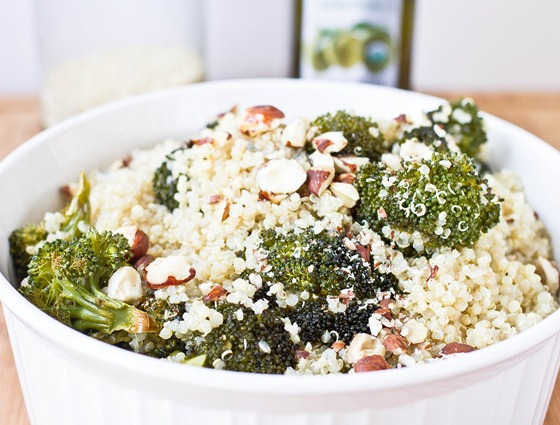
Happy New Year! We’ve survived the holidays and a Mayan apocalypse only to be told we need to lose 10lbs before February again. It’s silly the detox diets that people come up with, like raw green juice only for a week or “The Cookie Diet”(sounds promising but it’s not).
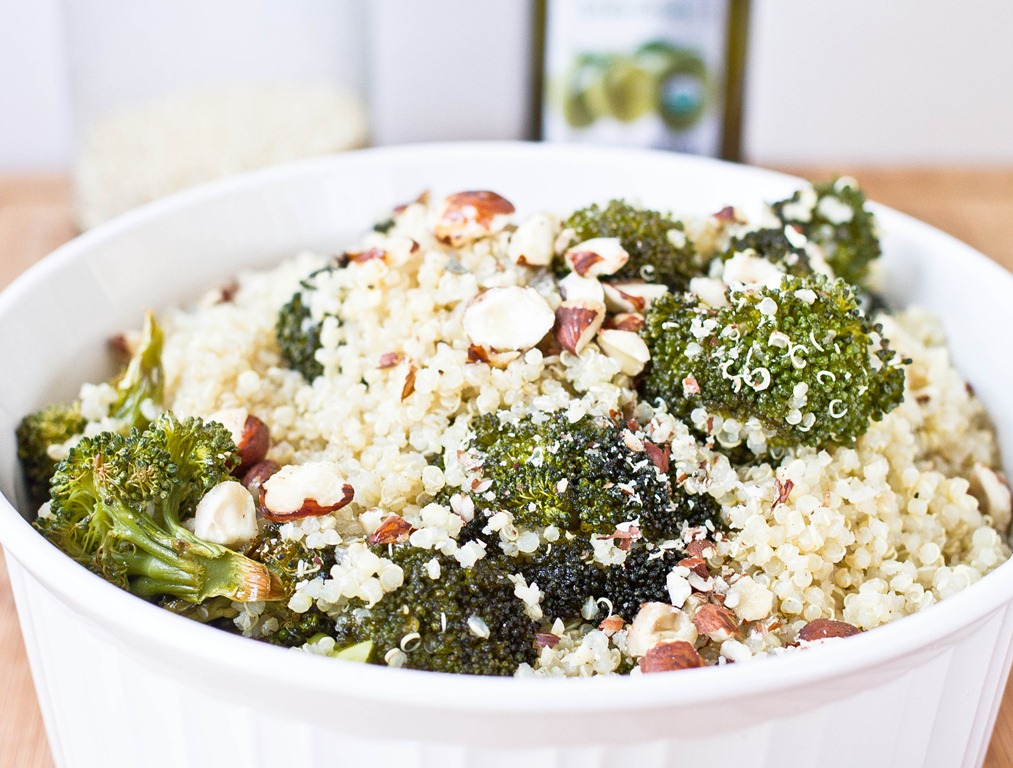
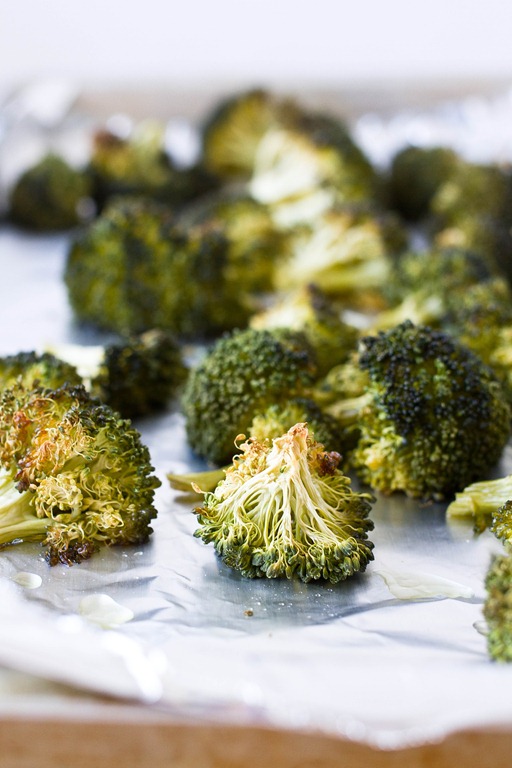
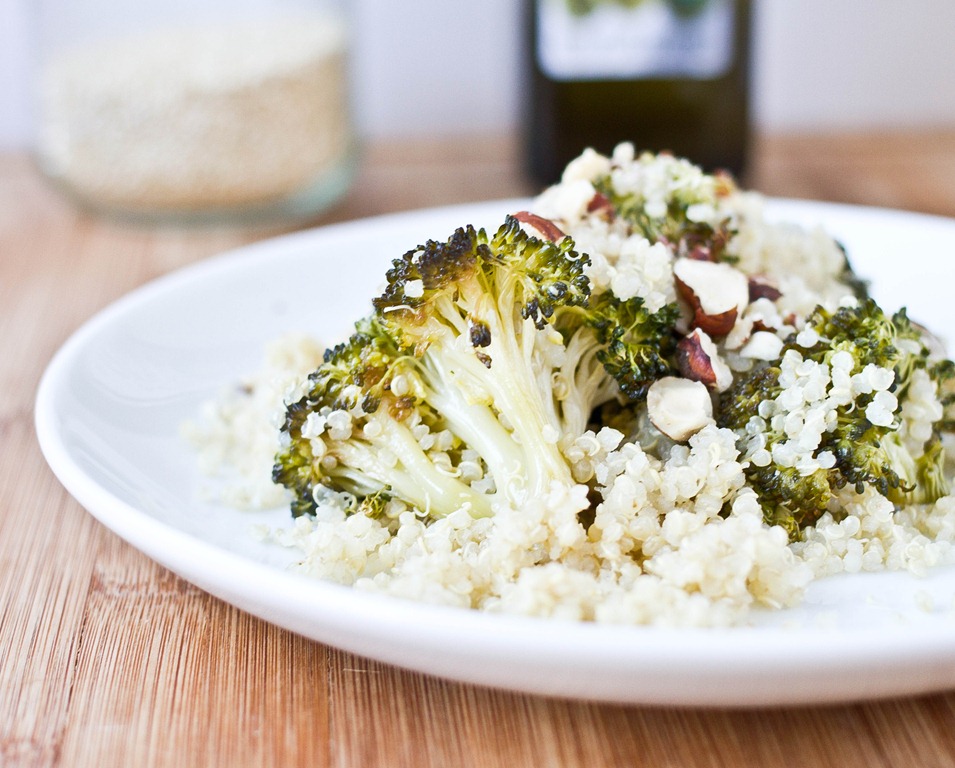
I definitely could use less desserts after last month and will probably try to post more healthy vegetable recipes. But that doesn’t mean you should be stuck on juices. Whole foods like broccoli and quinoa are perfectly good for you.
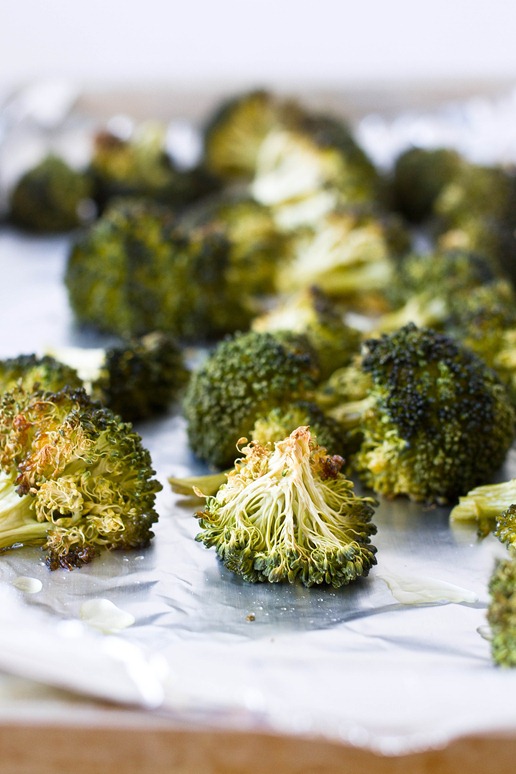
I read on a blog that quinoa was one of those 2012 “food fads” that ought to fade away in 2013. I hope that’s not true because it’s a great way to vary things up in the kitchen like roasted broccoli.
Roasted Broccoli Quinoa
Prep time: 15 minutes
Cook time: 45 minutes
Ingredients(Makes 4-6 servings):
-
1 cup dry quinoa, washed
-
2 cups broccoli florets
-
1/4 cup olive oil, divided
-
1/2 cup chopped roasted hazelnuts(optional)
-
1/4 cup craisins(optional)
-
1/2 teaspoon salt
-
1/4 teaspoon black pepper
Method:
-
Preheat your oven to 375 degrees.
-
Lay the broccoli florets out on a baking tray and drizzle with 3 Tablespoons of olive oil.
-
Roast for 45 minutes until the broccoli begins to brown.
-
While the broccoli’s roasting, combine the quinoa with 2 cups of water in a pot and bring it to a boil. Add a lid and turn off the heat and wait for the quinoa to cook.
-
In a large bowl, toss together the cooked quinoa, roasted broccoli, remaining olive oil, hazelnuts and craisins if using, and salt and pepper.
-
Add extra seasoning as desired. Serve hot or cold.
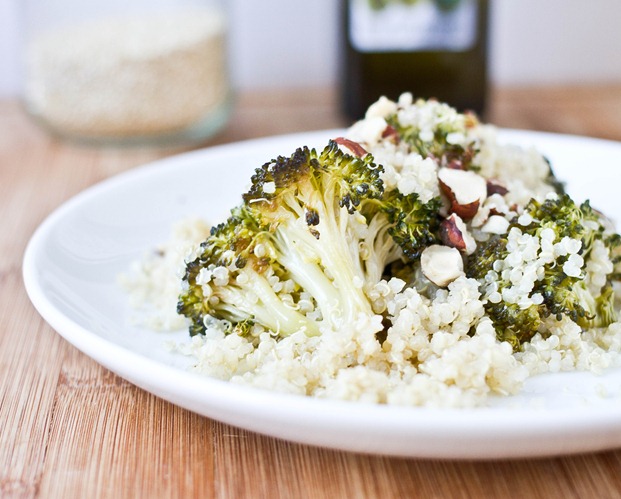
Much better than green juice.
It’s hard to believe the final week of 2012 is here. I wanted to do a round-up of some of my favorite recipes from the year but wasn’t sure how to go put it together. I decided to go with my favorite recipe from each month of 2012. Needless to say, there’s a lot of peanut butter and chocolate involved. I’m hopeful that I’ll get to make and share each of these again in 2013, especially the ones I haven’t made for almost a year; recipes only live as long as somebody’s making them.
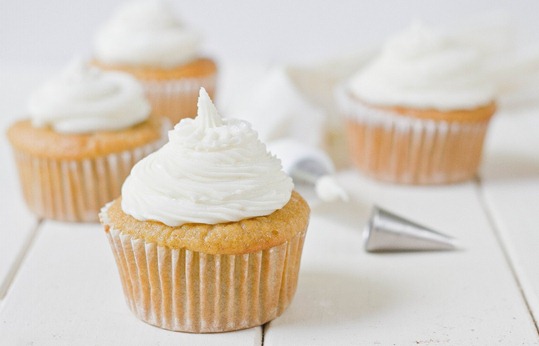
January: Paleo Vanilla Cupcakes
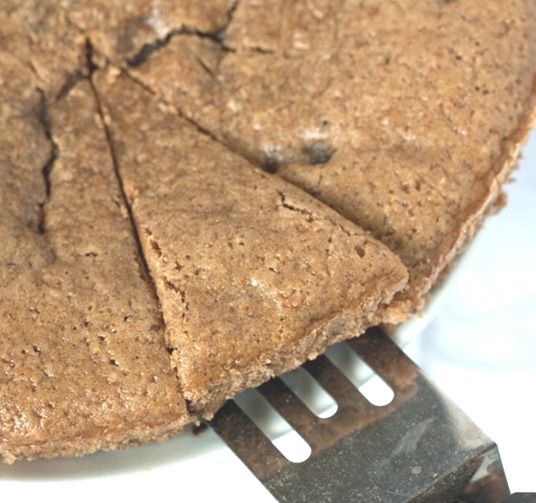
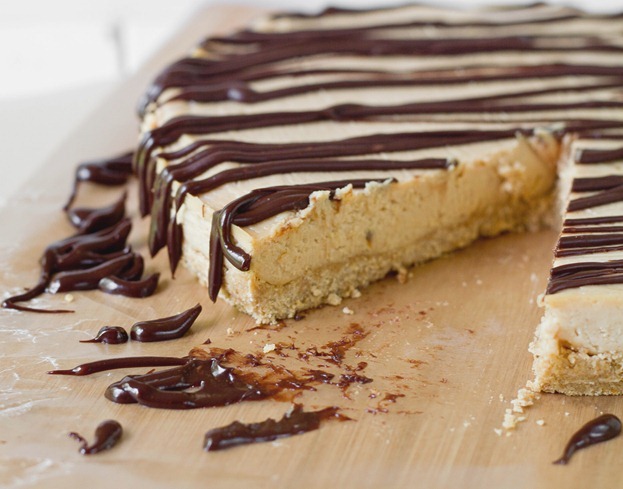
February: Peanut Butter Chocolate Chip Cookie Cake
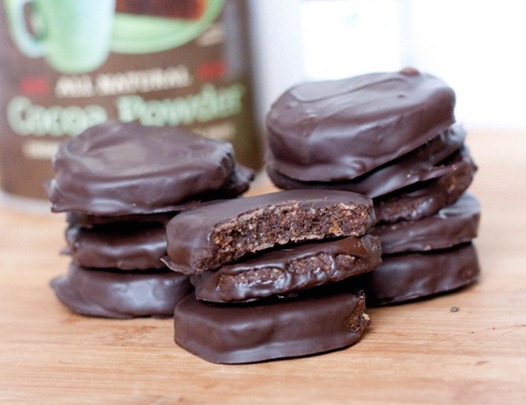
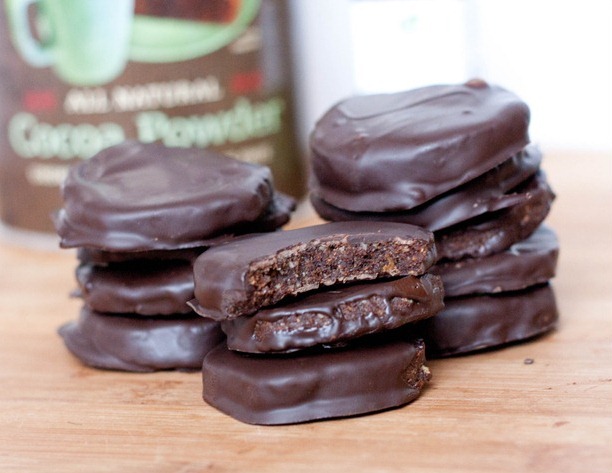
March: Gluten-Free Thin Mints
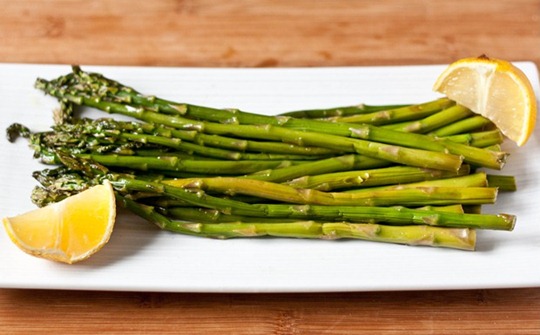
April: Roasted Asparagus
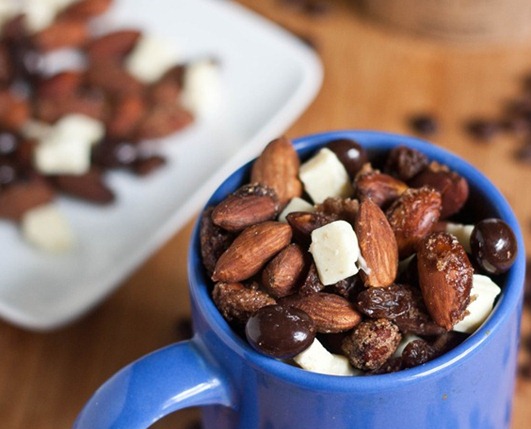
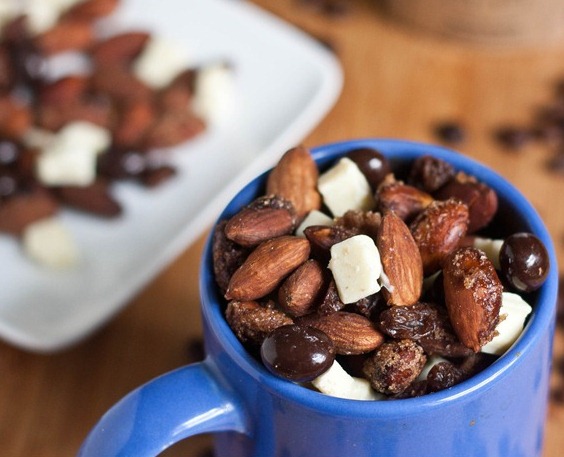
May: Perk-Me-Up Trail Mix
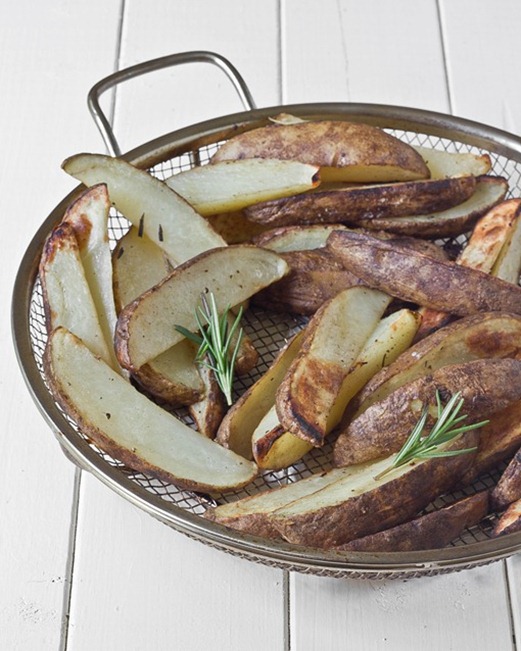
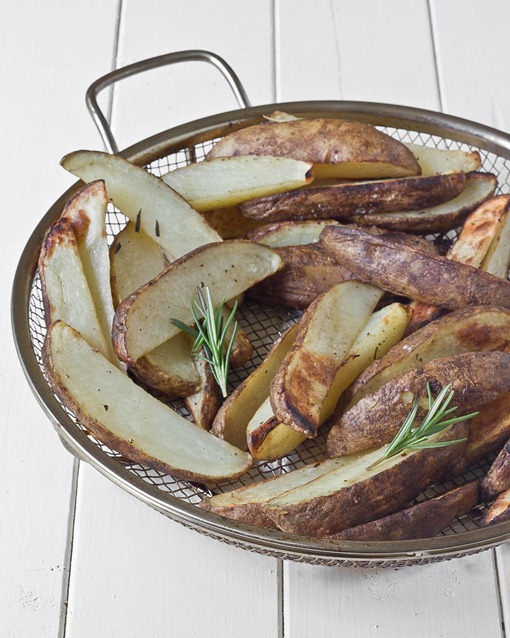
June: Perfect Grilled Potatoes
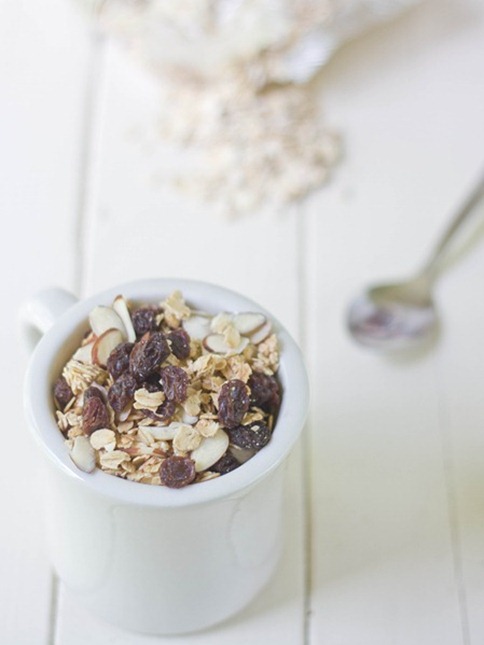
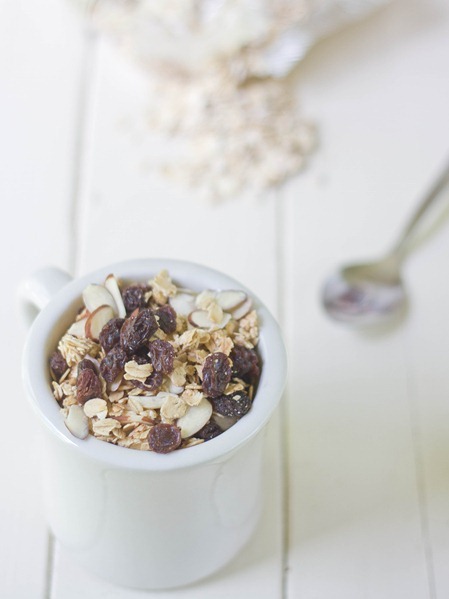
July: Maple Almond Granola
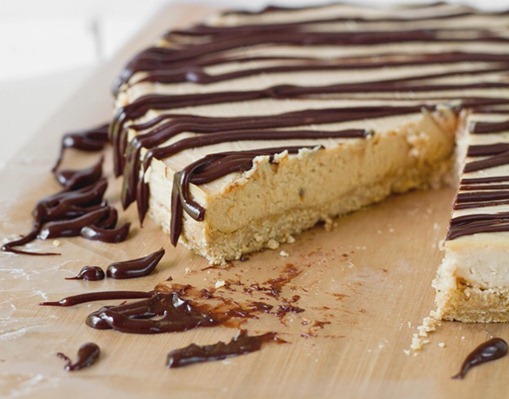
August: Chubby Hubby Cheesecake
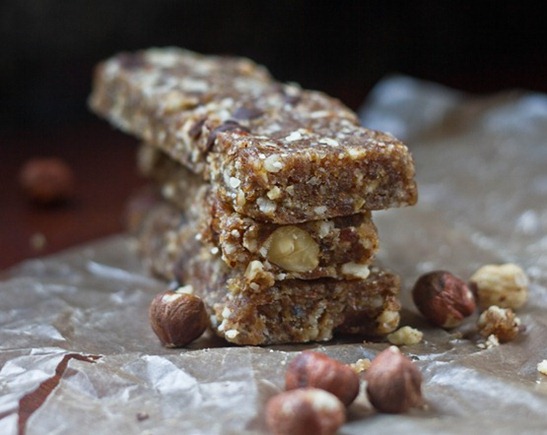
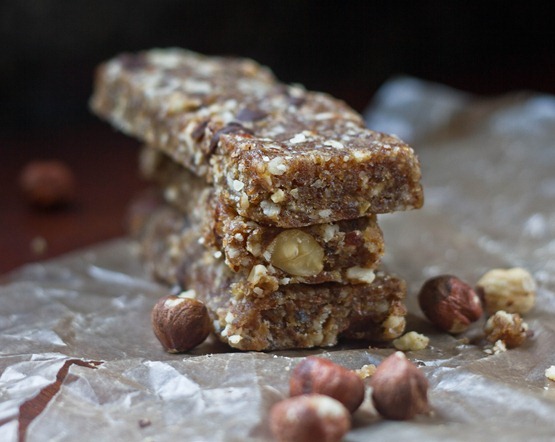
September: Copycat Chocolate Hazelnut Larabars
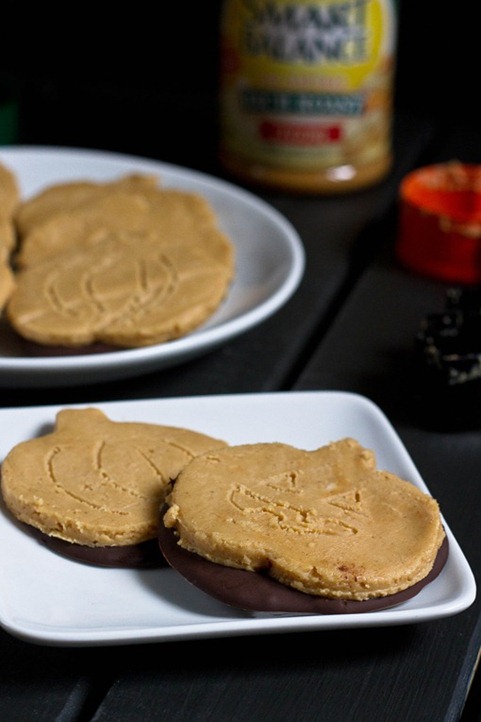
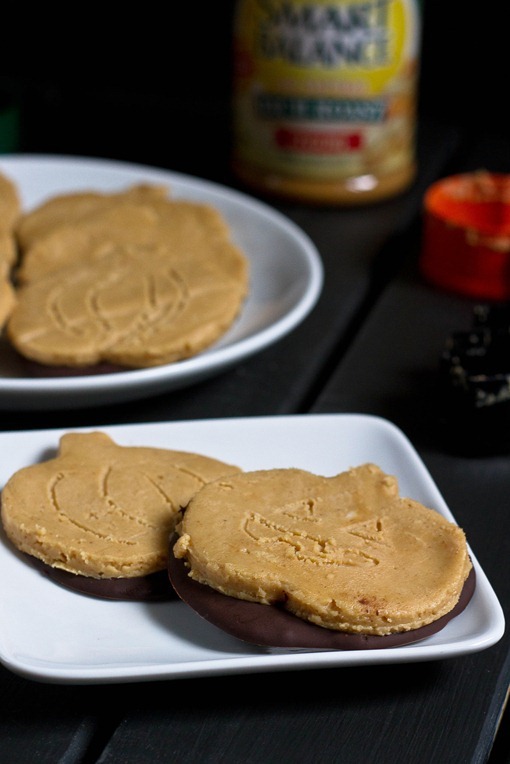
October: Homemade Peanut Butter Pumpkins
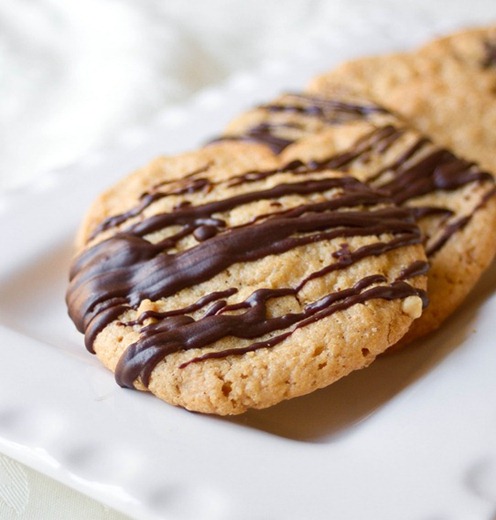
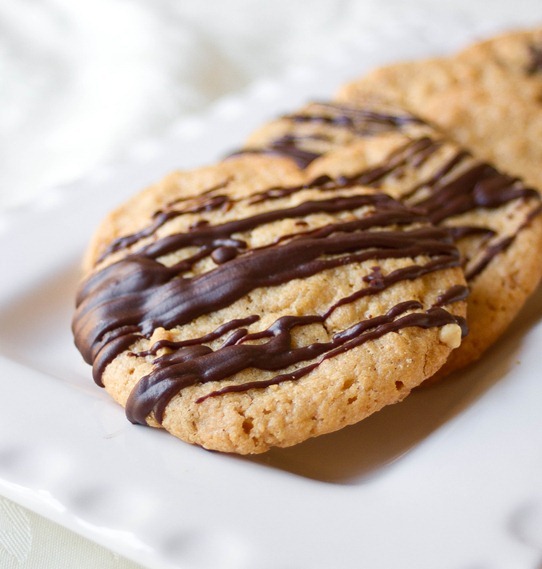
November: Chewy Peanut Butter Cookies
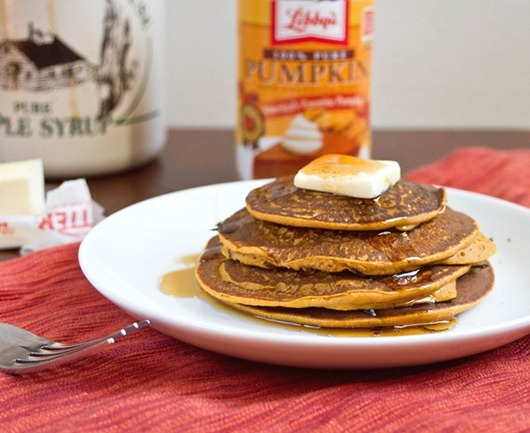
December: Gluten-Free Pumpkin Pancakes
Here’s to another delicious year!
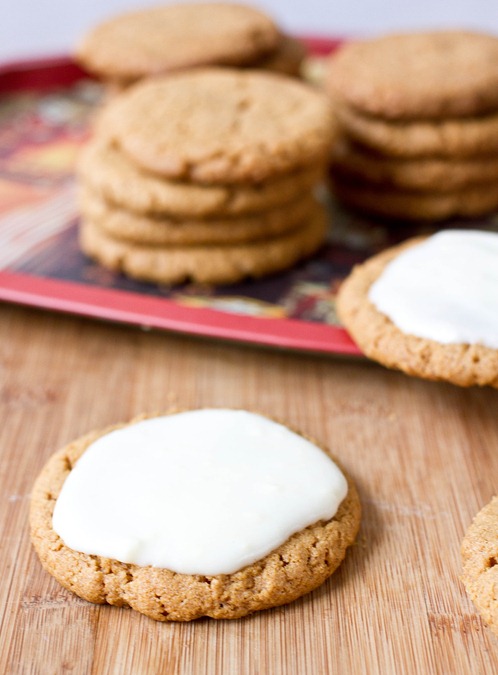
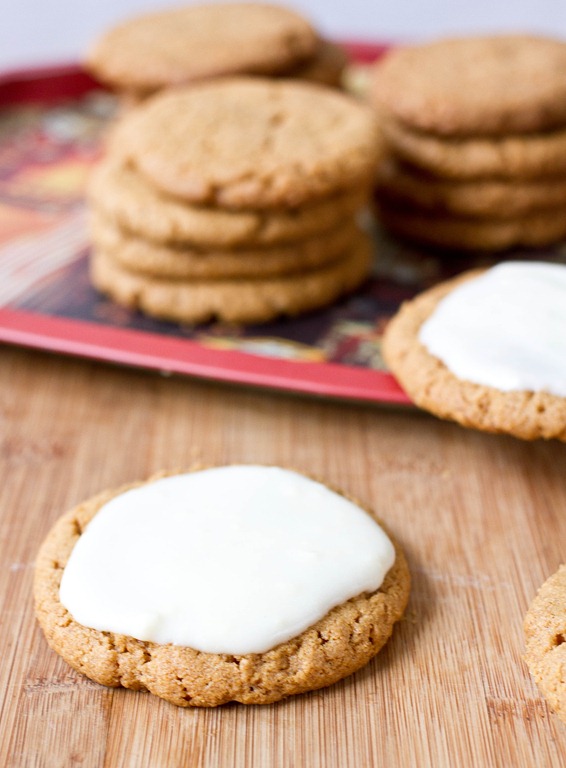
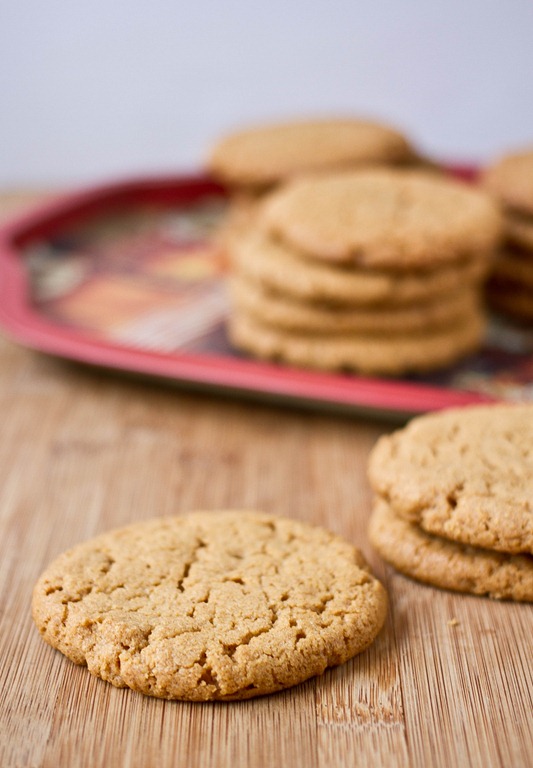
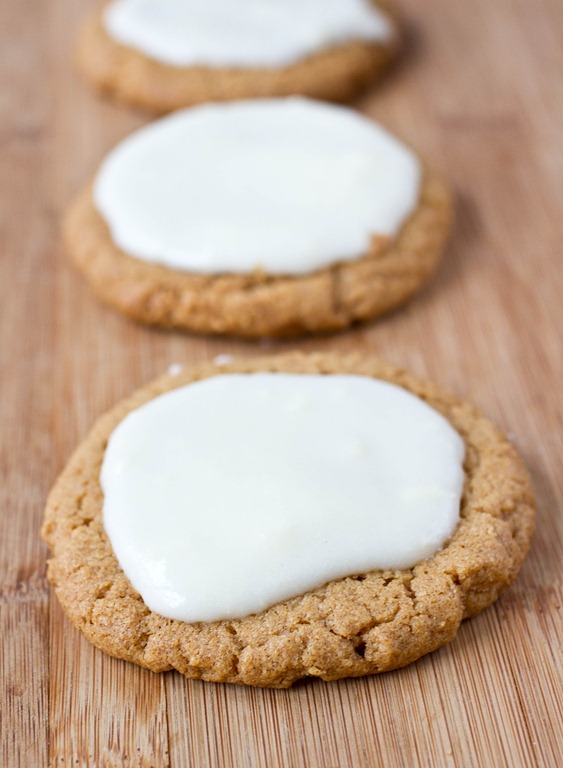
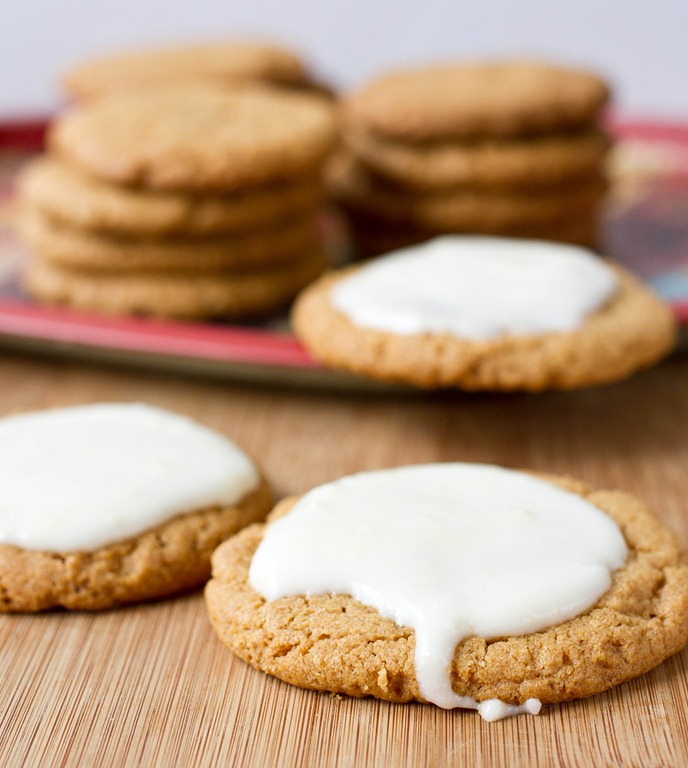
I never understood why Christmas cookies are a thing, why cookies take priority over cake or mousse or any other number of desserts. But in reality who ever has time to sit down for desserts around Christmastime? Between cooking, opening presents, and talking everyone is usually standing or in the other room, and cookies are the perfect grab-and-go dessert for that.
When I think of iced cookies, I usually think of the stale ones from the grocery store with neon pink frosting that taste like pure sugar. I would always eat the frosting(because who doesn’t love pure sugar?) but the cookie usually got left behind. These are far from those iced cookies. There’s nothing quite like a fresh cookie with a smooth and soft icing on top to step up the game for the rest of the desserts.
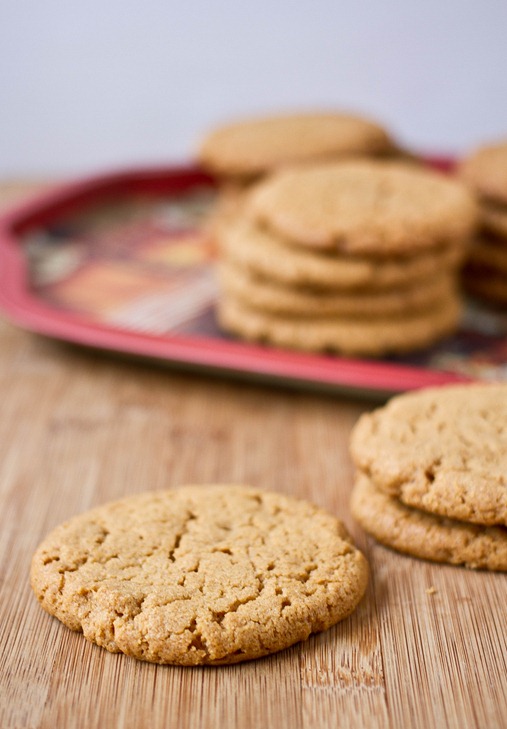
The almond extract is the special ingredient that makes these cookies irresistible. If you don’t have any it’s worth running out to the store to find. Making an icing that’s part butter adds a touch of richness to the balance out the sweet.
Iced Vanilla-Almond Butter Cookies
Prep time: 15 minutes
Cook time: 15 minutes
Ingredients(Makes about 18 cookies):
-
1 cup almond butter
-
3/4 cup + 2 Tablespoons sugar
-
1 egg
-
1/2 teaspoon vanilla extract
-
1/2 teaspoon baking powder
-
1/4 teaspoon salt
For the icing:

Method:
- Preheat your oven to 350 degrees.
- In a large bowl, mix together the almond butter, sugar, eggs, vanilla extract, baking powder, and salt.
- Roll the dough into 1-inch balls and put them on a non-stick baking tray. Press down on the balls lightly to flatten them to about 1/2-inch.
- Bake for 12-15 minutes until the edges of the cookies begin to brown.
- Remove the cookies from the oven and let them cool.
- Combine the butter and milk in a medium-sized bowl.
- Sift the powdered sugar into the bowl.
- Beat together the sugar, butter, and milk until smooth. Add in the vanilla and almond extract and continue mixing until smooth.
- Spread a Tablespoon of frosting on top of each cookie. Let the cookies sit at room temperature uncovered until the frosting sets.
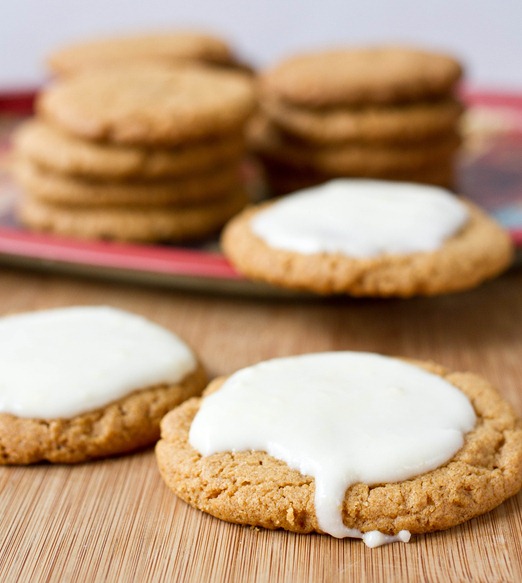
You can decorate these with green and red or white sprinkles to make them a little more festive.
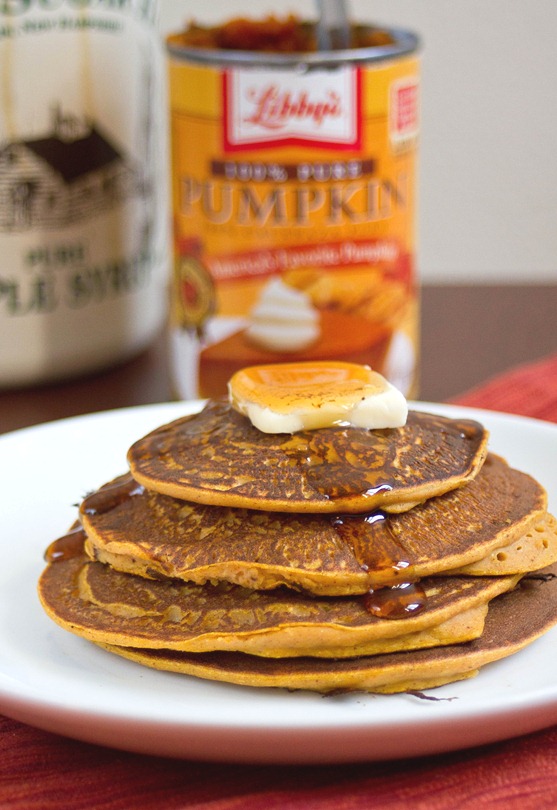
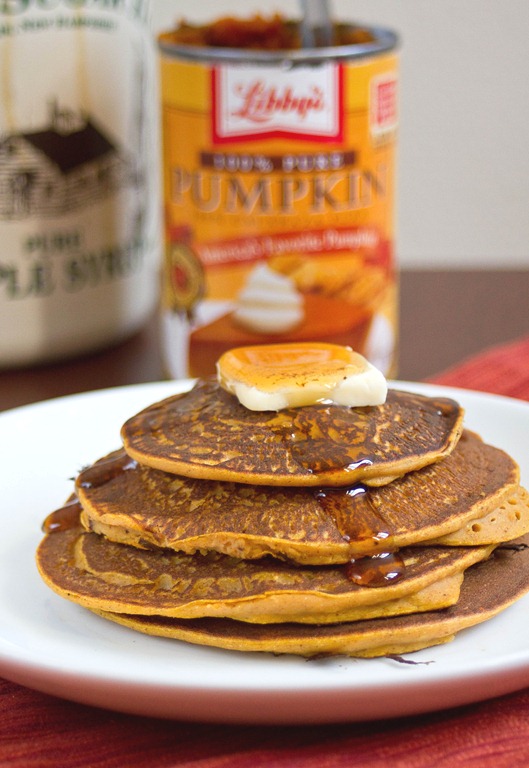
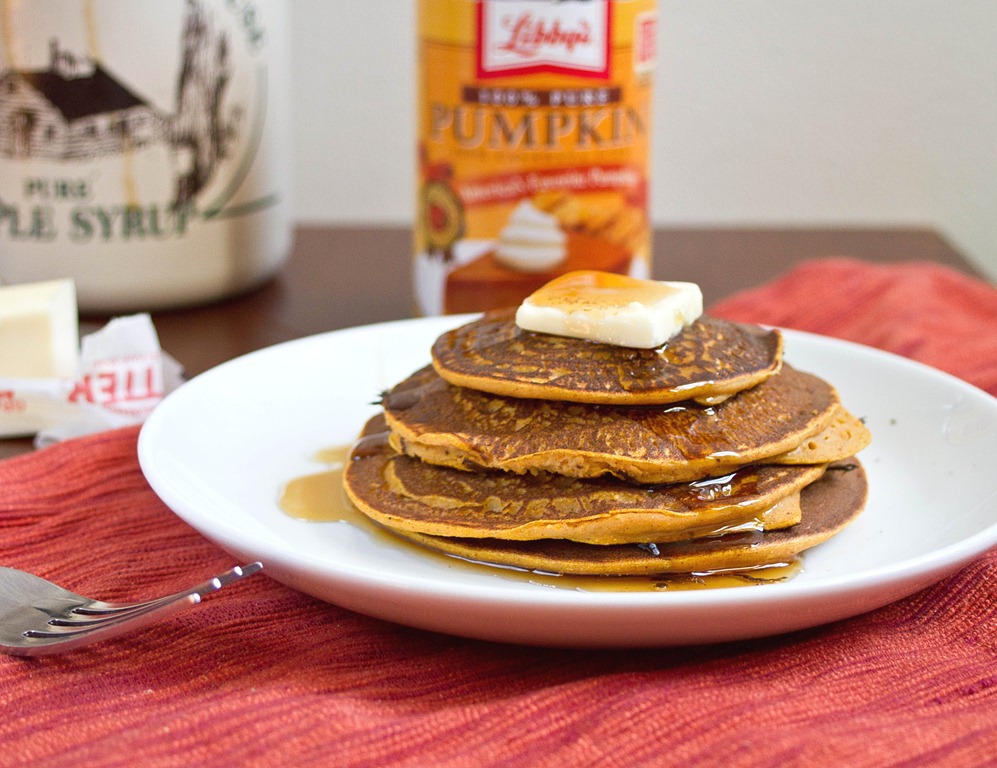
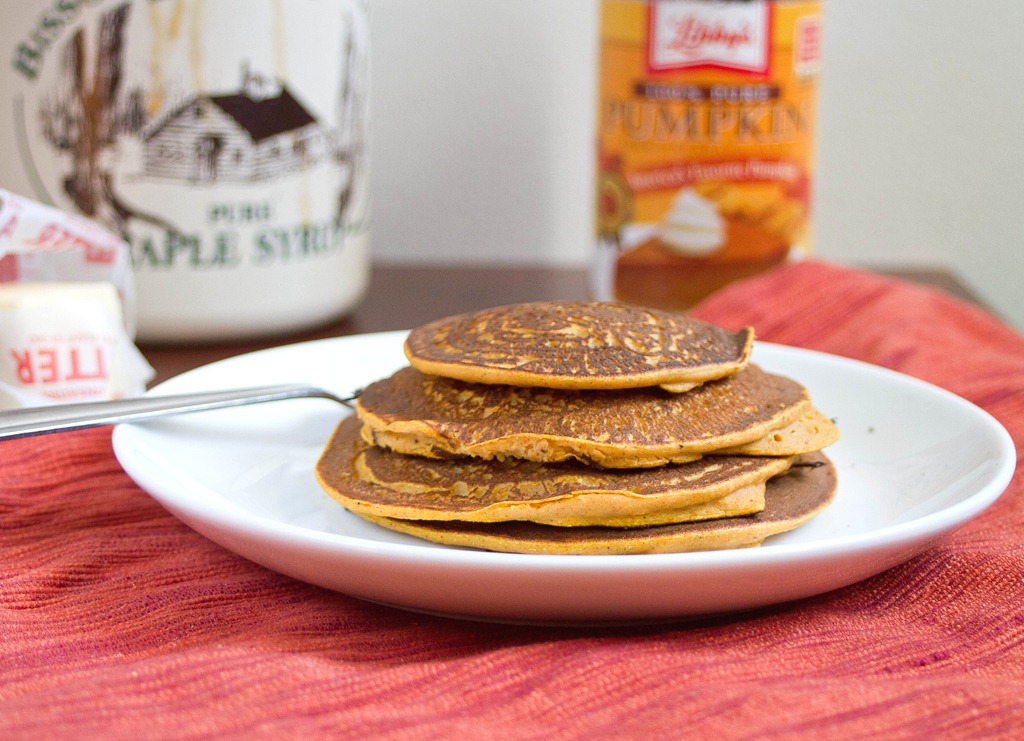
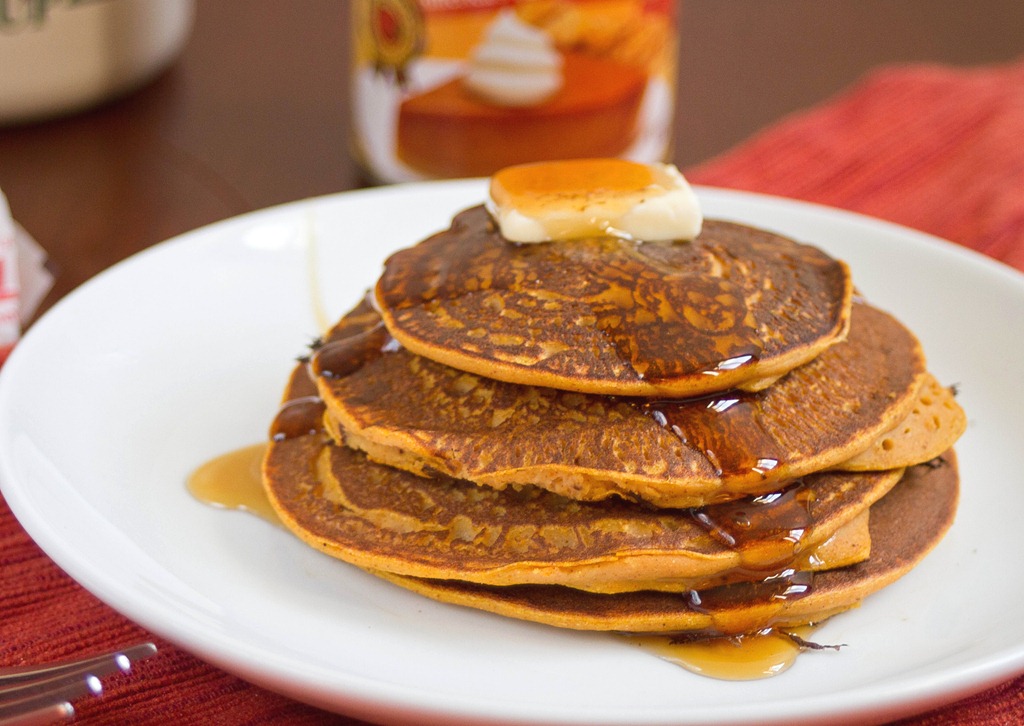
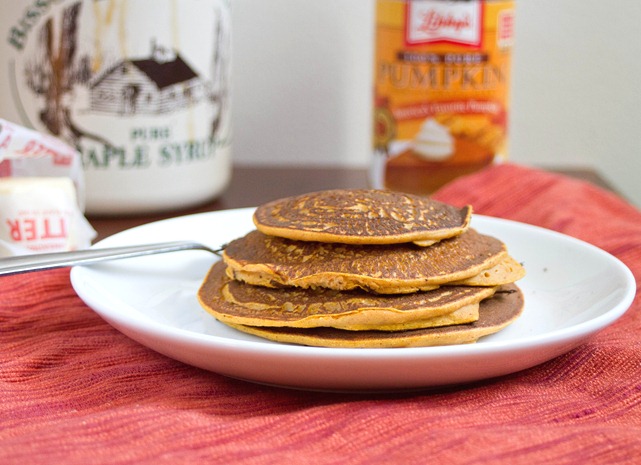
This recipe has been a long time coming. I bought a can of pumpkin at the start of November and it’s been sitting in my pantry unused since then. Finally when I realized I didn’t have anything to cook for dinner one night I remembered I had the ingredients for these pancakes and whipped some up.
They were so good I made them again the next morning and took pictures. My only regret is that I didn’t have chocolate chips at the time to mix into the batter. Add some of those and you’d have perfection.
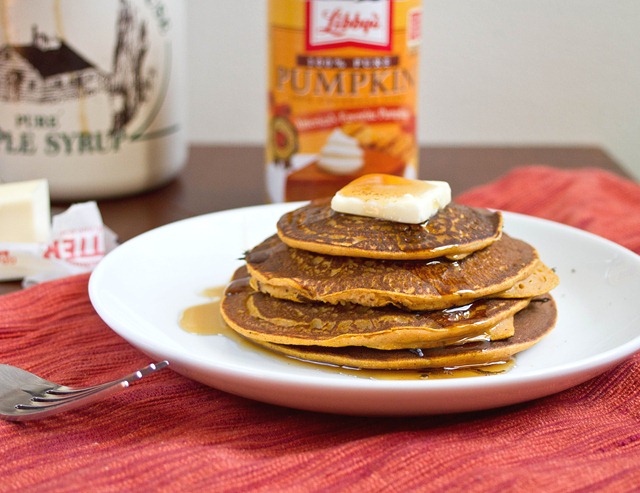
If you don’t have pumpkin pie spice just add a little bit of cinnamon and nutmeg to flavor these. You can also use almond extract in place of the vanilla extract for an interesting flavor.
Gluten-Free Pumpkin Pancakes
Prep time: 5 minutes
Cook time: 10 minutes
Ingredients(Makes 2 servings):
- 1/2 cup + 2 Tablespoons chickpea flour
- 1/2 cup pumpkin puree
- 1 large egg
- 3 Tablespoons cane sugar
- 1/2 teaspoon pumpkin pie spice
- 1/4 teaspoon vanilla extract
- 1/4 teaspoon baking soda
- ~1/2 cup water
Method:
- Heat a frying pan over a burner set to medium and grease it lightly.
- In a large bowl whisk together the chickpea flour, egg, pumpkin, sugar, pumpkin spice, baking soda, and vanilla.
- Slowly incorporate the water until the batter is somewhat runny and easy to pour. If the water doesn’t seem to be enough, slowly add more by the Tablespoon.
- Pour about 3 Tablespoons of batter into the pan. Flip when the pancake is bubbly and the sides have set to cook the other side. Make sure to cook long enough so that it’s cooked through the center.
- Move the cooked pancake to a serving plate and repeat until all the batter is used up.
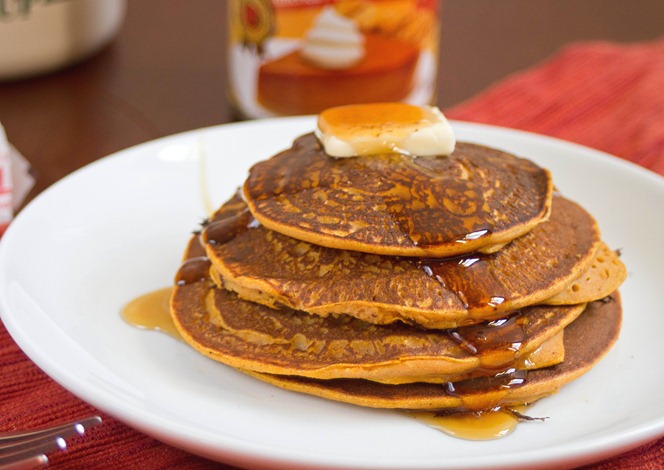
Make sure to cook the center through even if it looks like they’re starting to burn a little on the outside. Nothing is less appealing than raw chickpea flour. The thinner the pancakes are the easier it is to get an evenly cooked consistency.
Between Christmas shopping, studying, writing papers and taking exams I haven’t had much time to cook or make new recipes lately. The nice thing about having a living room full of Christmas lights, stockings and a tree is it makes it easy to fall back into the holiday spirit after a stressful day.
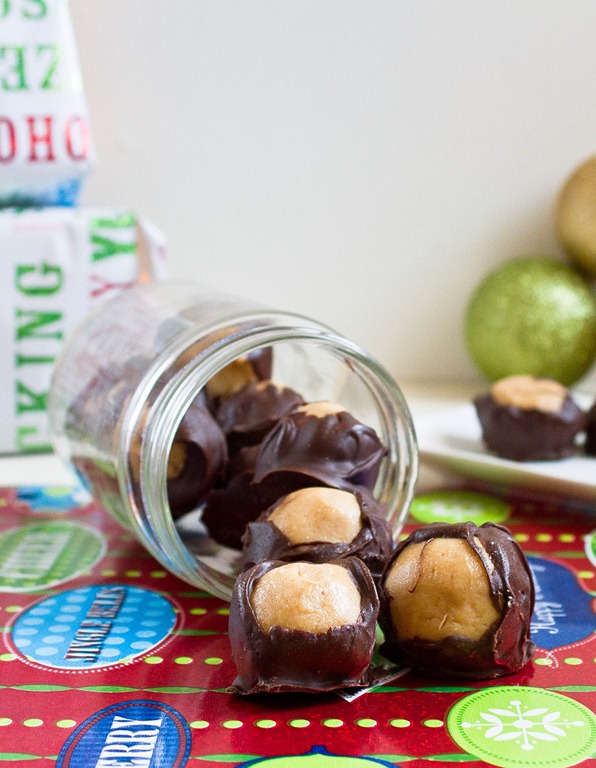
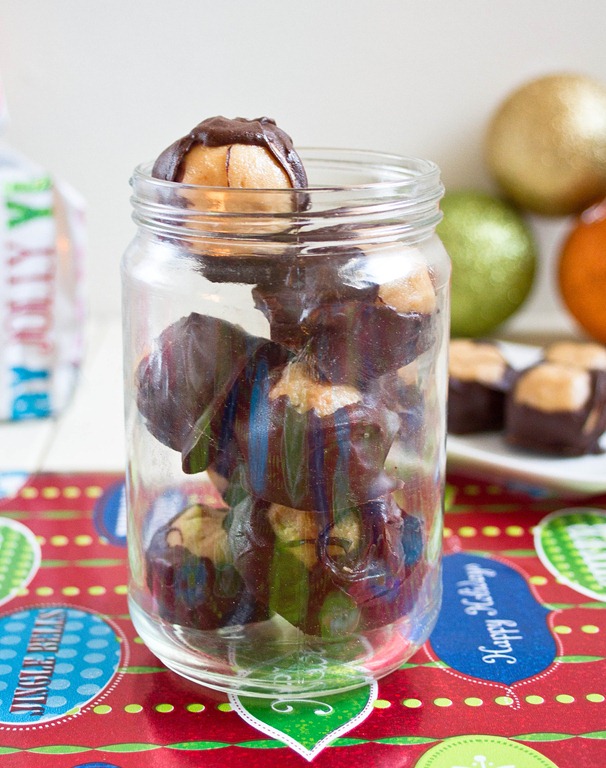
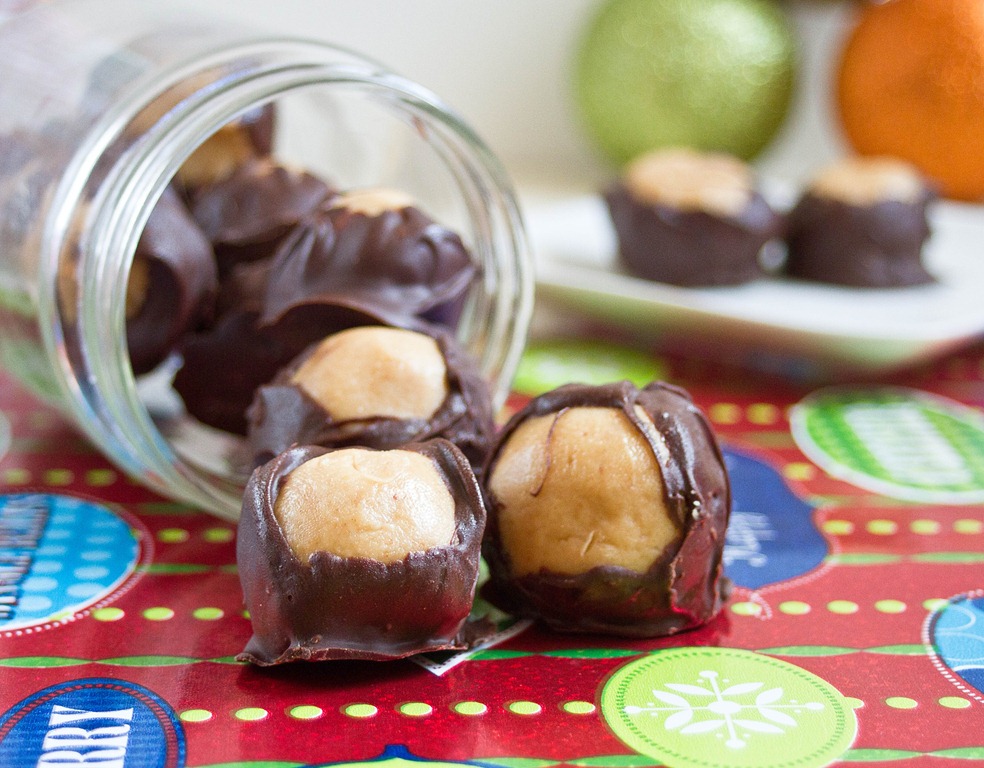
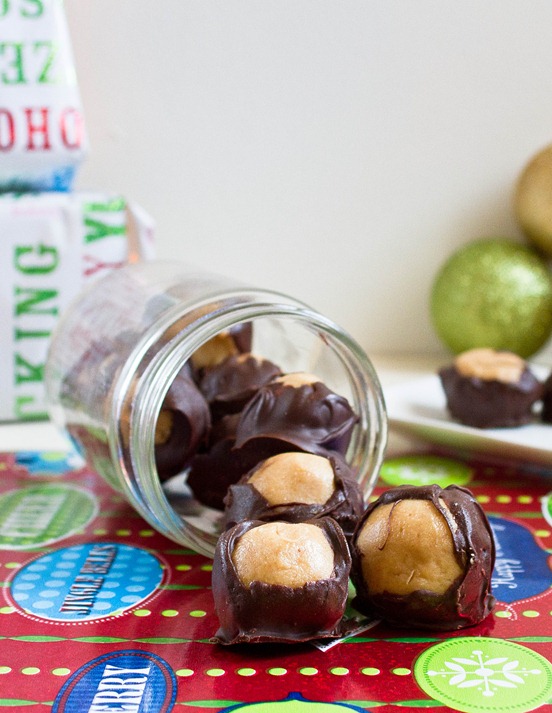
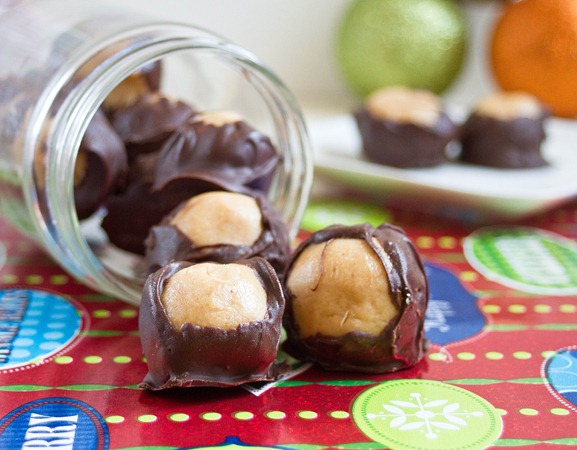
I made these buckeyes last night for myself and my roommates because who doesn’t love a chocolate and peanut butter nightcap? I have to admit that I’ve made recipes like this often enough that I’ve stopped measuring things as I go along. Really you can make this in any proportion as long as the dough comes out the right consistency. They aren’t the prettiest buckeyes but they’re taste makes up for their appearance.
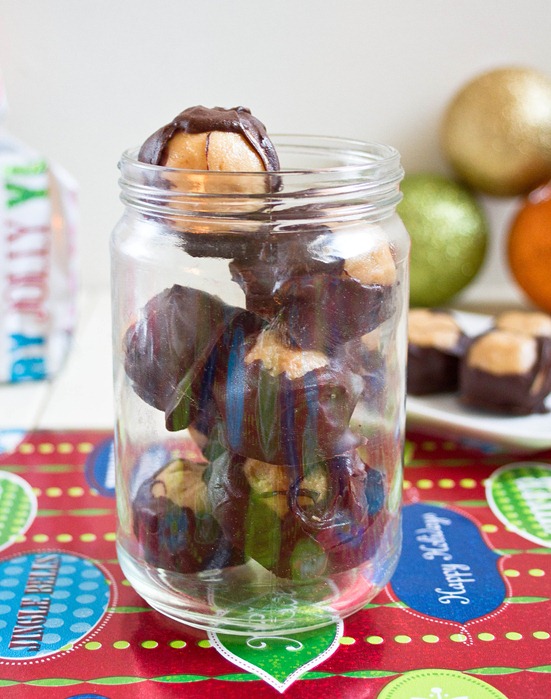
If you want to change the flavor slightly add a touch of vanilla or cinnamon.
Peanut Butter Buckeyes
Prep time: 20 minutes
Cook time: 0 minutes
Ingredients(Makes about 20 buckeyes):
- 1 cup creamy peanut butter*
- 6 Tablespoons butter, melted
- 1 1/2 cups powdered sugar, sifted
- 1 1/4 cups bittersweet chocolate chips OR 10oz bittersweet chocolate, chopped
*If you’re using no-stir peanut butter, melt it in the microwave briefly before mixing it with the other ingredients
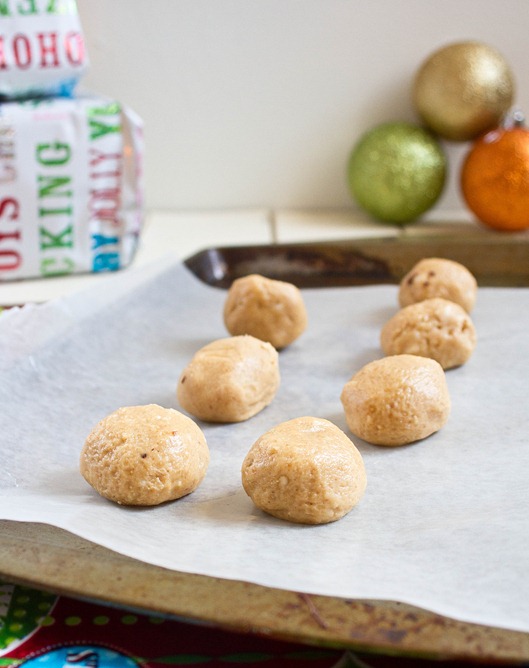
Method:
- In a large bowl mix together the peanut butter, butter and powdered sugar until it forms a dough that sticks to itself. If for some reason your dough is too thin, slowly add more powdered sugar until it’s workable.
- Roll the dough into 1-inch balls and place them on a non-stick surface.
- Put the peanut butter balls in the freezer to set.
- While the peanut butter balls are hardening, melt the chocolate in a microwave or over a double boiler.
- One by one dip the peanut butter balls into the melted chocolate to coat their outside and put them back on the non-stick surface.
- Refrigerate the peanut butter balls until the chocolate has set. Keep cold until ready to serve.
My favorite thing about this time of year is going present shopping for friends and family but boy does it eat up a day. After going to several stores and eventually CVS for wrapping paper and tape, I couldn’t help but do some grocery shopping and pick up the bag of Reese’s Pieces that was conveniently on sale.
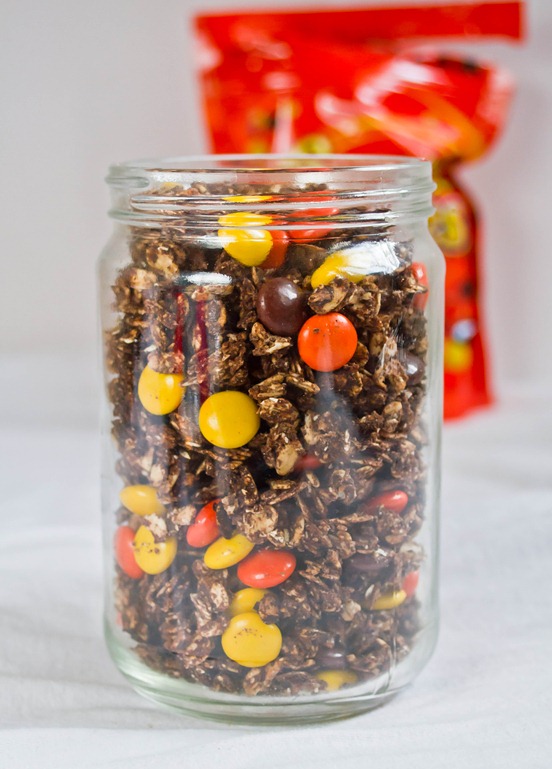
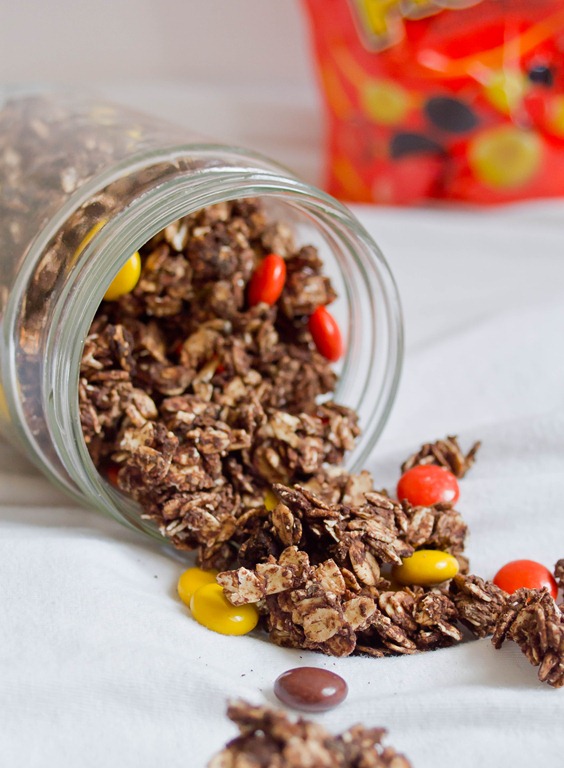
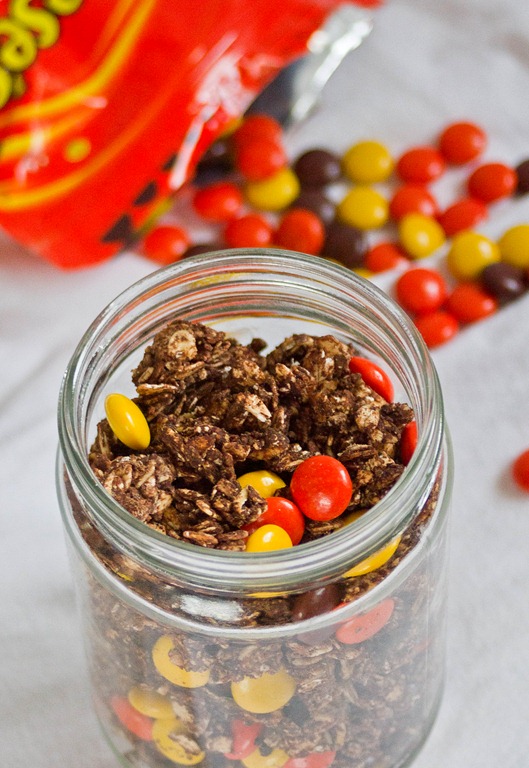
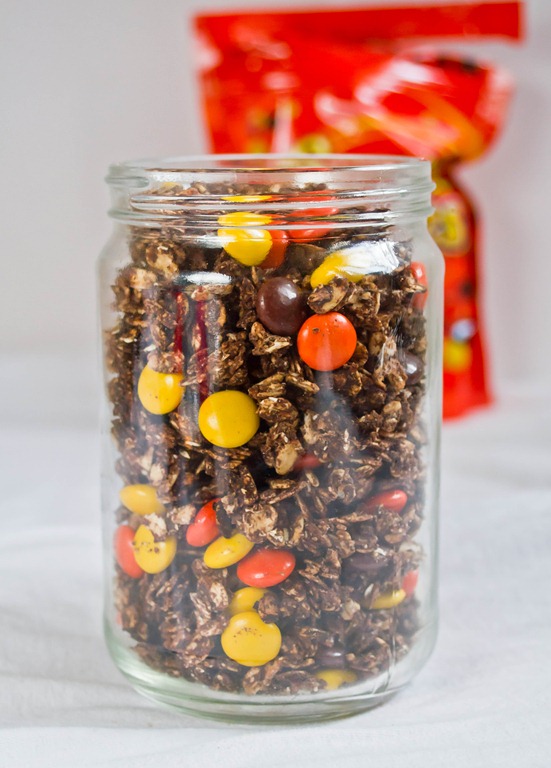
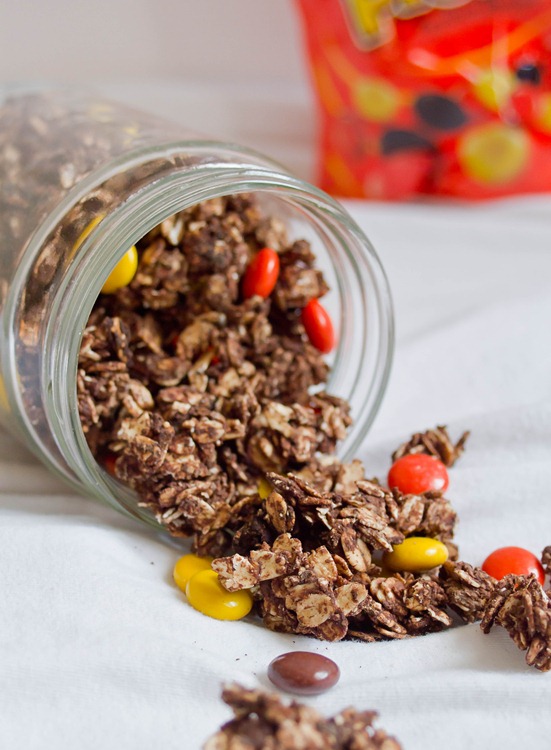
I’ve made peanut butter granola before and chocolate granola but never chocolate granola with peanut butter. That was an oversight seeing how peanut butter and chocolate has to be the best combination known to man. Just think of Reese’s cups and Fastbreak bars and—of course—Reese’s Pieces. I’m not quite sure if adding candy to granola still makes it breakfast food but it has peanut butter so it must be healthy.
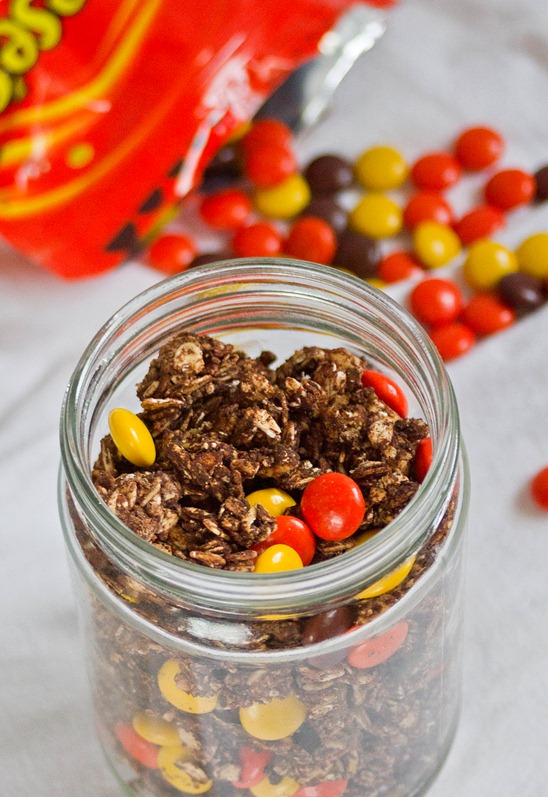
This is a great granola to make if you like granola with clusters since the peanut butter holds the oats together. Just be sure not to break it up too much after it’s done cooking to keep most of the clusters.
Reese’s Pieces Granola
Prep time: 10 minutes
Cook time: 20-25 minutes
Ingredients(Makes about 3 cups):
- 2 cup rolled oats
- 6 Tablespoons peanut butter
- 1/4 cup cocoa powder
- 6 Tablespoons to 1/2 cup maple syrup(or any liquid sweetener)
- 1/2 cup Reese’s Pieces
- 1/2 cup peanuts(optional)
Method:
- Preheat your oven to 350 degrees.
- In a large bowl mix together the oats, peanut butter, cocoa powder and maple syrup. If the peanut butter you’re using is the no-stir kind, melt it in the microwave briefly before mixing it in.
- Spread the oats out onto a non-stick baking tray. Bake for 20-25 minutes until the granola cooks together.
- Remove from the oven and break the granola into clusters using a utensil.
- Let the granola cool completely before adding in the Reese’s Pieces.
- Store in an air-tight container at room temperature.