Tag Archive: Peanut Butter

Chewy Peanut Butter Cookies {Gluten-Free}

Chewy Peanut Butter Cookies {Gluten-Free}

I came home for the holiday weekend on Wednesday night last week. Normally I cook more for the holidays but by the time I arrived most of Thanksgiving dinner had already been planned. I decided to contribute some ad hoc cookies because, well, when are extra cookies ever a bad thing?

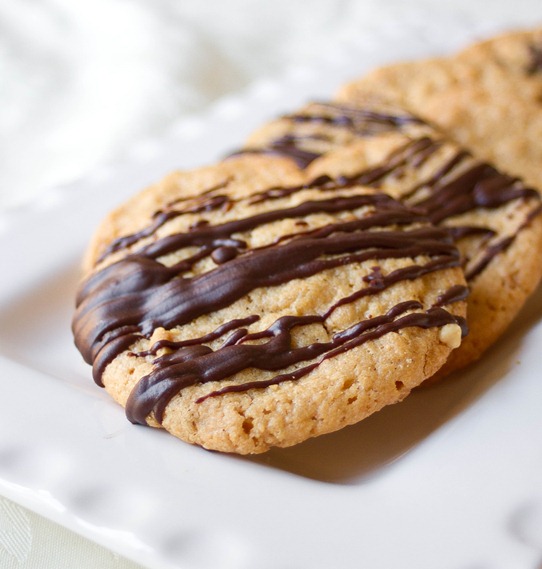
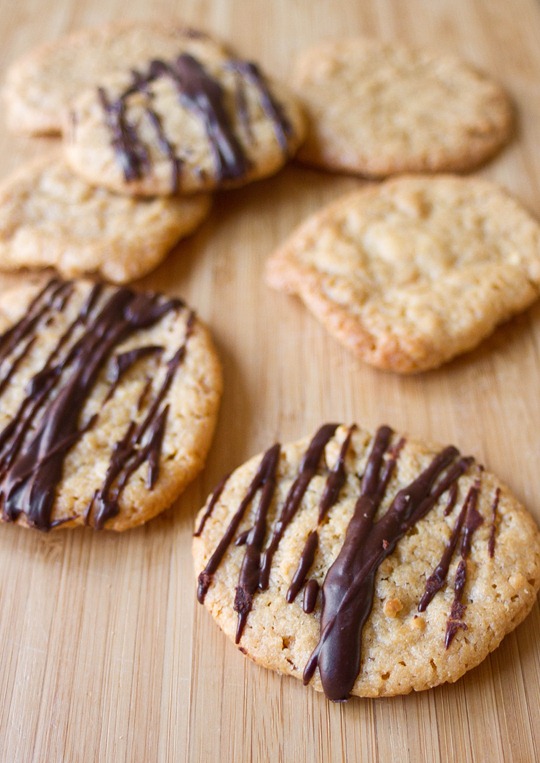
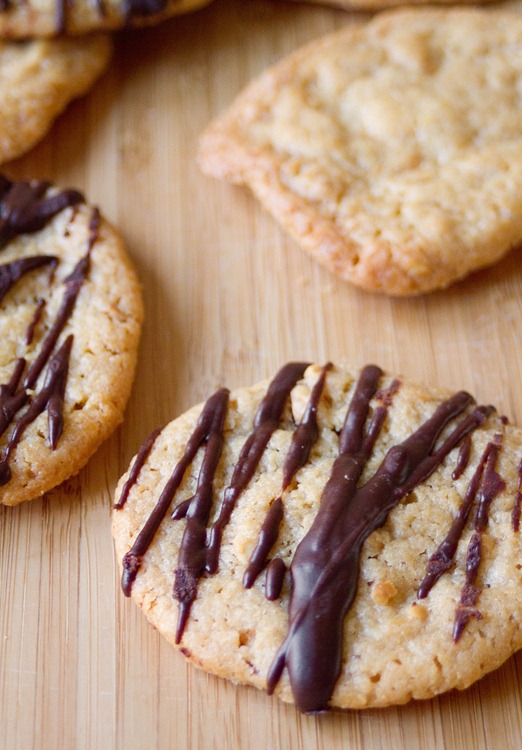
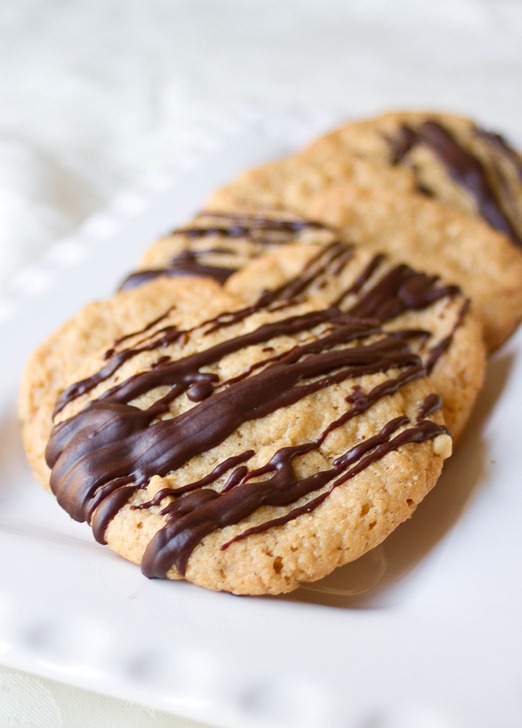
I’m usually a purist when it comes to peanut butter cookies using this recipe. However I wanted to try one with flour and butter for a different texture to mix things up. The added ingredients make a cookie that chewy rather than crispy and slightly richer. On top I added a chocolate drizzle for the chocolate lovers in my family(but mostly for myself).

Chewy Peanut Butter Cookies {Gluten-Free} Yield

Mixed some chopped peanuts or chocolate chips into the batter before baking these for an extra crunch.

Chewy Peanut Butter Cookies {Gluten-Free}

Prep time: 10 minutes

Cook time: 18 minutes

Ingredients(Makes about 14 cookies):

  • 3/4 cup all-purpose gluten-free flour
  • 3/4 cup sugar
  • 1/4 teaspoon salt
  • 6 Tablespoons creamy or chunky peanut butter
  • 1/4 cup butter
  • 1 egg
  • 1/4 cup chocolate chips(optional)

Chewy Peanut Butter Cookies {Gluten-Free} Drizzle

Method:

  1. Preheat your oven to 350 degrees
  2. In a large bowl mix together the sugar, flour, and salt.
  3. In a small bowl, melt together the butter and peanut butter and mix.
  4. Pour the melted butter and peanut butter into the flour mixture and mix it together.
  5. Beat in the egg until all of the ingredients form a dough.
  6. Roll the dough into 1-inch balls and place them 2-3 inches apart on a greased cookie tray.
  7. Bake for 16-18 minutes until the outside is firm to the touch.
  8. Remove from the oven and let the cookies cool completely before moving.
  9. Melt down the chocolate chips and drizzle the melted chocolate on top of the cookies.

Chewy Peanut Butter Cookies {Gluten-Free} Plated

Peanut Butter Snack Squares

Peanut Butter Snack Bars

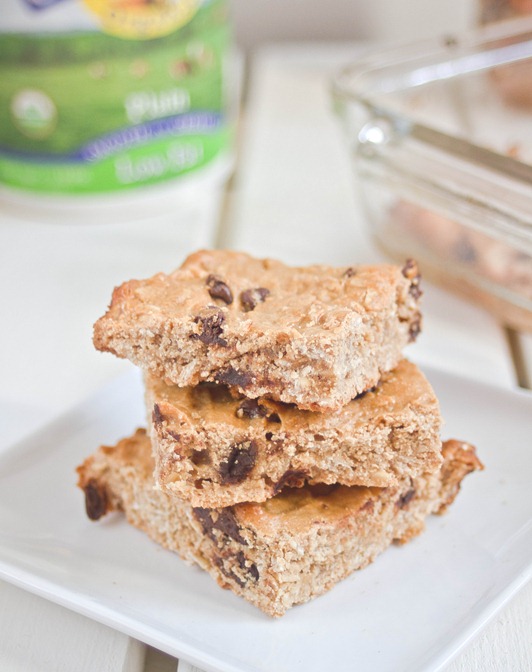
Every afternoon around 3pm I run into the problem of something healthy to snack on. I’d usually just prefer a bag of M&Ms and some Reese’s peanut butter cups and call it a day, but apparently that’s not good for you(who knew?). I went ahead and tried to make a healthy snack since it’s a lot easier and cheaper than finding tasty ones in the grocery store. And wouldn’t you know you can still have your peanut butter and chocolate and eat well, too?

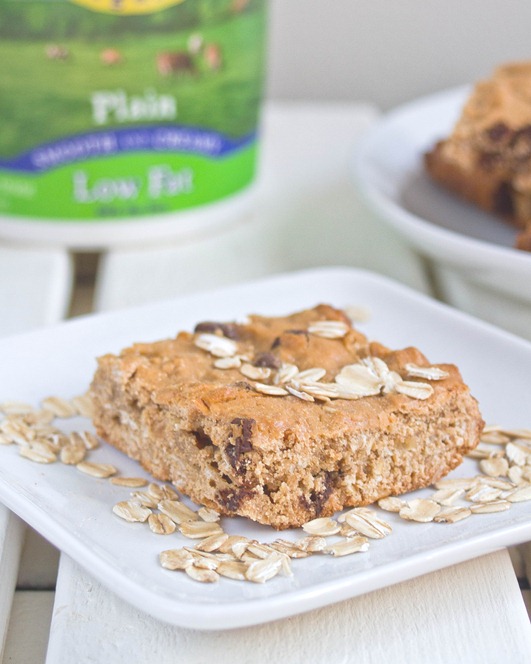
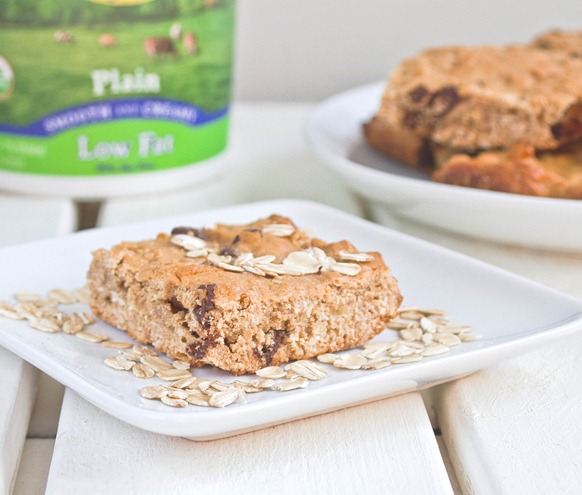
These definitely aren’t fudgy enough to be blondies or airy enough to be cake; that’s why I’d call them “squares” and say they’re the perfect afternoon pick-me-up when you’re not sure what to have. They’re filled with whole grains, peanut butter, and low-fat yogurt so they must be a better choice than anything from the vending machine.

Peanut Butter Snack Bars Healthy

If you want to make these really healthy, swap out the chocolate chips for raisins. Then again if you want to use both I won’t tell anyone.

Peanut Butter Snack Squares

Prep time: 15 minutes

Cook time: 25 minutes

Ingredients(Makes 9 squares):

  • 1 cup all-purpose gluten-free flour(or regular flour)
  • 3/4 cup gluten-free rolled oats
  • 1/2 cup + 2 Tablespoons sugar
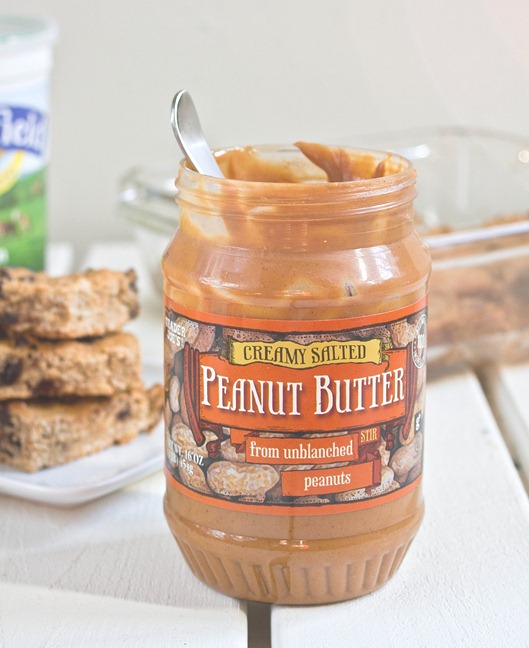
  • 1/2 cup peanut butter
  • 1/2 cup plain low-fat yogurt
  • 1 egg
  • 2-4 Tablespoons water
  • 1/3 cup chocolate chips

Peanut Butter Snack Bars Peanut Butter

Method:

  1. Preheat your oven to 350 degrees and grease an 8×8 baking pan.
  2. In a large bowl, mix together the flour, oats, and sugar.
  3. Add in the peanut butter, yogurt, and egg and beat well.
  4. Slowly add in water just until the batter is wet enough for you to stir with a whisk or spatula to mix it.
  5. Lastly fold in the chocolate chips.
  6. Pour the batter into the greased baking tray. Bake for about 25 minutes until the edges start to brown.
  7. Let the pan cool before cutting it into 9 squares. Store sealed in the refrigerator until ready to eat. 
Peanut Butter Snack Bars Serving

After a few days these start to stiffen up. Just pop them in the microwave for 30 seconds on a low setting and it’ll be just like they came out of the oven again!

Homemade Peanut Butter Pumpkins

Homemade Peanut Butter Pumpkins

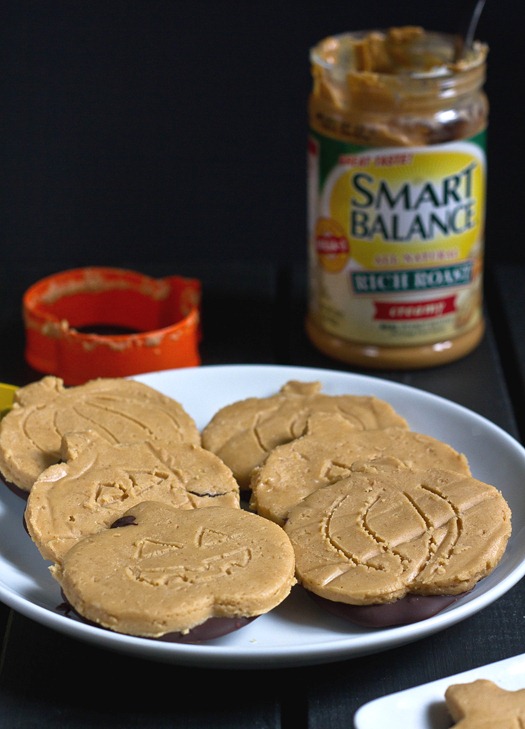
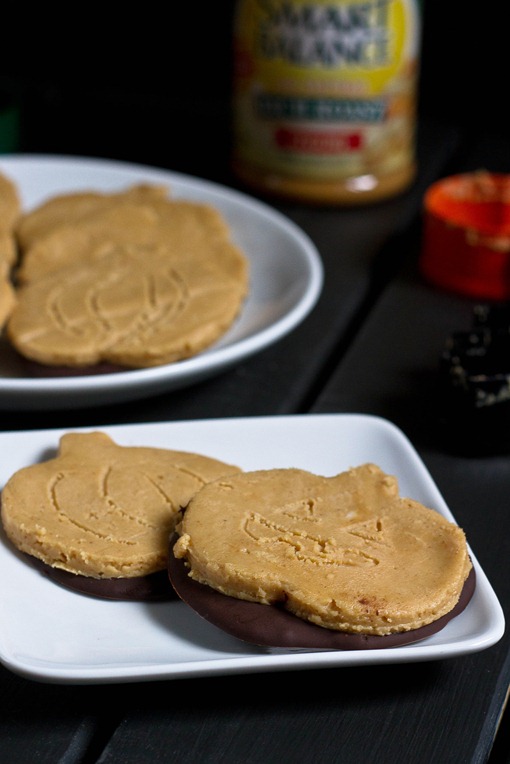
The seasonal candies are always my favorite part of the holidays. I’ll usually wait until the day after each holiday to go to the store and buy it all half-off, but why wait when you can make your own? I’ve made my own peanut butter cups before and it’s never been a hassle. Pumpkins seemed like a bit more of a challenge but oh so worth it.

Homemade Peanut Butter Pumpkins Peanut Butter

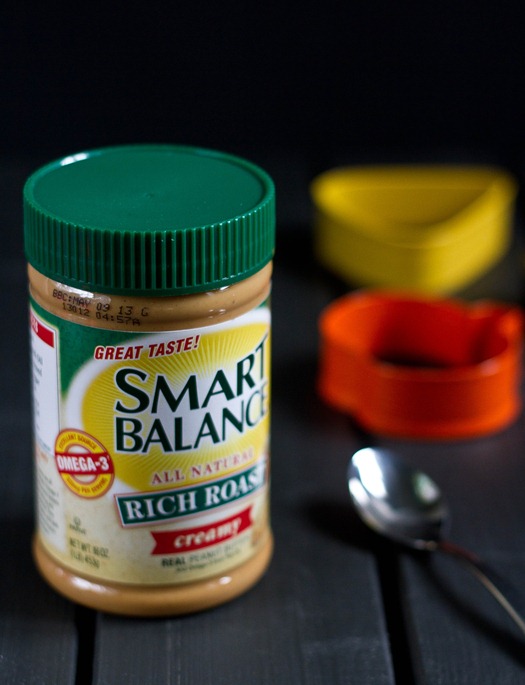
This recipe is also my entry in a Smart Balance recipe contest that starts today. They’ve asked 20 contestants to make a recipe using one or more of their products and put them on their Facebook page for fans to vote for. I love the Smart Balance peanut butter because of its rich, amber flavor. It has added plant-based omega-3s which are always good for a vegetarian diet.

Besides peanut butter, this recipe is super simple and uses only 4 other ingredients you probably already have: buttery spread(or butter), powdered sugar, and chocolate chips. The process doesn’t take much time at all even though there are quite a few steps. Just make sure to have room in your freezer to cool these quickly so you can move from one step to the next without waiting too long.

Homemade Peanut Butter Pumpkins Cookie Cutter

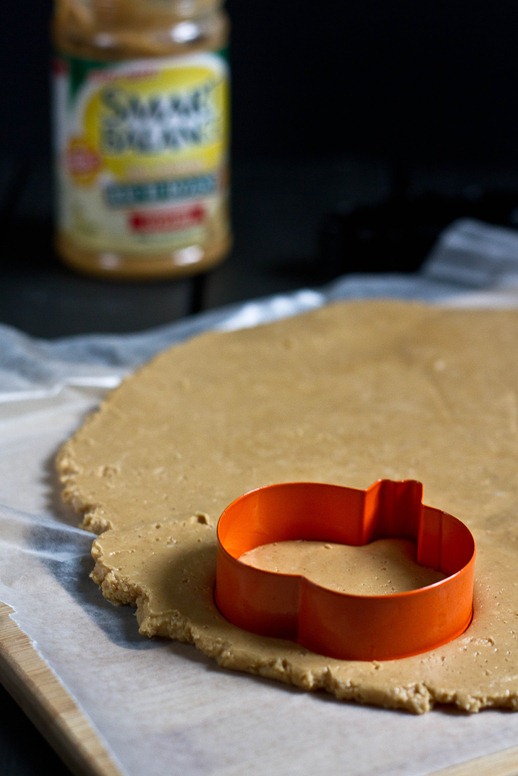
I found the pumpkin cookie cutter on Amazon and got it along with some other shapes; they also probably sell them in most craft stores around this time, too. You can use different cookie cutters for different holidays and keep the recipe year round. The basic steps will always be the same.

Homemade Peanut Butter Pumpkins

Prep time: 20 minutes

Cook time: 0 minutes

Ingredients(Makes about 16 pumpkins*):

*The yield will vary based on the size of your cookie cutters. I used a pretty standard 3-inch cookie cutter and got 16 pumpkins.

Homemade Peanut Butter Pumpkins Drying

Method:

  1. In a large bowl, combine the peanut butter and melted buttery stick until it’s homogenous.
  2. Sift in the powdered sugar stirring it in until it’s completely mixed in.
  3. Get out 2 sheets of parchment paper and place the peanut butter dough between the two. Press down until the dough is about 3/8-inch thick.
  4. Cut out as many pumpkins in the dough as you can. Put the dough into a freezer for 10-15 minutes until the dough is stiff.
  5. While the dough is in the freezer, melt the chocolate in the microwave or over a double boiler until it’s smooth.
  6. Take the dough out of the freezer and remove the pumpkins from the extra trim.
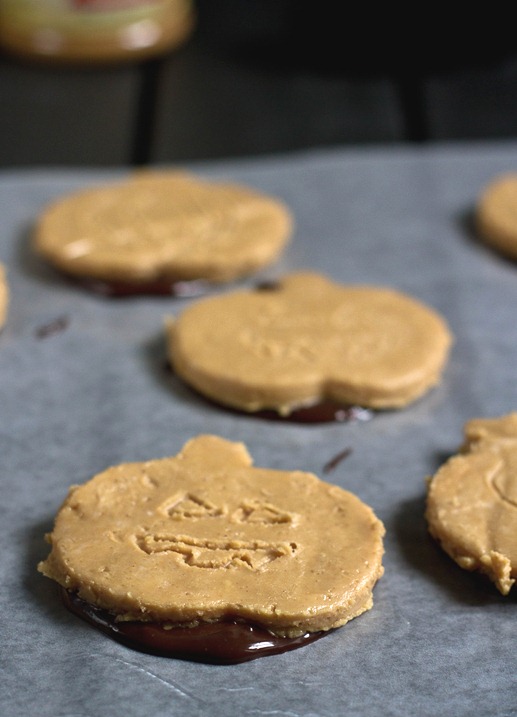
  7. On a separate piece of parchment paper, spoon tablespoons of melted chocolate about 3 inches from one another.
  8. Take each pumpkin and place them on top of the melted chocolate, pressing down and moving them around to cover the bottom. Repeat with all the pumpkins.
  9. If you desire, decorate the pumpkins by making faces or lines with a toothpick.
  10. Place the pumpkins back in the freezer until the chocolate is hardened. Take off the parchment paper and keep these in the refrigerator until ready to eat.
  11. Keep repeating this process with the extra dough and melted chocolate until it’s entirely used up.


Homemade Peanut Butter Pumpkins Finished


The peanut butter parts holds its shape but stays pretty soft so you can bite straight through it into the thin chocolate. I handed these out to friends last week and even though it was still September it definitely stirred some Halloween excitement. These would definitely be a hit at any party this time of year. If you like the recipe, too, don’t forget to vote!

Reese’s Mini Peanut Butter Cookies

Reese's Peanut Butter Cups Minis

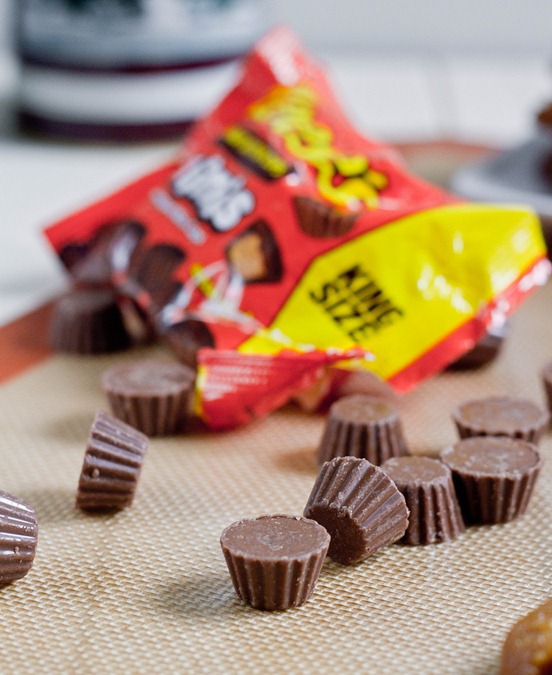
Reese’s have always been my favorite candy for as long as I can remember. They were always the hottest items on Halloween. Their new minis unrwapped peanut butter cups seemed like the perfect candies to bake with—the perfect size and no fussy wrappers.

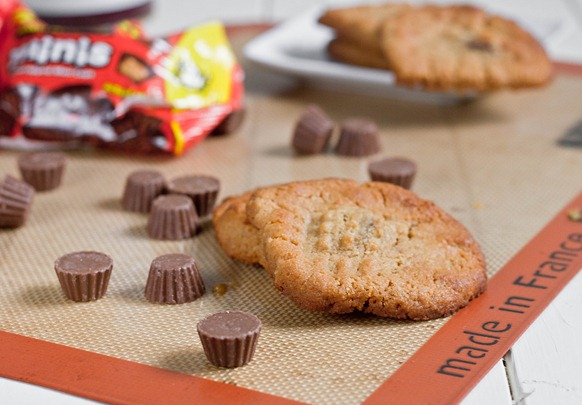
Obviously a peanut butter and chocolate candy deserves a peanut butter cookie. These cookies are my favorite simple recipe to whip together; you can memorize it and take it wherever you go. You can drizzle these with extra chocolate or making them into ice cream sandwich cookies; and of course they’re gluten-free.

Reese's Peanut Butter Cups Minis Candy

If you can’t find mini Reese’s you can always buy the regular sized candies and chop them up, or swap in a different candy altogether.

Reese’s Mini Peanut Butter Cookies

Prep time: 10 minutes

Cook time: 15 minutes

Ingredients(Makes 14 cookies):

  • 1 cup no-stir peanut butter
  • 3/4 cup sugar
  • 1 egg
  • 1 teaspoon vanilla
  • 1/2 teaspoon baking soda
  • 1 King size Reese’s peanut butter cups mini unwrapped

Reese's Peanut Butter Cup Minis Serving

Method:

  1. Preheat your oven to 350 degrees.
  2. Combine in a large bowl the peanut butter, egg, sugar, baking soda and vanilla and mix.
  3. Add and fold in the mini Reese’s.
  4. Roll the dough into balls about an inch in diameter in between your hands and place them on a non-stick baking tray.
  5. Press down lightly on the dough in a criss-cross pattern with a fork.
  6. Bake for 15 minutes or until the edges start to brown. Remove from the oven and let them cool completely before moving them or otherwise they will break apart.


Peanut Butter Granola

Peanut Butter Granola

Sometimes I get sick of food. Kale, potatoes, eggs—all things I usually love—just don’t seem as appetizing lately. There are a few foods I never get sick of like peanut butter, oats, and yogurt. When that’s all you want to eat, what’s better to do than make granola?

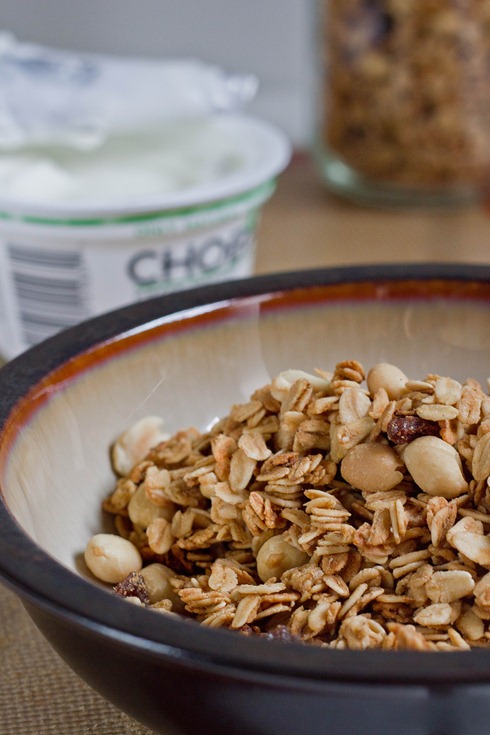
This has been my go-to lunch as of late. I’m usually hurried and granola and a container of yogurt are convenient and easy to pack; add a banana and you’re all set. I’m also a huge fan of GORP and ants on a log so raisins add the perfect touch to round out the recipe.

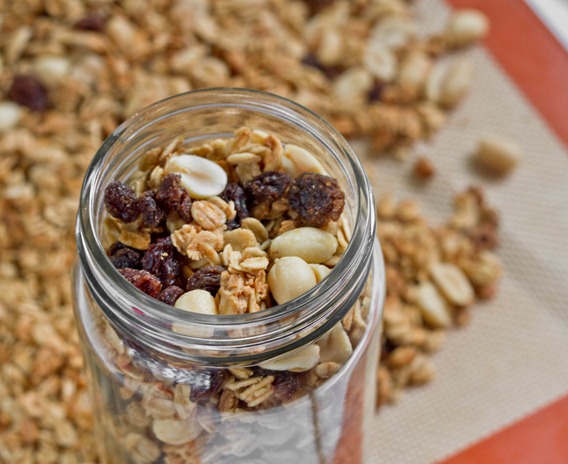
Peanut Butter Granola Jar

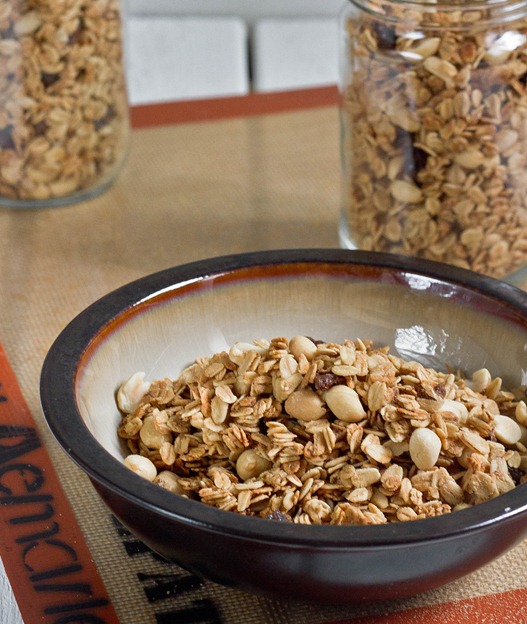
This granola doesn’t have an in-your-face peanut butter flavor; instead, it’s a lighter, sweeter nutty flavor. It’s also chewier than most other granolas I’ve made and reminds me of a crumbled up granola bar on top of yogurt.

Peanut Butter Granola

Prep time: 10 minutes

Cook time: 35 minutes

Ingredients(Makes about 3 1/2 cups):

  • 2 1/2 cups oats
  • 2 Tablespoons peanut butter
  • 2 Tablespoons peanut oil*
  • 1/3 cup maple syrup
  • 1/2 teaspoon vanilla extract
  • 1/4 cup salted roasted peanuts
  • 1/4 cup raisins

*You can use any type of oil but peanut oil will have the best flavor

Peanut Butter Granola Baked

Method:

  1. Preheat your oven to 350 degrees.
  2. In a large bowl, mix together the oats, peanut butter, oil, maple syrup and vanilla.
  3. Spread the oats out in a thin layer on a non-stick baking sheet.
  4. Bake for 35 minutes breaking up the oats with a utensil every ten minutes or so until the oats are toasty and golden.
  5. Let the oats cool before mixing in the peanuts and raisins. Store in a sealed container at room temperature.

Peanut Butter Granola Serving

Of course you could (and probably should) add chocolate chips as a mix-in. I’m not sure why I didn’t think of that; I must have been tired that day.

Peanut Butter Cream Cheese

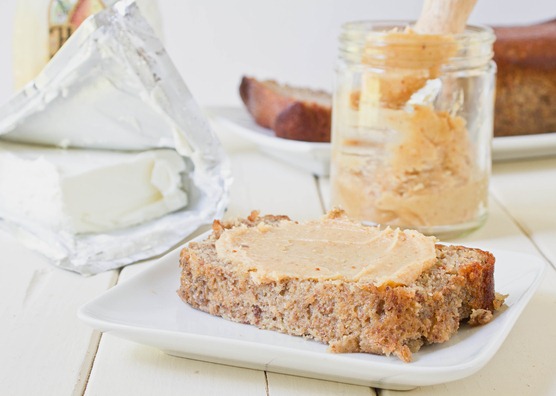
peanut butter cream cheese

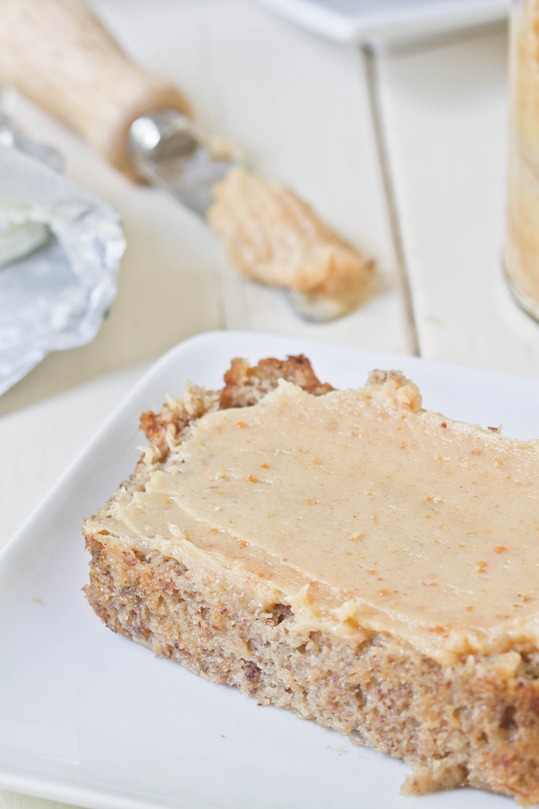
Last week I made another loaf of almond flour banana bread. It didn’t have any chocolate chips or walnuts or Nutella swirls so it definitely needed something to make it more decadent.

I was reminded of when I made a chubby hubby cheesecake last month and finally shared the recipe with the people I served it to: “You mean my whole family has been fighting over peanut butter and cream cheese?” Hey,what can I say? It’s a winning combination.

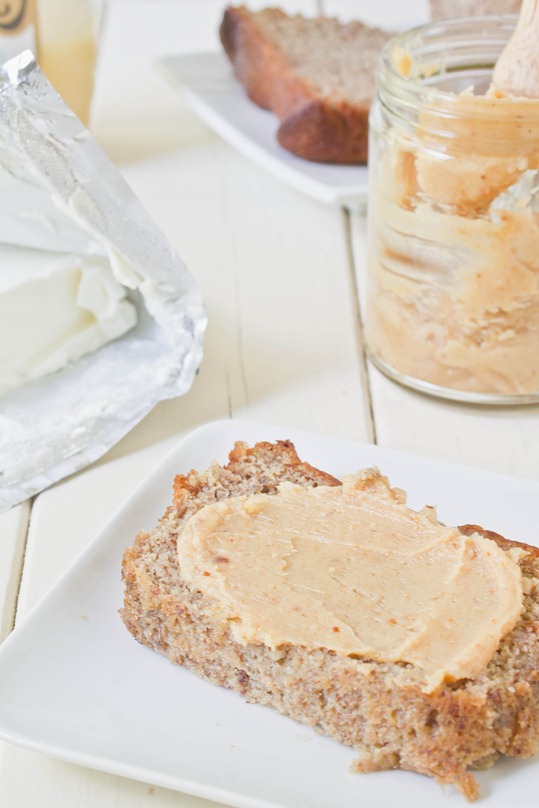
peanut butter cream cheese long

You can easily adjust the sweetness by adding more or less honey. I like it when it’s not too sweet so that you still taste the slight tartness of the cream cheese. Add a sprinkling of raw sugar for a little bit of crunch.

Peanut Butter Cream Cheese

Prep time: 5 minutes

Cook time: 0 minutes

Ingredients:

  • 1/4 cup cream cheese
  • 1/4 cup peanut butter*
  • 2 Tablespoons honey
  • 1/2 teaspoon cinnamon(optional)

*If you’re using no-stir peanut butter, be sure to soften it in the microwave quickly before mixing.

Method:

  1. Mix together all of the ingredients.
  2. Store in a sealed container in the refrigerator when not using. Let it soften at room temperature briefly before spreading because the cream cheese will harden when chilled. 

peanut butter cream cheese serving

I think I need to stock up on gluten-free bagels because this is too good not to eat every morning. It’s creamy and nutty—the perfect combination of the best two breakfast spreads.

Copycat Peanut Butter Chocolate Chip Larabars

Copycat Peanut Butter Chocolate Chip Larabars

When you’re a food blogger, you end up having some pretty weird “snacks”. Leftover cheesecake in the afternoon? Sure. Chocolate granola for lunch and dinner some times. Anything goes.

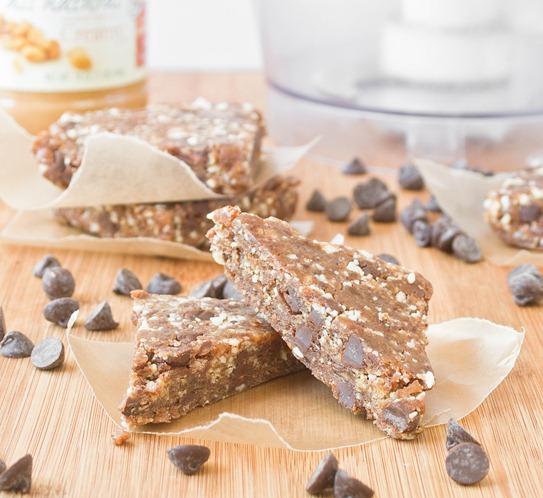
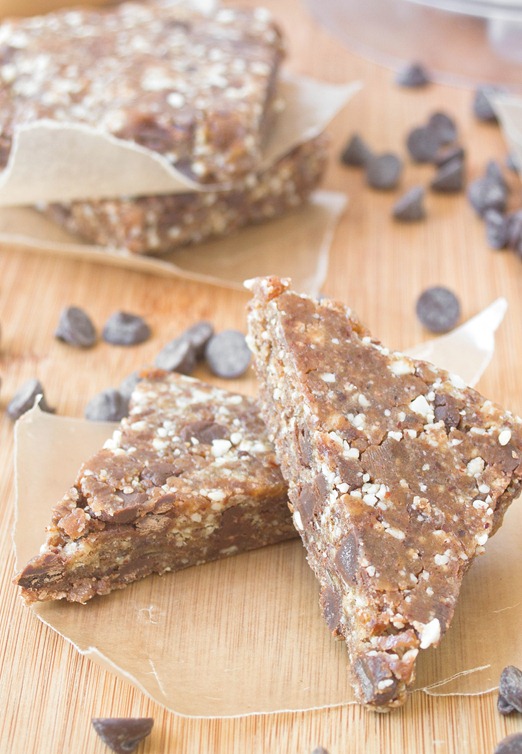
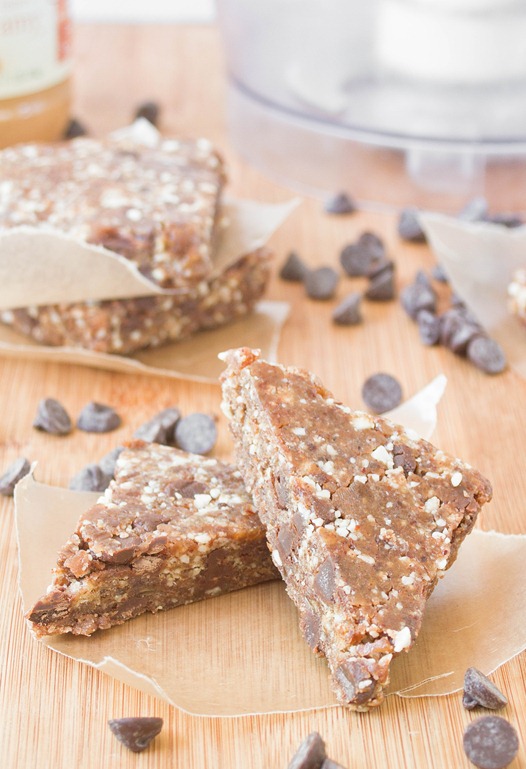
That’s all great and delicious but there are times when I wish I ate a little bit healthier. Of course, the answer’s simple; if you want to eat healthy you need to buy and make healthy meals and snacks. So to start I made one of my favorites: peanut butter chocolate chip larabars.

Copycat Peanut Butter Chocolate Chip Larabars Serving

Most pre-portioned snacks at the grocery store are overpriced; they’re even pricier if you get them from kiosks or snack stands. By making your own, you control the costs and quality of the ingredients. Larabars have pretty clean and simple ingredients as is, but by buying dates and using other ingredients I already had I was able to bring the cost down.

You could make your own and use almonds instead of peanuts to adapt these for someone with a peanut allergy.

Copycat Peanut Butter Chocolate Chip Larabars

Prep time: 10 minutes

Cook time: 0 minutes

Ingredients(Makes about 6 bars):

  • 8oz pitted dates
  • 1/2 cup peanuts
  • 2 Tablespoons peanut butter
  • 1/4 teaspoon salt
  • 1/3 cup chocolate chips

Method:

  1. Combine the dates and peanuts in a food processor and blend on high until the ingredients start to form a paste.
  2. Add in the peanut butter and salt and continue blending until a dough begins to form.
  3. Lastly, add in the chocolate chips and pulse a few times.
  4. Line a loaf or baking pan with plastic wrap.
  5. Drop the dough on top of the plastic wrap and press the dough into a square or rectangle about 3/4-inch thick.
  6. Cut into bars or squares. Wrap individually and refrigerate until ready to eat.

Copycate Peanut Butter Chocolate Chip Larabar Cut

I left mine in squares. You could make bars or balls or really any shape you could think of with these.

Arepas and Peanut Butter

I don’t typically have exciting breakfasts. Usually I have oatmeal with egg whites and peanut butter or a paleo mug cake with peanut butter on top.

The common denominator? Peanut butter. Naturally, I was excited when Peanut Butter & Co. asked me to make a breakfast recipe for their All Star Recipe Blog, but I knew it’d have to be something more exciting than oatmeal.

As I looked at recipes from all around the world, I saw they all revolved around the same ingredients: eggs and grains. Add some peanut butter and fruit and that sounds like a well-rounded breakfast. I settled on arepas, a popular Columbian breakfast, and added a few American twists.

sweet-breakfast-arepas-plantain-frying

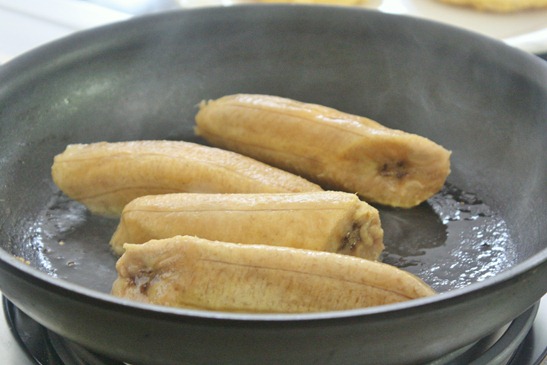
This was my first time cooking plantains. This was actually my first time eating plantains. All I knew is that they were like giant bananas… sort of. After trying them I can safely say they’re one of my new favorite foods. It might seem odd pairing them with cinnamon raisin swirl peanut butter but I love bananas and peanut butter so why not?

sweet-breakfast-arepas-corn-cakes

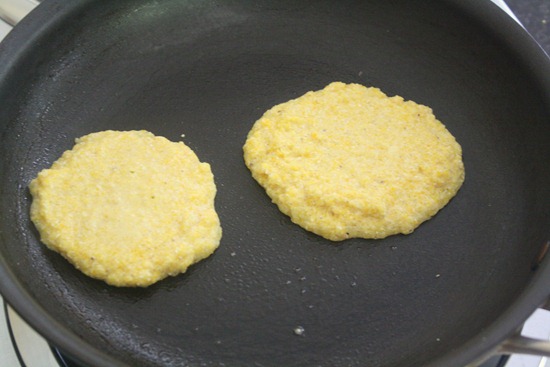
The other parts of this are the arepas themselves(think along the lines of unsweetened cornmeal pancakes) and a fried egg to top it all off. What doesn’t a fried egg make better? Since the dough is purely cornmeal, this dish is naturally gluten-free, too. For the full recipe and a chance to win a jar of cinnamon raisin swirl, click here and enjoy!

Chubby Hubby Cheesecake

Chubby Hubby Cheesecake

Cheesecake is kind of a magical food. It’s hard to not love a good cheesecake. It’s sweet and tangy and rich and creamy all at the same time; it’s pretty much the perfect dessert.

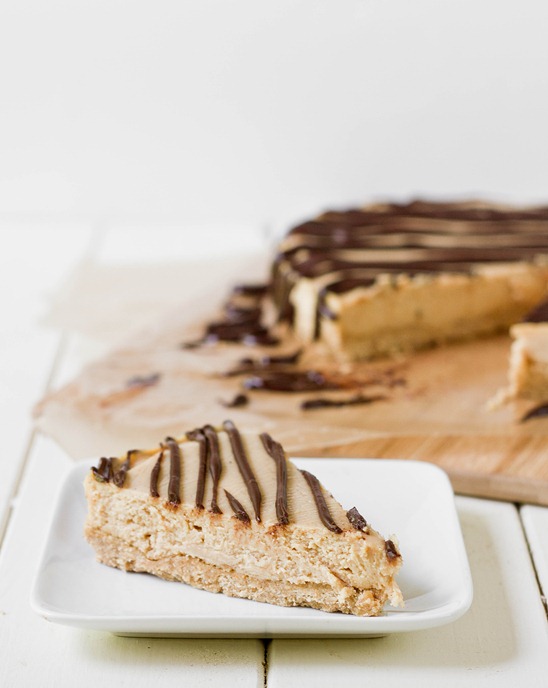
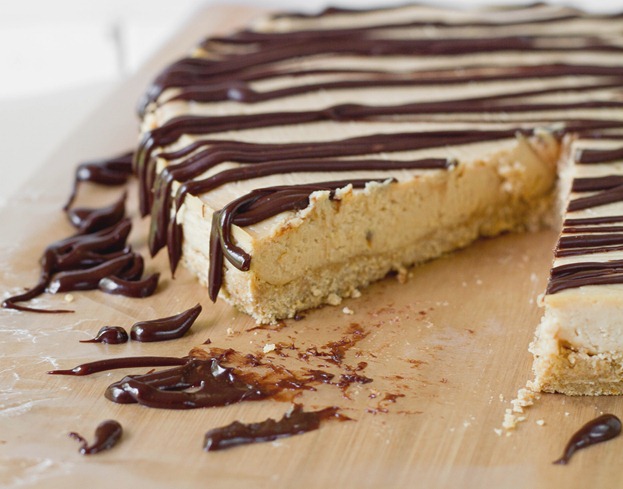
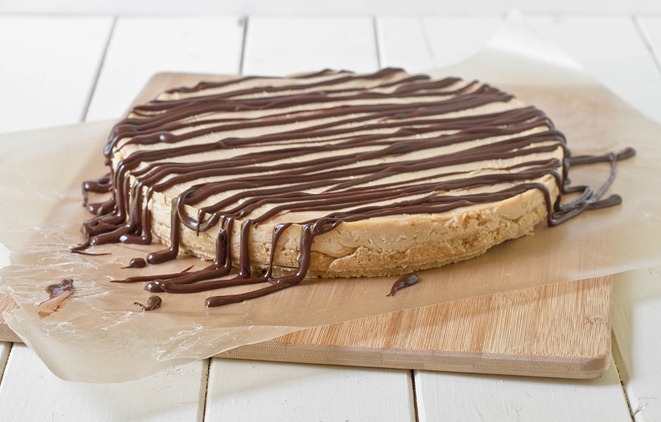
I don’t think I’ve ever had Chubby Hubby ice cream(Phish Food is by far my favorite Ben & Jerry’s flavor), but anything with peanut butter, pretzels, and chocolate has to be good. And that’s exactly what this cheesecake is: A slightly salty pretzel crust with a rich peanut butter cheesecake filling and a sweet chocolate ganache. Ben and Jerry would definitely be proud.

Chubby Hubby Cheesecake Serving

The best thing about this recipe is that it’s no-bake(because, really, who wants to bake at all mid-Summer?). Because of that, the filling isn’t as light and airy as a cheesecake with eggs would be. You could use full-fat cream cheese in this recipe but it gets more than enough richness from the peanut butter.

Chubby Hubby Cheesecake

Prep time: 20 minutes

Cook time: 0 minutes

Ingredients

For the crust:

  • 6oz pretzels(about 2 cups)*
  • 1 stick butter, melted
  • 6 Tablespoons powdered sugar
  • 1/4 cup liquid sweetener(agave, maple syrup, or corn syrup)
  • 1-3 Tablespoons water

For the filling:

  • 2 8oz blocks Neufchatel or low-fat cream cheese, room temperature
  • 1 cup no-stir peanut butter
  • 1 cup powdered sugar
  • 1 teaspoon vanilla extract

For the ganache:

  • 1/2 cup chocolate chips
  • 2 Tablespoons cream or milk
  • 1 Tablespoon liquid sweetener(agave, maple syrup, or corn syrup)

*To make this cheesecake gluten-free, use gluten-free pretzels. I like Snyder’s of Hanover’s pretzel sticks.

Chubby Hubby Cheesecake Plated

Method:

  1. Pulse the pretzels in a food processor until the crumbs form a coarse flour.
  2. Add in the melted butter, powdered sugar, and sweetener and mix.
  3. Slowly add in water until the dough starts to stick to itself. You may not need any water or you may need up to a few tablespoons.
  4. Press the pretzel dough into the bottom of a cake pan firmly and work it into an even layer.
  5. In a separate bowl, mix together all of the filling ingredients on high until the filling is uniform in color and texture.
  6. Pour the filling on top of the pretzel crust and spread it out in an even layer. Put the cheesecake in the refrigerator until the center sets.
  7. While the cheesecake is chilling, melt the chocolate for the ganache in a microwave or over a double boiler.
  8. Whisk in the cream and sweetener.
  9. Let the ganache cool slightly until it’s about the same consistency as a buttercream frosting. Scoop the chocolate into a frosting bag or Ziploc bag with a corner cut out and drizzle it on top of the chilled cheesecake.
  10. Store in a refrigerator. Let the cheesecake sit at room temperature for about 30 minutes before serving.

Chubby Hubby Cheesecake Finished

Next time I make this I might double the filling so that it’d be about as thick as the Cheesecake Factory cheesecakes that have about enough calories to feed a small family for a week. Gluten-free or not, everyone deserves that in their life from time to time.

The Ultimate Summer Dessert

No Bake Peanut Butter S'mores Bars

This is one of my favorite recipes. I’ve blogged about it several times before and now I’m blogging about it again. It’s worth it though; I promise.

A friend mentioned how much he likes s’mores made with Reese’s peanut butter cups. In the back of my mind popped up my recipe for peanut butter s’mores bars and I promised to make them for July 4th.

July 3rd 016

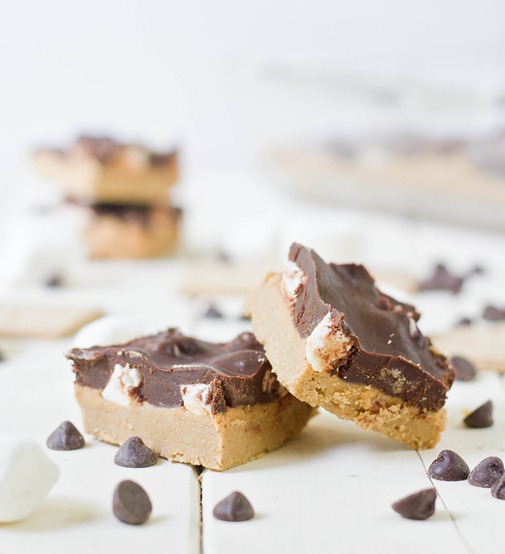
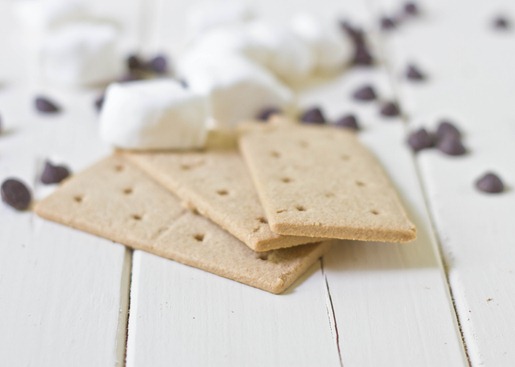
After I made them I took fresh-looking photos and updated the recipe page. A few of the commenters who have made this said that their crusts didn’t stick together the way mine has. I think some of the confusion might come from how many graham crackers to use. I use Kinnikinnick 16 graham crackers(3 are pictured above), which would be the same as 4 sheets of graham crackers. It’s also relevant to mention the peanut butter I use for this recipe is always the kind without added oil so it generally mixes easier.

No Bake Peanut Butter S'mores Bars Close Up

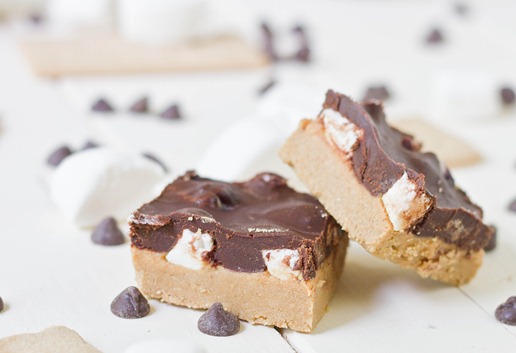
These have all the goodness of s’mores with added peanut butter and put into a portable form. They really are the ultimate Summer dessert. If gluten-free graham crackers didn’t cost an arm and vegetarian marshmallows a leg, I’d probably make these every month. For now they can just be a once in a long-while treat.