Category Archives: Dessert

Homemade Gluten-Free Cookie Mix

almond-flour-chocolate-chip-cookies-doughballs

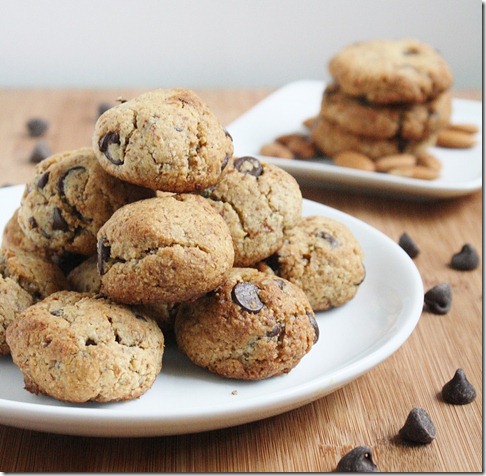
If you’re giving out brownies, you might as well give out cookies, too, right? Again, I used one of my favorite recipes for the mix: Almond flour chocolate chip cookies. Since the full recipe didn’t fit in a single jar, I scaled the ingredients down a bit; don’t worry, though, because it’s still the same delicious recipe. These cookies bake more like doughballs and have a really soft, chewy center, which is my idea of a perfect cookie.

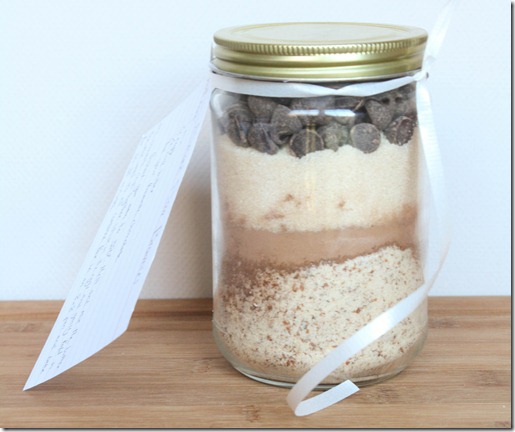
homemade-gluten-free-chocolate-chip-cookie-mix

For the mix, you need:

  • 1 18oz mason jar
  • 1 cup plus 2 Tablespoons almond flour
  • 1/2 teaspoon baking powder
  • 1/4 teaspoon salt
  • 1/4 cup sugar
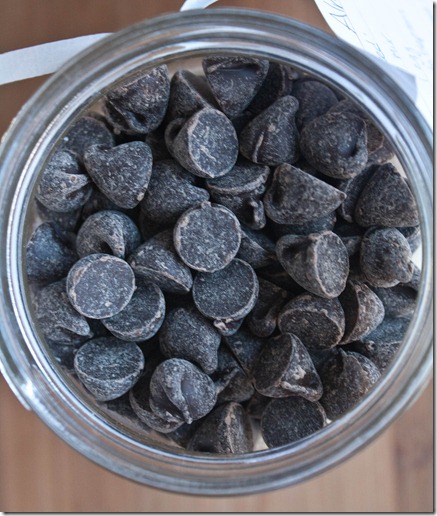
  • Enough chocolate chips to fill the jar
  • 1 index card
  • Ribbon to attach the card.

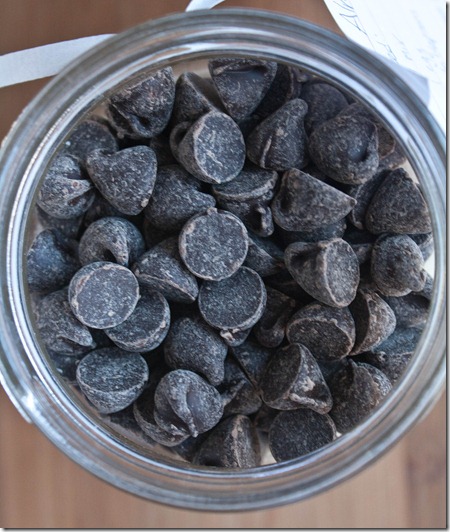
homemade-gluten-free-chocolate chips

Method:

  1. Clean and dry an 18oz mason jar
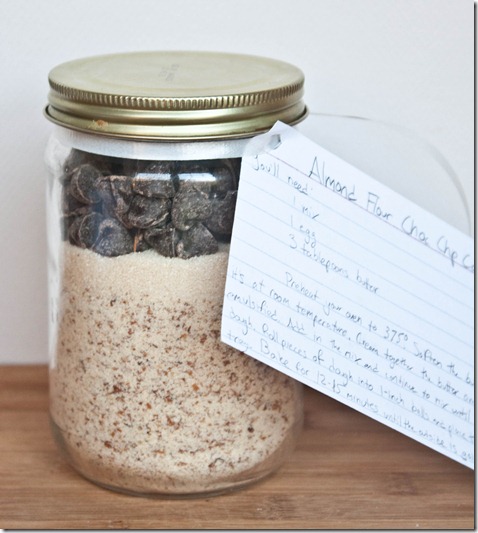
  2. Add in layers the almond flour, baking powder, salt, sugar, and chocolate chips.
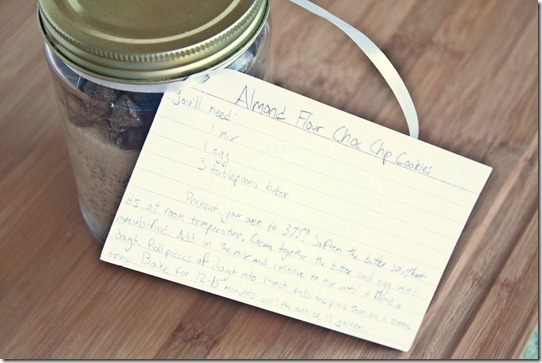
  3. Write on an index card the following:

“You’ll need:

1 mix
1 egg
3 Tablespoons butter

Preheat your oven to 375 degrees. Soften the butter to room temperature and cream it together with the egg. Add in the mix and continue to blend until it forms a dough. Roll pieces of dough into 1-inch balls and place them on a cookie tray. Bake for 12-15 minutes until the outside is golden.”

homemade-gluten-free-chocolate-chip-cookie-mix-card

Hopefully between brownies and cookies you’ll find something for somebody special.

Homemade Gluten-Free Brownie Mix

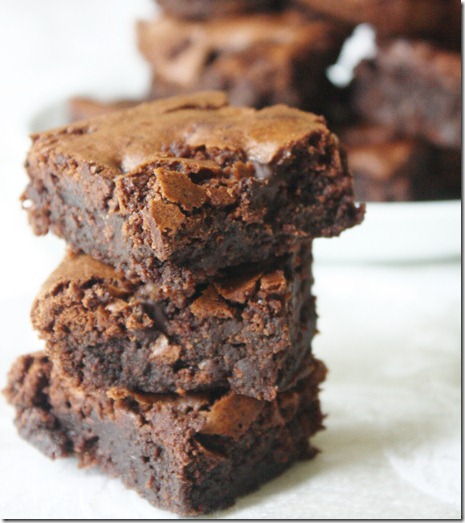
almond-flour-brownies

Sunday night I realized I needed a secret santa gift in just a few days and that I hadn’t bought anything. Whoops. I raced around the house to see if there was anything I could pass off as a well thought out gift and couldn’t find a thing. Then it hit me: Homemade mixes. They’re easy, thoughtful, and I already had everything I needed. Plus, who wouldn’t want to get what essentially equal gooey brownies only for whenever you want them?

homemade-gluten-free-brownie-mix

I based the ingredients in my mix off of my almond flour brownie recipe since they’re easily my favorite brownies ever. Theoretically you can use any brownie recipe you love, but if you use this one I promise you the gift recipient won’t be disappointed at all.

For the mix, you need:

  • 1 18oz mason jar
  • 3/4 cup almond flour
  • 1/2 teaspoon baking powder
  • 1/4 teaspoon salt
  • 2 Tablespoons cocoa powder
  • 3/4 cup sugar
  • Enough chocolate chips to fill the jar
  • 1 index card
  • Ribbon to attach the card.

homemade-gluten-free-chocolate chips

Method:

  1. Clean and dry an 18oz mason jar
  2. Add in layers the almond flour, baking powder, salt, cocoa powder, sugar, and chocolate chips.
  3. Write on an index card the following:

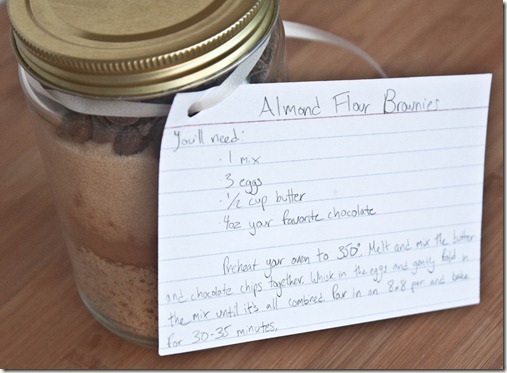
“You’ll need:

1 mix
3 eggs
1/2 cup butter
4oz your favorite chocolate

Preheat your oven to 350 degrees. Melt and mix the butter and chocolate together. Work in the eggs and gently fold in the mix until it’s all combined. Pour in an 8×8 pan and bake for 30-35 minutes.”

homemade-gluten-free-brownie-mix-card

It’s not quite as fun as baking brownies because you don’t get to lick the bowl. Go ahead and steal a few chocolate chips for yourself to compensate and feel good knowing you’re giving a thoughtful gift.

Tomorrow: Chocolate chip cookie mix!

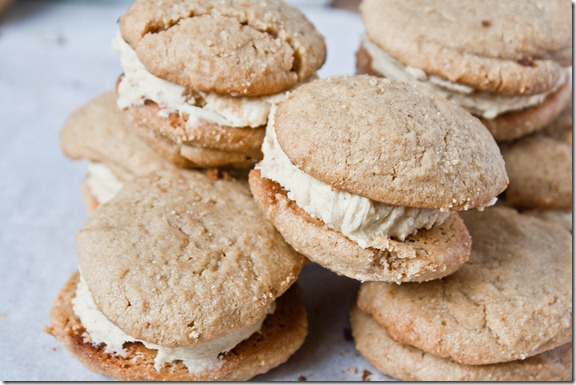
Peanut Butter Buttercream Sandwich Cookies

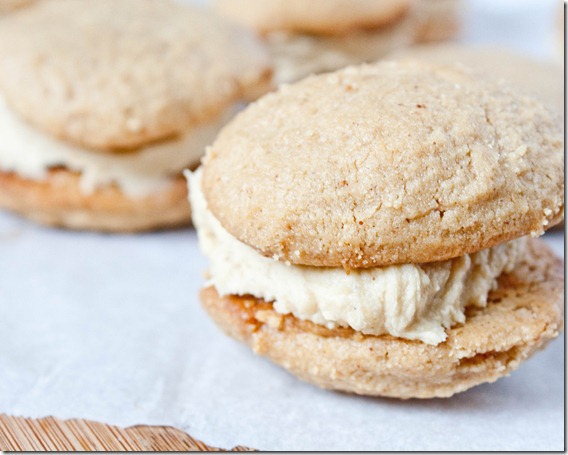
peanut-butter-buttercream-sandwich-cookies

Like I’ve said before, I’m not a big cookie fan. I’m a frosting person. I was the kid who would break apart an Oreo or maple leaf cookie, lick out the inside, and put the cookie halves back in the box. You can’t imagine how much that thrilled my parents.

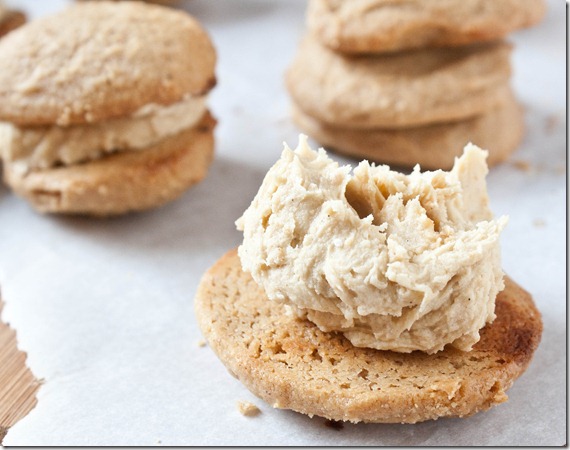
I was going to fill these with a soft chocolate ganache, but since the cookies are rather unsweet on their own I thought a sweeter filling would contrast nicely and let all the flavors show. Because of that I went with my favorite kind of frosting: Buttercream. The filling is rich, sweet, and creamy adding a whole new level to the cookies.

peanut-butter-buttercream-sandwich-cookies-filling

I give a suggested recipe for the cookies to use but you can really do this with any cookie recipe. Again, this is really easy to make vegan by simply substituting a dairy-free margarine for the butter.

Peanut Butter Buttercream Sandwich Cookies

Prep time: 5 minutes

Cook time: 0 minutes

Ingredients(Makes 9 sandwich cookies):

  • 1 batch peanut butter cookies
  • 3 Tablespoons no-oil added peanut butter
  • 3 Tablespoons butter, room temperature
  • 3/4 cup powdered sugar
  • 1 1/2 teaspoons vanilla extract

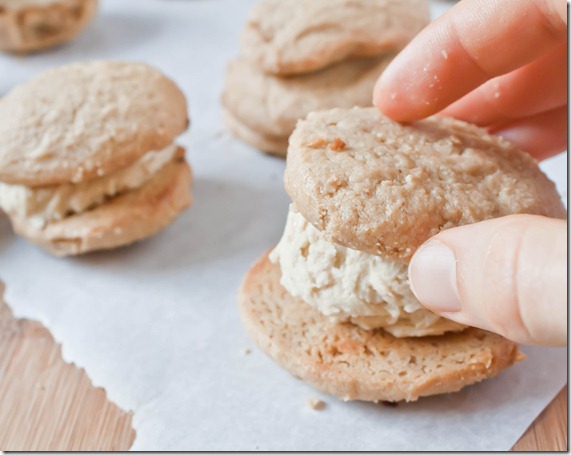
peanut-butter-buttercream-sandwich-cookies-stacking

Method:

  1. Cream together the peanut butter, butter, powdered sugar and vanilla extract until it makes a smooth and thick buttercream.
  2. Scoop 1 tablespoon of buttercream onto the flat side of a cookie and sandwich together with an equally sized cookie. Repeat until all of the cookies and frosting are gone.

peanut-butter-buttercream-sandwich-cookies-pile

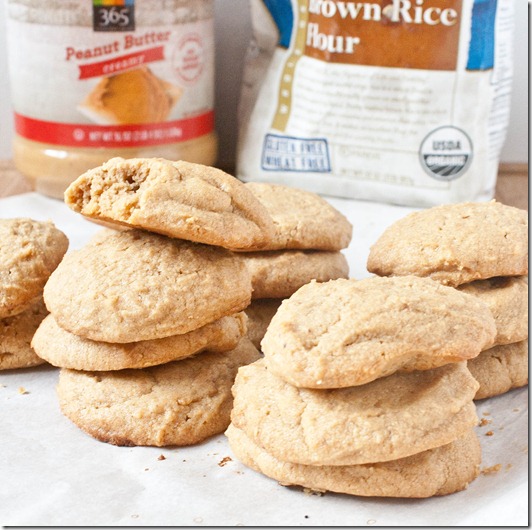
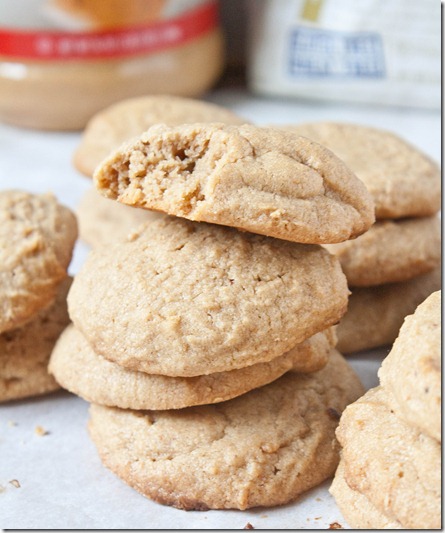
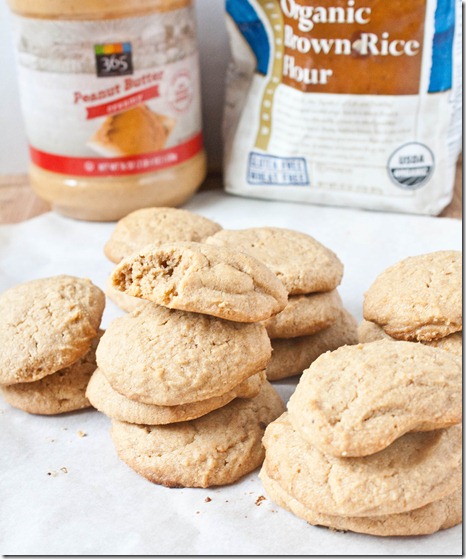
Egg-Free Peanut Butter Cookies

egg-free-peanut-butter-cookies

Well I made it 4 days into December before breaking down and making Christmas cookies. I couldn’t hold up to the pressure any longer.

The truth is I’m not the biggest cookie fan. I have my favorites(like peanut butter cookies) but on the whole would rather have something else. One cookie I love is the peanut butter cookie from Wildflour Bakery which is gluten-free and vegan. It’s so sweet and soft and falls apart in your mouth. I thought I might try to make a cookie like theirs; this isn’t nearly the same, but I like it in its own respect which is why I’m posting the recipe. It’s less sweet but much more peanut buttery; it almost tastes like eating a spoonful of peanut butter in cookie form.

This recipe can easily be made vegan by using a dairy-free butter substitute. I would not recommend subbing in coconut oil for the butter in a 1:1 ratio because they do not act the same in baking and I can’t say for how it would turn out.

Egg-Free Peanut Butter Cookies

Prep time: 30 minutes

Cook time: 16-18 minutes

Ingredients(Makes about 1 1/2 dozen cookies):

  • 1 cup no-oil added peanut butter
  • 1/4 cup butter
  • 3/4 cup maple syrup
  • 3/4 cup brown rice flour
  • 1/4 cup tapioca starch(or corn starch)

egg-free-peanut-butter-cookies-stack

Method:

  1. Preheat your oven to 350 degrees and line a couple baking trays with parchment paper.
  2. Beat together all of the ingredients. Put the batter in the refrigerator of freezer to harden until you can handle the dough and roll it into balls.
  3. Once the dough has reached that stage, scoop the dough and roll it into balls. Place the balls about 2 inches apart on the baking trays.
  4. Bake for 16-20 minutes until the outside is golden. The cookies will still be very soft to the touch when they’re done.
  5. Remove the cookies from the oven and let them cool completely before handling. As they cool, the outside will harden up and make them less fragile.
  6. Store sealed in an airtight container at room temperature when not eating.

egg-free-peanut-butter-cookies (2)

Vegan Rum Raisin Ice Cream

Nov 26th 040

After a week and a half, this is the final recipe I have to share from Thanksgiving. I’m sorry to drag it on for so long, but I think I saved the best for last.

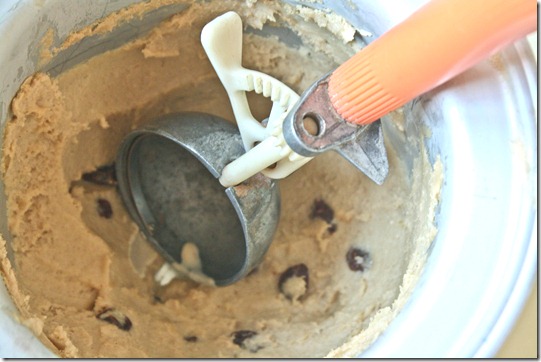
My favorite part of any meal is dessert. For this celebration I made my recipe for rum raisin ice cream again, only since I was short on time and feeling slightly lazy I skipped the custard base making the recipe totally vegan. You couldn’t tell I changed a thing; it was just as rich and creamy as the first batch.

This ended up being a favorite of everyone’s. I was a little heavy-handed with the rum; I’m sure that helped. My relatives described it as “a frozen tropical bar drink”. We ate almost the entire batch by the end of the day; I take that as a good sign. 

Vegan Rum Raisin Ice Cream

Prep time: 5 minutes

Cook time: 20 minutes to churn + 2 hours to set

Ingredients:

  • 2 1/2 cups coconut milk, preferably full fat
  • 1/2 cup cane sugar
  • 1/4 cup maple syrup
  • 1/4 cup rum
  • 1/4 teaspoon cinnamon
  • 1/4 cup Thompson raisins

Nov 26th 010

Method:

  1. Whisk together the coconut milk, sugar, maple syrup, rum, and cinnamon until it forms a smooth base.
  2. Turn on your ice cream maker and churn according to manufacturer’s directions. Add in the raisins during the final 2 minutes of churning.
  3. Put in the freezer to harden for at least 2 hours. Remove from the freezer and let sit on counter for 5 minutes before scooping for best result.

Nov 26th 049

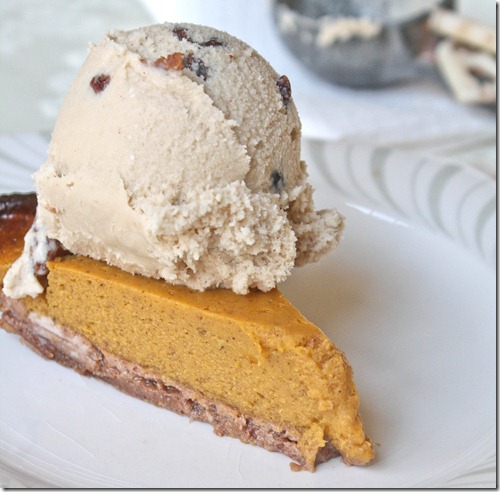
You really can’t go wrong with this plus a slice of paleo pumpkin pie—I’m telling you. Pumpkin, pecans, raisins, cinnamon, and rum. It’s all good.

Paleo Mug Cakes

You’re going to want to bookmark this one; trust me.

I never understood the appeal of mug cakes before recently. It seemed to me that if you wanted something chocolate and delicious you should put in the time and effort to bake some almond flour brownies and the extra hour would be well worth it. It also didn’t help that most mug cake recipes aren’t gluten-free, or—if they are—come out with a weird starchy taste to them.

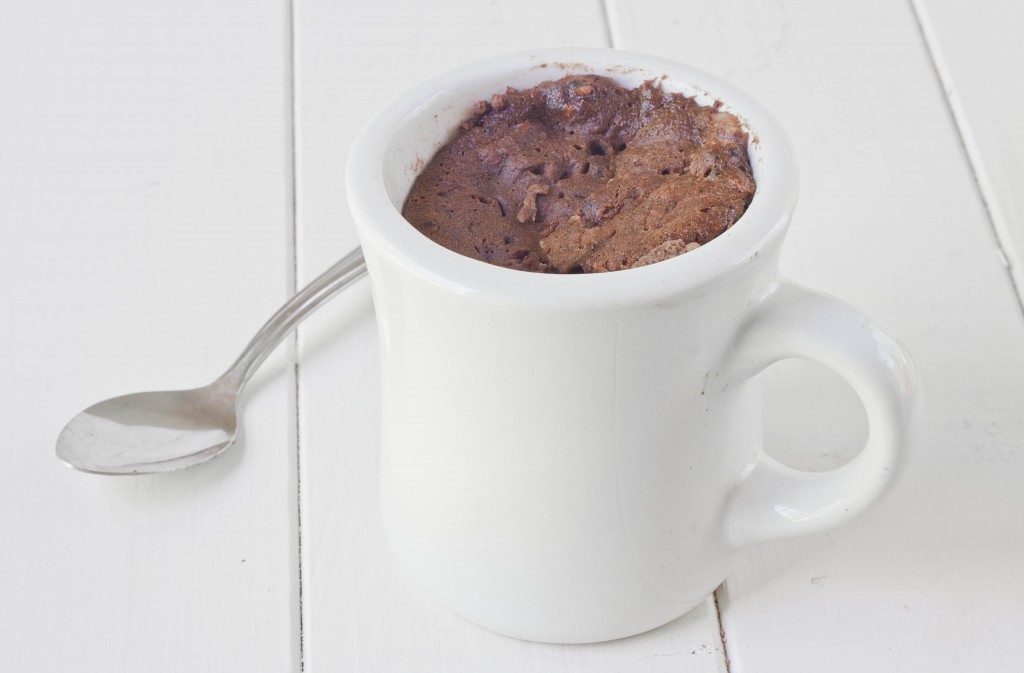
But now I’ve seen the light and have come around to mug cakes, partly because the oven I use was 3 floors below where I lived at the time I made this and partly because the recipe is so damn good. When I was trying the recipe, I also wanted something that was sort of healthy. This is healthy enough even to be eaten for breakfast, which I’ve done on a few too many occasions.

The original recipe is only 4 ingredients, but you can add in things like chocolate chips, walnuts, candied ginger, vanilla extract, and anything else to shake things up.

Paleo Mug Cake

Prep time: 5 minutes

Cook time: 3 minutes

Ingredients(Makes 1 cake):

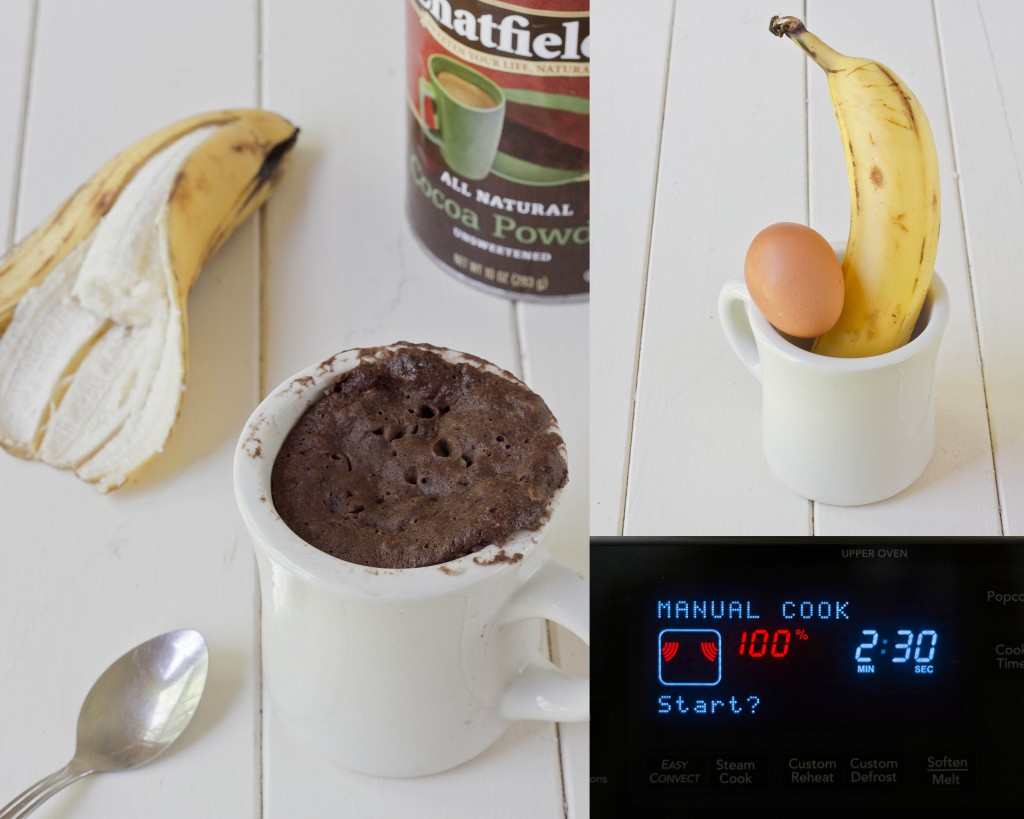
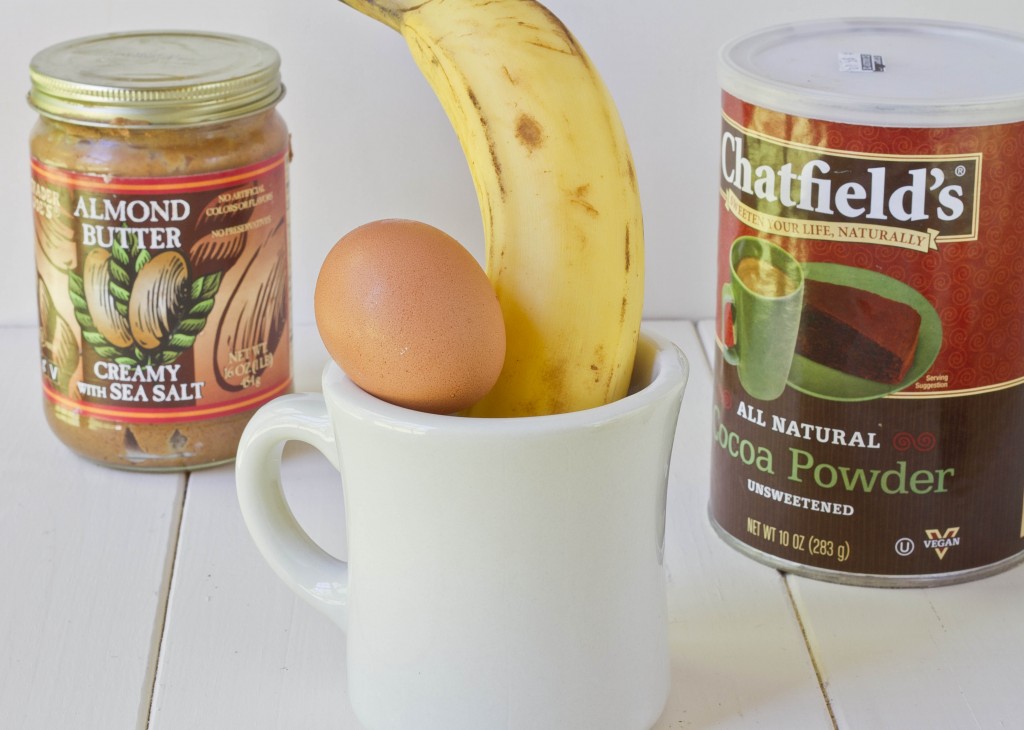
  • 1 small ripe banana
  • 1 1/2 Tablespoons almond butter(or any nut butter)
  • 1 egg
  • 2 heaping Tablespoons cocoa powder
  • 2 teaspoons sweetener(optional)
  • Chocolate chips, walnuts, dried fruit, or other mix-ins(optional)

Method:

  1. With a fork, mash the banana into a smooth puree.
  2. Mix the almond butter, egg, cocoa powder, and extra sweetener if using into the banana puree until it forms an even batter.
  3. Fold in any mix-ins into the batter that you’d like. Otherwise, our the batter into a mug or other microwave safe container. Be sure to only fill the container up to 2/3rds the way because it will expand in the microwave.
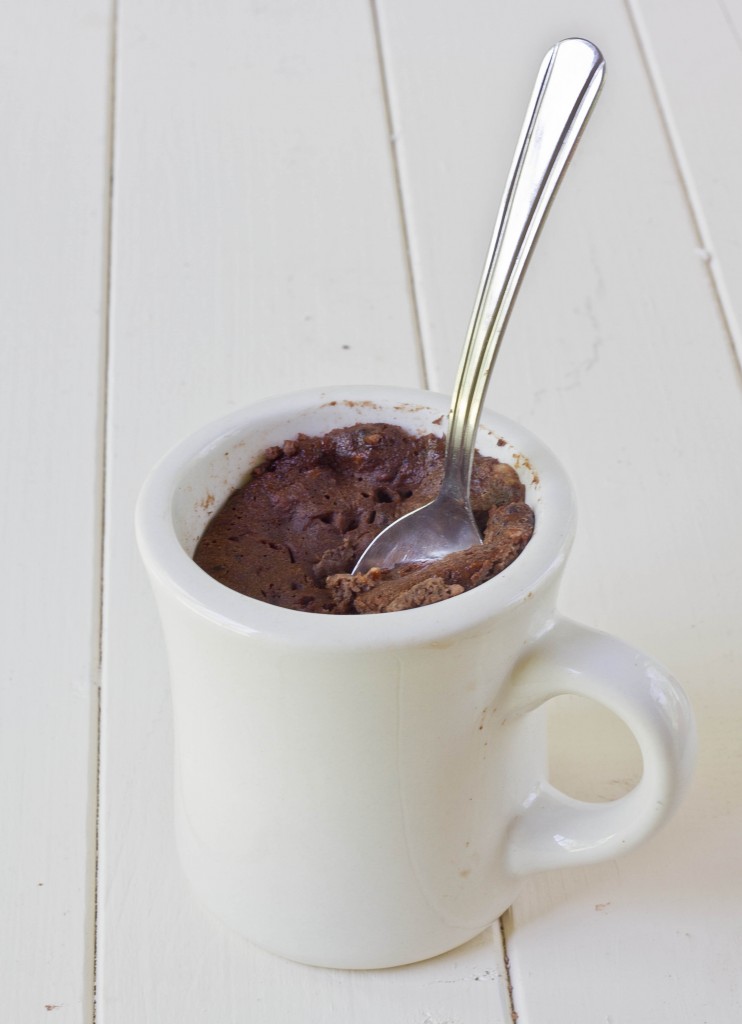
  4. Microwave on high for 2 and 1/2 minutes until the center is set. Carefully remove the mug from the microwave and enjoy hot, cold, or at room temperature.

I don’t add sweetener to mine and it still tastes delicious. I’ve only ever made it with almond butter but I’m sure peanut butter would be a nice alteration. The banana flavor is definitely prevalent, especially once it cools, but that only reminds me of a chocolate covered banana which I love. The best things about these cakes are that they don’t have any sort of flour flavor to them and are rich and fudgy like a brownie. The worst thing about this recipe is once you make it you’ll never stop.

Paleo Pumpkin Pie

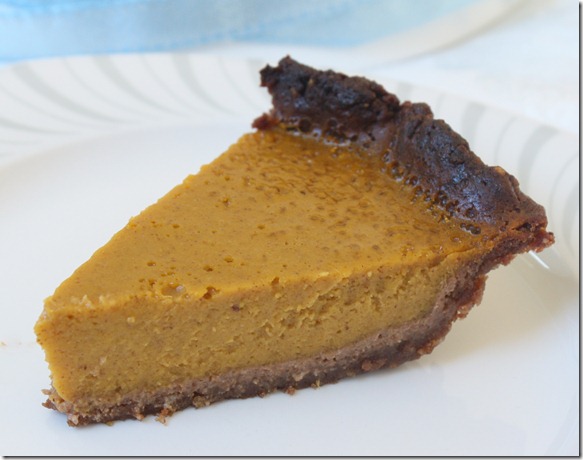
paleo-pumpkin-pie

I’ll be the first to admit I hardly eat like the paleo diet; I do, however, when such tasty desserts fit the bill.

I couldn’t decide between making a pumpkin or pecan pie this year. I decided to split the difference and make a pumpkin pie with a pecan-date crust. Since gluten is out of the question, I knew I’d have to get a little creative with the recipe.

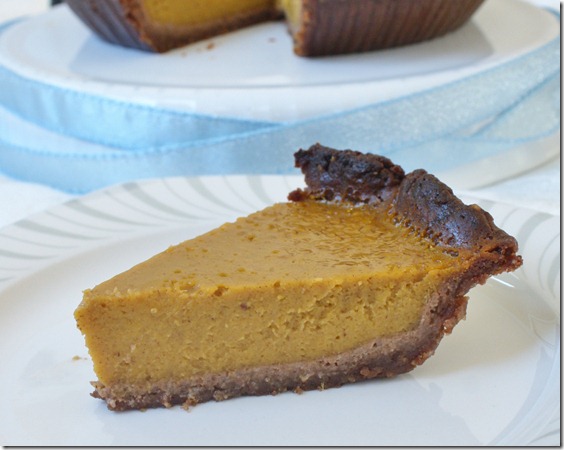
For the filling I used butternut squash puree; this tastes much more similar to canned “pumpkin” than fresh sugar pumpkin. I also added some almond butter for richness and flavor. And the maple syrup sweetener adds a nice amber sweetness.

The crust tastes like a soft Larabar. The cinnamon adds amazing flavor to the pie. I was impressed that it held up so well to being baked for an hour. You could also use it as the crust for a raw pie with a little chilling.

Paleo Pumpkin Pie

Prep time: 15 minutes

Cook time: 1 hour

Ingredients(Makes 1 pie):

  • 1 1/4 cup pecans
  • 8oz dates
  • 1/4 teaspoon cinnamon
  • 2 Tablespoons water
  • 1 1/2 cups butternut squash puree
  • 1/2 cup maple syrup
  • 3 eggs
  • 1/4 cup almond butter
  • 1/2 teaspoon pumpkin pie spice
  • 1/2 teaspoon salt, divided

paleo-pumpkin-pie-slicing

Method:

  1. In a food processor, blend the dates, pecans, cinnamon and 1/4 teaspoon of salt until the dates and pecans are finely ground.
  2. Slowly add the water while the dough is pureeing until it comes together and forms a ball. Turn off the food processor.
  3. Preheat your oven to 350 degrees. Press the dough into a pie pan so that there’s 1/4-inch of dough on the bottom and along the sides.
  4. Mix together all of the remaining ingredients until the filling is smooth and uniform.
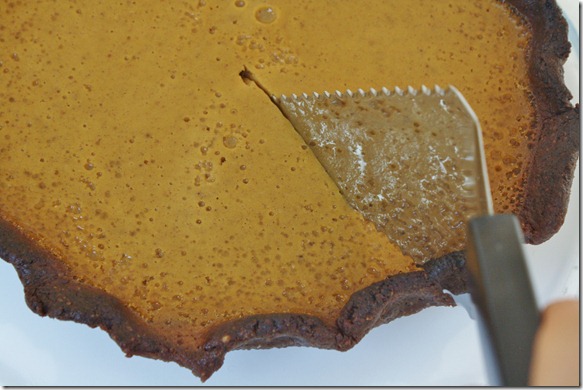
  5. Pour the filling into the crust. Put the pie onto a water bath and bake for an hour or until the center has cooked through.

paleo-pumpkin-pie-serving

Don’t wait until next Thanksgiving to make this pie; it’s too good to wait. Find an excuse to make it this week. You’re almost out of leftovers, right? Right?

Peanuts And Pretzels Dark Chocolate Bark

Peanuts-And-Pretzels-Dark-Chocolate-Bark

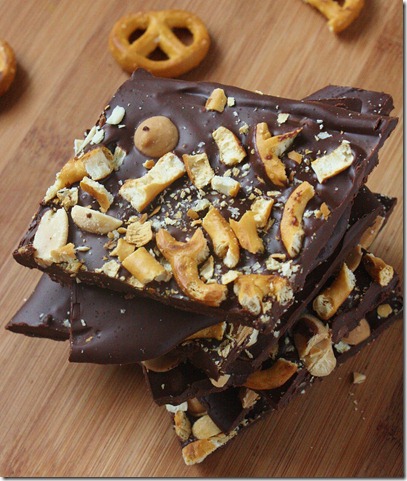
Over this weekend I went to Philadelphia and ran a marathon. How did I do? I don’t actually know yet; I’m writing this 2 days before the actual marathon. You can probably check my Twitter. I hope to have an actual recap up by tomorrow.

But whether I hit my goal or not isn’t important(OK, it’s kind of important); what matters more is that I had fun with some awesome people. Madeline and her boyfriend were kind enough to let me crash at their place the night before the marathon so it only seemed fair that I shower them in chocolate. 
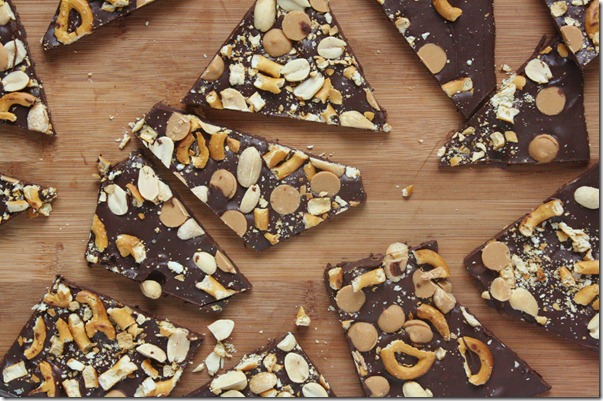
Peanuts-And-Pretzels-Dark-Chocolate-Bark-broken

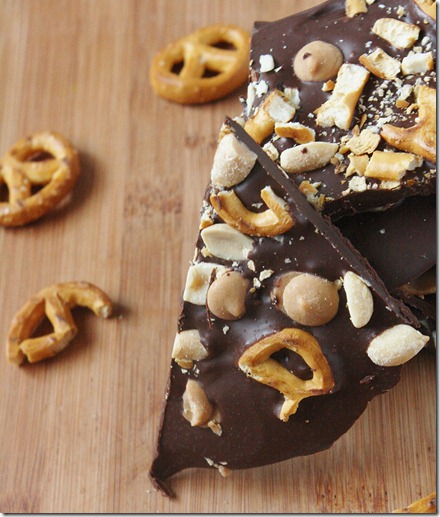
Madeline and Boots love gluten-free pretzels and gluten-free chocolate covered pretzels even though neither are gluten-free, which I find hysterical as someone who’s gluten-free and never even bought pretzels before I decided to make these. I don’t know that they like peanut butter, but I’m just going to assume that that’s the case, too. Because—I mean—who doesn’t like peanut butter?

I sneaked a piece before I gave the rest away(because you can’t give something as a present and not taste it first to make sure it’s good, right?) and they were good. I would have added a touch more salt; when I tried the gluten-free pretzels on their own I realized they weren’t as salty as I expected them to be and I think the sweetness is a little overpowering. Otherwise I hope these will be a hit. And if you enjoy things that are sweet and salty I’d highly recommend them, too.

Peanuts And Pretzels Dark Chocolate Bark

Prep time: 10 minutes

Cook time: 0 minutes(allow 20 minutes for cooling)

Ingredients:

  • 12 ounces semi-sweet chocolate OR 1 3/4 cups semi-sweet chocolate chips
  • 1/3 cup crushed pretzels
  • 1/4 cup salted peanuts
  • 1/4 cup peanut butter chips

Peanuts-And-Pretzels-Dark-Chocolate-Bark-layered

Method:

  1. In the microwave or over a double boiler, melt the chocolate until it’s smooth and liquid.

  2. Spread the chocolate out on a piece of parchment paper in a 1/2-inch thick layer.
  3. Evenly distribute the peanuts, pretzels, and peanut butter chips over the chocolate. Press the ingredients lightly into the chocolate to make sure that they stick.
  4. Refrigerate the chocolate for 20 minutes until it has hardened.
  5. Break the bark into individual-sized pieces. Store at room temperature for up to 2 weeks.
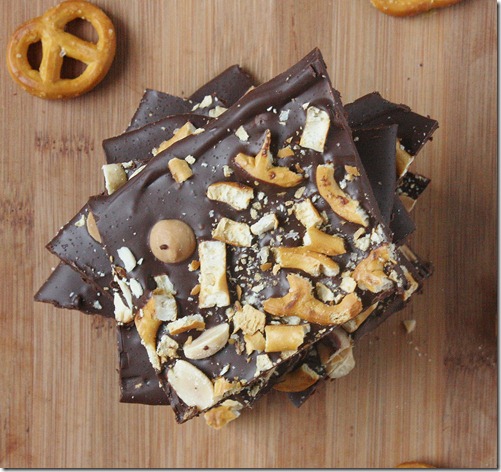
Peanuts-And-Pretzels-Dark-Chocolate-Bark-square

I hope to have a full marathon/weekend recap up tomorrow morning, but if it’s a little late it’s because I’m going from Philadelphia to Boston to Providence and then back to Massachusetts to cook and photograph and eat Thanksgiving dinner. Basically it’s going to be a bust week and I can’t wait for all of it.

Roasted Hazelnut And Candied Ginger Bark

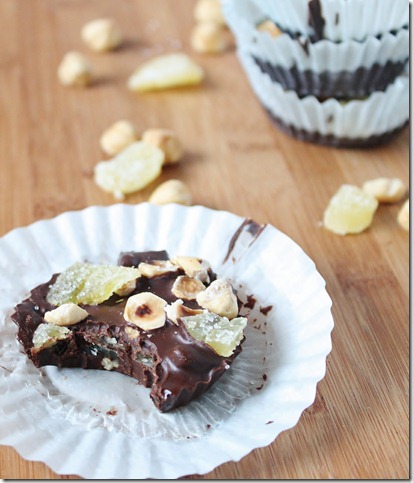
Roasted-Hazelnut-And-Candied-Ginger-Bark

I love this time of year(except for the cold which I will complain about endlessly). The mall smells terrific; there’s Christmas music playing every time I walk into CVS; it’s socially acceptable again to spend your Saturday nights watching Christmas movies on Netflix(as opposed to when I do this in July); and food blogs post new and exciting dessert recipes every day.

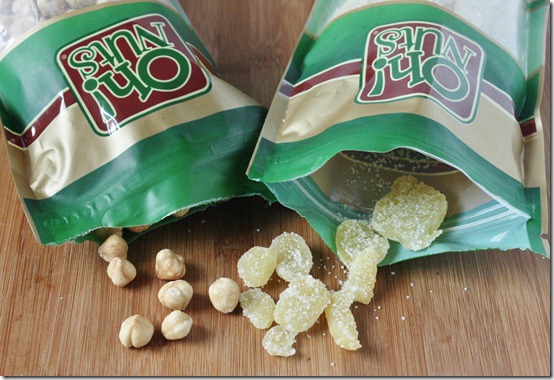
Roasted-Hazelnut-And-Candied-Ginger-Bark-Oh-Nuts

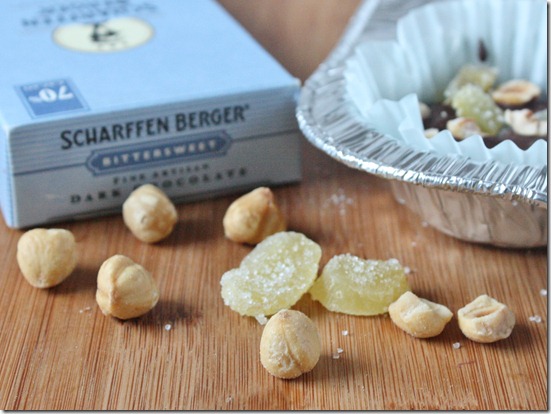
Sam from Oh Nuts! offered to send me two of their products to start my Holiday baking and be entered in a contest. Sounded good to me. I love making and sharing food with friends and family and the holidays are the perfect time to do that. I asked for roasted hazelnuts and candied ginger; both of those are delicious on their own but also pair well with Winter flavors.
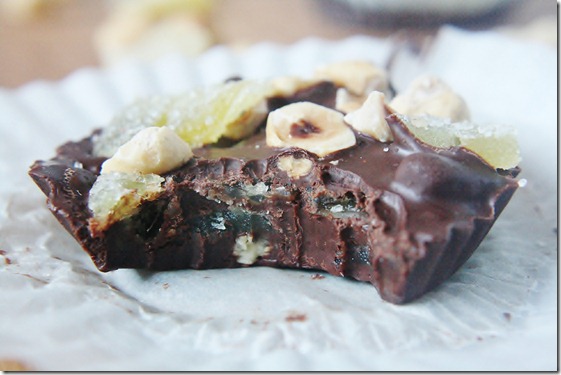
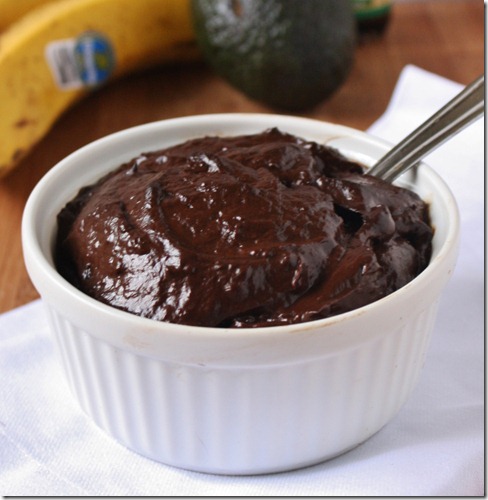
Roasted-Hazelnut-And-Candied-Ginger-Bark-serving

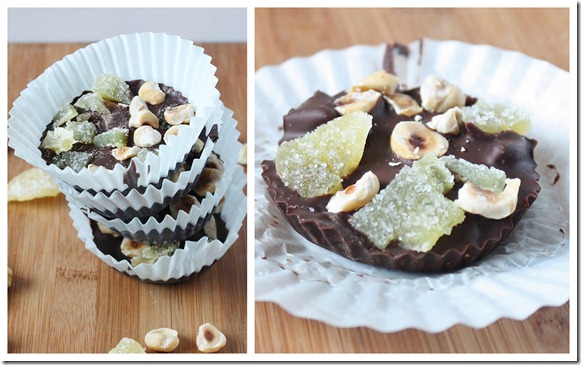
I didn’t want to do too much to the hazelnuts and ginger because their taste is so fresh. I decided to make bark since it’s an easy and elegant dessert that derives a lot of its flavor from the mix-ins added and the quality of chocolate used(I used Scharffen Berger). I didn’t have parchment or wax paper; twitter told me to avoid using aluminum foil, too, so I improvised with cupcake liners. I actually think these worked out really well since the chocolate didn’t stick at all and they come out already portioned. You can use these or make traditional bark by laying it out on a flat piece of parchment paper and breaking it into pieces.

Roasted Hazelnut And Candied Ginger Bark

Prep time: 15 minutes

Cook time: 0 minutes(allow 30 minutes to harden)

Ingredients(Makes 12 servings):

  • 12oz 70% good quality baking chocolate OR 1 1/2 cups bitter-sweet chocolate chips
  • 3oz(3/4 cup) roasted hazelnuts(preferably salted), crushed
  • 4.5oz(3/4 cup) candied ginger, diced

Roasted-Hazelnut-And-Candied-Ginger-Bark-Ingredients

Method:

  1. Fill a dozen cupcake wells with paper liners.
  2. Melt the chocolate either in the microwave or over a double boiler until completely liquid.
  3. Fold 1/2 cups of the hazelnuts and ginger into the melted chocolate until completely mixed.
  4. Spoon the chocolate mixture evenly among the paper liners.
  5. Garnish with the remaining hazelnuts and ginger, pressing them into the melted chocolate lightly to make sure they hold.
  6. Refrigerate the chocolate cups for about 30 minutes until they’ve hardened. Serve and store at room temperature.

Roasted-Hazelnut-And-Candied-Ginger-Bark-collage

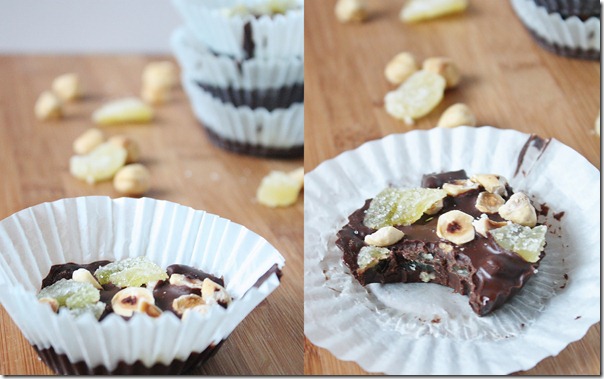
Brian from Twitter remarked that they sounded “fancy”. I’d agree and add that this looks and tastes like a gourmet treat from a dessert shop. And yet it’s so easy to make! That’s why I love bark. No one needs to know you didn’t candy the ginger yourself or roast your own hazelnuts.

As for the dessert itself, I loved how the chewy ginger contrasted with the nutty hazelnuts. The chocolate after it melted and hardened wasn’t quite solid but wasn’t messy, either; it was very smooth soft, highlighting the taste and texture of the mix-ins.

Roasted-Hazelnut-And-Candied-Ginger-Bark-Bite

Happy Holidays

Raw Dark Chocolate Peppermint Pudding

raw-dark-chocolate-peppermint-pudding

In a perfect world, I’d eat less sugar. But this isn’t a perfect world, and I’m far from perfect. Truthfully my sweet tooth is out of control. I tried to eat less sugar in October and failed(I blame the existence of candy corn). I tried to eat less sugar in November and I’m failing(hello, peanut butter bars). I’ll try to eat less sugar in December and I’ll fail then, too(at least I’m being realistic about it at this point). Maybe I’ll kick the habit in 2012; who knows?

raw-dark-chocolate-peppermint-pudding-ingredients

That’s not all to say I haven’t learned anything. One thing I’ve learned is that bananas make a great whole food sweetener. I used to make raw chocolate pudding all the time with avocado and agave, but at the end of the day agave is still another refined sugar like maple syrup and cane sugar. Bananas may have sugar, but also fiber and potassium. And in this dessert you really can’t taste the difference.

The trick is to use bananas that are well past yellow onto brown to get more sweetness and less banana-flavor.

Raw Dark Chocolate Peppermint Pudding

Prep time: 5 minutes

Cook time: 0 minutes

Ingredients(Makes 2 servings):

  • 1 medium-sized ripe avocado
  • 2 small overripe bananas(the browner the better)
  • 1/4 cup undutched cocoa powder
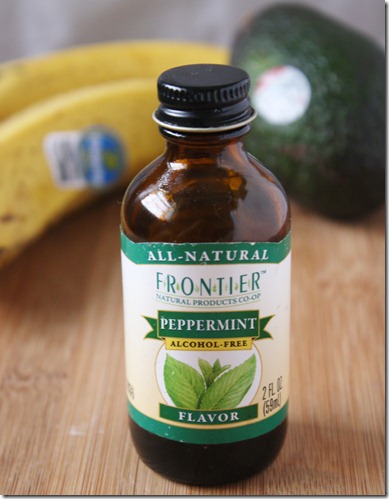
  • Scant 1/4 teaspoon peppermint extract

Method:

  1. Peel the avocado and bananas and throw them in a food processor.
  2. Blend the fruits until they make a smooth puree.
  3. Add in the cocoa powder and extract and continue blending until they’re entirely mixed.
  4. Scrape into serving bowls and serve at room temperature. Keep leftovers in the refrigerator for up to 24 hours.

raw-dark-chocolate-peppermint-pudding-overhead

Maybe I could give up sugar if I had an endless supply of this in my refrigerator… right next to a bowl of candy corn and Reese’s.