Tag Archive: Chocolate Chips

Loaded Coconut Cake Squares

Loaded Coconut Cake Squares

As I’ve been eating my way through yogurt that Chobani sent me, I’ve been trying to get creative on new ways to cook with it. Everyone knows yogurt is a great low-fat alternative for baking so I took that as my starting point and took off from there.

While a good base recipe is essential, a lot of the fun of cakes and brownies is what you put inside or on top of them. Chocolate chips and coconut are among my favorites. These might not seem healthy but with Greek yogurt in place of oil and butter and craisins and coconut filling it up(in addition to some chocolate chips, of course) these won’t do you wrong or steer you off your New Year resolutions.

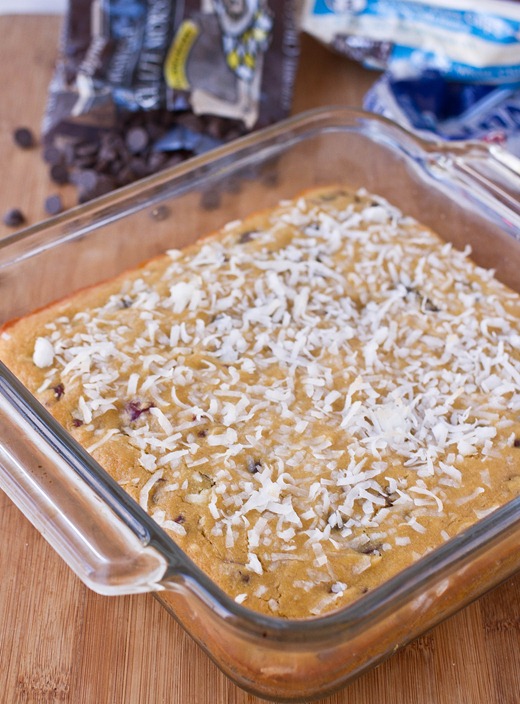
Loaded Coconut Cake Squares Yield

If you want to make this more of a healthy snack, swap in 1/2 cup of crushed walnuts or slivered almonds in for the chocolate chips. Either way it’ll taste great.

Loaded Coconut Cake Squares

Prep time: 15 minutes

Cook time: 30 minutes

Ingredients(Makes 1 8 x 8 pan):

  • 1 1/2 cups gluten-free all-purpose flour
  • 1/2 Tablespoon baking powder
  • 1/2 cup dried cranberries
  • 1/2 cup sweetened shredded coconut
  • 1/4 cup white chocolate chips
  • 1/4 cup chocolate chips
  • 1/2 cup dark brown sugar
  • 2 eggs

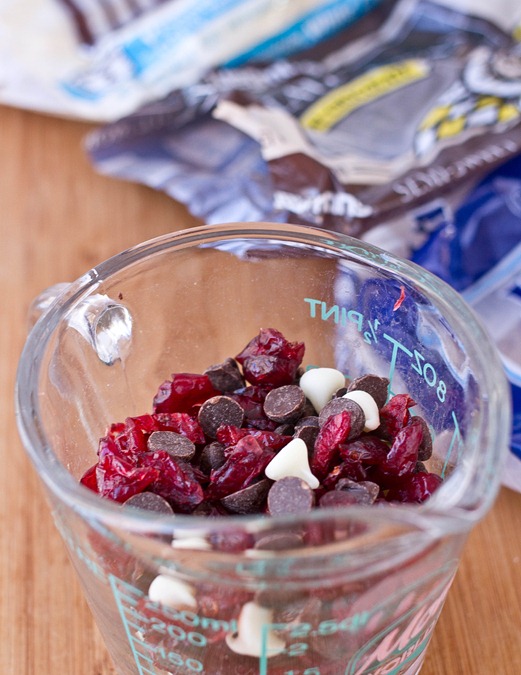
Loaded Coconut Cake Squares Mix-Ins

Method:

  1. Preheat your oven to 350 degrees.
  2. In a large bowl sift together the gluten-free flour and baking powder.
  3. Add in the craisins, 1/4 cup shredded coconut, white and dark chocolate chips and mix.
  4. In a separate bowl, mix together the yogurt, brown sugar, and eggs until homogenous.
  5. Mix the wet ingredients in with the dry until the batter is well mixed.
  6. Lightly grease an 8 x 8 baking pan.
  7. Pour the batter into the pan and press down evenly.
  8. Sprinkle the remaining 1/4 cup coconut on top of the batter and press in lightly.
  9. Bake for 25-30 minutes until the center of the cake has set and the coconut on top begins to toast.
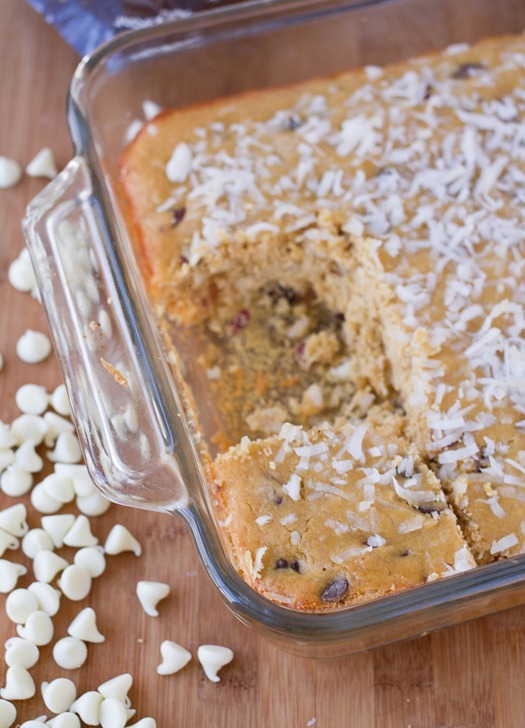
  10. Remove from the oven and let cool before cutting into squares.

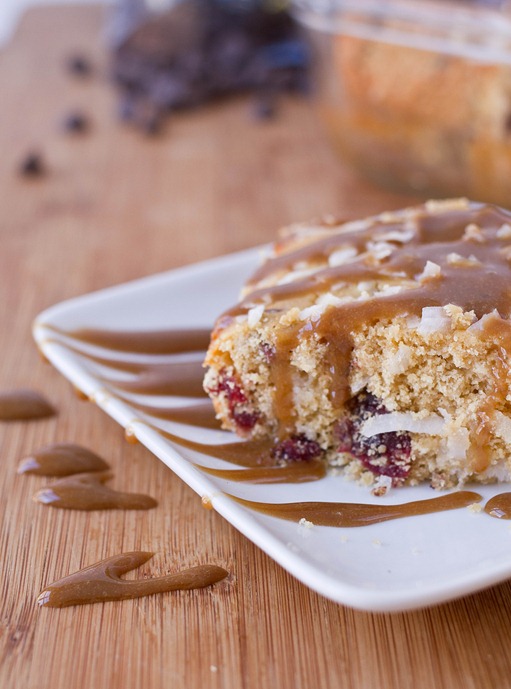
Loaded Coconut Cake Squares Final

Don’t forget to add caramel or fudge sauce just in case this doesn’t have enough flavors going on for you.

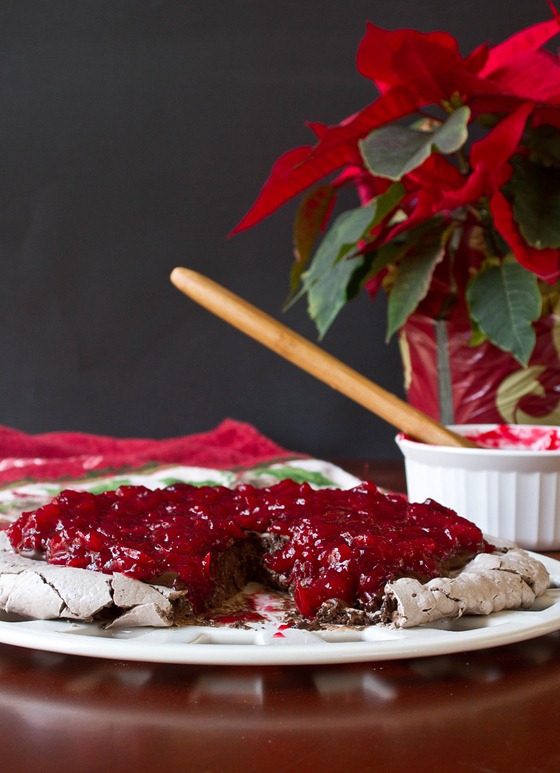
Chocolate Cranberry Pavlova

Chocolate Cranberry Pavlova

Merry Christmas and happy holidays! Lately it’s felt like Christmas is a week and not just a day. This is a dessert I made a couple of days for friends. It was so good I thought about making it again for Christmas Day.
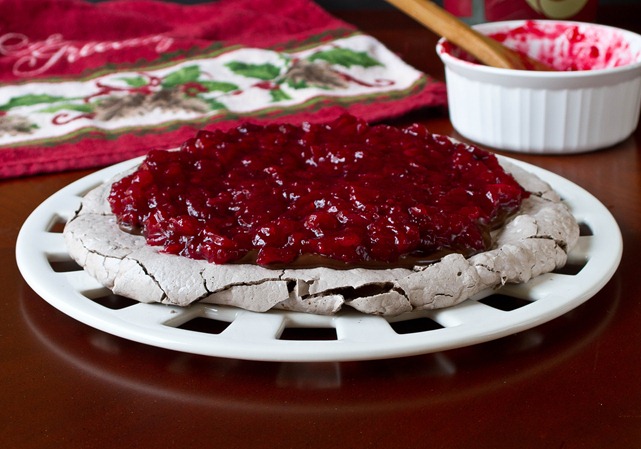
Pavlovas are a light and simple gluten-free dessert. You just need to have enough foresight to make them the night before so that the meringue can set overnight. On their own they don’t have much flavor, but add anything on top and they become much more exciting.

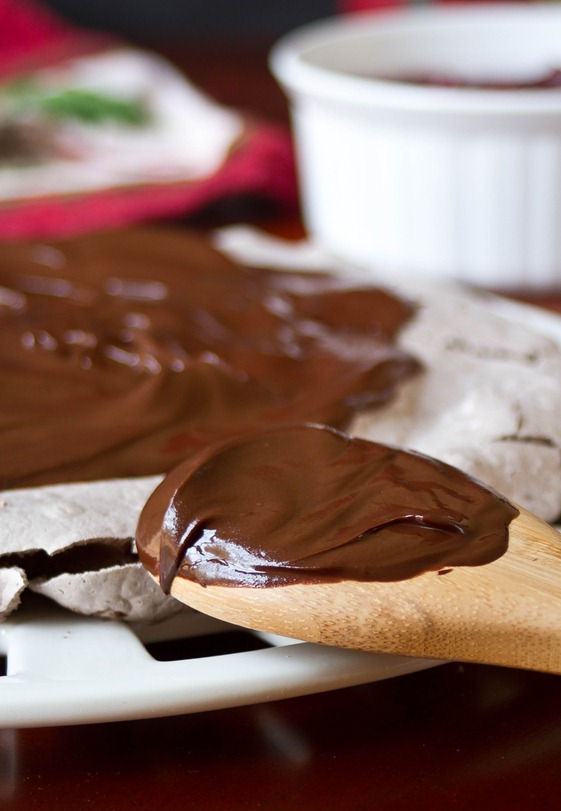
Chocolate Cranberry Pavlova Chocolate

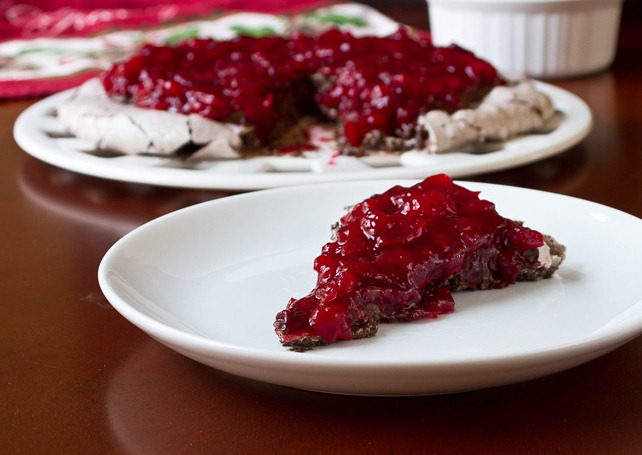
This dessert has a lot of flavors and textures going on in it. The meringue is crunchy on the outside and gooey on the inside. The chocolate is velvety and bitter and the cranberry sauce is slightly chunky and tart. There’s a little something for everyone.

Chocolate Cranberry Pavlova

Prep time: 25 minutes

Cook time: 8 hours

Ingredients(Makes about 8 servings)

  • 4 egg whites
  • 2 cups powdered sugar
  • 1/4 cup cocoa powder
  • 1/4 teaspoon cream of tarter
  • 2 cups fresh cranberries
  • 1/2 cup sugar
  • 1/4 teaspoon salt
  • 1 Tablespoon corn starch
  • 6 Tablespoons chocolate chips
  • 3 Tablespoons butter

Chocolate Cranberry Pavlova Cranberry Sauce

Method:

  1. Preheat your oven to 350 degrees.
  2. Beat the egg whites in a large glass bowl until they’re frothy.
  3. In a separate bowl, sift together the powdered sugar, cocoa powder, and cream of tartar.
  4. While beating the egg whites, slowly add in the sugar and cocoa powder mixture until it’s fully incorporated. Continue beating until soft peaks form.
  5. Spread the meringue out on a non-stick baking tray. Place the tray in the oven, turn it off and leave the oven door shut overnight or for 8 hours until the meringue has set.
  6. Combine the cranberries and about 2 cups of water in a medium pot over the stove and boil for 10 minutes with a lid on the pot.
  7. After 10 minutes, drain most of the water leaving just a thin layer to cover the bottom.
  8. Add in the sugar and salt and stir. Continue boiling for 2-3 minutes until the sugar is dissolved.
  9. Mix the corn starch with 2 Tablespoons of warm water until it’s dissolved and add it to the cranberry sauce.
  10. Remove the cranberry sauce from the heat and mix it well until it thickens. Set aside to cool.
  11. Melt the chocolate and butter in a small bowl and mix together until smooth.
  12. To assemble the pavlova, spread the chocolate out in an even layer on top of the meringue.
  13. Add the cranberry sauce on top of the chocolate and spread it out to cover the top.
  14. Serve at room temperature.

Chocolate Cranberry Pavlova Slice

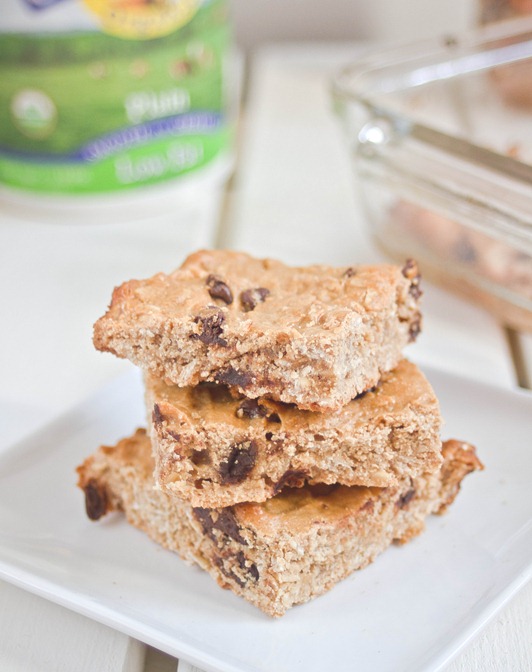
Peanut Butter Snack Squares

Peanut Butter Snack Bars

Every afternoon around 3pm I run into the problem of something healthy to snack on. I’d usually just prefer a bag of M&Ms and some Reese’s peanut butter cups and call it a day, but apparently that’s not good for you(who knew?). I went ahead and tried to make a healthy snack since it’s a lot easier and cheaper than finding tasty ones in the grocery store. And wouldn’t you know you can still have your peanut butter and chocolate and eat well, too?

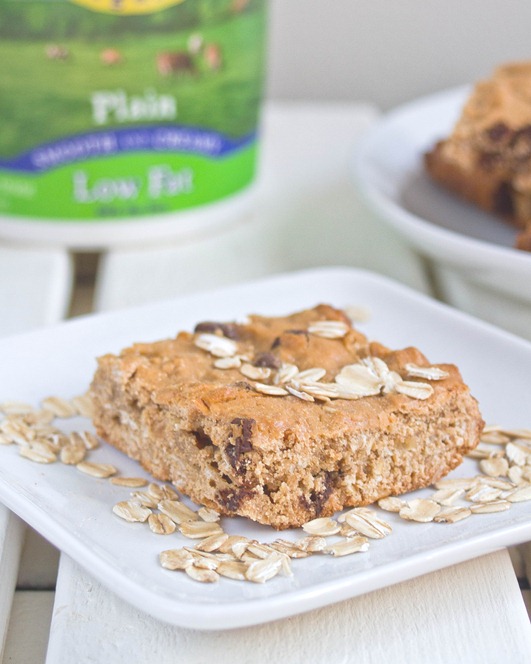
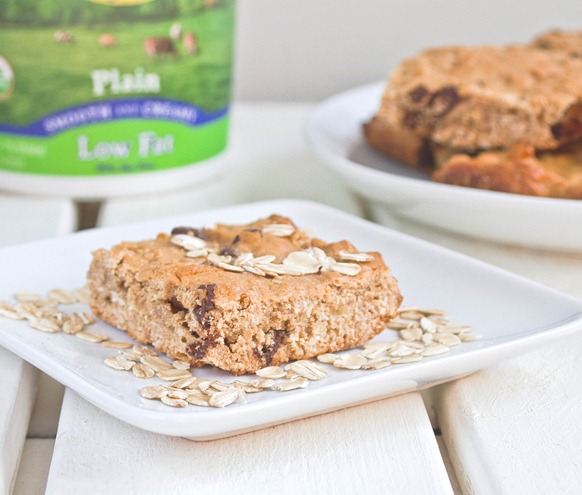
These definitely aren’t fudgy enough to be blondies or airy enough to be cake; that’s why I’d call them “squares” and say they’re the perfect afternoon pick-me-up when you’re not sure what to have. They’re filled with whole grains, peanut butter, and low-fat yogurt so they must be a better choice than anything from the vending machine.

Peanut Butter Snack Bars Healthy

If you want to make these really healthy, swap out the chocolate chips for raisins. Then again if you want to use both I won’t tell anyone.

Peanut Butter Snack Squares

Prep time: 15 minutes

Cook time: 25 minutes

Ingredients(Makes 9 squares):

  • 1 cup all-purpose gluten-free flour(or regular flour)
  • 3/4 cup gluten-free rolled oats
  • 1/2 cup + 2 Tablespoons sugar
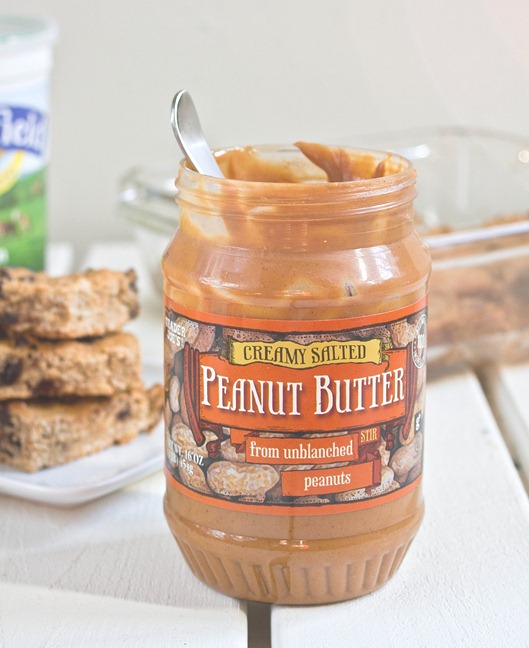
  • 1/2 cup peanut butter
  • 1/2 cup plain low-fat yogurt
  • 1 egg
  • 2-4 Tablespoons water
  • 1/3 cup chocolate chips

Peanut Butter Snack Bars Peanut Butter

Method:

  1. Preheat your oven to 350 degrees and grease an 8×8 baking pan.
  2. In a large bowl, mix together the flour, oats, and sugar.
  3. Add in the peanut butter, yogurt, and egg and beat well.
  4. Slowly add in water just until the batter is wet enough for you to stir with a whisk or spatula to mix it.
  5. Lastly fold in the chocolate chips.
  6. Pour the batter into the greased baking tray. Bake for about 25 minutes until the edges start to brown.
  7. Let the pan cool before cutting it into 9 squares. Store sealed in the refrigerator until ready to eat. 

Peanut Butter Snack Bars Serving

After a few days these start to stiffen up. Just pop them in the microwave for 30 seconds on a low setting and it’ll be just like they came out of the oven again!

Gluten-Free Pumpkin Chocolate Chip Cookies

Gluten-Free Pumpkin Chocolate Chip Cookies

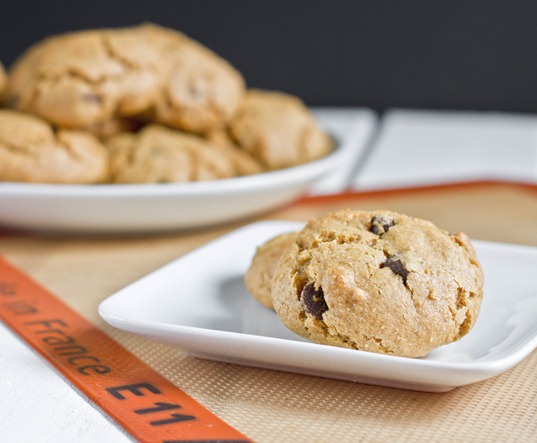
Pumpkin manages to find its way into everything this time of year. I haven’t quite figured out why it belongs in a latte; cookies make a lot more sense to me.

You really can’t go wrong with a chocolate chip cookie recipe. Pumpkin and pumpkin pie spice add a little bit of fun flavor and color and let you cut back on the butter while still making something delicious.

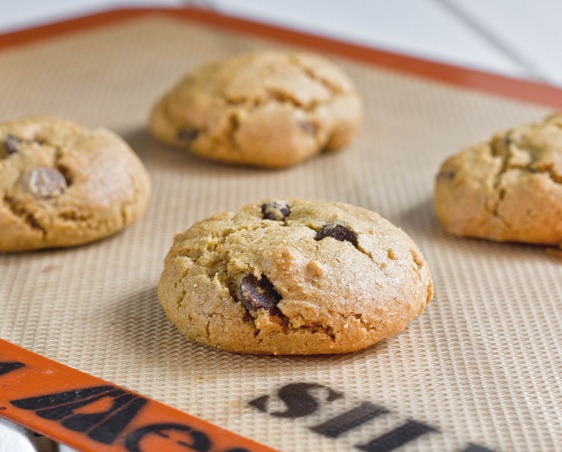
Gluten-Free Pumpkin Chocolate Chip Cookies Baked

These are definitely cakey cookies. I find that most pumpkin cookie recipes turn out that way. If you don’t want to make them gluten-free, use cake or all-purpose flour so that they’ll still come out light and airy.

Gluten-Free Pumpkin Chocolate Chip Cookies

Prep time: 10 minutes

Cook time: 15 minutes

Ingredients(Makes about 14 cookies):

  • 1 1/2 cup + 2 Tablespoons all-purpose gluten-free flour(I used Bob’s Red Mill)
  • 1/2 cup + 2 Tablespoons sugar
  • 1/2 Tablespoon pumpkin pie spice
  • 1/2 teaspoon baking soda
  • 1/4 teaspoon salt
  • 4 Tablespoons butter, melted
  • 6 Tablespoons pumpkin puree
  • 1 egg
  • 1/2 cup chocolate chips

Method:

  1. Preheat your oven to 350 degrees and prepare a lined baking tray.
  2. Sift together the gluten-free flour, sugar, spice, baking soda and salt.
  3. Mix in the butter and pumpkin puree well.
  4. Beat in the egg until the batter is evenly wet.
  5. Add the chocolate chips and fold them in.
  6. Taking the dough between your hands, roll it into 1 1/2-inch balls and place them on the baking tray about 2 inches apart.
  7. Bake for 10-15 minutes until the bottoms begin to brown and the top is firm. Remove from the oven and let them cool completely before moving them.

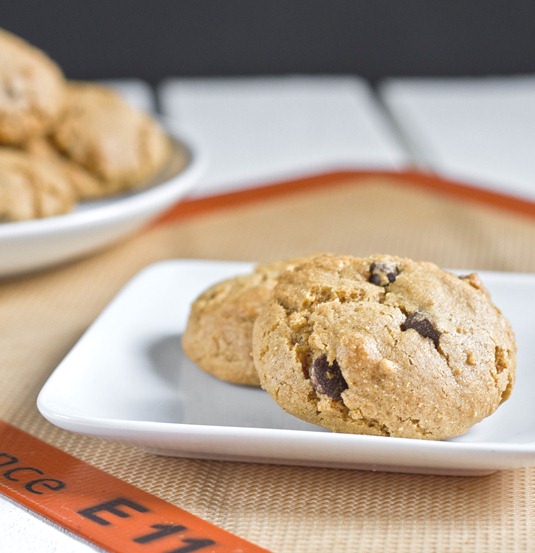
Gluten-Free Pumpkin Chocolate Chip Cookies Serving

‘Tis the season for delicious treats. These would also be excellent with walnuts mixed in, too, or made into cookie sandwiches.


Copycat Chocolate Hazelnut Larabars

copycat chocolate hazelnut larabars

One of my most popular recipes is the raw/vegan chocolate cake I made last Summer, and every time someone new comments on the post or makes it for themselves and blogs their own mouth-watering photos(I’m looking at you, Texanerin) it makes me want it again.

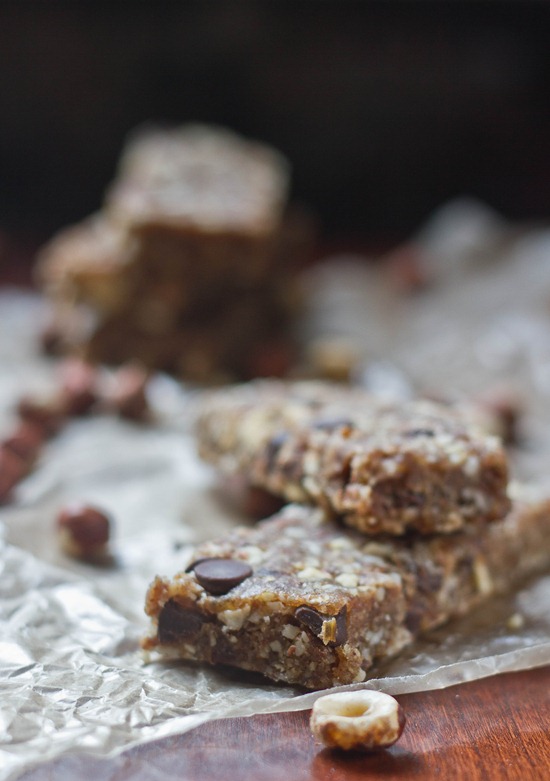
Well, cake every week is a bit much, even if it’s raw and vegan. But as soon as I finished eating my chocolate chip peanut butter “Larabars” I was thinking of what flavor I could make next, and chocolate hazelnut seemed like the perfect answer.

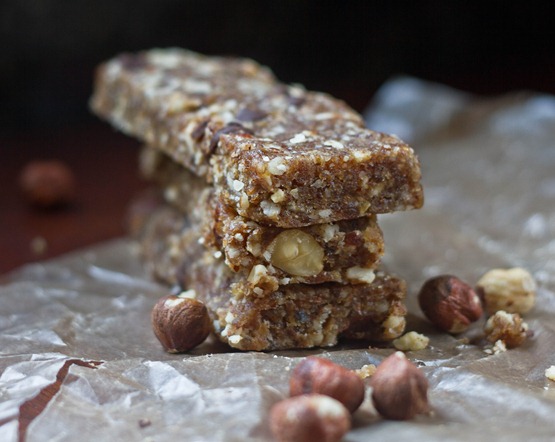
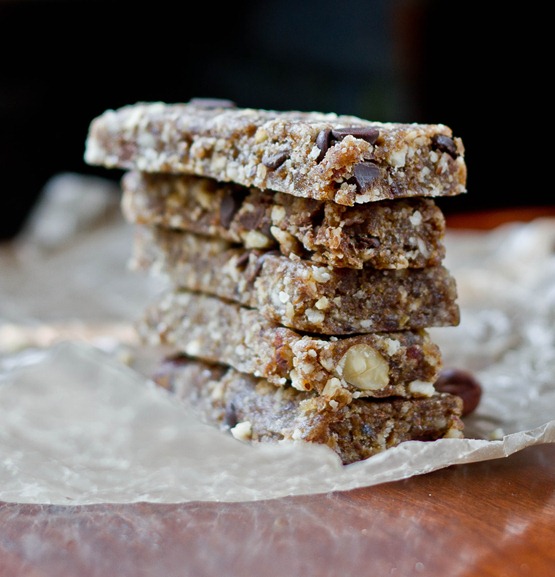
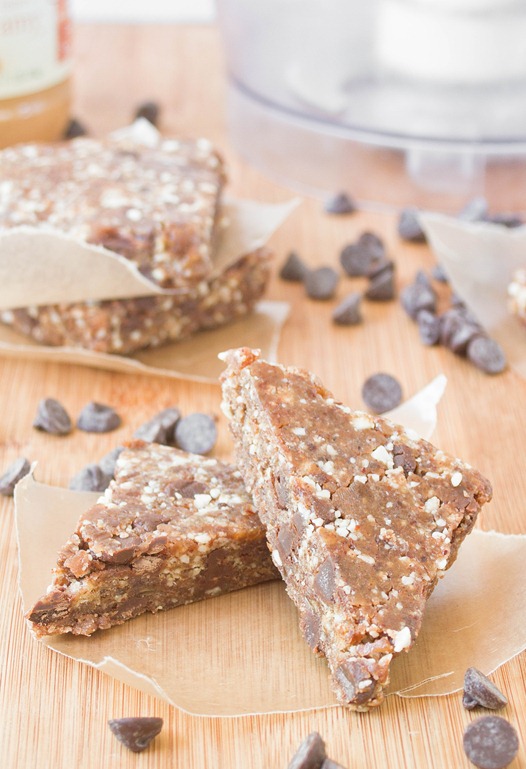
copycat chocolate hazelnut larabars stack

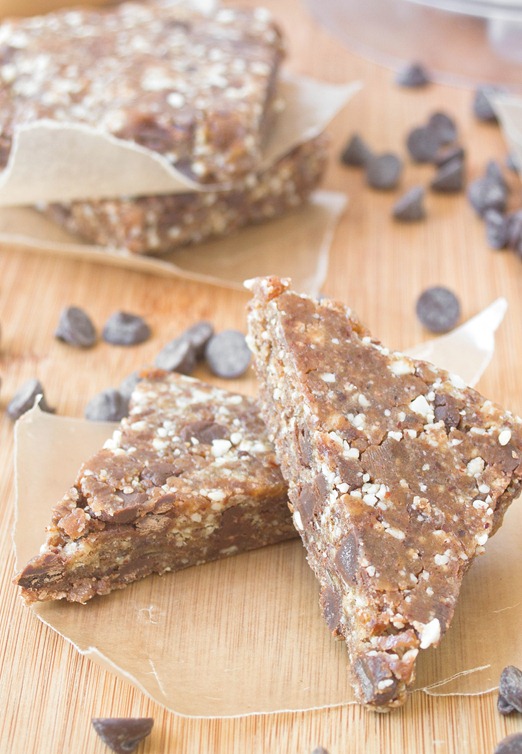
These are definitely healthy enough to have every day but also can easily satisfy a candy craving. You can use raw or roasted hazelnuts, skin on or off. Roasted will definitely have a nuttier and stronger flavor. To make them truly raw, use cacao nibs in place of the chocolate chips. 

Copycat Chocolate Hazelnut Larabars

Prep time: 10 minutes

Cook time: 0 minutes

Ingredients(Makes about 7 bars):

  • 8oz(about 2 cups) pitted dates
  • 3/4 cup hazelnuts
  • 1/4 teaspoon salt
  • 1/4 cup chocolate chips

copycat chocolate hazelnut larabars yield

Method:

  1. In a food processor, blend the dates until they clump together and form a sticky dough ball.
  2. Add the hazelnuts and salt into the food processor and pulse until the nuts are broken into a coarse flour.
  3. Transfer all the contents of the food processor into a large bowl with the chocolate chips and massage by hand until the hazelnut pieces and chocolate chips are completely mixed into the dates.
  4. Form the dough into equal-sized bars, squares, or balls. Store in the refrigerator until ready to eat.

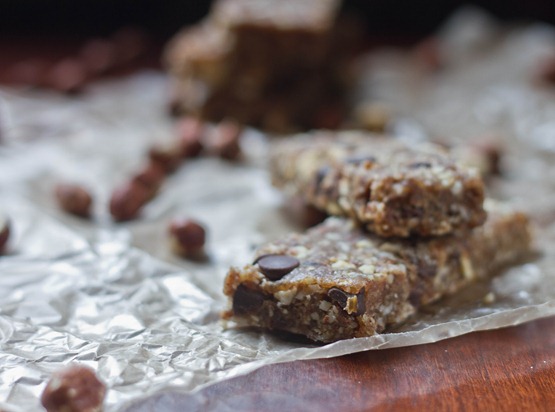
copycat chocolate hazelnut larabars bars

OK, it’s no raw chocolate cake with avocado buttercream, but it will definitely satisfy a late-night sweet tooth.

Readers’ Favorite Brownies

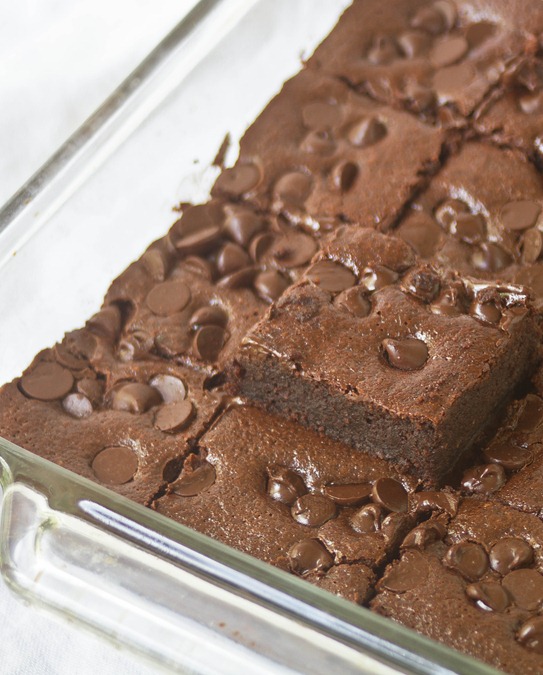
almond flour brownies pan

The best recipes on food blogs are always the ones filled with comments from readers who loved it as well. I’m lucky to say this is one of those recipes.

A lot of readers have stumbled onto my almond flour brownie recipe through google or Pinterest or word of mouth and I get excited every time another person has said they tried them and loved them. I(and most of you) think they really are that good.

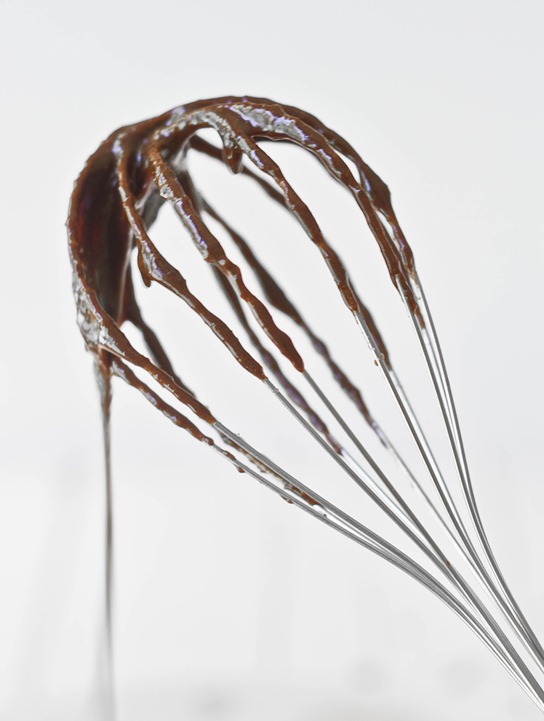
Almond flour brownies whisk

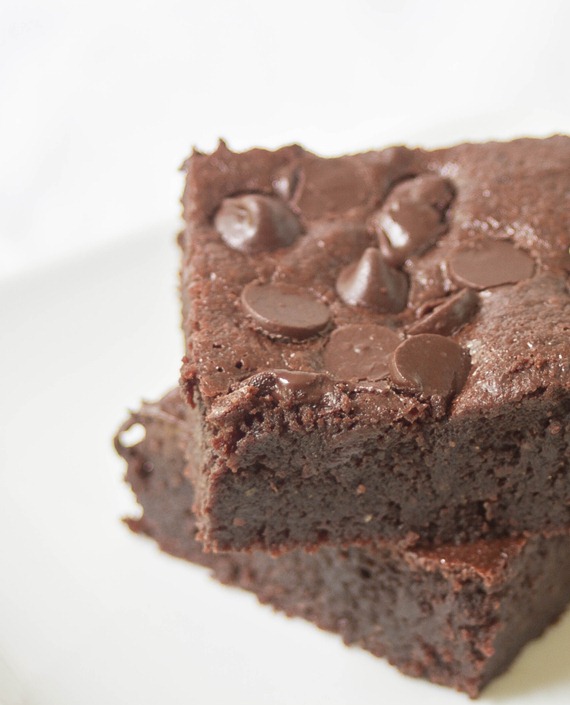
What makes this brownie recipe great is that it doesn’t taste “special”; you couldn’t eat these and tell that they’re made with almond flour or are gluten-free at all. They just taste like a really good, fudgy brownie recipe.

One of my secrets to good brownies is using melted baking chocolate instead of melted chocolate chips in the batter; it’s more reliable for even, smooth melting and has a more decadent chocolate flavor. Another is adding a little bit of coffee into batter just to perk up the flavor.

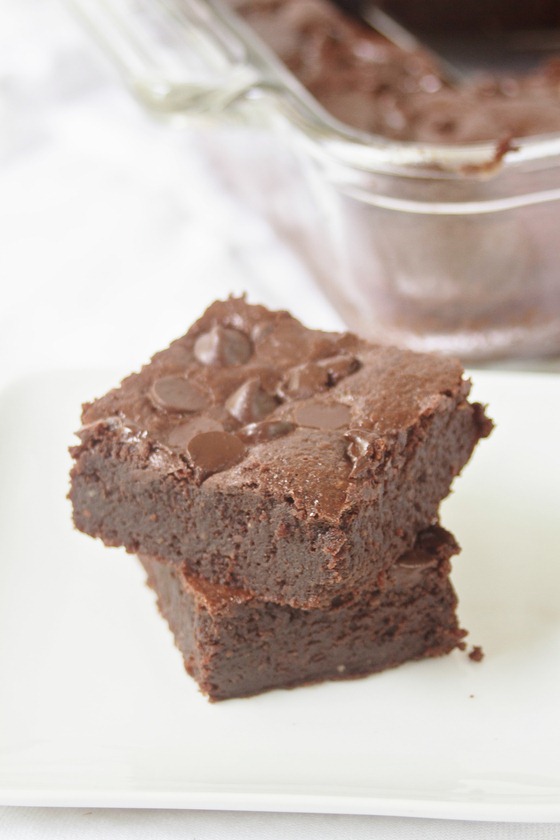
almond flour brownies stack 2

We had a party a couple weeks ago so I jumped at the chance to make these for the first time in ages, partly because I wanted to take new photos of them but partly because I was just craving brownies. There weren’t any leftovers and I was kicking myself for not making more.

Almond flour brownies

My favorite brownies? They’re actually grasshopper brownies, but I will happily “settle” for these any day. Just be sure to double the batch, especially if you’re expecting company. Oh, and bring ice cream. And caramel sauce.

Copycat Peanut Butter Chocolate Chip Larabars

Copycat Peanut Butter Chocolate Chip Larabars

When you’re a food blogger, you end up having some pretty weird “snacks”. Leftover cheesecake in the afternoon? Sure. Chocolate granola for lunch and dinner some times. Anything goes.

That’s all great and delicious but there are times when I wish I ate a little bit healthier. Of course, the answer’s simple; if you want to eat healthy you need to buy and make healthy meals and snacks. So to start I made one of my favorites: peanut butter chocolate chip larabars.

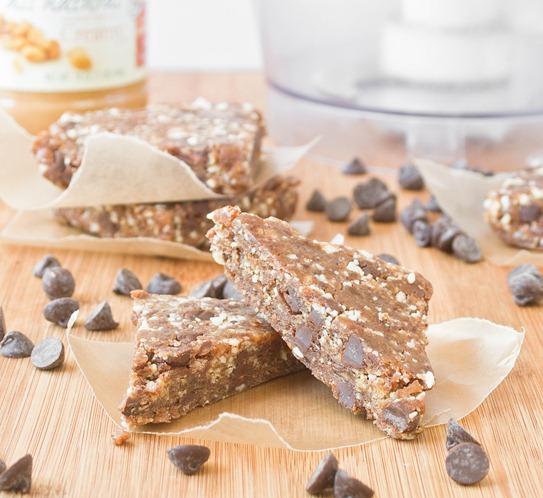
Copycat Peanut Butter Chocolate Chip Larabars Serving

Most pre-portioned snacks at the grocery store are overpriced; they’re even pricier if you get them from kiosks or snack stands. By making your own, you control the costs and quality of the ingredients. Larabars have pretty clean and simple ingredients as is, but by buying dates and using other ingredients I already had I was able to bring the cost down.

You could make your own and use almonds instead of peanuts to adapt these for someone with a peanut allergy.

Copycat Peanut Butter Chocolate Chip Larabars

Prep time: 10 minutes

Cook time: 0 minutes

Ingredients(Makes about 6 bars):

  • 8oz pitted dates
  • 1/2 cup peanuts
  • 2 Tablespoons peanut butter
  • 1/4 teaspoon salt
  • 1/3 cup chocolate chips

Method:

  1. Combine the dates and peanuts in a food processor and blend on high until the ingredients start to form a paste.
  2. Add in the peanut butter and salt and continue blending until a dough begins to form.
  3. Lastly, add in the chocolate chips and pulse a few times.
  4. Line a loaf or baking pan with plastic wrap.
  5. Drop the dough on top of the plastic wrap and press the dough into a square or rectangle about 3/4-inch thick.
  6. Cut into bars or squares. Wrap individually and refrigerate until ready to eat.

Copycate Peanut Butter Chocolate Chip Larabar Cut

I left mine in squares. You could make bars or balls or really any shape you could think of with these.

Dark Chocolate Cherry Zucchini Bread

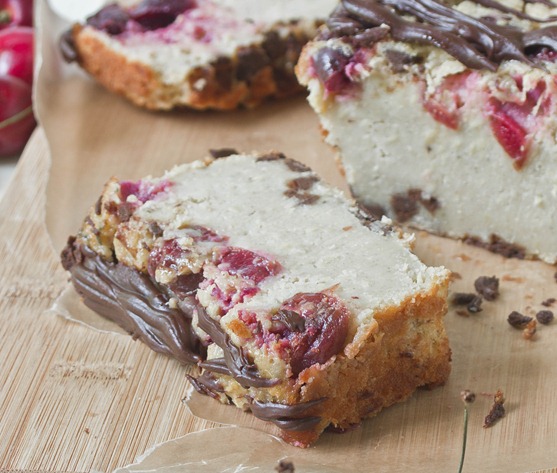
Dark Chocolate Cherry Zucchini Bread

I love fresh cherries. They’ve been on sale the past few weeks and I’ve been eating them by the pound. As good as cherries are on their own, with chocolate they’re out of this world.

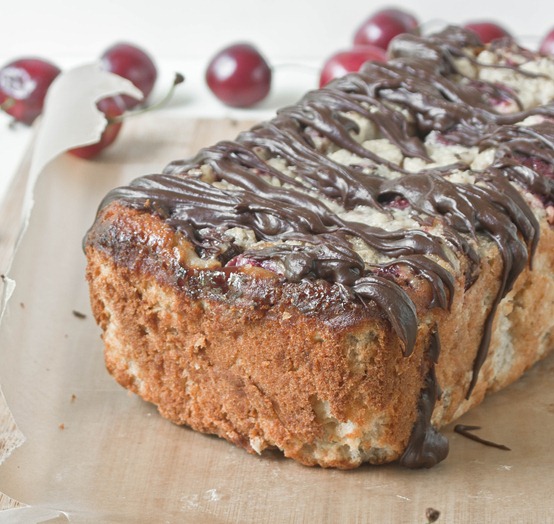
I’d never made zucchini bread before this loaf. Something about a vegetable in a bread doesn’t scream “delicious”. But then again, when you add cherries, chocolate chips, and ganache, what wouldn’t be delicious. I threw a banana into the mix, too, because I thought the fruity flavor would help to mask any taste the zucchini might bring.

Dark Chocolate Cherry Zucchini Bread Loaf

Normally sweet breads are loaded with oil. To reduce the oil and pump up the nutrition I swapped in Greek yogurt to keep it most and also full of protein.

If you have a picky eater in the family who might be turned off by specks of green in their bread, just peel the zucchini with a vegetable peeler before shredding it. 2 medium sized zucchinis should yield about 1 cup.

Dark Chocolate Cherry Zucchini Bread

Prep time: 15 minutes

Cook time: 1 hour 20 minutes

Ingredients(Makes 1 loaf):

  • 1 cup shredded zucchini
  • 1 6oz container plain greek yogurt
  • 3 eggs
  • 2 egg whites
  • 1 banana, mashed
  • 2 Tablespoons oil
  • 1 1/3 cups gluten-free all purpose flour(or regular flour)
  • 3/4 cup light brown sugar
  • 1/2 teaspoon cinnamon
  • 1/4 teaspoon salt
  • 1/2 teaspoon baking soda
  • 1/4 cup chocolate chips
  • 1/2 cup pitted and halved cherries

Dark Chocolate Cherry Zucchini Bread Overhead

Method:

  1. Preheat your oven to 350 degrees.
  2. In a large bowl, mix together the zucchini, yogurt, eggs, egg whites, banana, and oil.
  3. Add in the flour, sugar, cinnamon, salt, and baking soda and mix again.
  4. Lastly, gently fold in the chocolate chips and cherry halves.
  5. Grease a 9-inch loaf pan and pour in the batter.
  6. Bake until the center of the bread has set and the edges begin to brown—about an hour and 20 minutes.
  7. Wait for the bread to cool before cutting. Garnish with melted chocolate or powdered sugar.

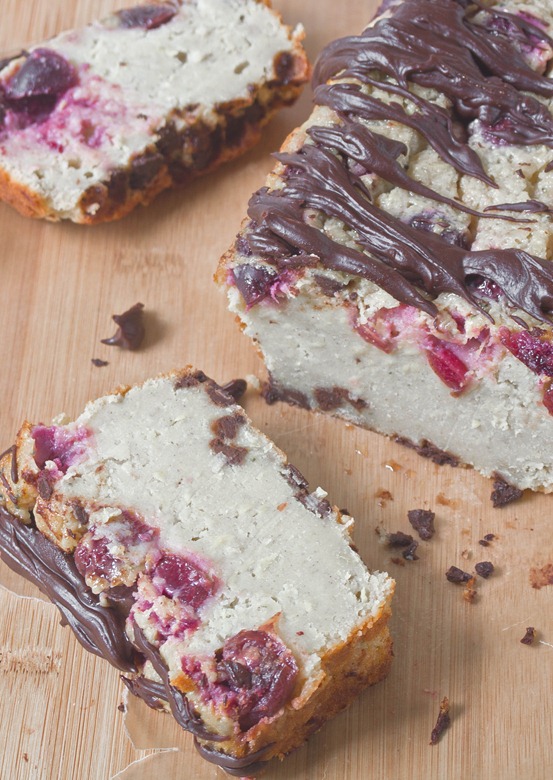
Dark Chocolate Cherry Zucchini Bread Slice

This came out a lot more dense than I anticipated, almost like pound cake(not that that’s a bad thing at all). Like any low-fat bread, I’d recommend eating this within 2-3 days before it turns stale.

Chocolate Covered S’mores

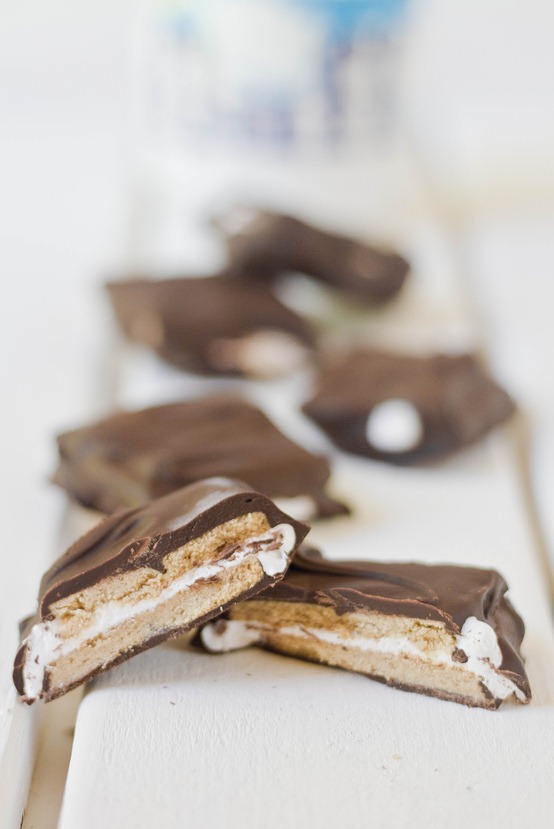
Chocolate Covered S'mores

I doubt there’s any way you could reinvent s’mores and have it not be delicious. Food bloggers test this theory every Summer and it always holds true. Here’s one more delicious s’mores recipe to throw into the mix.

By the beaches in Maine there are candy shops that sell just about everything covered in chocolate. Graham crackers covered in chocolate? Sure. Marshmallows covered in chocolate? Mhmm. But no s’mores covered in chocolate. Why not? Beats me. Thankfully, you don’t need to travel farther than your kitchen for something as delicious as this.

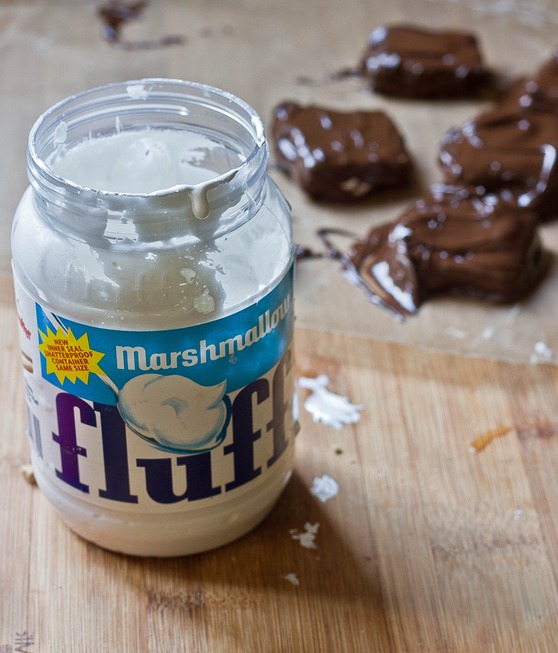
Chocolate Covered S'mores Fluff

Instead of melted marshmallows which would get stale in a refrigerator, this recipe uses marshmallow crème which is soft at room temperature just like a melted marshmallow. My favorite part about this is that Fluff is a naturally vegetarian marshmallow option, so you don’t have to go out and buy a $5 bag of marshmallows to get your s’mores fix.

Chocolate Covered S’mores

Prep time: 15 minutes

Cook time: 0 minutes

Ingredients(Makes 6 squares):

  • 12 graham cracker squares
  • 1/4 cup marshmallow Fluff
  • 6oz chocolate(about 3/4 cup chocolate chips)

Method:

  1. On half of the graham crackers, spread roughly 2 teaspoons of Fluff.
  2. Sandwich each covered graham cracker with an uncovered one and put these aside.
  3. Melt the chocolate in a microwave or over a double boiler until it is smooth and liquid.
  4. One by one, lower the s’mores into the melted chocolate. Flip once and use a utensil to make sure the sides are covered as well as the top and bottom.
  5. Take the s’mores out of the melted chocolate and put it on a non-stick surface to dry. You can quicken the process by moving them to the refrigerator once you’re done.
  6. Repeat with all the s’mores.
  7. Store in the refrigerator until ready to eat.

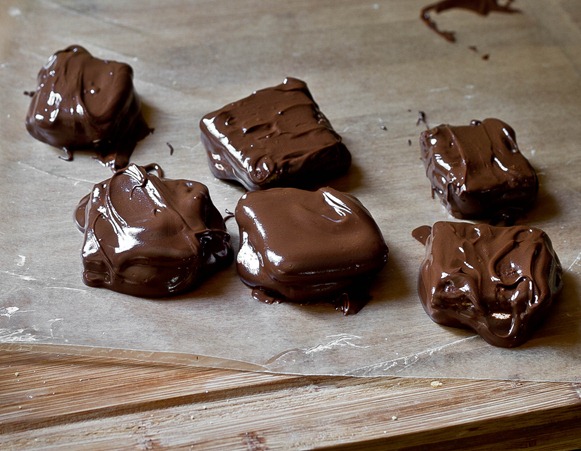
Chocolate Covered S'mores Drying

A fun thing to do might be to decorate the outside while the chocolate is melting with graham cracker crumbs and mini-marshmallows. These are the things I think of after I’ve eaten the whole batch. Shame.

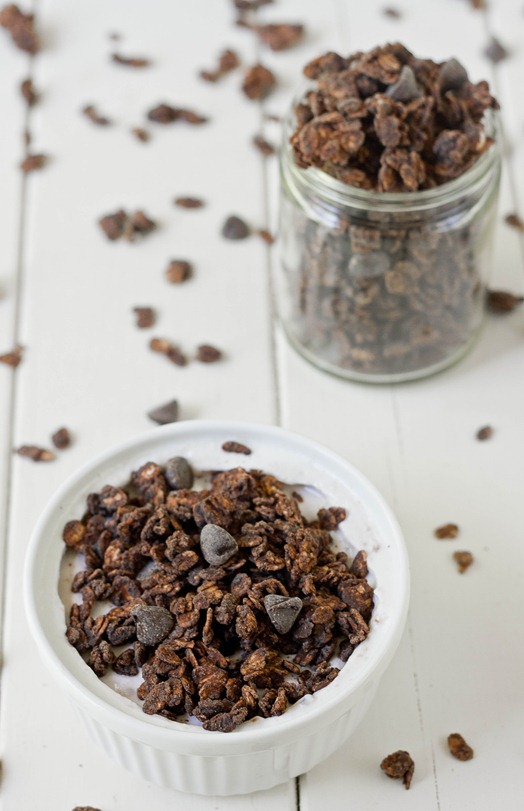
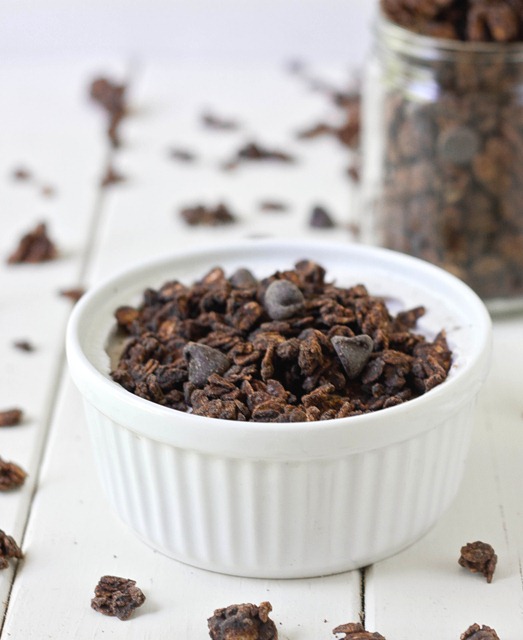
Double Chocolate Granola

Double Chocolate Granola

My favorite flavor of yogurt is pomegranate, followed closely by raspberry. I never expected to love pomegranate yogurt, especially since I don’t love pomegranates on their own, but it’s really won my heart. And the best way to eat it is with something chocolate on top. The creamy, tart and sweet yogurt with deep, dark chocolate is just too good for words.

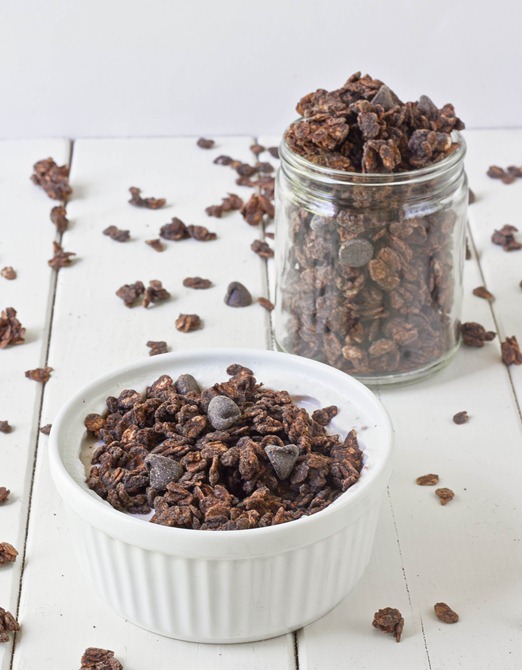
Of course after I loaded up my shopping cart with pomegranate yogurt over the weekend I came home and immediately decided to make chocolate granola. The last time I had chocolate granola it was store-bought and—though good—it was really lacking something: More chocolate. This granola has cocoa powder baked onto the oats, and then is hit with melted chocolate and chocolate chips after it’s done. The result is pure clustery chocolate goodness.

Double Chocolate Granola Serving

Give this granola a nutty twist by mixing in toasted almonds or salted peanuts along with the chocolate chips.

Double Chocolate Granola

Prep time: 10 minutes

Cook time: 35 minutes

Ingredients(Makes about 2 3/4 cups):

  • 2 1/4 cups rolled oats
  • 2 Tablespoons oil
  • 1/3 cup cocoa powder
  • 1/4 cup cane sugar
  • 1/4 teaspoon salt
  • 2 Tablespoons liquid sweetener
  • 2 Tablespoons water
  • 1/2 cup chocolate chips, divided

Double Chocolate Granola Clusters

Method:

  1. Preheat your oven to 350 degrees.
  2. In a large bowl, mix together the oats, oil, cocoa powder, cane sugar, salt, sweetener, and water.
  3. Lay the uncooked granola on a non-stick baking tray in a 1/2-inch thick layer.
  4. Bake for 30-40 minutes, breaking up the oats occasionally until they’re stiff and dry.
  5. Transfer the hot granola into a bowl with 1/4 cup of chocolate chips. Mix the granola as the chocolate chips melt, covering them with the melted chocolate.
  6. Once the granola has cooled completely, toss the granola to break apart any large clusters and add in the other 1/4 cup chocolate chips.
  7. Serve in an airtight container at room temperature for up to 2 weeks.  

Double Chocolate Granola 2

I’m going to need more yogurt.