Tag Archive: Easy

Easy Lemon Buttercream

Easy Lemon Buttercream

One of the best parts about living in NYC is that there are now vending machines where you can get cupcakes. It’s dangerously convenient for anyone. They have 1 gluten-free option, a red velvet with cream cheese frosting, that’s completely delicious. That being said, who can live with just one flavor?

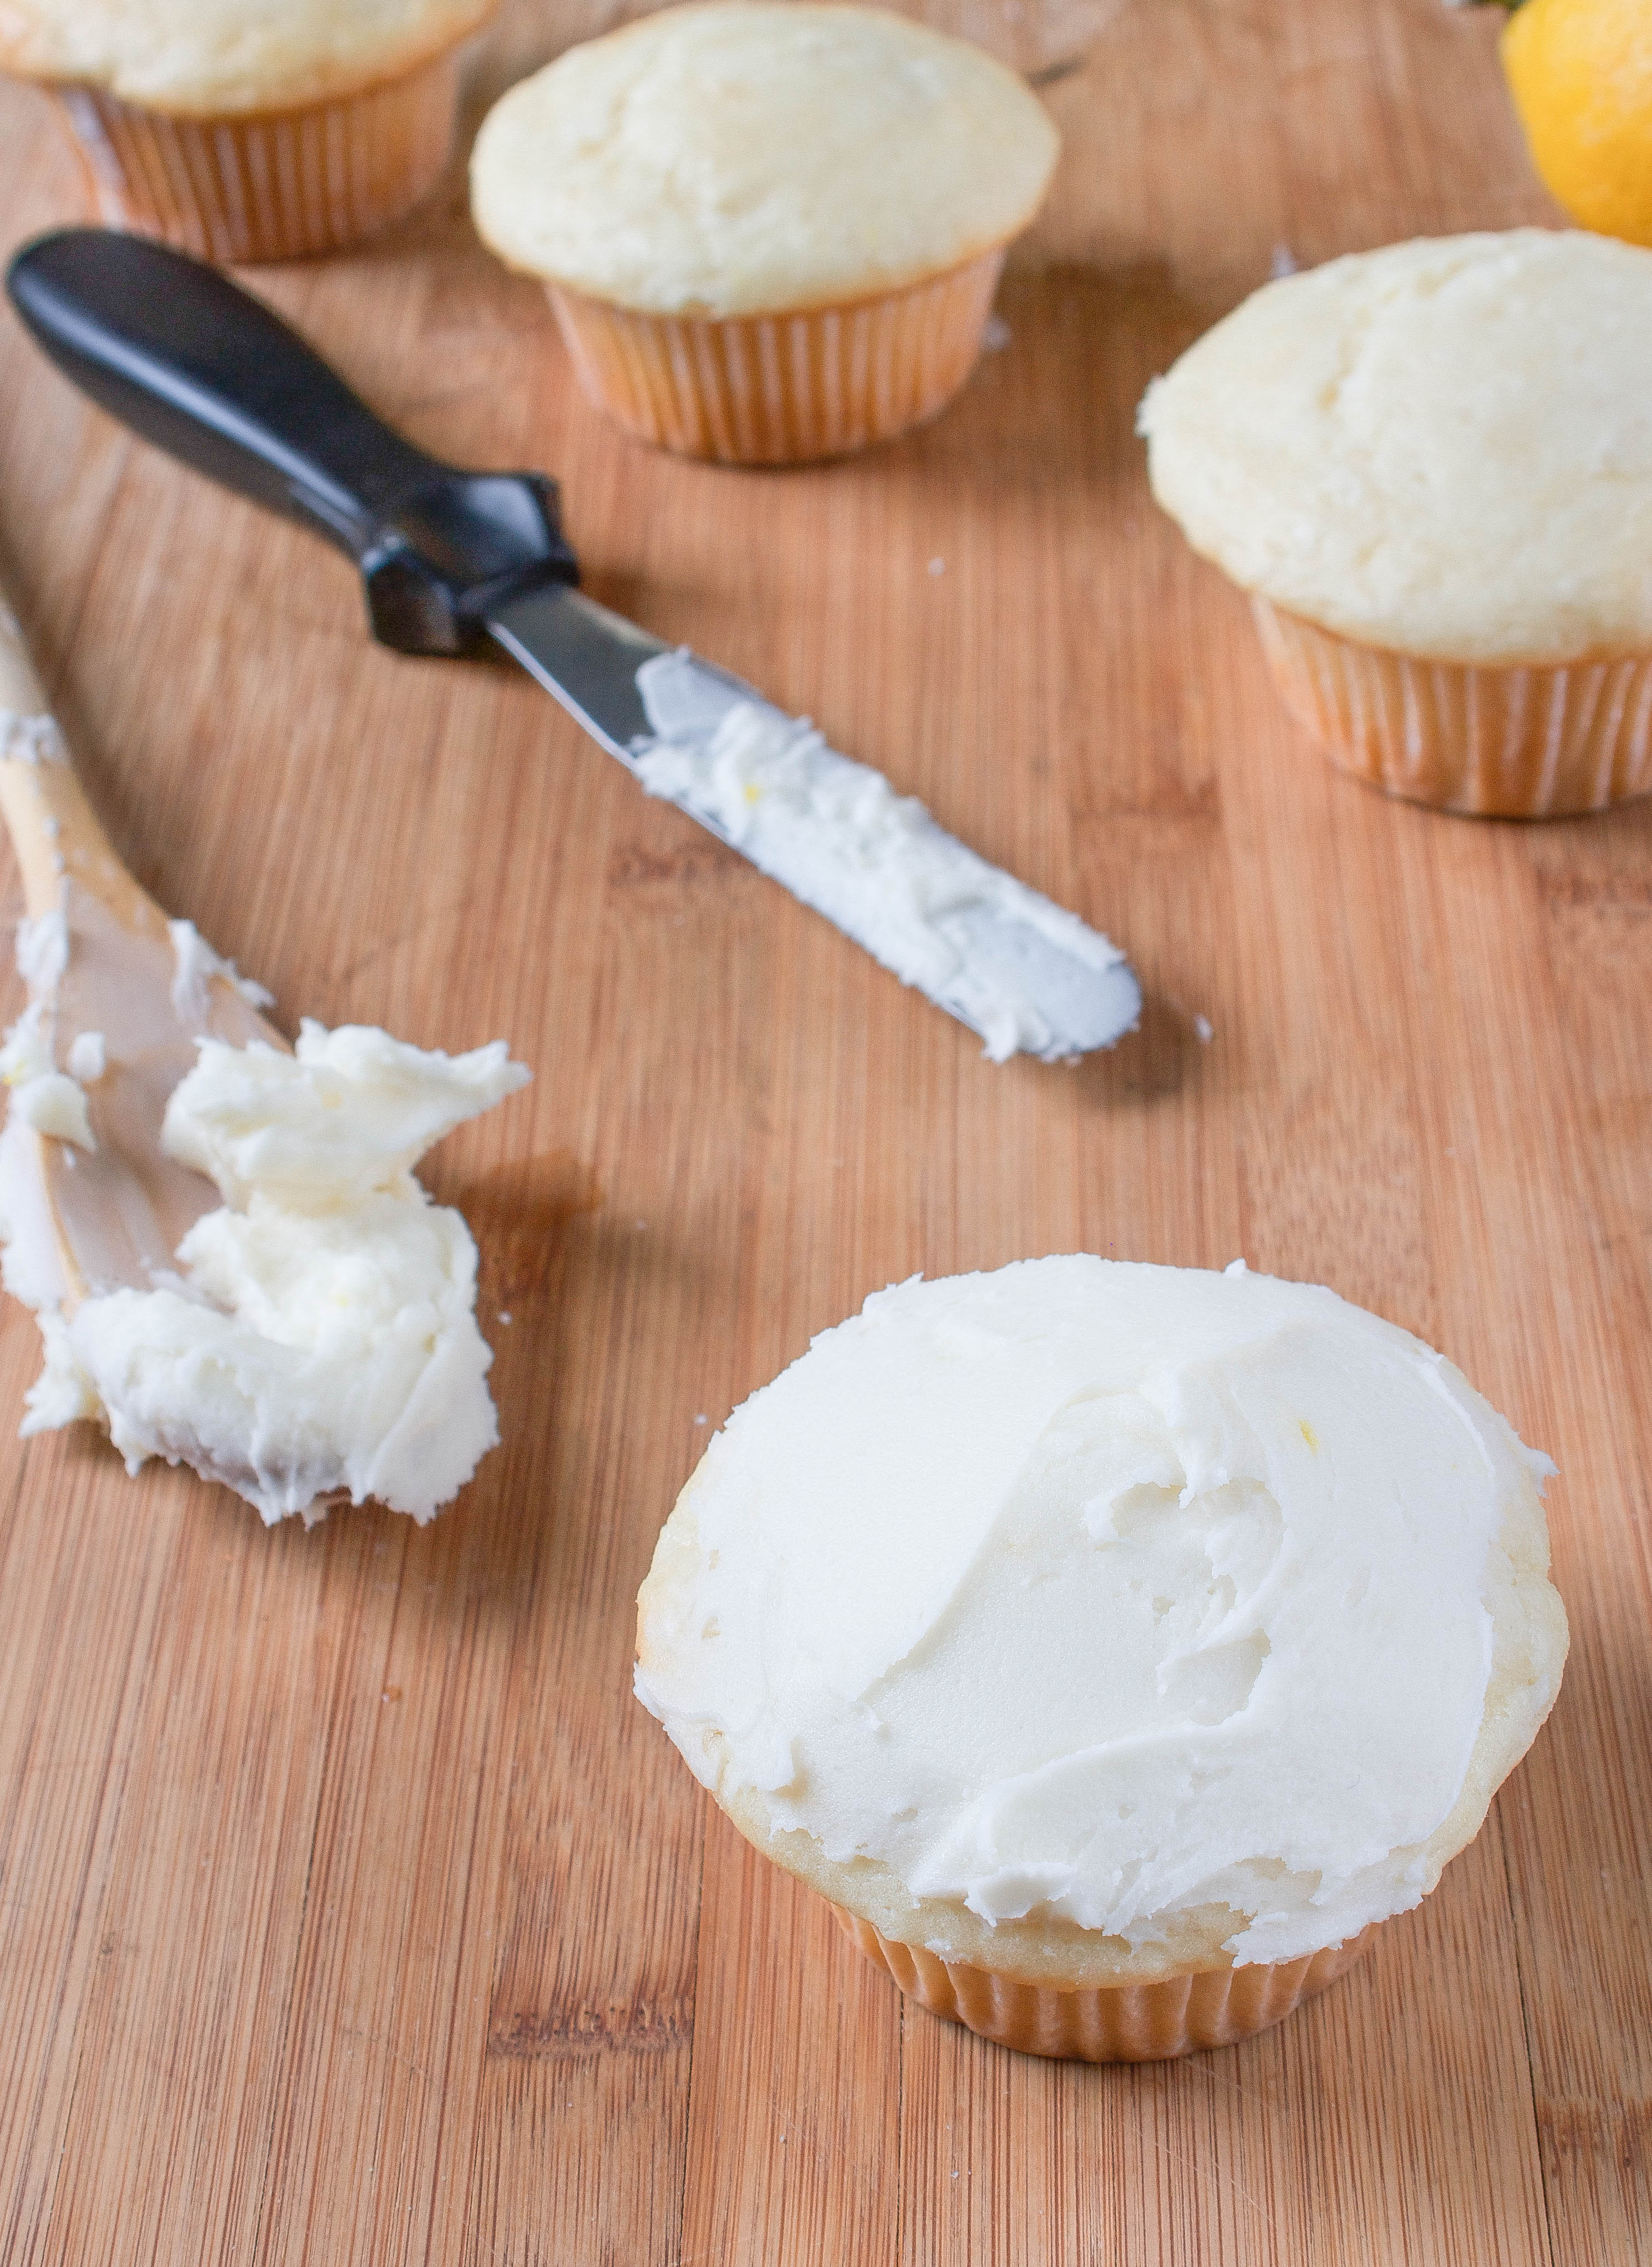
When my birthday rolled around a few weekends ago I made these cupcakes a few days early to bring into work–just a premade vanilla cake mix, coconut milk instead of whole milk, and shredded coconut and lemon zest added in. 

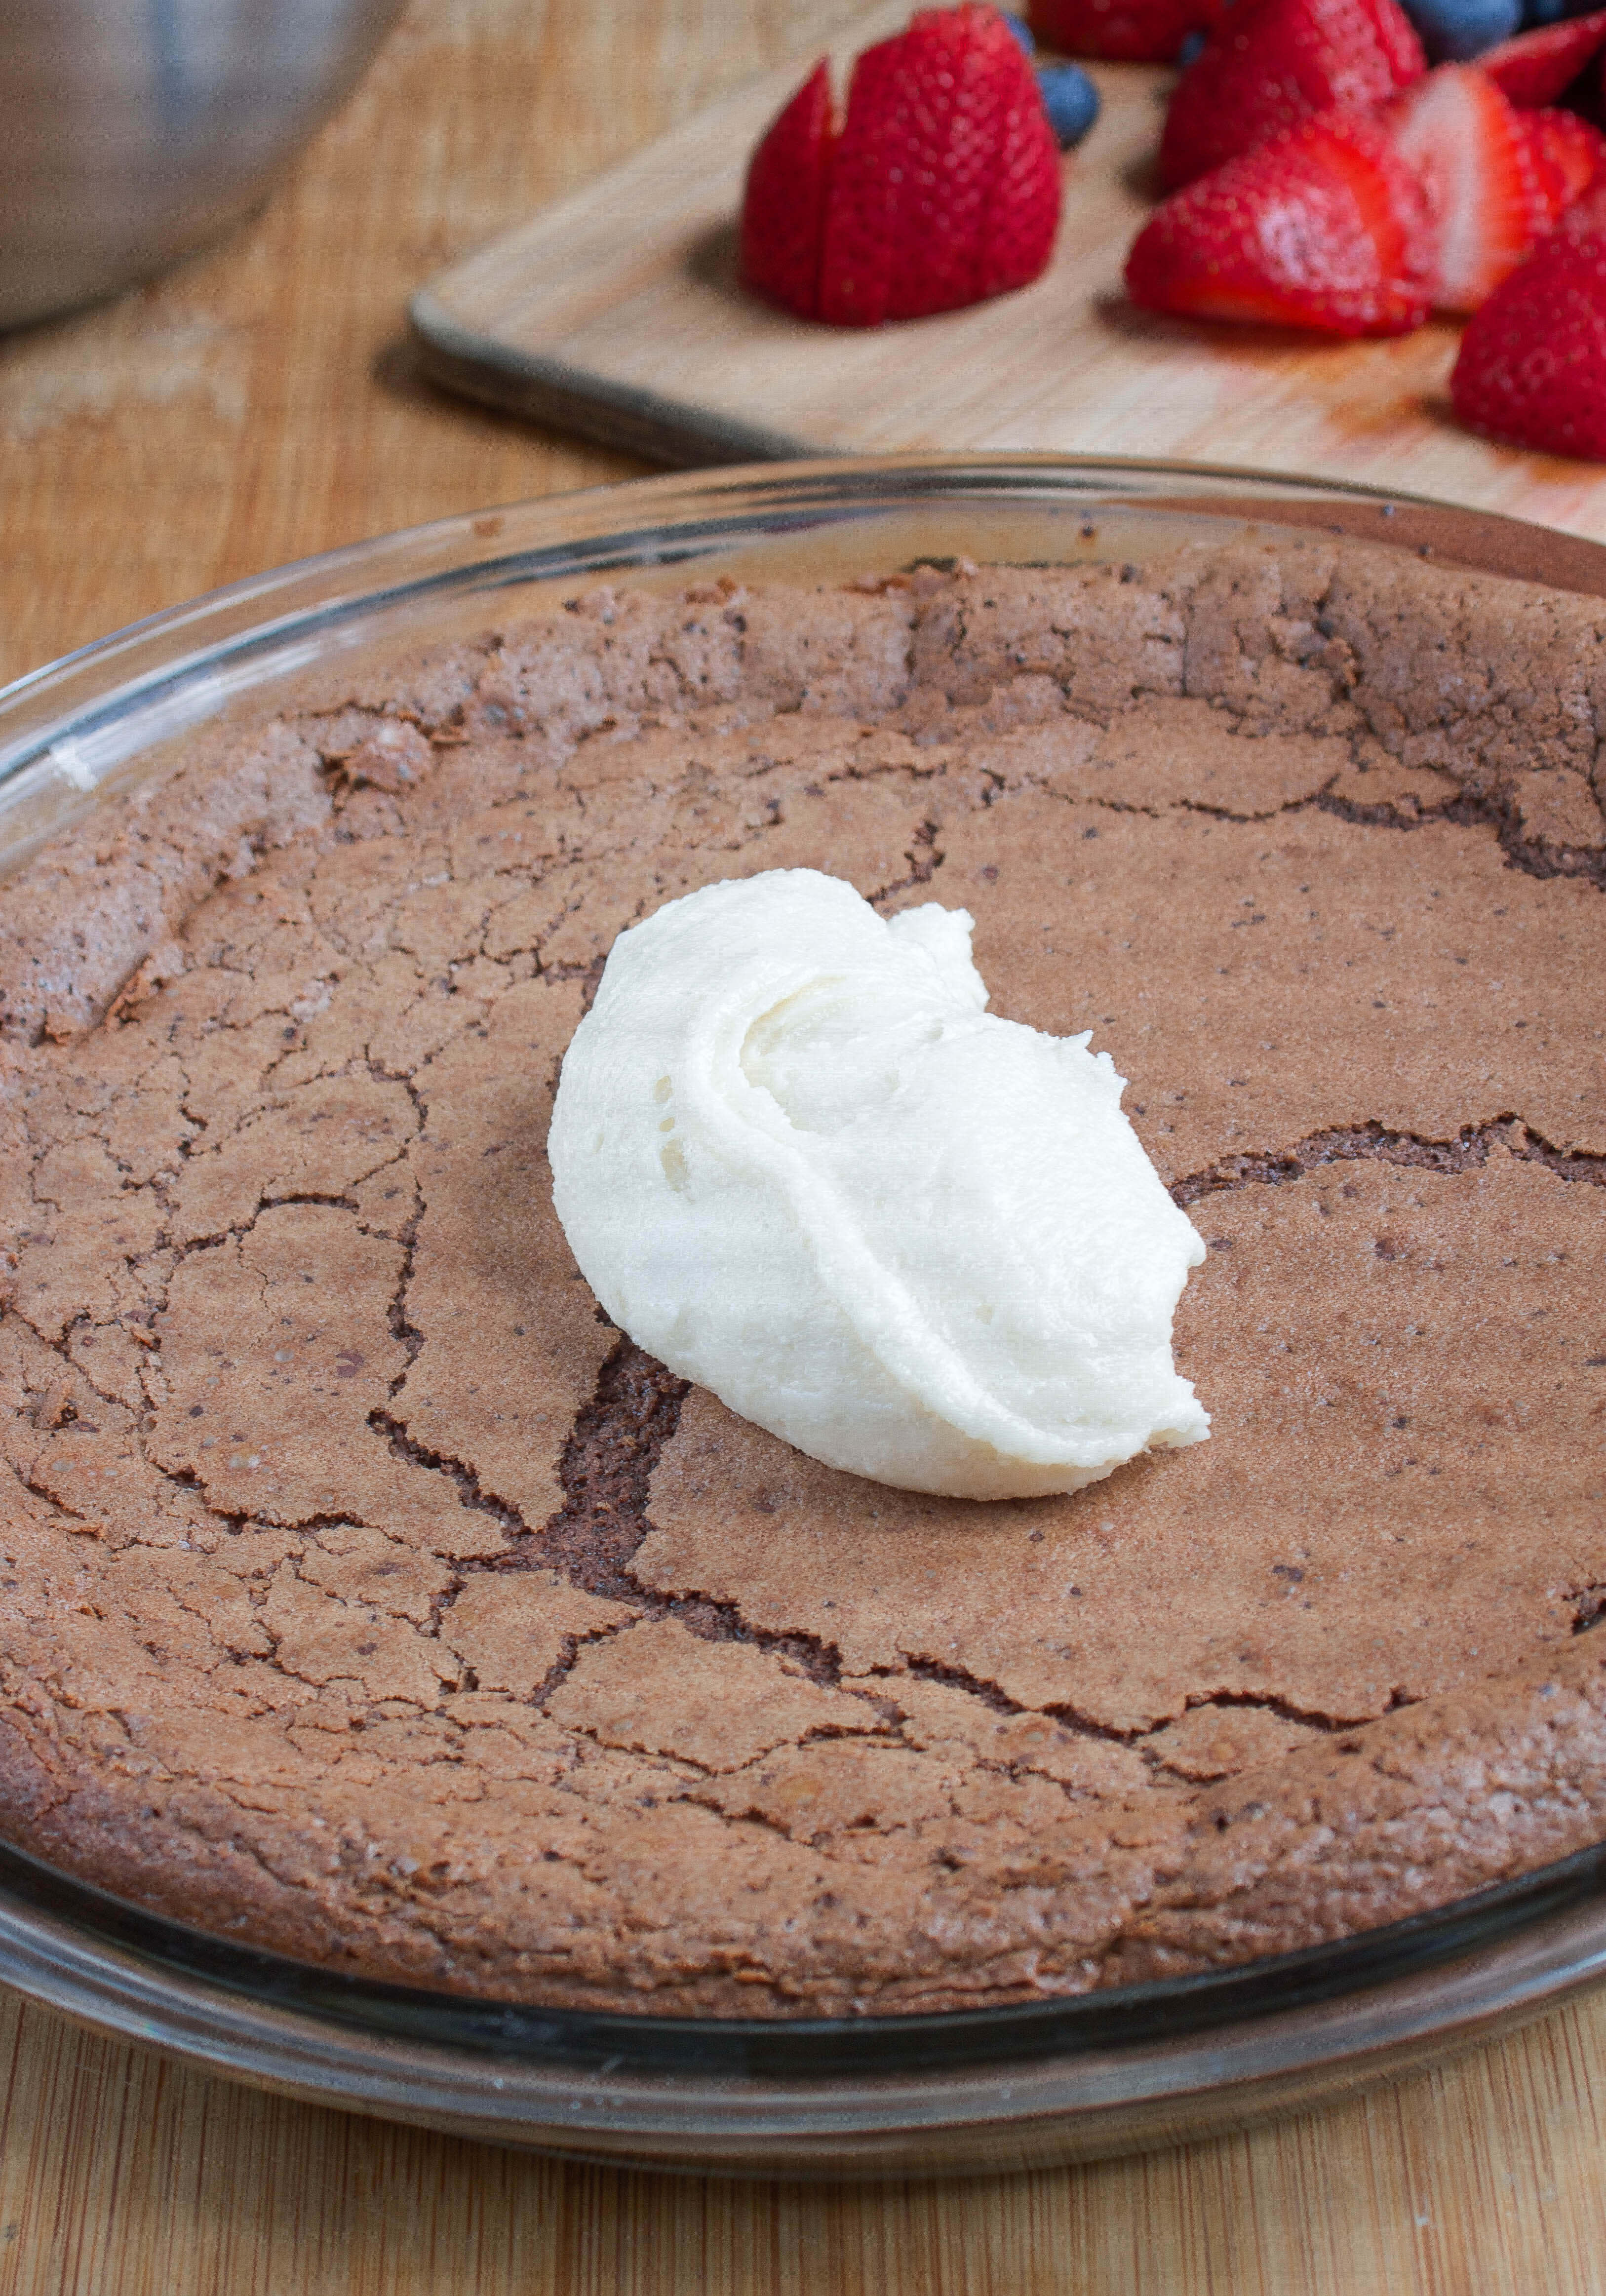
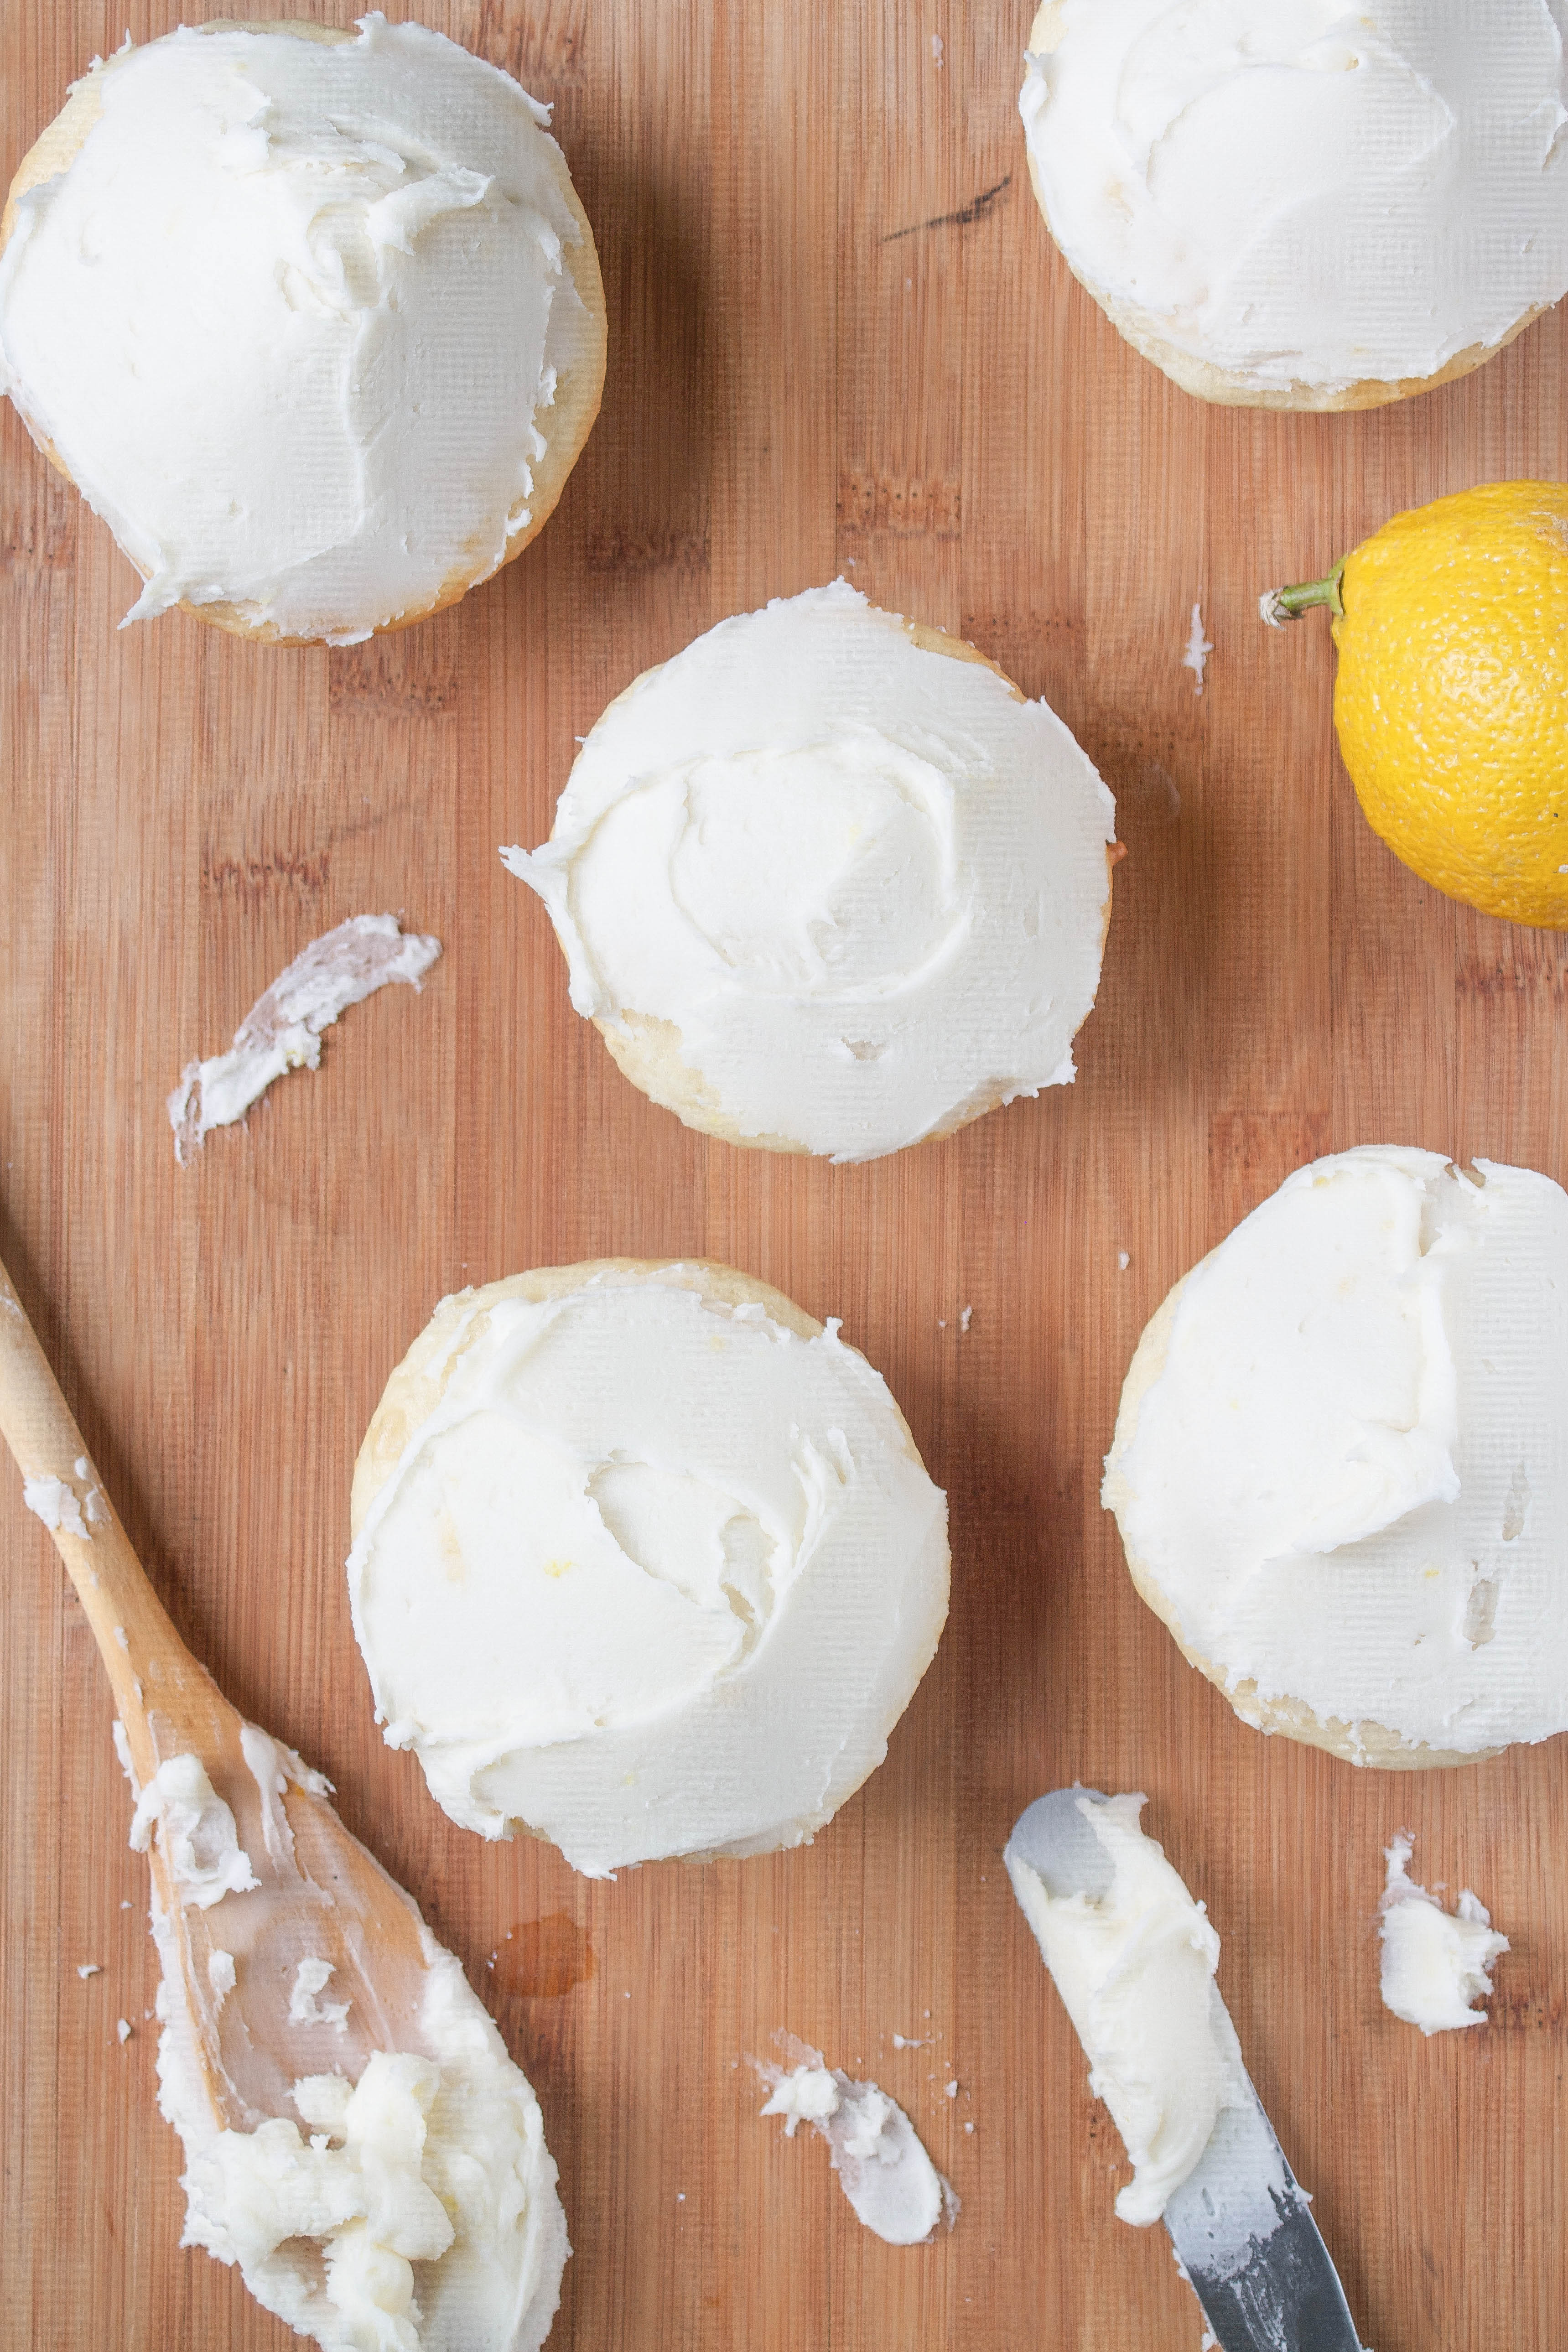
The frosting I made was from scratch but came out just as easy and delicious. Using vanilla extract and lemon zest gives it an extra layer of flavor that you’ll want to lick off the bowl. 

Easy Lemon Buttercream

This frosting works well with any number of lighter-flavored cupcakes. You can try it on cupcakes with vanilla, coconut, berries, or even white chocolate.

Easy Lemon Buttercream

Prep time: 15 minutes

Cook time: 0 minutes

Ingredients(Makes enough for 18 cupcakes):

  • 1 stick butter, room temperature
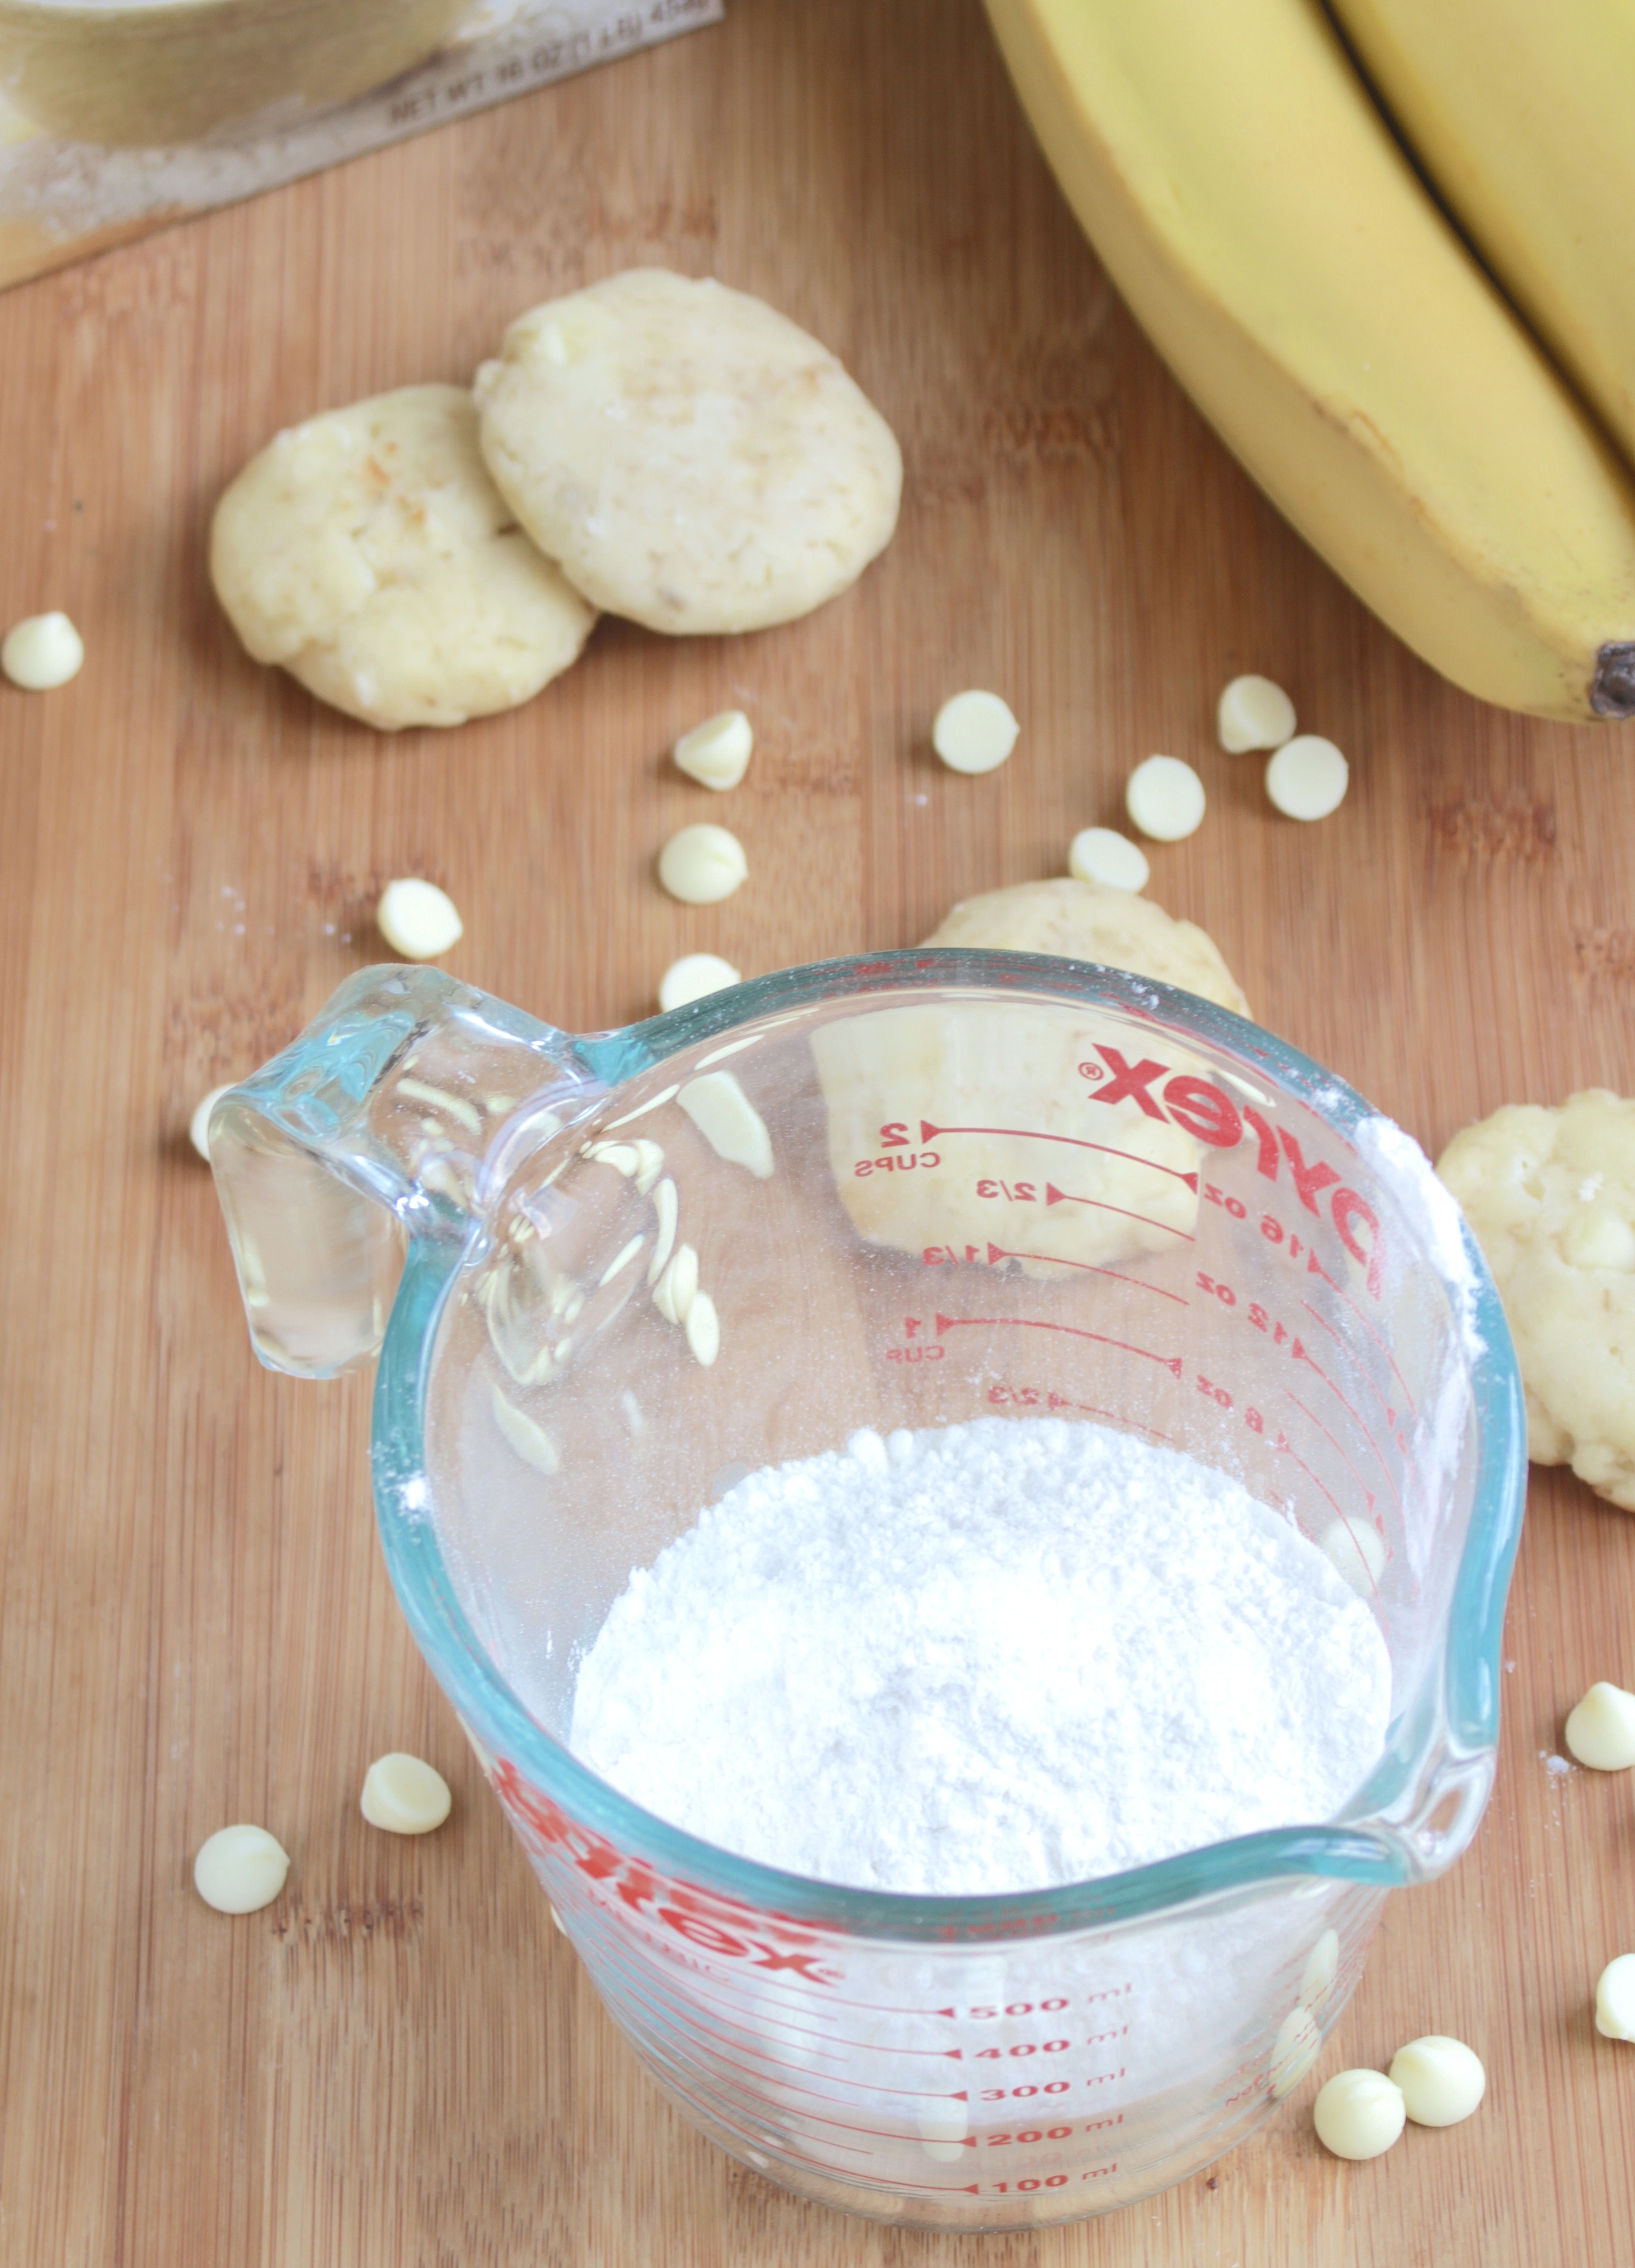
  • 2 1/4 cup powdered sugar, sifted
  • 1/2 teaspoon vanilla extract
  • 1 1/2 Tablespoons whole milk or half & half
  • 1 teaspoon finely zested lemon

Method:

  1. In a large bowl, combine all of the ingredients. Make sure to use an extra fine zester with the lemons to avoid chunks in the frosting. 
  2. Beat with an electric beater until mixed and the frosting’s smooth and silky. If the powdered sugar stops mixing in, add milk by the teaspoon until it reaches the right consistency.
  3. Frost using a frosting spreader or a pastry bag. If you’re using a pastry bag, add an extra teaspoon of milk before beating to make the frosting smoother and easier to squeeze out. 

Strawberry Hazelnut Creme Parfaits

Strawberry Hazelnut Creme Parfaits

Valentine’s Day usually marks the last good dessert you can eat and not feel guilty about during the holiday season before you have to wait another 8 months for Thanksgiving to roll around. You might as well make it a really good one.

Last year I got to go to Stonyfield‘s launch party for Petite Creme and sample all the flavors served along champagne, puff pastries, and fine wine. There’s definitely something special about Petite Creme. It’s creamy and elegant in a way most yogurts aren’t. Making a faux “mousse” for this parfait with it is definitely a kitchen cheat no one will mind. 

Strawberry Hazelnut Creme Parfaits

Using the vanilla bean flavor here (my personal favorite) makes the strawberry and Nutella a little more complex in my opinion. Make sure to use a flavorful strawberry jam for the best results. I made this into two servings and it was almost too rich to finish. It’s definitely a hefty dessert, so if you’re looking for something lighter try splitting this between 4 shot glasses and having taster desserts.

Strawberry Hazelnut Creme Parfaits

Prep time: 15 minutes

Cook time: 0 minutes

Ingredients(Makes 2 large servings or 4 tasters):

  • 2 5.2oz vanilla bean Petite Creme
  • 1/4 cup Nutella 
  • 1/4 cup strawberry jam
  • 2 Tablespoons chopped hazelnuts

Method:

  1. In one bowl, mix together 1 container of vanilla petite creme and 2 Tablespoons Nutella.
  2. In a separate bowl, mix together 1 container of vanilla petite creme and 2 Tablespoons strawberry jam.
  3. Divide the Nutella mousse between 2 to 4 small parfait glasses. Shake gently so that the top is level.
  4. Gently melt the remaining Nutella in a microwave until it’s liquid. Pour the liquid Nutella over the Nutella mousse and spread out gently with a spoon in an even layer.
  5. Mix the remaining strawberry jam with enough water (about 2 teaspoons) to make it fluid. Pour gently over the Nutella in the parfaits and spread out lightly with a spoon.
  6. Add 1/2 Tablespoon of chopped hazelnuts on top of each parfait.
  7. Scoop the strawberry mousse gently into the parfait glasses and shake lightly to make level.
  8. Refrigerate the parfaits for 10-15 minutes to cool slightly.
  9. Remove from the refrigerator and garnish with any remaining chopped hazelnuts.

Cumin-Spiced Red Beans

Taco Flavored Beans

Homemade breakfast on the weekend is a usually my reward for 5 days of quick, processed breakfasts eaten at a desk or sometimes standing up. Melted cheese, runny yolks, and lots of flavor are a must.

One of my favorite things to make is lightly-fried corn tortillas filled with this spicy bean mixture. It’s just the right balance of salt, spice, and richness to start off the day topped with some pepper jack or parmesan cheese. You can serve it next to rice or scrambled eggs for a more protein-filled plate. Use either mild, medium, or hot salsa to adjust the heat.

Cumin-Spiced Red Beans

Prep time: 5 minutes

Cook time: 5 minutes

Ingredients(Makes 2 servings):

  • 1 cup black beans, drained
  • 1/2 cup salsa 
  • 1 1/2 Tablespoons butter
  • 3/4 teaspoon cumin

Method:

  1. Heat up the beans and salsa in a pan over a burner set to medium.
  2. Stir the beans and salsa along with the cumin as it comes to a boil. Keep stirring until most of the liquid boils off and the mixture is thick.
  3. Add in the butter and continue stirring until it melts. Once the butter’s melted completely, turn off the heat and mix for a minute over the stove as it cools.
  4. Serve hot with shredded or shaved cheese on top.

Maple Vanilla Oatmeal

Maple Vanilla Oatmeal

Some meals are too simple to ever justify paying for them; oats should be at the top of that category. In the corner restaurant near my apartment, cinnamon is considered a premium topping right next to blueberries and strawberries. Would you really pay extra for a finger-tip worth of cinnamon? Put that wallet away.

If you don’t have a go-to oatmeal recipe, Winter’s a good time to pick one up. It’s warm, hearty, and filling but quick and easy to put together for 1 or a crowd. You can dress this recipe up with walnuts, raisins, sliced apples, or any number of different mix-ins, but on its own it’s good, too. 

The vanilla in this recipe adds a slightly savory and complex flavor to cut the sweetness of the maple, but if you’re making this for a picky palate you might want to leave it out.

Maple Vanilla Oatmeal

Prep time: 5 minutes

Cook time: 5 minutes

Ingredients(Makes 2 Servings):

  • 1 1/2 cups rolled oats
  • 1/8 teaspoon vanilla extract
  • 3 Tablespoons maple syrup
  • 1/4 teaspoon salt
  • 1/2 teaspoon cinnamon

Method:

  1. Combine the oats, salt, and 2 3/4 cup water in a medium pot on the stove.
  2. Bring the pot up to a boil over medium-high heat stirring occasionally. Leave uncovered.
  3. As the water boils stir more constantly with a wooden spoon.
  4. When the oats have cooked and stick together, turn off the heat. Add in the vanilla, syrup, salt, and cinnamon and continue stirring for 20 seconds.
  5. Remove from the heat and let cool slightly before scooping into 2 bowls.
  6. Serve warm with brown sugar and cinnamon on top. 

Homemade Honey Walnut Cream Cheese

Homemade Honey Walnut Cream Cheese

People tend to think that when you’re gluten-free you spend your life missing all carbs. That’s certainly not true, but I definitely miss certain carbs like cinnamon crunch Panera bagels smothered in sweet hazelnut cream cheese.

Some things are hard to make at home(like bagels, unless you’re looking to give away an afternoon for amorphous doughballs). Other things are super easy; you can make this cream cheese in 5 minutes and actually be excited about a weekend breakfast at home.

Adding salt and vanilla might seem a little strange, but it helps round out the flavors of the honey to be salty-sweet and a little savory. Toasting the walnuts is well worth the effort for the overall flavor. This recipe works perfectly with full-fat cream cheese, low-fat cream cheese, or non-dairy alternatives. 

Homemade Honey Walnut Cream Cheese

If you’re not a fan of honey you can also use an equal amount of maple syrup. Try using peanuts instead of walnuts for a different flavor or just leave them out completely for a nut-free recipe and you’ll still have a delicious spread.  

Homemade Honey Walnut Cream Cheese

Prep time: 5 minutes

Cook time: 0 minutes

Ingredients(Makes 12 squares):

  • 1 block cream cheese, softened to room temperature
  • 1/2 cup honey
  • 1/3 cup walnuts
  • 1/8 teaspoon salt
  • 1/8 teaspoon vanilla extract

Method:

  1. In a large bowl, beat together the honey and cream cheese until well-mixed.
  2. Heat up a small pan over a low burner. Add in the walnuts and toss until they’re toasted.
  3. Add the walnuts, salt, and vanilla to the honey cream cheese and fold the ingredients in.
  4. Serve immediately or store refrigerated in an air-tight container. 

Halloween Chex Mix

Halloween Chex Mix

Candy corn is a polarizing food. People usually either can’t get enough of it or can’t stand the stuff.

I love it and would eat a whole bag in one sitting. Since that’s probably not the best idea you have to find ways to mix it up and make it a little more filling. This Chex mix isn’t health food but it’s just the right balance of sweet and sweeter for a party or just an afternoon. 

Coating some of the Chex cereal with melted chocolate adds an unexpected layer and makes it slightly more decadent. You can make this more fun at a Halloween party by creating different names for the ingredients like bat droppings and witch’s nails. 

Halloween Chex Mix

A note from the last batch of Halloween Chex Mix I made: If gelatin’s a problem ingredient for you, some manufacturers don’t use it in their candy corn. Instead of Brachs, try CVS store brand candy corn. 

Halloween Chex Mix

Prep time: 15 minutes

Cook time: 0 minutes

Ingredients(Makes 12 squares):

  • 2/3 cup chocolate chips, divided
  • 2  1/2 cups Chocolate Chex, divided
  • 1 Tablespoon butter
  • 1 Tablespoon milk
  • 1 1/2 cups Vanilla Chex
  • 1/2 cup candy corn

Method:

  1. Melt 1/3 cup chocolate chips gently, set the rest aside.
  2. When melted, stir in the butter and milk until silky and smooth.
  3. In a large bowl, mix 1 1/2 cups Chocolate Chex cereal with the melted chocolate until covered.
  4. Lay the cereal out on a non-stick tray and refrigerate for 10 minutes until the chocolate has set. Once set, break apart any clusters of cereal stuck together. 
  5. In a large bowl, toss together the remaining chocolate chips, remaining Chocolate Chex, Vanilla Chex, and candy corn. 
  6. Serve or store in an air-tight container at room temperature. 

4th of July Flourless Chocolate Cake

Gluten-Free Flag Cake

Cake is never my favorite dessert. Brownies, fudge and frosting are. So when I make a cake the fudgier and dense it is the better.

My mom’s made this flourless cake for years. I first had it during passover at a bake sale when it was one of the few flour-free treats people would flock to. Since then it’s been a go-to recipe.

The cake is just eggs, sugar, chocolate, and butter; it can’t get any simpler than that. For the frosting I used a basic vanilla buttercream and fresh berries to make it festive. When adding berries to baked goods you make the shelf life much much shorter, so add them at the last minute and make sure to eat it up fresh!   

Flourless Flag Cake

If you do prefer a lighter and cakier base, try this gluten-free recipe using almond and coconut flours. 

4th of July Flourless Chocolate Cake

Prep time: 20 minutes

Cook time: 40 minutes

Ingredients(Makes 20 servings):

For the cake:

  • 1 stick butter, melted

  • 3/4 cup sugar

  • 6 eggs

  • 1 cup chocolate chips OR 8.5 oz chocolate, melted

For the frosting:

  • 1 stick butter, room temperature

  • 2 1/2 cups powdered sugar

  • 1 teaspoon vanilla extract

  • 2 Tablespoons milk or cream

  • 1 pint strawberries, sliced

  • 1 pint blueberries

Gluten-Free Chocolate Cake

Method:

  1. Preheat your oven to 350 degrees.
  2. Beat together the butter and sugar, adding in eggs one at a time until all of them are incorporated. The batter should be smooth and ribbony.
  3. Melt the chocolate in a double boiler or microwave.
  4. Slowly temper the melted chocolate into the batter until it’s completely mixed in.
  5. Grease a 9-inch cake pan and pour the batter in.
  6. Bake for 40 minutes or until a cake tester inserted into the center comes out clean.
  7. Remove the cake and let it sit undisturbed until it cools to room temperature. It should deflate as it cools. Don’t worry if the top cracks since it will get covered eventually.
  8. To make the frosting, whip together the butter, sugar, vanilla, and milk until smooth.
  9. Lightly dust the top of the cake with powdered sugar to make sure the frosting doesn’t pull crumbs.
  10. Spread the frosting on gently and evenly.
  11. Arrange the strawberries and blueberries however you’d like right before serving. Store leftovers in a air-tight container in the refrigerator for up to 2 days.  

4 Memorial Day Dessert Recipes

When the Summer comes around, it makes me realize how boring the Winter was. Every weekend someone’s having a picnic or a party or a birthday. It’s a really good problem to have.

Assuming you have one(or all) of those lined up for Memorial Day weekend, I wanted to share 4 of my favorite recipes to celebrate the warmer weather(of course if it’s too warm and chocolate starts melting, then it’s a travesty).

Any of these are a great way to finish off a picnic or a backyard barbecue depending on what your mood is. Each recipe is also gluten-free or easily tailored to be. 

Gluten-Free Chocolate Flag Cake

Gluten-Free Chocolate Flag Cake–Because every memorial day needs some patriotism. The great thing about cake is that it can’t melt, so if it’s hot out you can still have a tasty time. This cake defies normal gluten-free cakes with a super moist base and a rich vanilla frosting. You can’t really go wrong.

Chubby Hubby Cheesecake

Chubby Hubby Cheesecake is on my short list of recipes to make soon. It’s pretty much a home run with any crowd with good taste. It’s easy to make gluten-free, too, by using gluten-free pretzels or even vegan with dairy-free substitutes.

Chocolate-Covered Strawberries

Chocolate Covered Strawberries are of course a classic dessert for any Summer party. As long as it’s not too hot out, these are a refreshing way to cool down. Create a variety by using milk, white, and dark chocolate.

Red White and Blue Stuffed Strawberries

Red, White, & Blue Strawberries take the chocolate covered strawberry idea and flip it inside out(literally). These take a little more time and skill but they’re worth the effort. If you’re up for a challenge and ready to impress, give these a go.

Happy Memorial Day!

Banana White Chocolate Chip Cookies

Banana White Chocolate Chip Cookies

Bananas get a worse rap than any other fruit. You never hear of people who refuse to eat blueberries or mangoes; what makes the banana so loathable?

If you do love bananas then this is the right cookie recipe. They aren’t overly cakey or fruity–they’re just right.

The flour I used was Betty Crocker’s gluten free baking flour. It’s mostly rice based which keeps the cookies light and airy. If you use wheat flour I’d suggest all-purpose or cake flour.

Banana White Chocolate Chip Cookies

I made mine with coconut oil and the flavor was even better. If you don’t have coconut oil, try adding shredded coconut.

Banana White Chocolate Chip Cookies

Prep time: 10 minutes

Cook time: 12 minutes

Ingredients(Makes 18 cookies):

  • 1 banana, mashed
  • 2 eggs
  • 1/4 cup oil(coconut oil works well here)
  • 1 teaspoon vanilla extract 
  • 1/2 teaspoon baking powder
  • 1/2 cup sugar
  • 1 3/4 cup all purpose flour
  • 1/4 teaspoon salt
  • 1/3 cup white chocolate chips 

Method:

  1. Preheat your oven to 350 degrees. 
  2. In a large bowl, mix together the banana, eggs, oil, and vanilla. 
  3. Add in the baking powder, sugar, flour, and salt and mix well until it makes a soft dough.
  4. Fold in the white chocolate chips evenly. 
  5. Roll the dough into 1-inch balls and flatten them to about 1/2 inch thickness before putting them on a nonstick baking tray. 
  6. Bake for 12-15 minutes until the bottoms begin to brown and the top is crispy. 
  7. Remove from the oven and let cool. Store in an airtight container for up to a week. 

Raw Chocolate Fudge Pie

Rich raw chocolate fudge pie

If there’s any way to make peace after 2 weeks of not posting it’s this recipe.

Spending the weekend with friends or family is great but usually leads to a week without recipes. Last weekend was the exception. My friend Eury visited and stayed with me and insisted(she’s going to hate that word–“suggested”) we make the raw fudge pie recipe she’s been working on.

Whether you’re gluten-free or gluten-full, vegan or a meat lover, there’s no denying raw desserts are just better than regular ones. They’re always fudgier, creamier, more flavorful, and easy to convince yourself they’re healthy so you can go back for seconds.

Rich raw chocolate fudge pie

With permission I’m sharing Eury’s recipe which’ll easily win over the staunchest crowd. The cashew filling has the same taste and texture as any milk chocolate fudge.  If you do not care about the health benefits of eating raw and only make this because raw desserts have amazing flavors and textures, feel free to substitute the maple syrup for honey, corn syrup, or simple syrup. 

Raw Chocolate Fudge Pie

Prep time: 20 minutes

Cook time: 0 minutes

Ingredients(Makes 16 servings):

For the crust:

  • 3/4 cup almonds
  • 1/2 cup walnuts
  • 1/4 cup + 2 Tablespoons unsweetened cocoa powder
  • 3 Tablespoons maple syrup
  • 1 teaspoon vanilla extract

For the filling:

  • 2 cups cashews
  • 1/2 cup maple syrup
  • 1/2 cup water
  • 1/2 cup coconut oil
  • 3/4 cup unsweetened cocoa powder
  • 2 teaspoons vanilla

Method:

  1. Pulse the almonds and walnuts in a food processor until finely chopped.
  2. Add in the syrup, cocoa powder, and vanilla for the crust and continue processing until it forms a mixed dough.
  3. Press the dough into a 9-inch pan until the bottom’s about 1/4-inch thick.
  4. For the filling, process the cashews into a fine powder. Make sure not to over blend them into cashew butter.
  5. Add in the maple syrup and water and continue blending until smooth.
  6. Add in the rest of the ingredients and process until it forms a smooth liquid filling.
  7. Pour the filling over the crust and spread into an even layer.
  8. Refrigerate for ~4 hours until the center has set. Cut with a sharp knife into servings. Refrigerate when not enjoying.