Tag Archive: Recipe

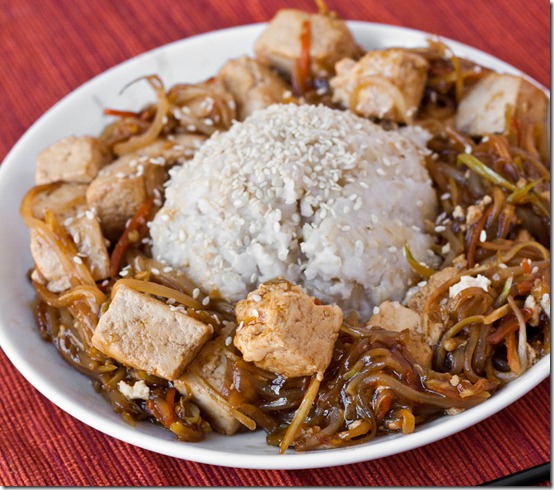
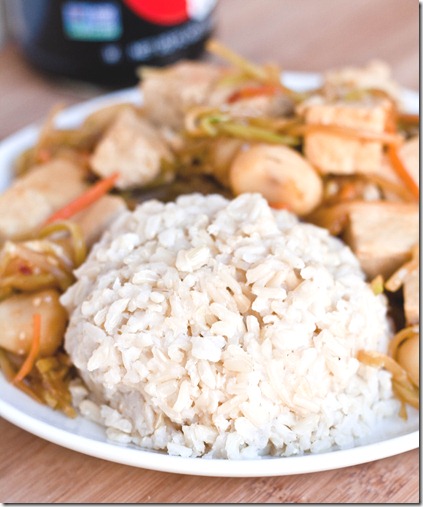
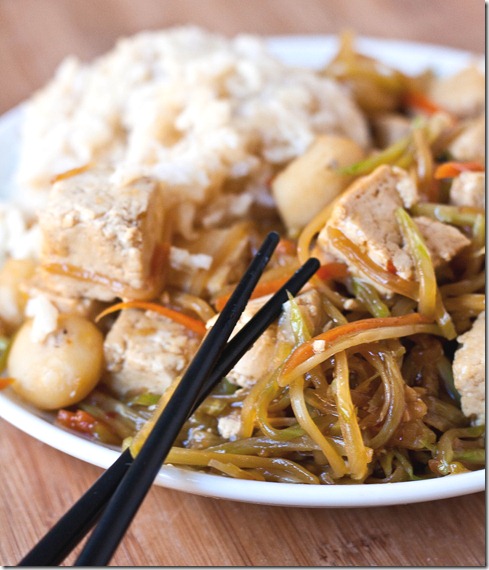
Healthy Tofu Stir-Fry

Healthy-Tofu-stir-fry

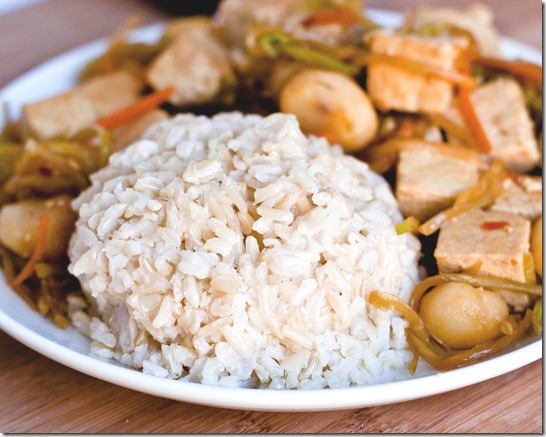
When I posted about seasoning rice, I got asked what I was eating it with. Well, here’s the recipe. It’s really hard to find gluten-free vegetarian options at Chinese restaurants. Most of the times I’ve been able to eat out, it’s been fried tofu, which is lovely the first few times but after a while starts weighing you down. Some things are just better to make yourself.

I didn’t press my tofu before making this but it would probably help the texture of the tofu. You could swap in tempeh cubes, seitan, or shredded chicken. To keep it gluten-free, make sure to use a wheat-free soy sauce.

Healthy Tofu Stir-Fry

Prep time: 5 minutes

Cook time: 15 minutes

Ingredients(Makes 2 servings)

  • 1 block firm or extra firm tofu, cubed
  • 2/3 cup bean sprouts
  • 2/3 cup broccoli slaw
  • 3 Tablespoons soy sauce
  • 1/4 cup sugar OR 3 Tablespoons liquid sweetener
  • 1 Tablespoon sriracha sauce(optional)
  • 2 Tablespoons cooking starch(arrowroot, tapioca, or corn) + 2 Tablespoons water
  • 1/2 teaspoon salt
  • 1 Tablespoon toasted sesame oil(optional)

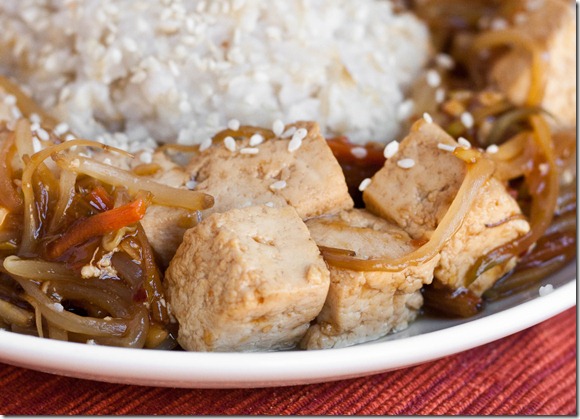
Healthy-Tofu-stir-fry-close-up

Method:

  1. Heat up a large frying pan over medium heat and toss in the tofu, bean sprouts, broccoli slaw, soy sauce, sweetener and sriracha. Mix thoroughly
  2. Cover with a lid and let the contents steam until the vegetables are tender and the tofu has taken on a brown color, about 5-10 minutes.
  3. Dissolve your cooking starch in the water and pour it into the pan. Quickly mix the contents around while the starch turns the cooking liquid into a glaze.
  4. Finish with salt and sesame oil if using. Serve hot with vegetables or rice.

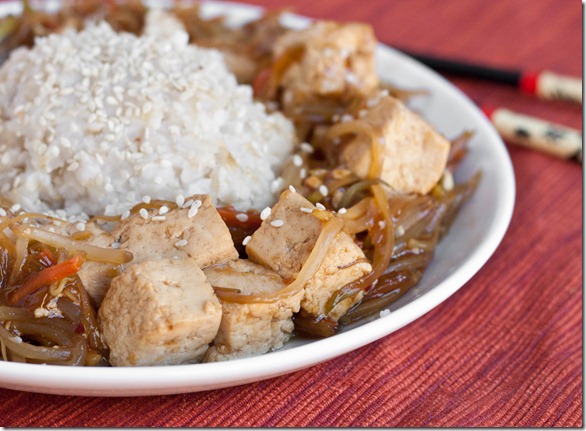
Healthy-Tofu-stir-fry-plated

This goes great with seasoned rice or healthy Chinese broccoli. I wouldn’t omit the sweetener or it would taste rather bland. If you don’t use the sriracha, add about 1/2 Tablespoon of rice vinegar instead to make the flavor pop.

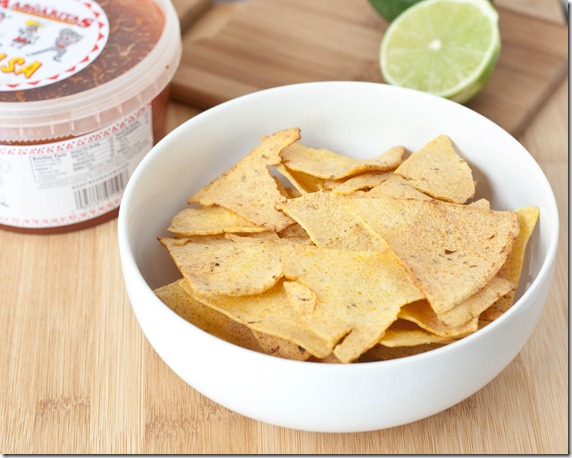
Homemade Lime Tortilla Chips

homemade-lime-tortilla-chips

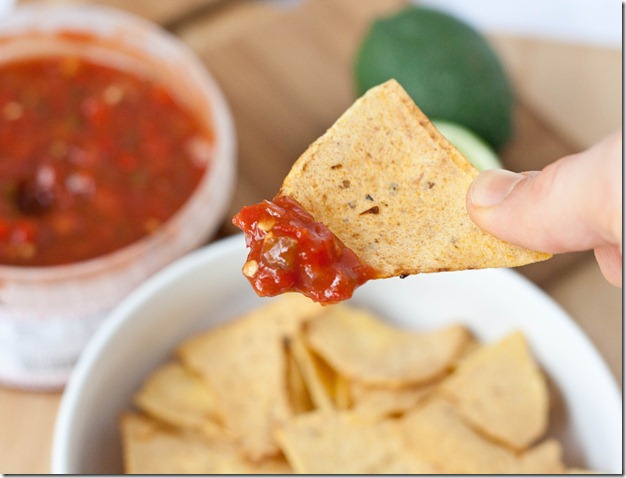
One of my favorite snacks used to be tortilla chips “with a hint of lime”. You know the ones that were so salty it was borderline sickening but you couldn’t stop snacking on them? I assume they still sell those even though I haven’t shopped for them in ages. But one day it hit me: Why not make my own?

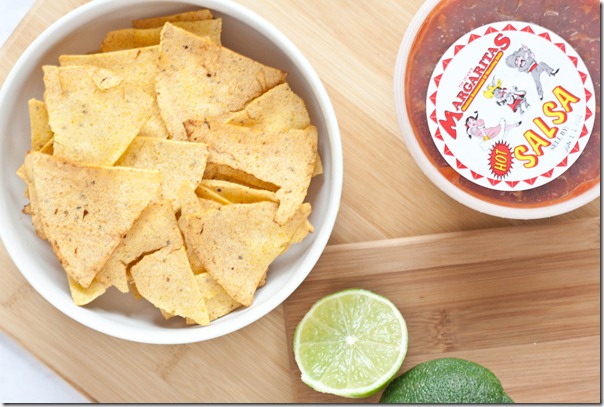
homemade-lime-tortilla-chips-salsa

These aren’t made completely from scratch; to start you use corn tortillas, which you can get practically at any grocery store. They’re one of my new favorite things to pick up because they’re so versatile and naturally gluten-free. Besides that you just need some limes and a few other common pantry items.

Because they’re baked, they’re also a little healthier than your average tortilla chip. They’re flavorful enough to be eaten on their on, or go really well with salsa or guacamole.

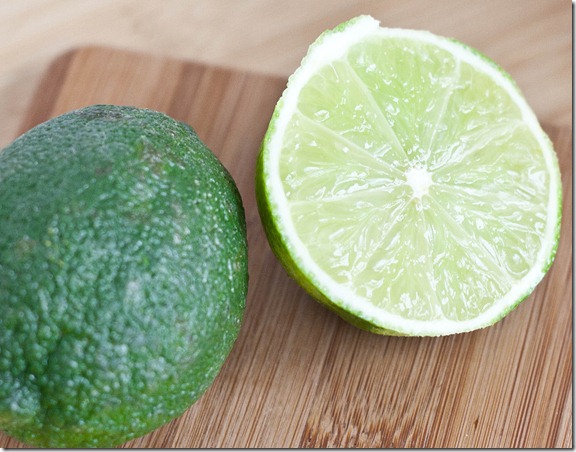
homemade-lime-tortilla-chips-limes

Homemade Lime Tortilla Chips

Prep time: 10 minutes

Cook time: 30 minutes

Ingredients:

  • 10 6-inch corn tortillas
  • 1 Tablespoon oil
  • 1/2 teaspoon salt
  • Zest from 1 lime
  • Juice from 1/2 lime(about 1 Tablespoon)

homemade-lime-tortilla-chips-over-head

Method:

  1. Preheat your oven to 350 degrees.
  2. Cut your tortillas into halves and then thirds.
  3. In a large bowl, toss all of the ingredients together until the chips are covered in juice.
  4. Lay the chips out on a baking tray lined with parchment paper. They don’t need to be in a single layer but do your best to keep overlap to a minimum.
  5. Bake for 25-30 minutes until the tortilla chips turn golden and are crisp.
  6. Remove them from the oven and pick the chips apart so that they don’t stick to each other. Serve hot with salsa or guacamole or on their own.

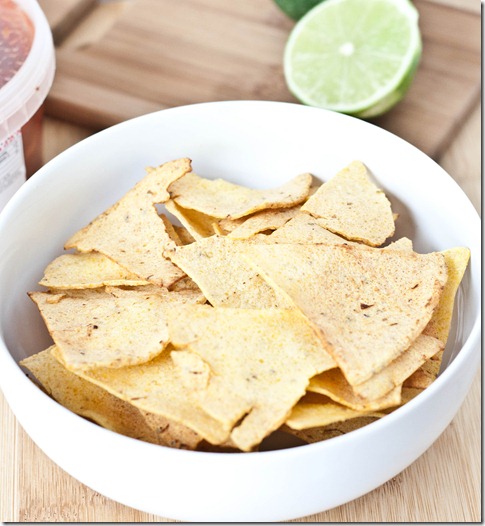
homemade-lime-tortilla-chips-finished-product

Next time I might add a bit of sugar to enhance the lime flavor since a little sugar is never a bad thing. Otherwise, I was really happy with these; they were extremely crisp and held up to dipping perfectly.

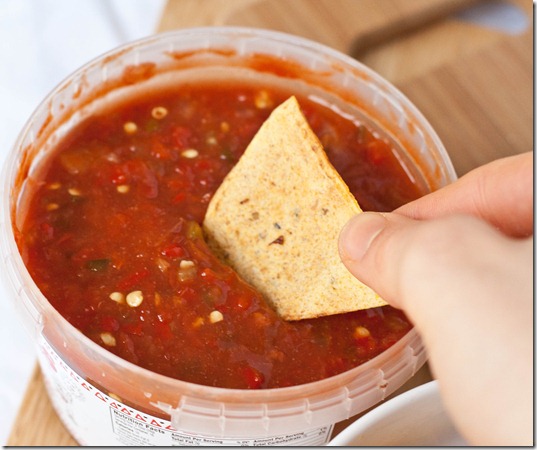
homemade-lime-tortilla-chips-dipped

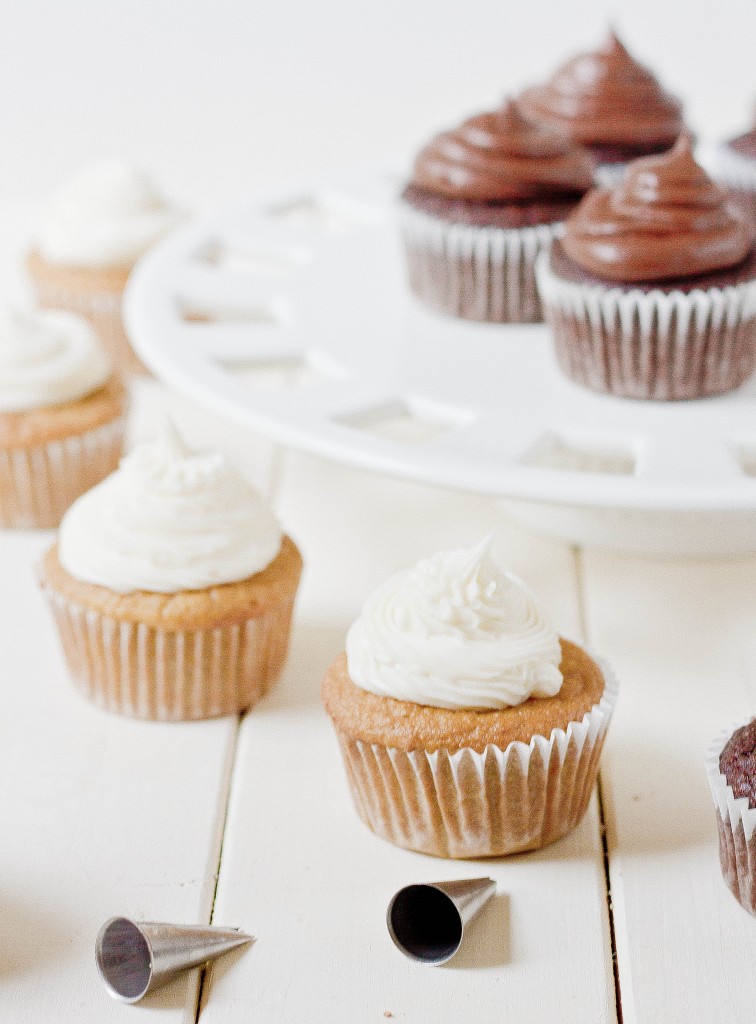
Paleo Vanilla Cupcakes

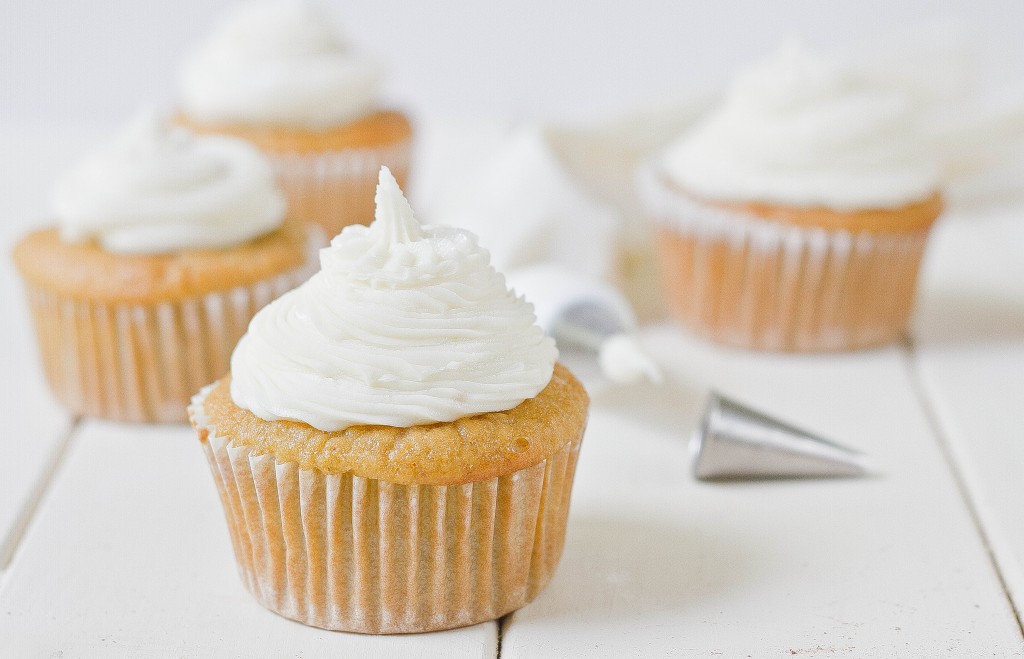
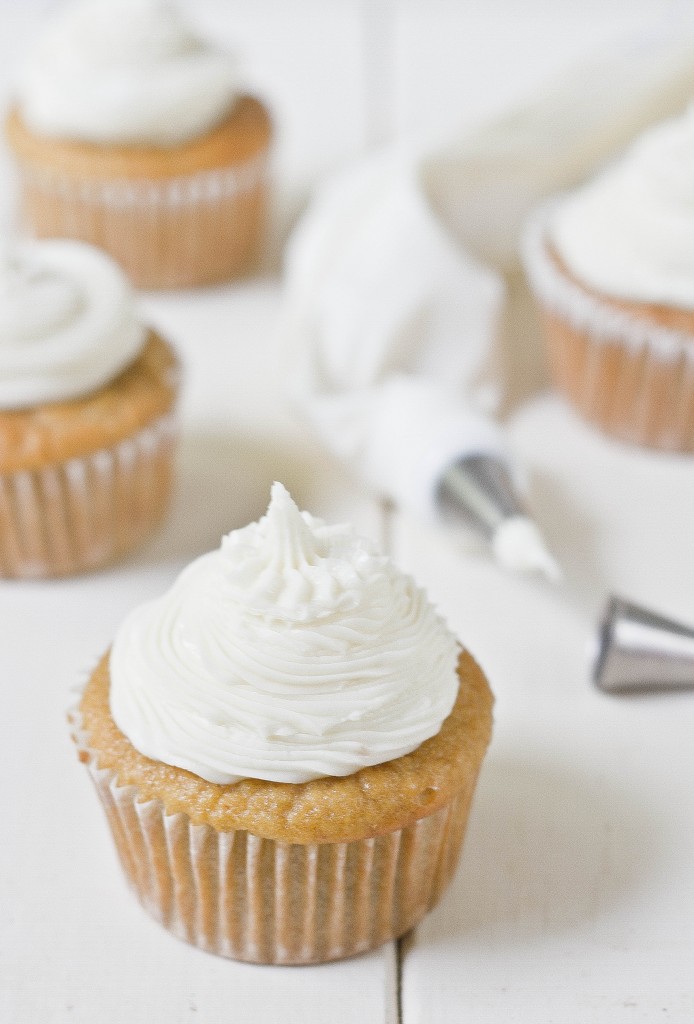
Last week was my parents’ anniversary. To celebrate I got them a cheesy present and made dessert; it’s what I do. I figured a cake would be a bit much for 3 people so I went with cupcakes using a secret ingredient I picked up last month at the store.

I’ve had coconut flour before but didn’t bake much with it. It’s really high in fiber so it makes a great cake batter. In most paleo recipes I’ve seen using it, the main structure comes from coconut flour and eggs so that’s what I copied.

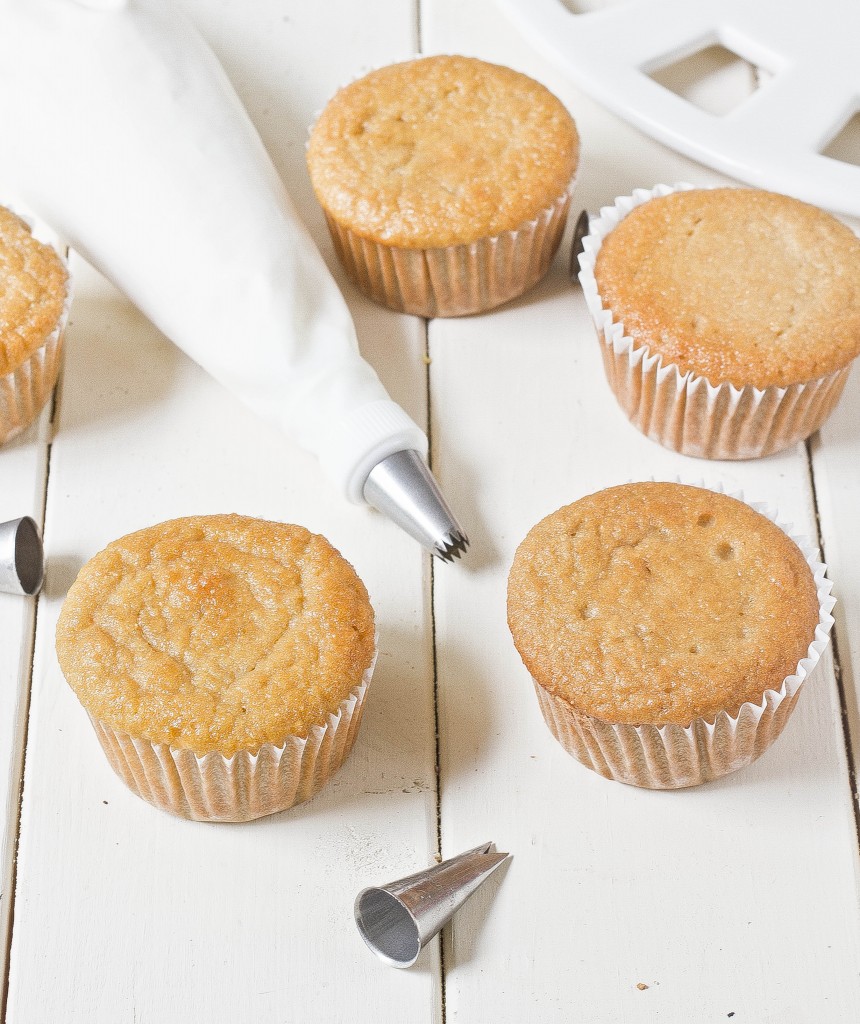
The texture of these was perfect—very similar to angel food cake. Surprisingly there wasn’t much coconut flavor to them at all. You could swap any extract for vanilla and have a tasty cupcake I would bet. If you wanted to make these strictly paleo, substitute a low-glycemic sweetener like palm sugar in for the cane sugar.

Paleo Vanilla Cupcakes

Prep time: 10 minutes

Cook time: 30 minutes

Ingredients(Makes a dozen cupcakes):

  • 1/2 cup plus 2 Tablespoons coconut flour
  • 4 eggs
  • 2 egg whites
  • 1/2 cup cane sugar
  • 1 cup coconut milk
  • 2 teaspoons vanilla extract
  • 1/2 teaspoon baking soda

Method:

  1. Preheat your oven to 350 degrees and line a dozen cupcake holders.
  2. Combine all of the ingredients together in a large bowl and mix until it forms an even batter.
  3. Scoop equal amounts of the batter into each cupcake well.
  4. Bake for 25-30 minutes or until the tops are firm to the touch.
  5. Remove from the oven. Let the cupcakes cool completely before frosting them.

I cut the recipe in half when I made these and got 6 cupcakes, which was perfect because we’re only 3 people. It’s a really easy recipe that anyone starting out gluten-free baking could do without problem.

If you like this recipe, you might also like paleo chocolate cupcakes.

Nutty About Yogurt Contest

IMG_9224

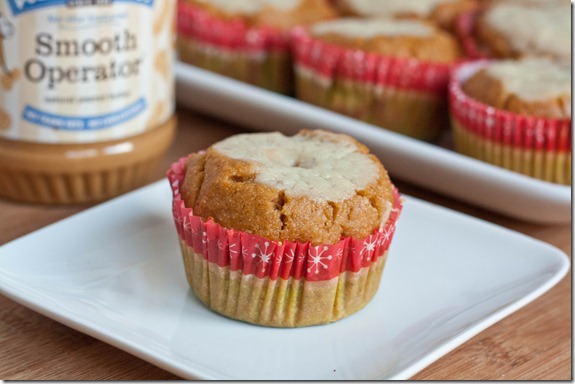
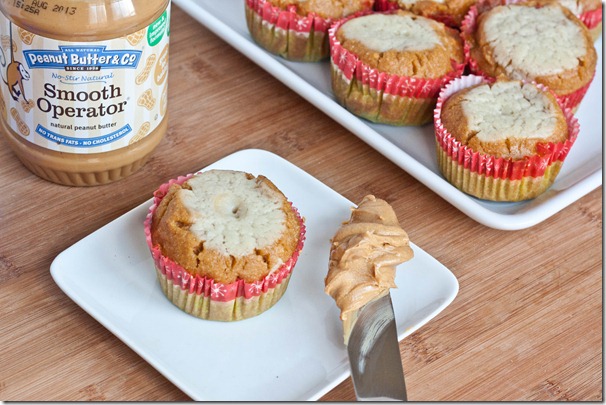
Last month Stonyfield and Peanut Butter & Co. asked me if I’d like to participate in their Nutty About Yogurt recipe contest. I jumped at the opportunity since I love both companies and all that they do with their brands. The contest was to create a healthy breakfast option with Peanut Butter & Co. peanut butter and Stonyfield yogurt. My submission was Gluten-Free Pumpkin Peanut Butter Muffins with yogurt filling.

I chose to make muffins because they’re one of those breakfasts you can just grab and go. Sure, you can buy muffins at any Starbucks, but why do that when it’s cheaper to make your own? Plus, you probably can’t get something as delicious as pumpkin peanut butter or gluten-free.

IMG_9167

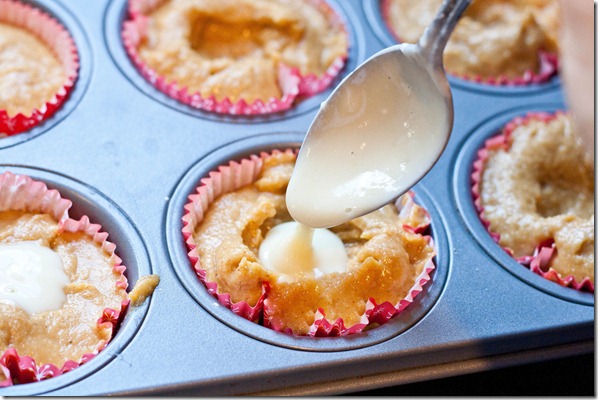
The yogurt filling was inspired by those pastries with cream cheese filling except made lighter and healthier with Stonyfield yogurt. Because the muffins substitute fat-free yogurt, too, most of the fat in the muffins are the healthy fats found in peanut butter.

IMG_9211

Please check out the Nutty About Yogurt Sweepstakes contest page and look through all six entries. As an incentive to vote, Stonyfield and Peanut Butter & Co. are offering $1.00 coupons to the first 20,000 voters and 5 random voters will win a prize pack. The contest is open from now until February 13th. Every vote is highly appreciated; thanks for reading and hopefully I’ve convinced you to vote for me!

Chocolate Hazelnut Brownies

chocolate-hazelnut-brownies

What better way to finish off a week than with chocolate? After I made chocolate hazelnut butter, my first thought was to make chocolate hazelnut brownies. For some reason, that sounded familiar; sure enough I looked back through the recipe pages to see that I made those last Winter. I made a few changes to the recipe this time around and took some higher quality photos to show you just how good these are.

chocolate-hazelnut-brownies-overhead

These brownies aren’t quite cakey but aren’t quite fudgy, either; they’re in between. You can use store-bought or homemade chocolate hazelnut spread. Since the recipe doesn’t call for eggs to begin with, these are really easy to make vegan; simply swap out the butter for non-dairy margarine and use water or a non-dairy milk for the liquid.

Chocolate Hazelnut Brownies

Prep time: 15 minutes

Cook time: 30 minutes

Ingredients(Makes 16 brownies):

  • 1/2 cup chocolate hazelnut spread
  • 1/4 cup room temperature butter
  • 3/4 cup cane sugar
  • 1 1/4 cups all-purpose flour(I used all-purpose gluten-free flour)
  • 1/3 cup cocoa powder
  • 1/4 teaspoon baking soda
  • 1/2 cup water or milk
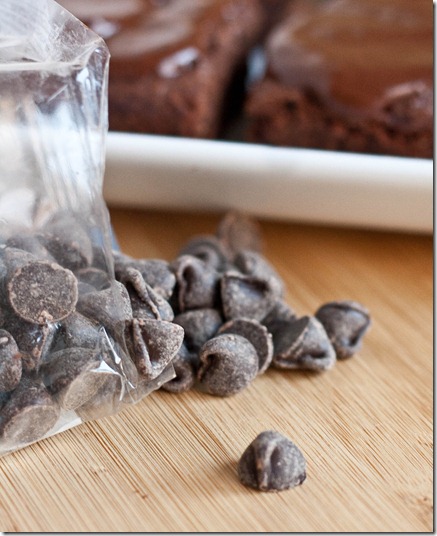
  • 1/4 cup + 1 tablespoon chocolate chips(optional)
  • 1/2 cup toasted hazelnuts(optional)

chocolate-hazelnut-brownies-mix-ins

Method:

  1. Preheat your oven to 350 degrees
  2. In a large bowl, cream the chocolate hazelnut butter, sugar, and butter together.
  3. Sift in the flour, cocoa powder, and baking soda.
  4. Pour in your liquid and mix until the batter comes together uniformly.
  5. Fold in any chocolate chips or hazelnuts you might be using.
  6. Grease an 8×8 baking pan and press the batter in in an even layer.
  7. Bake for 28-30 minutes until a toothpick inserted into the center comes out clean.
  8. Take out of the oven and let cool completely before cutting in.

chocolate-hazelnut-brownies-serving

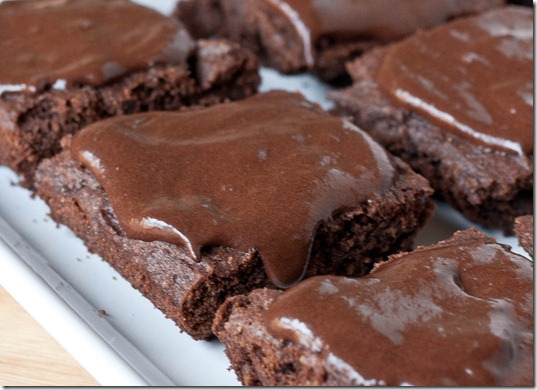
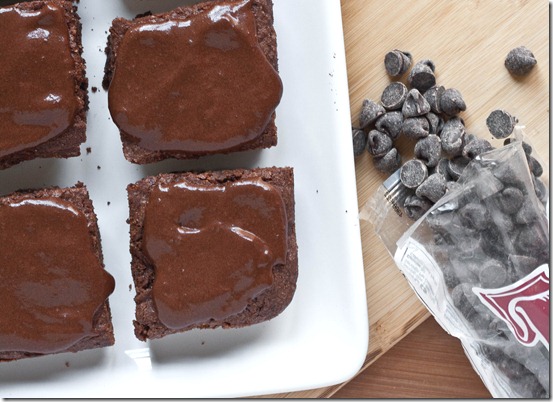
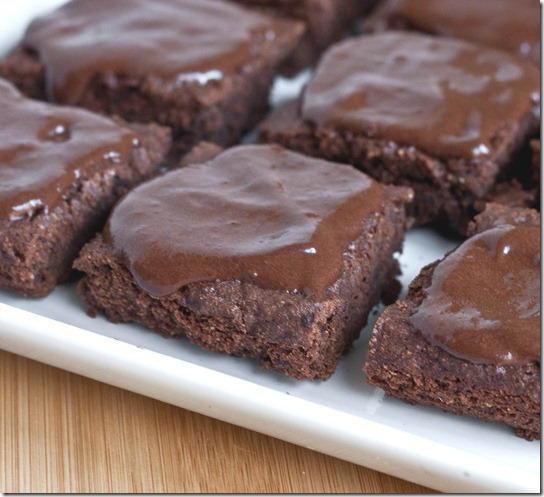
I didn’t add hazelnuts or chocolate chips into the batter and since that felt a little boring I gave these a chocolate icing to make them a little more special. Mission accomplished.

The Best Tempeh

the-best-tempeh

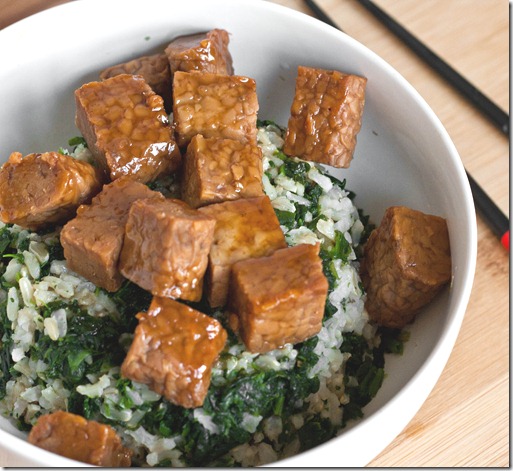
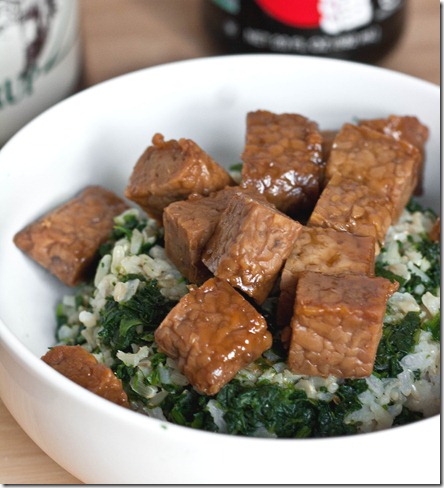
People who are vegetarian or want to eat less meat always ask me how to cook tofu to make it taste less… well, like tofu. Here’s my answer: I don’t really eat tofu all that much; tempeh has a much more natural taste and texture to it and the process for making it is a little less sketchy.

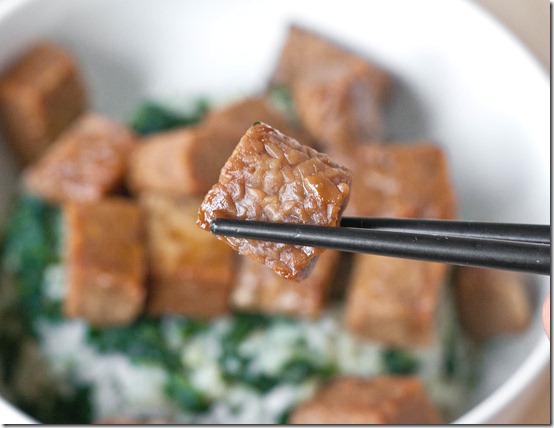
The second part to the answer is this recipe. Sometimes I eat tempeh plain because it tastes fine on its own to me, but when I do cook it I use this sauce. It’s only 2 ingredients and incredibly easy to make; it’s a great one for beginner cooks who aren’t looking to tackle long ingredient lists for flavorful food.

This dish is also really easy to make gluten-free. Just make sure to use wheat-free soy sauce and that the tempeh doesn’t have any grains fermented in it; the ingredients should just be soy beans, vinegar, and salt.

Maple Soy Tempeh

Prep time: 5 minutes

Cook time: 10 minutes

Ingredients(Makes 2 servings):

  • 1 block of tempeh
  • 1/4 cup soy sauce
  • 3 Tablespoons maple syrup

the-best-tempeh-piece

Method:

  1. Dice the tempeh into bite-sized pieces
  2. Heat together the tempeh, maple syrup, and soy sauce in a large pan over medium heat.
  3. Turn the tempeh occasionally as the liquid boils off into a glaze. Make sure all sides get covered in sauce.
  4. When most of the liquid has boiled off, remove the pan from the heat and scoop the tempeh out. Serve hot or cold as leftovers.

the-best-tempeh-plated

If you have trouble cleaning the pan afterwards, simply put it back on the hot burner and pour in some vinegar to loosen the glaze. Wipe the rest off with a folded paper towel or reduce it and pour over as a sauce.

Chocolate Peanut Butter Snack Balls

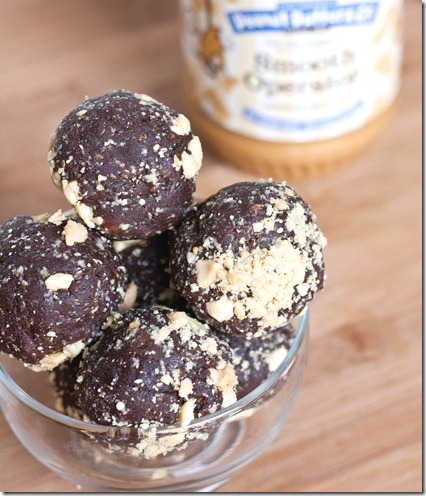
chocolate-peanut-butter-snack-balls

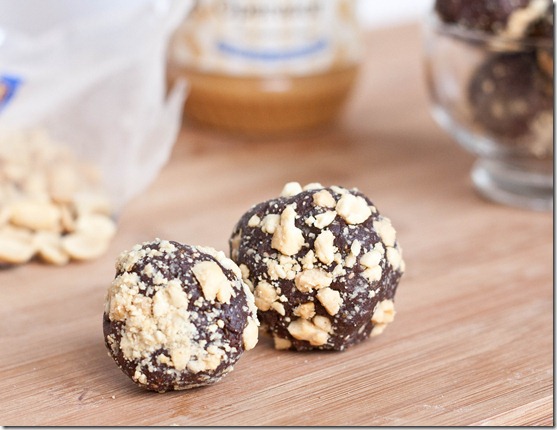
Lately I’ve been obsessed with these raw fruit and nut snacks. And I’m always obsessed with chocolate peanut butter. I can’t understand what took me so long to combine the two.

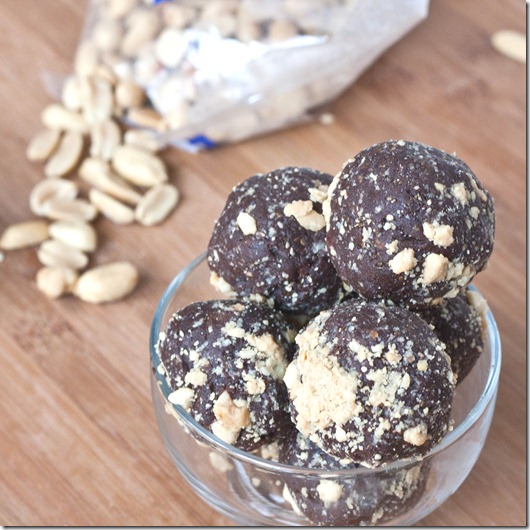
I’m not going to sugarcoat these and say they taste like Reese’s peanut butter cups; they don’t, and anyone who could get that flavor with just fruit and nuts would be a miracle worker. But these do taste deliciously sweet and salty with a hint of cocoa and silky smooth peanut butter. They’re certainly good enough to satisfy a snack craving. And if you want to take these to the next level, you can always mix some chocolate chips(or peanut butter chips!) into the batter for a real chocolate peanut butter treat.

Chocolate Peanut Butter Snack Balls

Prep time: 10 minutes

Cook time: 0 minutes

Ingredients(makes about 14 balls):

  • 16oz pitted dates
  • 1/2 cup peanut butter
  • 6 Tablespoons cocoa powder
  • 3 Tablespoons chia seeds
  • 1/4 cup peanuts or chocolate chips(optional)

chocolate-peanut-butter-snack-balls-peanut-butter

Method:

  1. Blend the dates in a food processor until they stick together and form a big dough ball.
  2. Add in the peanut butter and cocoa powder and continue mixing until all of the ingredients are blended together.
  3. Stop the processor; move the dough to a separate bowl and add in the chia seeds and any other mix-ins you might want. Knead them in throughout the dough.
  4. Break off 1oz pieces and roll them into 1-inch balls. Store in an airtight container at room temperature for up to a week. 

chocolate-peanut-butter-snack-balls-peanuts

How To Season Rice

how-to-season-rice

I never really liked rice. Growing up we would have Chinese takeout at least once a week—usually Friday nights—and the last thing I would touch would be the rice. It always tasted so plain. I even bought a rice cooker and for a year never made rice in it; why would I?

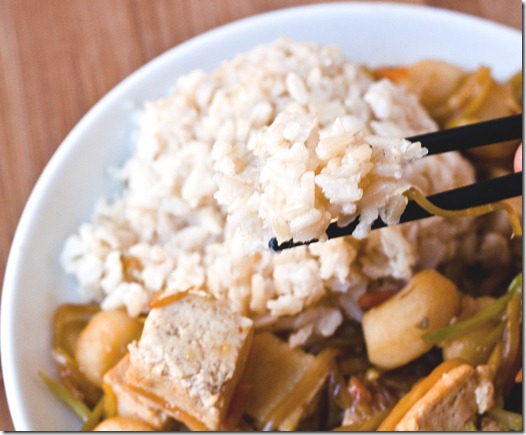
how-to-season-rice-chopsticks

That’s probably because all the rice I had tried was just rice—nothing added to it—and that’s just not good. Add a little seasoning, however, and rice goes from a side dish to a star on the plate.

Seasoning rice is so easy and just requires a few pantry staples. The flavor is similar to the seasoned rice in sushi rolls. And because the sugar makes the rice sticky, it’s easier to eat with chopsticks! I used brown basmati rice because that’s what was on hand, but you can use brown or rice, long or short grain.

How To Season Rice

You’ll need:

  • 2 cups cooked rice
  • 2 Tablespoons sugar
  • 1 1/2 Tablespoons unseasoned rice vinegar*
  • 1/2 Tablespoon Sesame oil
  • 1/2 teaspoon salt

*Can use white vinegar in a pinch

how-to-season-rice-serving

Method:

  1. Heat up the rice in a pot or microwave if it’s not already hot.
  2. Add in the sugar, vinegar, sesame oil, and salt and mix thoroughly.
  3. Scoop onto plates and serve hot.

how-to-season-rice-plate

Once you’ve mastered making delicious rice, everything else on the plate instantly tastes better, too. You can mix in whole sesame seeds or chili powder for a stronger flavor if you’d like.

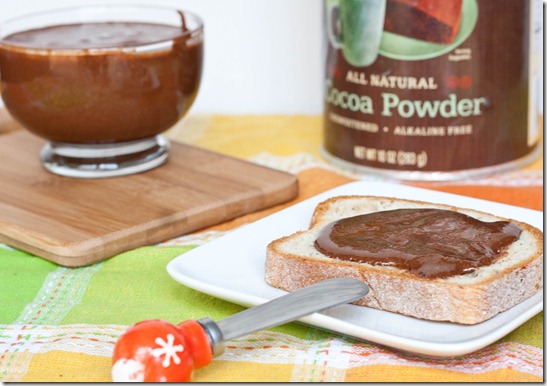
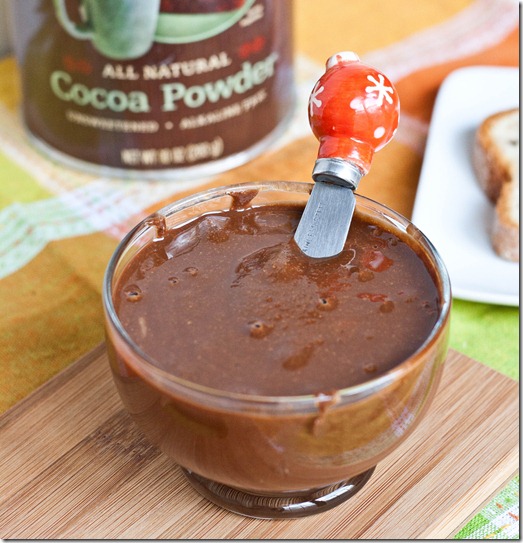
DIY Nutella

DIY-Nutella

As sacrilegious as it sounds, I’ve never really understood the fuss over Nutella. It just tastes syrupy sweet to me and I’d rather have a bar of milk chocolate than that.

I have had a few good chocolate hazelnut spreads, like Justin’s which is one of the best. I could sit down and eat a jar of it with a spoon. It actually tastes like hazelnuts since they’re the first ingredient and that’s what makes it so irresistible. But it’s also way out of my price range. Why pay for it when making your own is so much cheaper?

DIY-Nutella-finished

This tastes very similar to the Justin’s chocolate hazelnut butter since the number one ingredient is hazelnuts. It’s very loose at room temperature; keep it refrigerated for something closer to the texture of a no-stir peanut butter.

DIY Nutella

Prep time: 10 minutes

Cook time: 0 minutes

Ingredients(Makes about 1 1/4 cups):

  • 2 cups(8oz) hazelnuts*
  • 1/2 Tablespoon oil
  • 1/4 cup cocoa powder
  • 3 Tablespoons powdered sugar
  • 1/4 teaspoon salt

*You can use raw or roasted, skin on or off. Ones that have been roasted with the skin off will probably blend into a butter the fastest.

DIY-Nutella-toast

Method:

  1. Combine the hazelnuts and oil in a food processor and process until it forms a smooth hazelnut butter.
  2. Add in the cocoa powder, powdered sugar, and salt and keep mixing until it’s uniform in texture.
  3. Scoop into a container and keep refrigerated when not eating.

DIY-Nutella-in-bowl

Next time I make this I plan on doubling the recipe; this just wasn’t enough to last very long around here.

New Years Eve Chocolate Cake

new-years-eve-chocolate-cake

This recipe comes almost 4 months in the making. I needed a lot of time and a big celebration to make it for so New Years fit the bill. It’s also my submission for the Scharffen Berger elevated classic recipe contest.
new-years-eve-chocolate-cake-layers

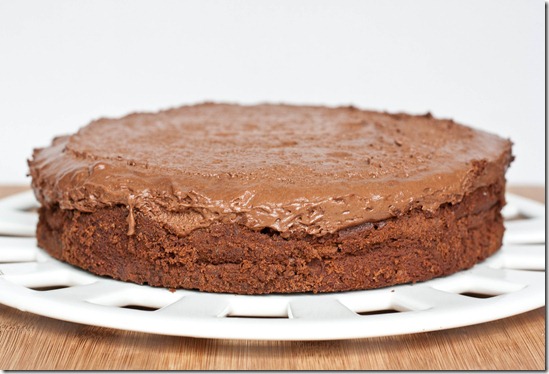
The point of the contest is to take a classic dessert and elevate it with chocolate. My favorite chocolate dessert has always been flourless chocolate cake, which has been made in my family for years with the same recipe. It’s certainly a good recipe, but not the best.
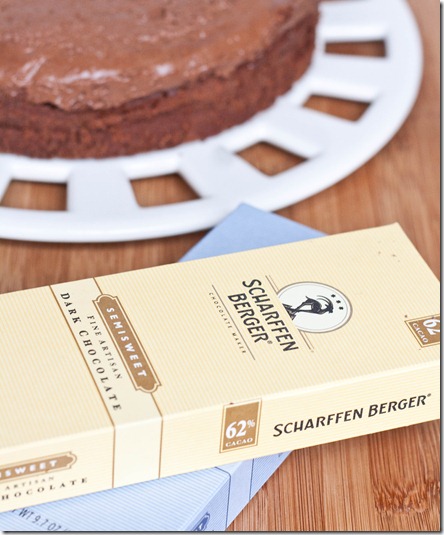
new-years-eve-chocolate-cake-scharffen-berfer-chocolate

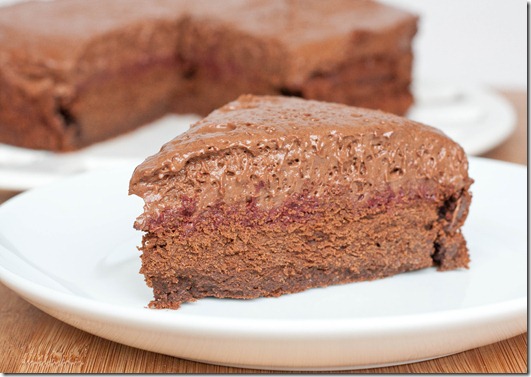
To elevate it, I added a raspberry fudge sauce and topped the whole thing with a coconut milk mousse, all made with Scharffen Berger chocolate. I love the combination of the dense cake with the airy mousse and the tartness of the raspberries between the two sweet layers. Technically it was probably one of the hardest desserts I’ve made; I’ve never successfully separated and tempered yolks before now. Needless to say I was very happy on New Years Eve when the cake turned out as well as I planned.
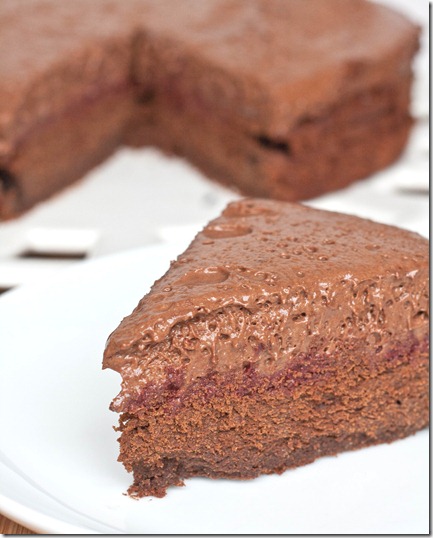
new-years-eve-chocolate-cake-vertical

Flourless Chocolate Cake with Raspberry Fudge Sauce and Coconut Milk Chocolate Mousse

For the cake:

For the sauce:

For the mousse:

*To get coconut cream, leave a can of coconut milk undisturbed for a week or so. When you open it, the water should have separated from the thicker part, the cream. Just be careful not to mix the two together and you should be able to scrape the cream off the top easily.
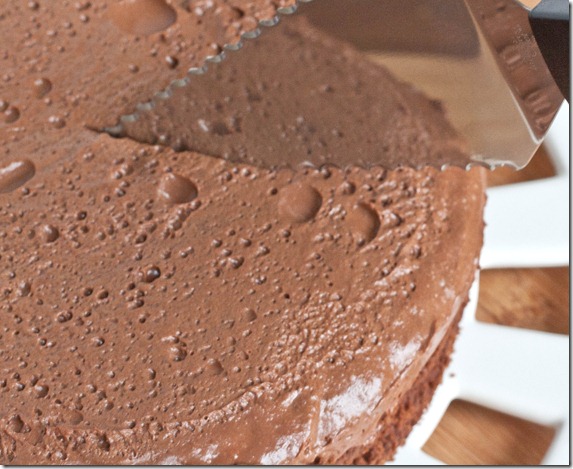
new-years-eve-chocolate-cake-slicing

Method:

  1. Preheat your oven to 350 degrees.
  2. Beat together the butter and sugar, adding in eggs one at a time until all of them are incorporated. The batter should be smooth and ribbony.
  3. Melt the chocolate in a double boiler or microwave.
  4. Slowly temper the melted chocolate into the batter until it’s completely mixed in.
  5. Grease a 9-inch cake pan and pour the batter in.
  6. Bake for 40 minutes or until a cake tester inserted into the center comes out clean.
  7. Remove the cake and let it sit undisturbed until it cools to room temperature. It should deflate as it cools. Don’t worry if the top cracks since it will get covered eventually.
  8. While the cake cools, make the sauce by bringing all of the ingredients together to a boil in a small sauce pot.
  9. Mix the contents of the pot until the chocolate has melted and the sauce is uniform in color.
  10. Pour the sauce over the cake. Let it cool completely and then refrigerate to chill.
  11. While the sauce sets, make the mousse by bringing to a light boil the coconut cream and water in a sauce pot. Chop the chocolate and add it in, mixing off of the heat until the chocolate has melted.
  12. Beat together the 3 egg yolks. Temper them by adding a little of the chocolate coconut mixture in as you beat. Once the yolks have been tempered you can mix them into the pot along with the salt. Keep the pot off of the heat stirring occasionally to prevent fit rom getting a film.
  13. Beat the egg whites while sifting in the powdered sugar until light peaks form like you’re making a meringue.
  14. Carefully fold the egg whites and chocolate coconut mixture together in a large bowl until it’s all mixed. Be careful not to over-mix the mousse and deflate the egg whites; fold just enough until it’s all the same color.
  15. Put the mousse into the refrigerator until it’s set, about 3-4 hours.
  16. Once the mousse has set, carefully scoop it on top of the cake. Spread it out into one layer as if it were a frosting. Using a piece of saran wrap to push down for a flat surface is an easy way to do this.
  17. Keep refrigerated until ready to serve. Remove from the refrigerator for about 15 minutes before cutting and eating.
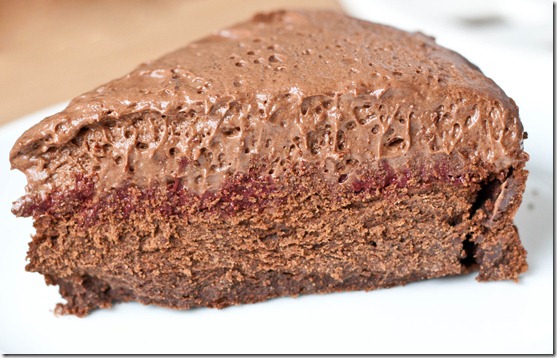
new-years-eve-chocolate-cake-raspberry-layer

It was a lot of work but completely worth it. Everybody loved the cake. And I think the mousse would be a great and impressive dessert to make on its own for another occasion.