Category Archives: Entree

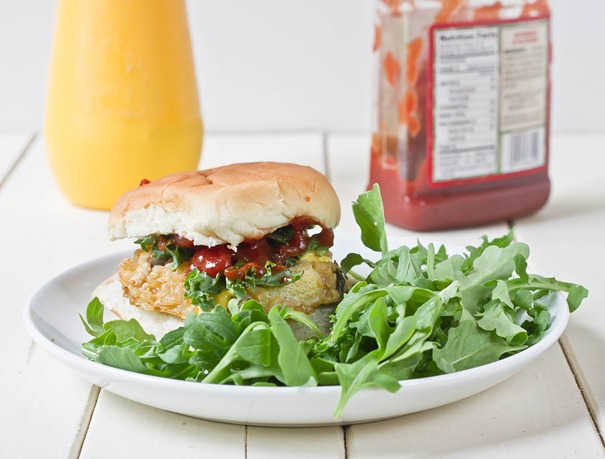
Asian Stir-Fry Rice And Veggie Burgers

Asian Stir-Fry Rice And Veggie Burgers

The term “veggie burgers” have become an oxymoron these days; veggie burgers have just about everything but vegetables in them. Soy protein, artificial flavors, and wheat gluten—yes. But veggies? Nope. They hardly live up to the health halo surrounding them.

The best thing you can do is make your own. It’s cheaper, healthier, and the possibilities for ingredients are endless. The first time I made these was a complete accident of stir-fry gone wrong. I ended up liking them so much that I made them again. The brown rice makes these filling while the vegetables add a fresh crunch—way better than anything you’ll find in the freezer aisle. 

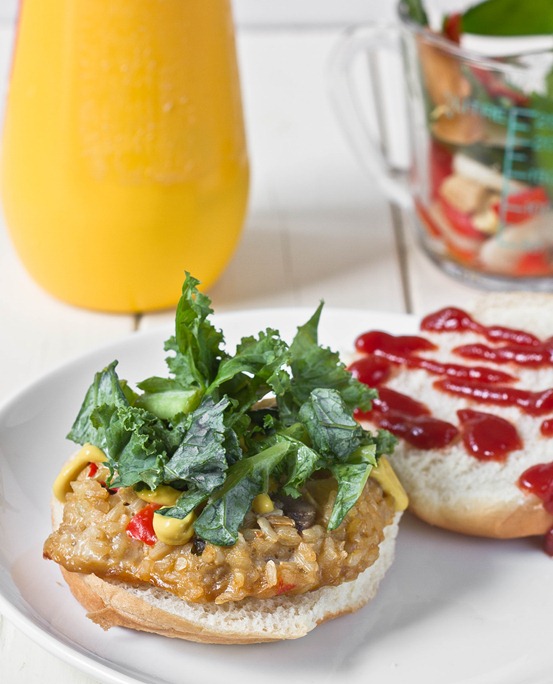
Asian Stir-Fry Rice And Veggie Burgers Assembling

You can get fresh stir-fry vegetables in a package in the produce department, but I like getting the frozen vegetable packs which are usually cheaper and stay fresh until you use them.

Asian Stir-Fry Rice And Veggie Burgers

Prep time: 10 minutes

Cook time: 50 minutes

Ingredients(Makes 10 burgers):

  • 2 1/2 cups cooked brown rice
  • 1 cup stir-fry vegetables, steamed
  • 2-3 Tablespoons soy sauce
  • 1 Tablespoon sesame oil
  • 2 X-large or 3 medium eggs

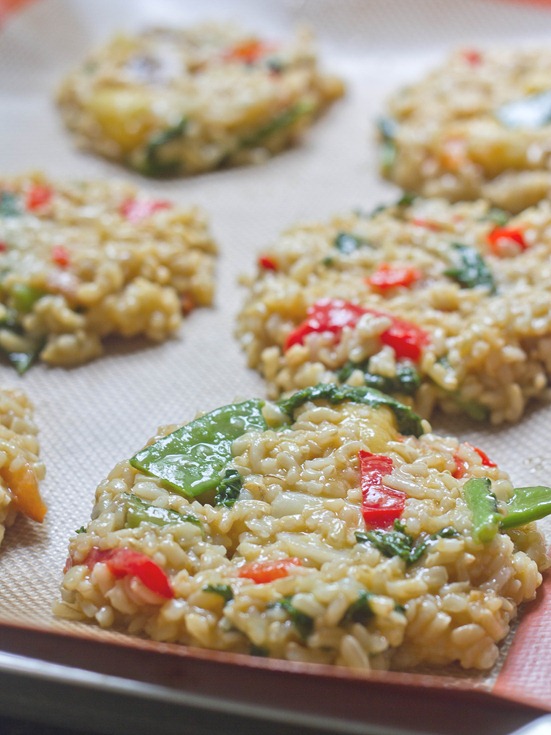
Asian Stir-Fry Rice And Veggie Burgers Prepped

Method:

  1. Preheat your oven to 350 degrees.
  2. In a large bowl, mix together all the ingredients until the eggs are well beaten and incorporated.
  3. Line or grease a baking tray. With a large utensil, make dense patties on the tray with about 1/3 cup of rice mixture roughly an inch apart from one another.
  4. Bake for 25 minutes on one side, flip, and bake for another 25 minutes. The patties should be cooked enough after 25 minutes that they hold together when you flip them to cook the other side.
  5. Remove from the oven and let the patties cool. When ready to eat, heat them up in a microwave, pan, or on a grill. You can freeze extra patties to thaw later.

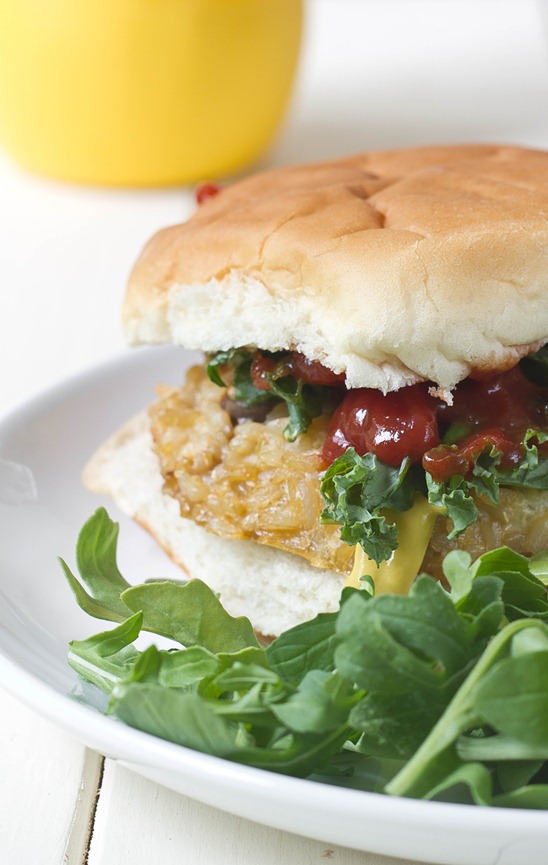
Asian Stir-Fry Rice And Veggie Burgers Serving

Since these have an untraditional flavor to begin with, I’d recommend getting untraditional with the condiments, too. Pineapple relish and kimchi, anyone?

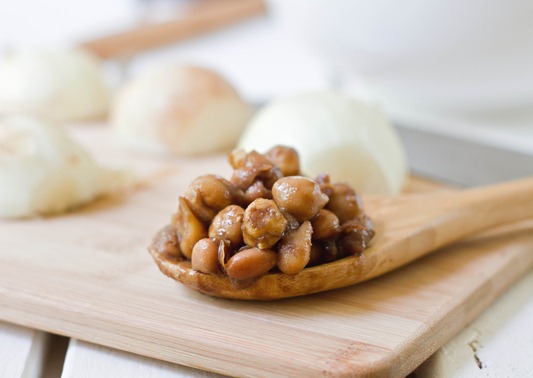
Caramelized Onion and Balsamic Vinegar Bean Salad

Caramelized Onion and Balsamic Vinegar Bean Salad

I really love baked beans. Who doesn’t? What I don’t love is spending hours cooking them in a hot kitchen when it’s already 80 degrees outside. Why can’t people appreciate baked beans more in the winter when we’re all freezing? It’s a mystery.

Last week on the 4th I needed a vegetarian dish that could sit in a cooler all day. Immediately my mind jumped to baked beans, but as soon as I ruled out cooking those for 4 hours I remembered this old favorite.

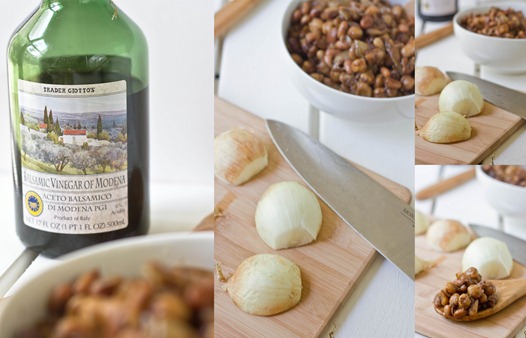
Caramelized Onion and Balsamic Vinegar Bean Salad Collage

I first posted this recipe over a year ago. The photos weren’t that good, the recipe wasn’t very clearly written, and my readership was drastically lower than what it is today, so I figured it’d be best to just give it a whole new post. And it definitely deserves one.

You can use three cans of any type of beans; I think the ones listed have the most neutral flavor so they take on the sauce well. To make this completely vegan, you can substitute maple syrup or agave for the honey.

Caramelized Onion and Balsamic Vinegar Bean Salad

Prep time: 5 minutes

Cook time: 15 minutes

Ingredients(Makes 4-6 servings):

  • 1 15oz can of chickpeas
  • 1 15oz can of pinto bean
  • 1 15oz can of cannellini beans
  • 1 onion, julienned
  • 2 Tablespoons olive oil
  • 1/2 cup balsamic vinegar
  • 1 Tablespoon honey
  • 1/4-1/2 teaspoon salt to taste
  • 2 Tablespoons extra virgin olive oil for finishing(optional)

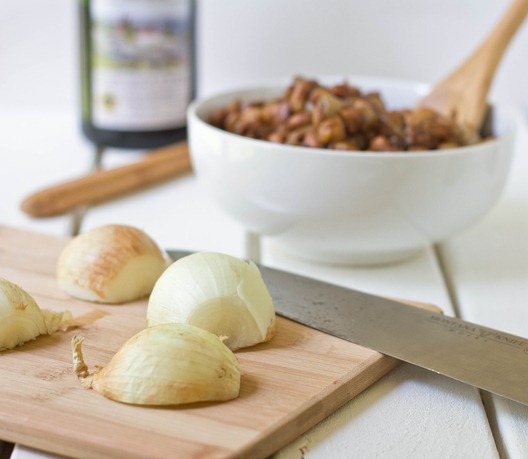
Caramelized Onion and Balsamic Vinegar Bean Salad Onions

Method:

  1. In a large bowl, combine all of the different beans.
  2. Heat the 2 tablespoons of oil in a pan over medium heat.
  3. Add in the julienned onions and sauté for about 10-15 minutes until the onion has turned translucent and slightly crusty.
  4. Remove from the heat and add it in with the beans.
  5. Reduce the balsamic vinegar in a small sauce pan to about half of its original volume by bringing it to a rolling boil for 5 or so minutes. If it over-reduces and starts to harden into a taffy, remove the pan from the heat and stir in some hot water to thin.
  6. Add the reduced vinegar, honey, salt and extra virgin olive oil if using to the beans and onions.
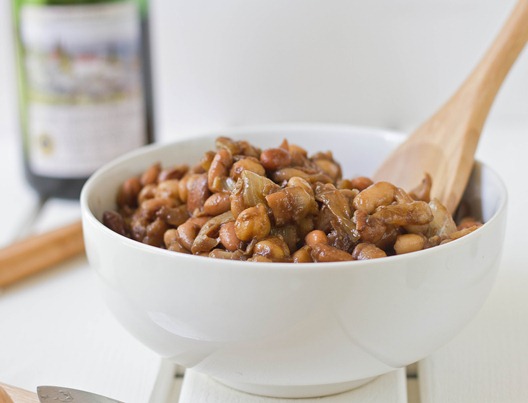
  7. Mix well until the sauce coats all of the beans. Serve hot or cold.

Caramelized Onion and Balsamic Vinegar Bean Salad Yield

20 minutes for a tasty bowl of beans? I’ll take that.

Baked Sesame Tofu

Baked Sesame Tofu

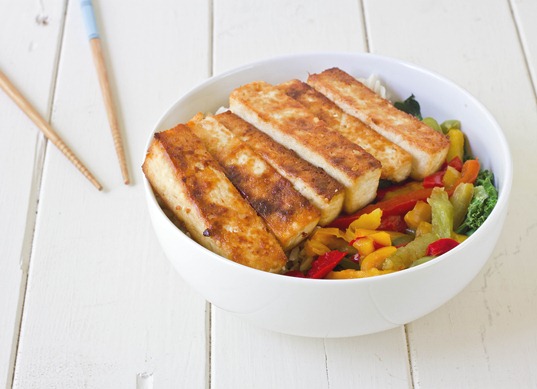
It’s really hard to get good gluten-free vegetarian food at most Asian restaurants. Whenever I do find it, it’s usually in the form of fried tofu. Don’t get me wrong—I do love getting golden and greasy tofu now and again, especially when someone else is making it. But it’s a heavy thing to eat again and again.

This tofu has a texture closure to fried tofu than any baked tofu I’ve ever had thanks to the corn starch while still not being overly salty or heavy. You can cook a big pot of brown rice and stir fry some vegetables and have your own take-out meal at home without the take-out.

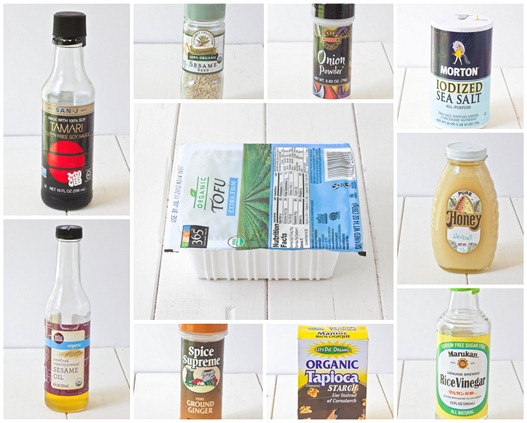
Baked Sesame Tofu Collage

To make this gluten-free, make sure to use a gluten-free tamari in place of the soy sauce. You can also substitute tapioca starch in place of the corn starch and agave for the honey.

Baked Sesame Tofu

Prep time: 10 minutes

Cook time: 40 minutes

Ingredients(Makes 2 servings):

  • 1 block extra firm tofu
  • 3 Tablespoons sesame oil
  • 1 Tablespoon soy sauce
  • 1 Tablespoon honey
  • 1 Tablespoon sesame seeds
  • 1/2 Tablespoon rice vinegar
  • 1/2 Tablespoon corn starch
  • 1/2 teaspoon salt
  • 1/4 teaspoon ground ginger
  • 1/4 teaspoon onion powder

Method:

  1. Preheat your oven to 350 degrees.
  2. Slice the tofu into even segments
  3. Mix the rest of the ingredients together in a small bowl.
  4. One at a time, dip the pieces of tofu in the sauce and lay them out on a non-stick baking surface. Pour any remaining sauce on top of the tofu.
  5. Bake for 40 minutes until the outside is golden and the edges brown. Turn once halfway through baking.
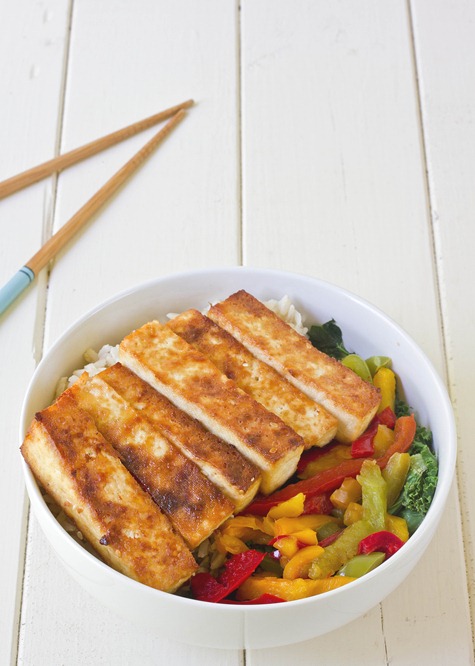
  6. Serve hot with rice and vegetables and extra soy sauce.

Baked Sesame Tofu Long

Peanut Butter And Barbeque

peanut-butter-baked-beans-finished-serving

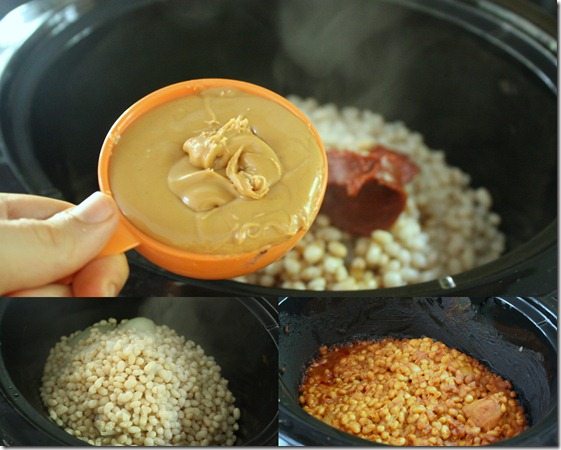
Peanut butter probably isn’t what you think of when you think of backyard barbeques or baked beans. That doesn’t mean they don’t go together like, well, peanut butter and jelly!

Today my fourth recipe goes up on PB&Co.’s All Star Recipe Blog and the theme is Summer grilling. I’m a sucker for slow-cooked homemade baked beans so I thought why not combine that with one of my other favorites, Smooth Operator peanut butter?

Desktop4

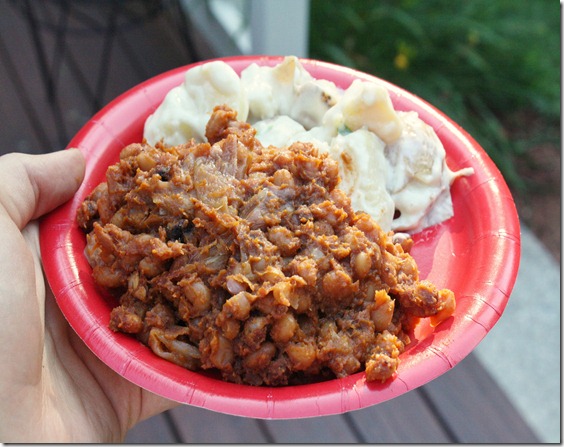
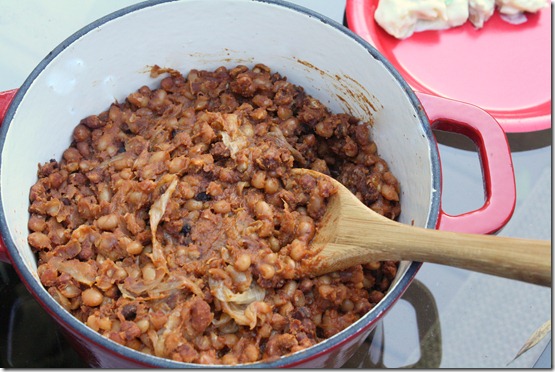
These beans are baked with onions, molasses, tomato, worcestershire sauce, and—of course—peanut butter. The flavor is nutty and warm with a sweet and salty tang to it. Imagine the best baked beans you’ve ever had only made better with Smooth Operator. It’s also easy to make gluten-free and/or vegan depending on what worcestershire sauce you use.

peanut-butter-baked-beans-finished-product

Hop on over and see the recipe! Like any baked beans, these aren’t going to win any beauty pageants but you won’t mind as you go back for seconds and thirds.

Gluten-Free Vegan Mac N’ Cheese

Gluten-free-vegan-mac-and-cheese

Thanks for sticking with me the past couple of weeks. I’ve moved home and (almost) unpacked and finally can get back to cooking and food blogging. And did I mention how nice it is to have a full kitchen again? It’s very nice.

One of the last things I ate before I moved was a frozen Amy’s rice macaroni and cheese. Blog-worthy? No. But incredibly delicious. I’d forgotten how good macaroni and cheese could be. Naturally I had it on the brain as soon as I got home and decided to make it almost immediately.

Gluten-free-vegan-mac-and-cheese-collage

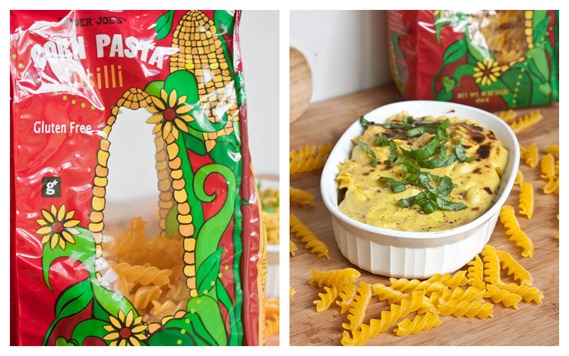
Trader Joe’s corn pasta is one of the few gluten-free pastas I like; you can’t even tell from the taste or texture that it’s gluten-free. It’s that good. Nutritionally, it’s not the best. But if you’re trying to win over a picky eater—gluten-free or not—it’s a safe bet.

This cheese sauce is made with cashews so it’s not only dairy-free but also soy-free. The nuts also add fiber and protein to the dish. You could substitute 3 Tablespoons of cashew butter in a pinch if that’s what you have on hand.

Gluten-Free Vegan Mac N’ Cheese

Prep time: 10 minutes

Cook time: 15 minutes

Ingredients(Makes 2 servings):

  • 3/4 cup gluten-free macaroni
  • 1/4 cup + 2 Tablespoons raw cashews
  • 7 Tablespoons(or a scant 1/2 cup) water
  • 2 Tablespoons nutritional yeast
  • 1/2 teaspoon salt
  • 1/4 teaspoon onion powder
  • 1/4 teaspoon garlic powder
  • 1/4 teaspoon turmeric(for color only)
  • 1/4 teaspoon pepper
  • Pepper and basil for garnish

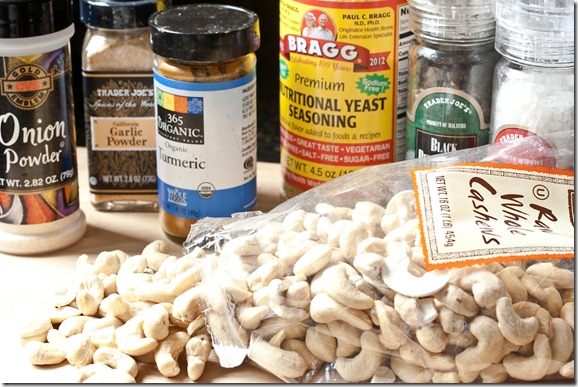
Gluten-free-vegan-mac-and-cheese-sauce-ingredients

Method:

  1. Prepare the macaroni by submerging it in salt water and boiling for 8-10 minutes. Undercook the macaroni slightly.
  2. While the macaroni cooks, make the cheese sauce by blending the cashews in 2-3 Tablespoons of water in a food processor.
  3. Once the cashews are pureed smoothly, add the rest of the water and all of the spices and seasonings. Continue blending until well-mixed.
  4. Drain the macaroni from the water and divide it between two small ramekins. Pour the cheese sauce on top evenly.
  5. Broil at 400 degrees for 5 minutes until the top starts to brown.
  6. Garnish with cracked pepper and chiffonade basil. Serve hot.

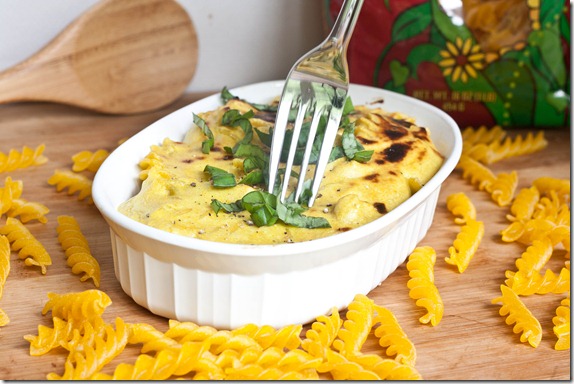
Gluten-free-vegan-mac-and-cheese-fork

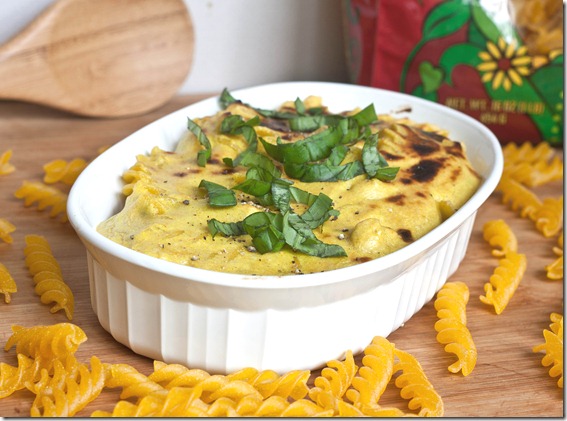
The basil and pepper help to lighten up the flavor, since no one wants a heavy mac n’ cheese dish in the Summer. The healthy fats in the sauce fill you up for hours and yet taste wholly satisfying. It’s not quite as easy as a frozen meal but well worth the effort.

Easy Black Bean Salad

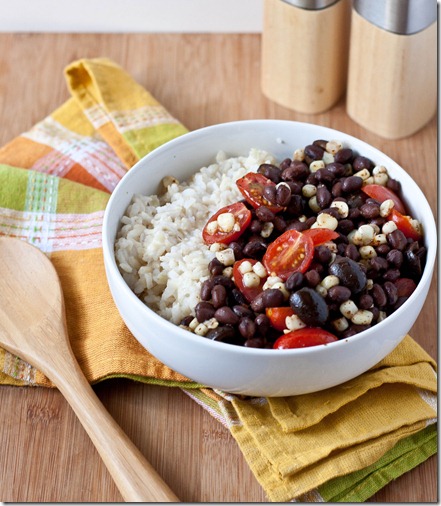
easy-black-bean-salad

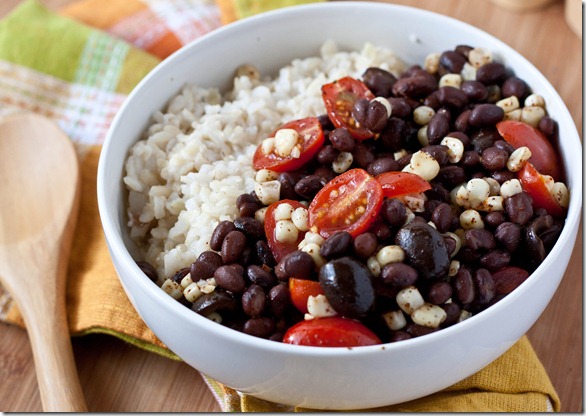
I’m usually too tired to want to cook at night; during the Summer I have the lovely excuse of not wanting to turn on a stove or a grill because it’s already too hot. That’s why I love bean salad recipes: You never have to cook them and they’re easy to throw together.

It’s really easy to make a big pot of rice and a bunch of bean salad and keep it for yourself to eat throughout the week. Most of the ingredients I used were canned, which is also a plus since I almost always keep them on hand. I’m not a big cilantro fan so I leave strong herbs like that out usually, but you could just as easily add them in. This would be best with a big plop of firecracker guacamole on top.

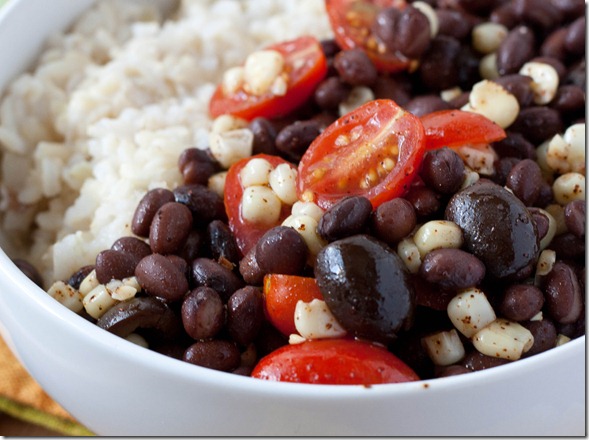
easy-black-bean-salad-tomato

I left the onions out because I’m not a fan of the strong flavor. One way to get rid of the intense bitterness is to soak it in cold water for 5 minutes before dicing it.

Easy Black Bean Salad

Prep time: 10 minutes

Cook time: 0 minutes

Ingredients(Makes 2 servings):

  • 1 1/4 cups black beans
  • 1/2 cup corn
  • 1/3 cup sliced cherry tomatoes
  • 1/3 cup sliced olives
  • 1/2 red onion, diced(optional)
  • 1 Tablespoon olive oil
  • 1 Tablespoon lemon juice
  • 1/2 teaspoon chili powder
  • 1/2 teaspoon salt
  • 2 Tablespoons freshly chopped cilantro(optional)

easy-black-bean-salad-overhead

Method:

  1. Take all of the ingredients and toss together until the salad is evenly mixed.
  2. Serve with rice, tortillas, or over a bed of greens.

easy-black-bean-salad-2

So simple and delicious. It feels like eating at chipotle only without the drive. What could be better than that?

Miso Mushroom Quinoa

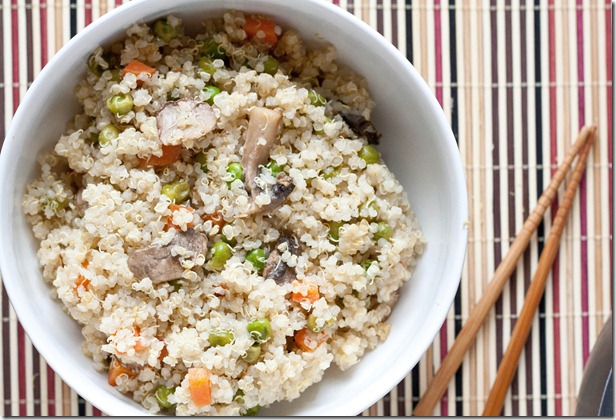
mushroom-miso-quinoa

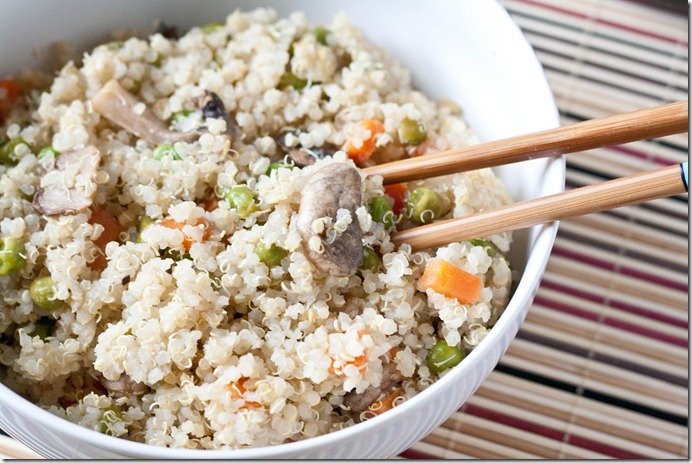
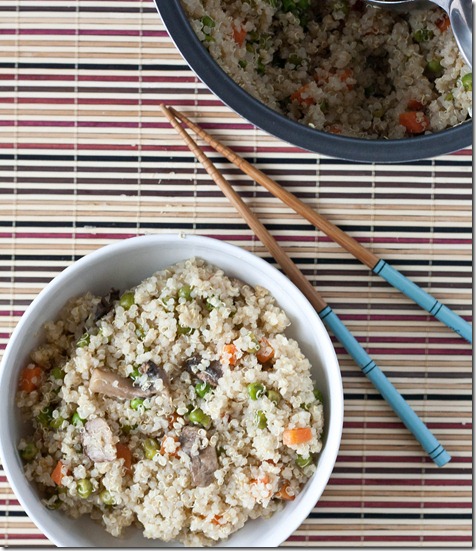
It always really surprises me when I find out people I know in real life read my blog; I’m not sure why since I have it connected to all my social media accounts, but still it does, and the support is always amazing.

One thing I almost always get asked by friends is where do the recipes come from? There are a whole slew of answers. Sometimes they just pop into my head; other times I’ll pass over one online that I can’t ignore. Over the weekend Whole Foods tweeted their quinoa, mushrooms and peas with miso from the Whole Foods recipe blog and for once I had all the ingredients on hand and knew I had to make it.

mushroom-miso-quinoa-cooker

Miso is a paste made out of fermented soybeans. It’s available in most grocery stores. A container will last you months and months and it can be used in sauces and soups.

Mushroom Miso Quinoa(adapted from this recipe)

Prep time: 15 minutes

Cook time: 20 minutes

Ingredients:

  • 1 cup dry quinoa or 2 cups cooked
  • 1 cup sliced mushrooms
  • 3/4 cup frozen peas
  • 2 carrots, diced
  • 2 Tablespoons white miso
  • Juice and zest from 1/2 an orange
  • 1/2 Tablespoon fresh ginger
  • 1 Tablespoon sesame oil

mushroom-miso-quinoa-pan

Method:

  1. Cook the quinoa according to box directions.
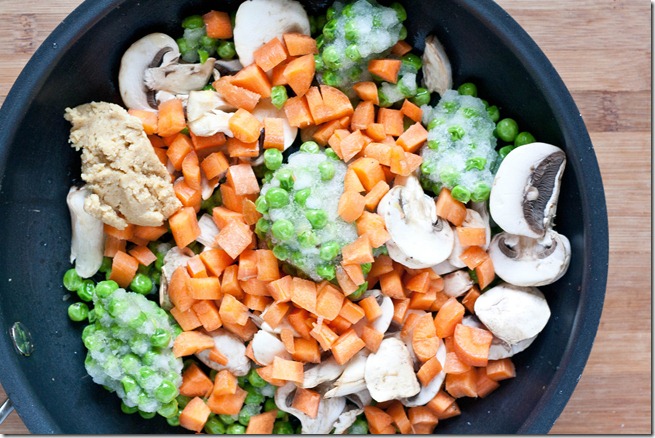
  2. While the quinoa cooks, combine the rest of the ingredients in a large pan and mix over the heat.
  3. Toss over medium heat until the vegetables have cooked through and the liquid mostly evaporates.
  4. Pour the vegetables into the cooked quinoa and mix thoroughly. Serve hot or cold as leftovers.

mushroom-miso-quinoa-overhead

My Lazy Go-To Meal

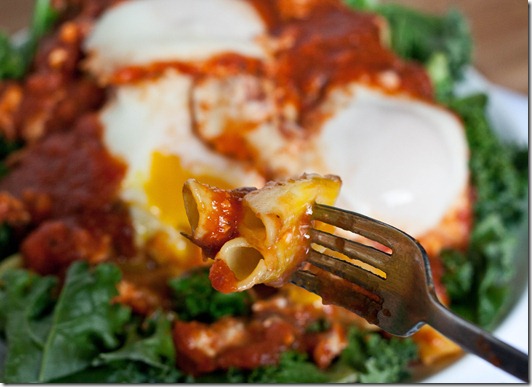
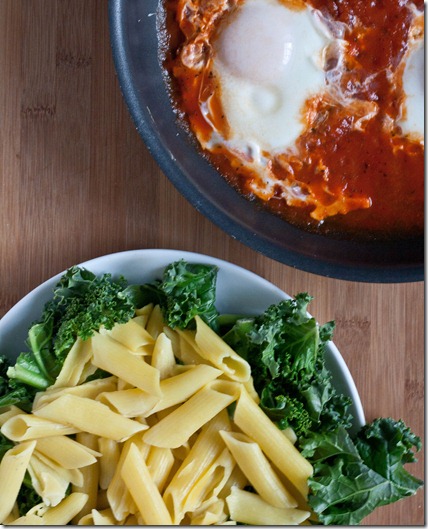
eggs-poached-in-tomato-sauce-forkfull

Every time I open a jar of marinara sauce, I feel a little guilty. I worked in an Italian restaurant for 3 months where I made the pasta while homemade tomato sauce was going on the stove every morning. And yet I will choose jarred tomato sauce over making my own every damn time. Trader Joe’s, Prego, Ragu—it doesn’t matter; even bad marinara sauce is still pretty damn good.

eggs-poached-in-tomato-sauce-pasta

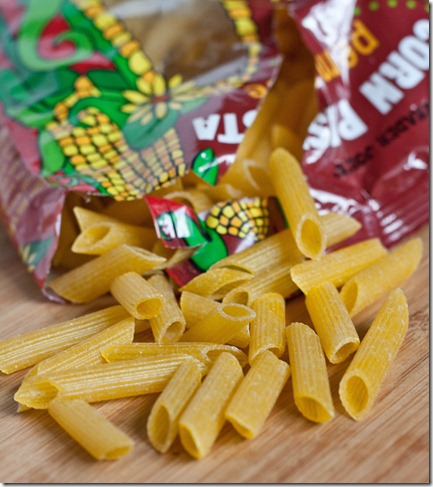
One of my favorite meals to make is eggs poached in tomato sauce over some kind of carbs, usually quinoa but in this case corn pasta I picked up at Trader Joe’s to try out. I had low expectations and it blew me away; I would not have known this were gluten-free if I hadn’t cooked it myself. There isn’t as much fiber or protein as brown rice pasta, but for the genuine taste and texture this pasta completely wins out.

I posted this recipe over the Summer, but I’m posting it again because I think it should be something everyone tries.

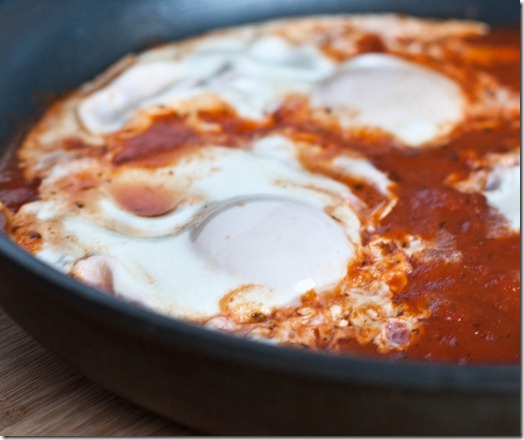
Eggs Poached in Tomato Sauce

You’ll need:

  • 2/3 cup marinara sauce
  • 2-4 eggs
  • A large frying pan with a lid

eggs-poached-in-tomato-sauce

Method:

  1. Heat the marinara sauce in the frying pan over medium heat until it’s boiling.
  2. Gently crack the eggs into the sauce and cover the pan.
  3. After about a minute, once the white on top of the yolks have cooked, remove the pan from the heat and serve over pasta.

eggs-poached-in-tomato-sauce-overhead

I could eat this every day; actually, there are probably weeks when I do. I hope you will, too.

The Amateur Gourmet’s Quinoa Converter

the-amateur-gourmet's-quinoa-converter

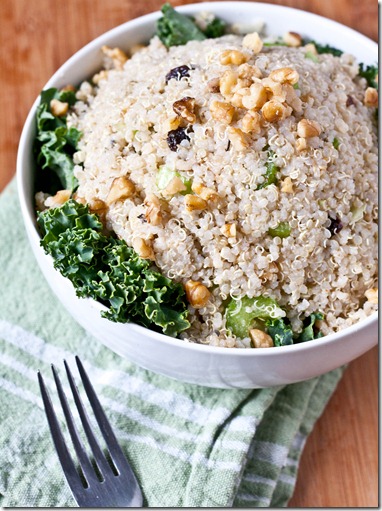
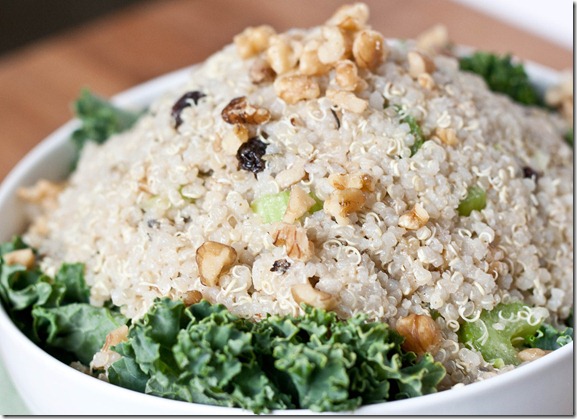
If you’ve been reading this blog for any amount of time, you probably know that I love quinoa, have for a long time, and certainly don’t need to be “converted” to it. But when I saw Adam’s Quinoa Converter recipe(and hilarious cartoon), I knew I wanted to give that recipe a try because it just looked so darn good.

the-amateur-gourmet's-quinoa-converter- mound

I’ve made quinoa for breakfast, lunch, and dinner. I don’t understand how you couldn’t love it. Sure, it’s plain; that just makes it easier to add other flavors to spice it up. And yes, it is something of a “health food” food; Adam, if you’re reading this then you can have a laugh over the fact that I made this after coming home from yoga.

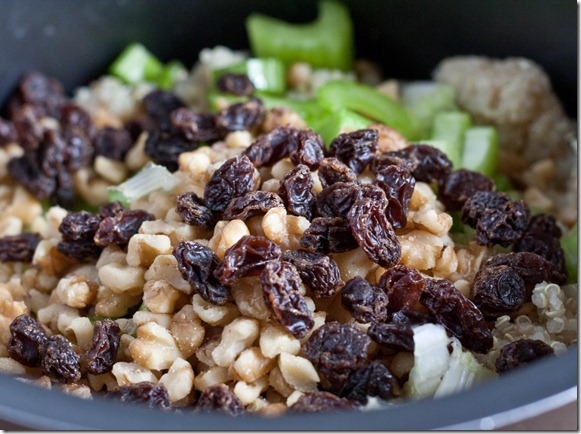
the-amateur-gourmet's-quinoa-converter-raisins-walnuts

I only made a few changes to the recipe. I used 2 Tablespoons each of apple cider vinegar and olive oil for the vinegar and oil listed in the recipe to cut down on the fat. And instead of the fresh parsley I used about 2 Tablespoons of dried Herbes de Provence.

the-amateur-gourmet's-quinoa-converter-mixed

This reminded me a lot of tuna salad, which I used to love. I find vegetarian/vegan “tuna” salads are usually hit or miss, and this was definitely a hit. Swapping in mayo for the oil next time wouldn’t be a bad improvisation.

the-amateur-gourmet's-quinoa-converter-shot

This was pretty damn delicious. Every time we have relatives over I usually make my vegan quinoa stuffing; now I have a new recipe to work into the rotation. If you still need convincing to try quinoa, try this recipe.

Scrambled Tofu

Scrambled-Tofu

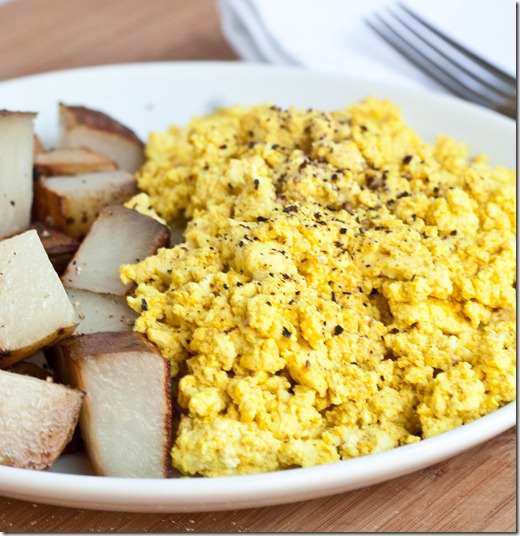
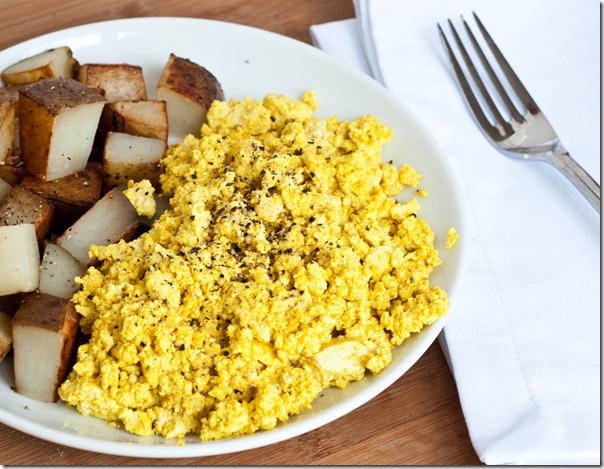
I love eggs. I really do. I have no problem with eating them for every meal. And some days I do. But I also love this vegan version of scrambled eggs, which is just as easy if not easier to make and packs a punch of flavor.

“How do you get tofu to look so much like eggs?” you might think. Tofu is so versatile to begin with; you can get it to be almost any texture and appearance with a little effort. The trick to getting a yellow color is turmeric, which adds very little flavor but a nice eggy look.

Scrambled-Tofu-and-potatoes

Now, this doesn’t taste terribly much like scrambled eggs. In fact, it would be pretty bland if it weren’t for the garlic, onion, and salt. In addition to those, you could add any herbs or other seasonings you might like to enjoy scrambled eggs with; for instance, add some cayenne pepper for a bit of a kick.

Scrambled Tofu

Prep time: 5 minutes

Cook time: 10 minutes

Ingredients(for 2 servings):

  • 1 block firm or extra firm tofu
  • 1/2 Tablespoon olive oil
  • 3/4 teaspoon turmeric
  • 1/2 teaspoon onion powder
  • 1/2 teaspoon salt
  • 1/4 teaspoon garlic powder
  • 1/4 teaspoon black pepper

IMG_0042

Method:

  1. Heat a pan over a burner set to medium.
  2. Mash the tofu with a fork to get it to a scrambled egg texture.
  3. Pour the tofu and all of the rest of the ingredients into the hot pan. Mix together to distribute the seasoning.
  4. Cook for 5-10 minutes until the tofu starts to brown and firm up.
  5. Serve hot with home fries or toast.

Scrambled-Tofu-Wide

I actually like this more than eggs because it’s usually easier to clean the pan afterwards; if that isn’t a good enough reason to make it, I don’t know what is.