Monthly Archives: October 2010

How To Blanch Almonds

Oct 28th 018

Before I get into how to blanch an almond, I’ll tell you why you would want to, and the answer involves a challenge.

Heather, Julie and I have decided to challenge ourselves to learn something new that’s always intrigued us: making French macarons. We’re extending the challenge to anyone who wants to participate, too. If you have a blog and want to teach yourself how to make macarons, or any other technique that might have intimidated you in the past, tackle it, write a post on it, and send it to Heather by 10pm on Macaron Monday(Nov. 8th) to show off your newly learned skill. Even if you don’t have a blog, consider this an opportunity to challenge yourself; it’s always great to learn something new!

If you so choose to make French macarons, chances are you’re going to need to blanch almonds or buy blanched almonds. I purposely bought raw almonds to challenge myself to learn how to do this(and because they were cheaper). Blanched almonds are not only great for making macarons but can be useful for other recipes like almond butter, almond flour, or marzipan.

How To Blanch Almonds

Oct 28th 010

To begin, start with raw almonds. Note that most almonds sold in stores marketed as “raw” have already undergone a pasteurization process. That’s OK; just avoid any almonds that have been roasted, especially with added oil and salt.

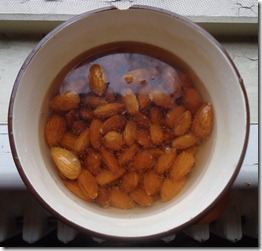
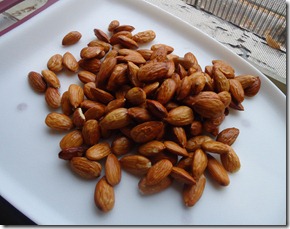
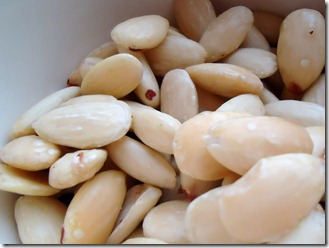
In a bowl, pour boiling water over the almonds and let them sit for one minute(I used scalding hot tap water and that worked, too). Next, drain the water and run the almonds under cold water to cool. Drain and dry them on a flat surface.

Oct 28th 013

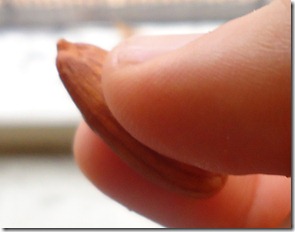
Once the almonds have been drained and rinsed, you should notice the skins beginning to shrivel. To peel an almond, simply hold it between your thumb and index finger…

Oct 28th 022

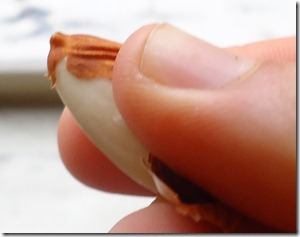
And gently apply pressure between the two until the skin begins to peel away.

Oct 28th 024

Pick away and discard any excess skin. Some almonds might be more resistant than others, but in general it’s really that simple.

Oct 28th 027

You’ll notice a dark patch of skin on the ends of each almond where the skin is much more strongly attached. You can either pick these off separately or ignore them as they shouldn’t affect whatever recipe you’re making.

Use the blanched almonds immediately or store them in a ziploc bag in the refrigerator until you’re ready(but don’t wait longer than 2 weeks).

And don’t forget, if you care to participate in Macaron Monday, to send your post to Heather by 10pm, November 8th. And HAPPY HALLOWEEN.

Dairy-Free Mashed Potatoes

If you haven’t already entered the giveaway going on now, there are only 2 days left!

Oct 26th 005

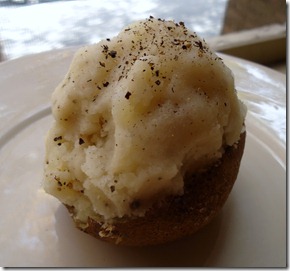
The only memory I’ve ever had of mashed potatoes are from holidays where the potatoes thinned out to a pudding sat in a pool of butter. Needless to say, I didn’t have a problem passing on the mashed potatoes for most of my childhood. But I’ve been enjoying them a lot recently; in turns out if you skip the butter and use a moderate amount of milk with the right seasonings, they taste like, well, a potato! And I can never pass on that.
Dairy-Free Mashed Potatoes

Ingredients(Makes 4 servings):

  • 4 starchy baking potatoes(I like Russet)
  • 1/2 cup coconut milk(or non-dairy creamer)
  • 1 teaspoon onion powder
  • 3/4 teaspoon sea salt
  • 1/2 teaspoon black pepper

Bake the potatoes for 60 minutes at a high temperature(alternatively, you could just microwave them). Remove the skins and mash in a bowl. Pour in the milk and seasonings and continue to blend until the liquid has been absorbed. Serve hot.

Oct 26th 010

The great thing about coconut milk in this recipe is that these don’t really taste “coconut-y”; there’s enough pepper and onion to make them interesting and flavorful while still keeping a smooth, rich consistency. These give mashed potatoes a much better name in my mind, and scream “comfort food”.

Side note: Did you know professional food photographers will use mashed potatoes to look like ice cream? That’s no fun.

Rich Coconut Milk Brownies

Oct 24th 023

When I first started baking, I was pretty much a purist for the recipe: I only used Betty Crocker in that bright red box that called for 2 medium eggs and a 1/2 cup vegetable oil. Adding in 1/2 cup of applesauce sounded “out there”, and folding in chocolate chips was a flavorful twist.

There came a time when I realized that I could mix flour, sugar and cocoa powder on my own, and that it actually tasted better when I did so. The best part of making brownies from scratch is trying different recipes; if you think there’s only one type of brownie you can make, you’re sadly mistaken. I made this recipe with coconut milk because I had an open can that needed to be used, and the result was a very deep, rich dark chocolate flavor. If ever you feel the urge to use a premixed brownie recipe, I ask you to step out of the box and try this.

Rich Coconut Milk Brownies

Ingredients:

  • 1/2 cup butter(or Earth Balance)
  • 3/4 cup sugar
  • 1/2 cup coconut milk
  • 1/2 cup cocoa powder
  • 1 teaspoon vanilla extract
  • 1/4 cup + 1 tablespoon chocolate chips
  • 1/4 teaspoon salt
  • 1 cup all-purpose flour
  • 3/4 teaspoon baking powder

Oct 24th 004

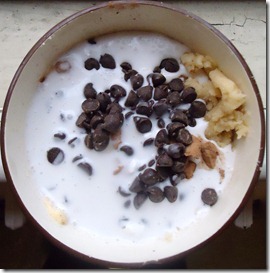
Preheat the oven to 350 degrees. Cream together butter and sugar. Add in the coconut milk, cocoa powder, vanilla extract, chocolate chips, and salt and stir until fully incorporated.

Oct 24th 007

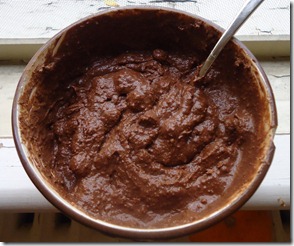
Sift in the flour and baking powder and mix until the batter has just come together. The batter will be very thick.

Oct 24th 011

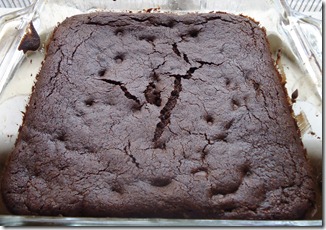
Using a rubber spatula, spread it out on an 8×8 baking pan and bake for 40 minutes, or until a toothpick comes out clean from the center.

Oct 24th 015

These are much darker in flavor than my normal brownie recipe. They’re also more cakey, too, which might or might not be up your alley. From now on, these will be reason not just to finish a can of coconut milk but to open one, too.

When Classics Meets Cooking

Oct 23rd 034

Inspiration is everywhere. In my daily life, I study Classics for a living. It’s a fun major to have; just ask Abby. Because of this, whenever I hear “Romaine” I instantly think “Roman”. I can’t be certain whether or not the Romans ate Romaine lettuce. I can tell you all about the politics behind public land used for personal food growth, however. But you don’t want to hear about that.

Without question, Mediterranean flavors are some of my favorite. The fish are always fresh; the flavors are always clean; and they’re not shy with the olive oil. This isn’t a Roman recipe by any means. The Romans most of the time at some sort of grain-based gruel with salt and animal fat added to it. Pork was the most common source of protein when a family could afford it, and cooking methods were far from glamorous. This would be the envy of any Roman plate.

Hazelnut-Breaded Baked Fish

Ingredients:

  • 1lb flaky white fish(I used Pollock)
  • 2/3 cup hazelnut flour
  • 3 tablespoons parmesan
  • 2 egg whites

Oct 23rd 002

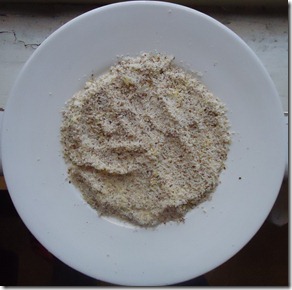
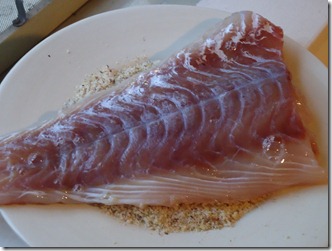
Preheat an oven to 400 degrees. Mix the hazelnut flour and parmesan on a plate. Beat the egg whites slightly and pour over the fish to coat.

Oct 23rd 013

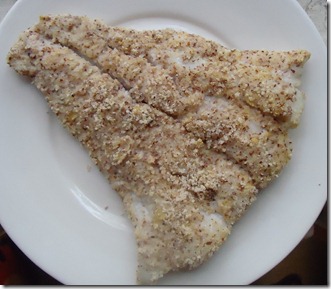
Bread the fish by placing alternating sides down on the plate until it’s fully coated and all the flour has been used up. Put the fish on foil and bake until white and flaky, about 15 minutes.

Oct 23rd 024

Roman Romaine Crunch Salad With Hazelnut Baked Fish

Ingredients:

  • 1lb hazelnut-breaded baked fish
  • 1 1/2 cups cherry tomatoes
  • 1/4 cup olive oil to drizzle

Oct 23rd 038

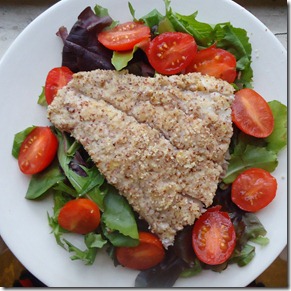
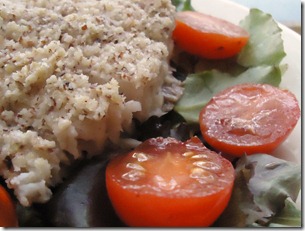
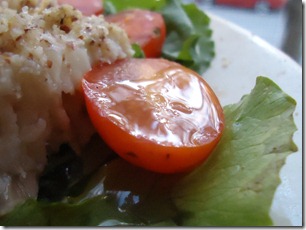
Distribute the salad evenly amongst 4 plates. Cut the fish into 4 filets and add to the center of each plate. With a sharp knife, halve the cherry tomatoes and add around the fish. Drizzle about 1 tablespoon of olive oil over the plate to finish.

Oct 23rd 042

This was my entry for Olivia’s Organics’ holiday salad contest. You can enter, too! Just post a salad recipe on their Facebook Wall.

A Rice Cooker Love Story(Giveaway)

Once upon a time(a little under 2 months ago), I moved into the place where I now live. I didn’t know what would be there waiting for me, and after finding my bearings I was left with a stove, an oven, and a frying pan. For a wannabe chef, this simply wasn’t enough; something was missing. At the same time, I remembered having a CSN stores gift certificate I won to spend on anything from wardrobes, to yoga mats, to—you guessed it—rice cookers.

Oct 25th 019

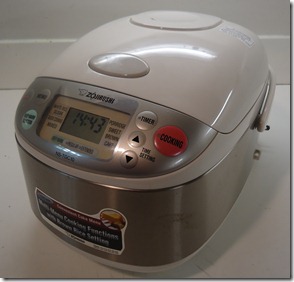
After a conversation with some good friends, I decided that this was the missing piece of my puzzle. I looked at design after design and knew I was going to need something powerful(read: expensive). Luckily, after sales and my coupon I got this model rice cooker at over 50% off.

Oct 25th 005

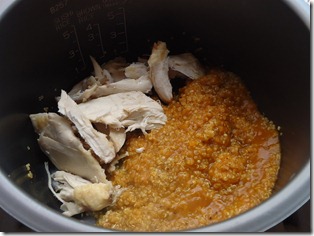
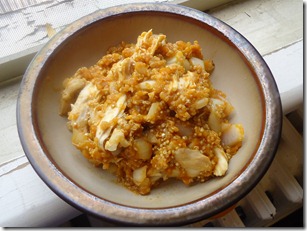
After making this big purchase, my biggest worry was how would I like it? Would I even use the darn thing? In short, it was everything I could have asked for. I never thought I needed a rice cooker; I don’t even eat rice all that often. But since the purchase I’ve used this almost every day cooking quinoa and adding in leftover protein and produce. It makes a mean savory pumpkin quinoa in 20 minutes flat and has to me to class on time. And I can tell this machine will last through the years.

October 18th 086

Giveaway

I’m happy to have the opportunity to pay it forward and offer one reader their own gift certificate worth $45 to get whatever’s missing from their life. There are 2 ways to enter. Please leave a separate comment for each mode of entry.

  1. Tell me what you might get with your gift certificate. If you’re in the market for a rice cooker, I can surely recommend one 😉
  2. “Like” the new The Wannabe Chef page on Facebook

And, though this isn’t a mode of entry, if you subscribe through some sort of reader please remember to switchover to the new feed since the old one will stop working in 20 days. Good luck and I’ll pick a winner next Monday, Nov. 1st.

Peanut Butter Frosting

Oct 22 055

Where was I?

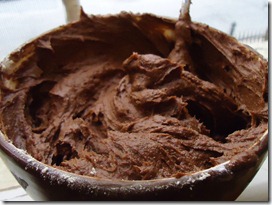
Oh yes, the frosting. It turns out, the nomenclature of frosting is quite complicated. There’s “frosting”, “buttercream”, “icing”, “ganache”,—the list goes on. I can definitively say this is a “frosting”. I can also say it is damn delicious, too.

Peanut Butter Frosting

Ingredients:

  • 1/4 cup butter(or Earth Balance or coconut oil)
  • 1 1/2 tablespoons heavy cream
  • 1/2 cup natural peanut butter
  • 3/4 cup powdered sugar
  • 1/4 teaspoon salt(omit if your peanut butter is salted)

Oct 22 028

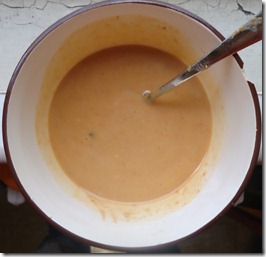
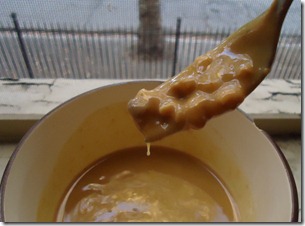
In the microwave or over a stove, melt down the butter and heavy cream and emulsify. Stir in the peanut butter until it’s thin and runny.

Oct 22 030

Sift in the powdered sugar with the salt little by little and stir until it’s fully absorbed. The frosting should still be loose at this time.

Oct 22 035

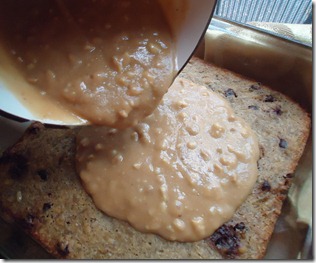
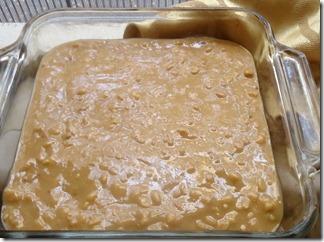
Pour it over whatever you’re working with and spread evenly. Let the dessert cool to room temperature, or put it in the refrigerator for 10 minutes to quicken things up. The frosting will be cooled when you can touch it and make an indent without any sticking to your finger.

Oct 22 038

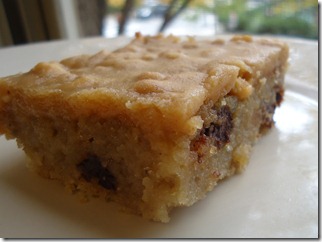
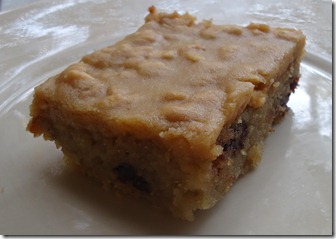
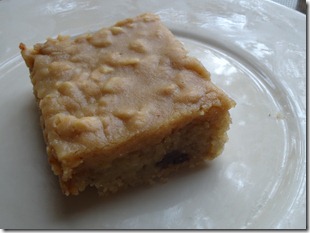
How did this taste? Flippin’ amazing. Normally I’m against using chunky peanut butter for frosting, but it was all I had at the moment, and the chunky peanuts were a nice contrast from the soft, sweet blondies. I don’t think I have to tell you these didn’t last long…

Banana Blondies With Chocolate Chips

Oct 22 050

Banana desserts have never been the most desirable; you always make them when your bananas are browned and dying as a last resort. I didn’t want that sort of recipe. I wanted the kind of recipe that makes you go out and buy bananas just to make it. And I think I’ve found that.

Oct 22 002

Banana Blondies With Chocolate Chips

Ingredients:

  • 1/2 cup butter, softened(or Earth Balance)
  • 1/2 cup light brown sugar
  • 1 cup(8 oz) mashed banana puree(about 2 large bananas)
  • 1/4 cup chocolate chips
  • 1 teaspoon vanilla extract
  • 1/2 teaspoon salt
  • 1 cup all-purpose flour

Oct 22 006

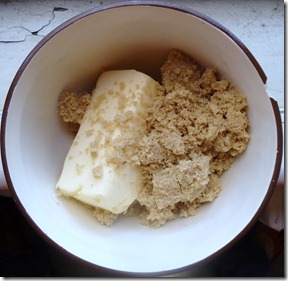
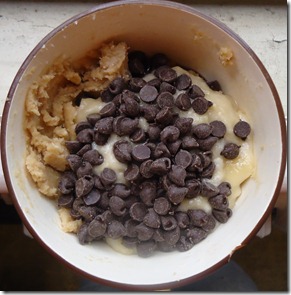
Let butter soften for about an hour before starting the recipe. Preheat your oven to 350 degrees. Cream together the butter and brown sugar. Next, add in the banana puree, chocolate chips, vanilla, and salt and mix together.

Oct 22 013

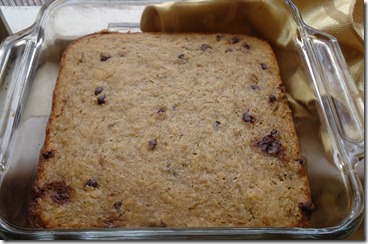
Lastly, add in the flour and mix until just incorporated. Spread the batter evenly in an 8×8 baking pan and bake for 40 minutes, or until the center has set and the edges are slightly browned.

Oct 22 022

I’ll admit that these were so easy I was a little worried how they’d come out. Could they rise? Hold their structure? They did. They were nice and soft and a little moist—perfect blondies. And the chocolate chips added just enough bitterness to contrast the salty/sweet base.

Oct 22 047

Tomorrow’s lesson: Frosting!

Sunday Confessional

Oct 22 068

I can’t eat bread, but I purposely extend my running route to run past this bakery just to smell the French baguettes hot from the oven. There’s no harm in smelling. 

Sometimes I’ll eat a meal out of a frying pan because I don’t want to dirty any dishes.

I often go to Starbucks everyday to work for hours without buying anything; who can afford a coffee habit like that?

October 18th 060

I made these shortbread cookies last weekend, and while they tasted great they came out flat. I’m working on trying again, but that’s a lot of butter to eat through first.

If you tell me you prefer white meat over dark meat, I’ll assume you’re lying.

When A House Is Not A Home

Oct 22 058

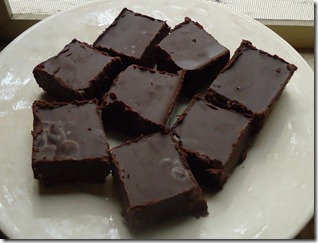
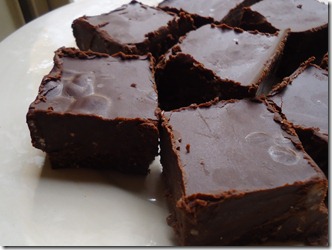
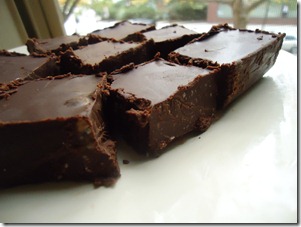
I have funny food complexes. Believe it or not, I’ve always had a tray of vegan fudge in my fridge since last April. Why? What if someone came over and wanted some fudge to eat? These things happen, you know… in my mind at least.

Oct 22 060

It might be a bigger deal if this recipe weren’t so simple to make. I threw together a new tray Thursday afternoon with some leftover chocolates I had lying around. You just can’t beat dessert you can make while watching Ellen.

 Oct 22 065

Now this house is a home.

How To Dice An Onion

This is the post that made me cry.

Blog 023

I have a love affair with onions. I think they make anything taste better. So I was naturally a little embarrassed that—up until this past Tuesday—I didn’t know how to properly dice one of them.

Sure, I could chop an onion a whole bunch of different ways, and when a few pieces weren’t cut up so evenly I would fix it afterwards. But I didn’t really know how to dice an onion. So what did I do? I youtubed it. And you know what? It’s pretty simple!

Blog 009

How To Dice An Onion

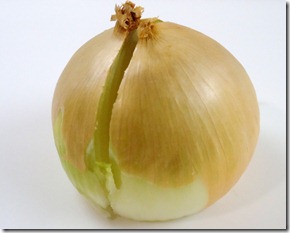
Start by chopping off the “stem” end, or the one that looks hairy. After that, cut vertically from the stem end through to the “root” end. Peel the outer skin off the onion and discard.

Blog 013

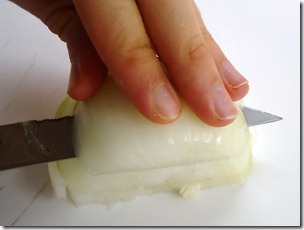
The first cuts you’ll want to make should be parallel with the surface. Push down with your fingers on top and make 2-3 slices horizontally through the onion .

Blog 015

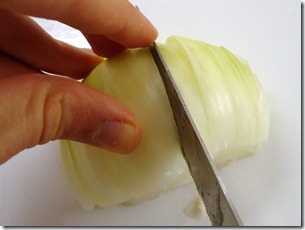
Next, readjust your hand and make cuts from the stem end to the root end about 1/4-1/2 an inch thick. You’ll want to apply pressure on both sides of the onion to make sure it moves as little as possible.

Lastly, position your hand on the root end and make cuts lengthwise, perpendicular to your last cut and parallel with the first cut you made to remove the stem. After each cut, your onion will be diced so push the onion bits away with the knife in between each slice.

Blog 017

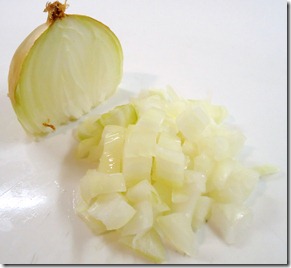
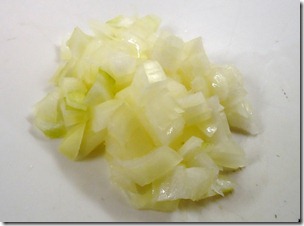
Is that not the most beautiful thing you’ve ever seen? No? Only me? OK, then. For what it’s worth, this is a great skill to learn to make evenly sized onions for soups, stews, stir-fries and sautés. It’s also bad news for your breath, but that’s a trade I’m willing to make.