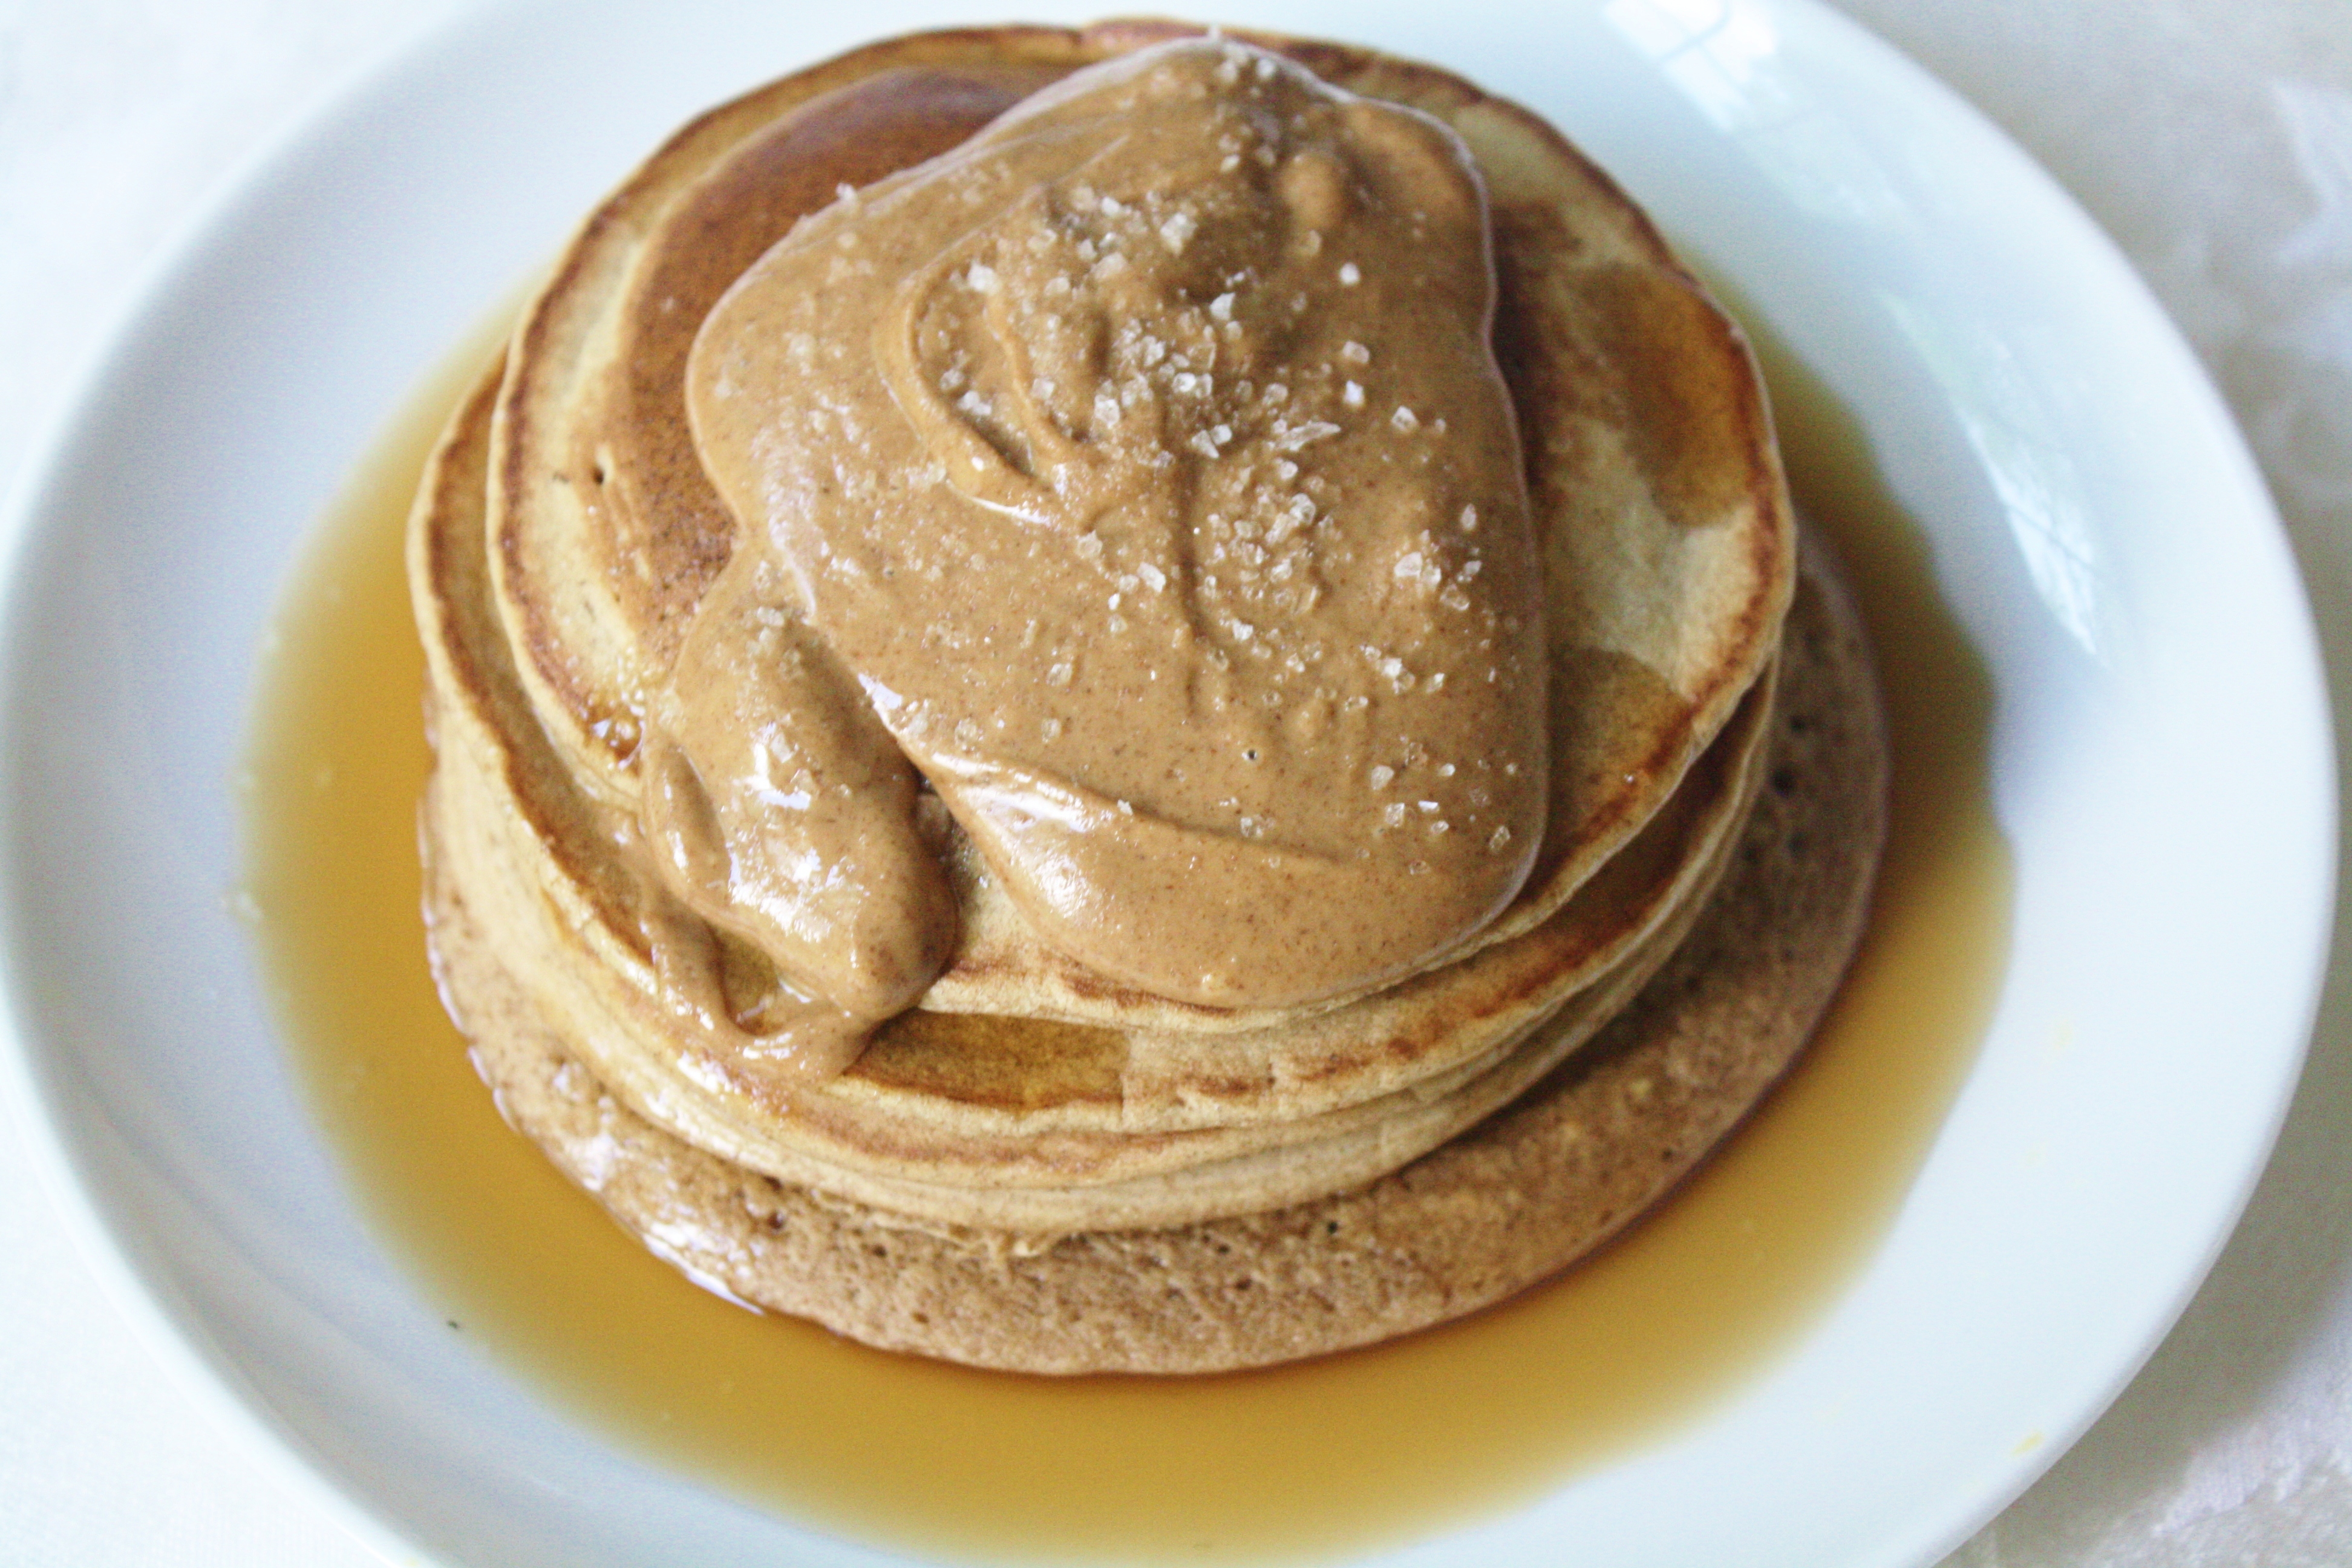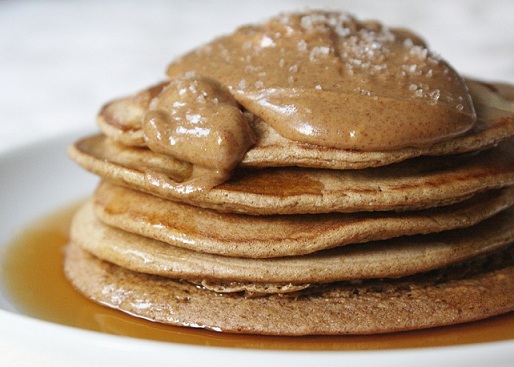
Pancakes make me happy. My guess is that they make you happy, too. But it’s been years since I’ve made pancakes for breakfast; they’re not the most gluten-free friendly food. But after my first experiment with chickpeas flour, I realized just how much this would improve my life.
But first, a lesson on cake:
“Young man, you’re not having cake for breakfast. You’re having fried cake with syrup for breakfast.”
Done.
These were just as easy to make as “real” pancakes and tasted among the best I’ve had. They absorb moisture really easily, so have the maple syrup standing by. And they don’t get soggy! Perfect.
Gluten-Free Pancakes
Ingredients(Makes 4 medium-sized pancakes):
Method:
- Whisk together the flour, water, egg, sugar, baking soda, and salt until all the clumps are gone from the batter.
- Heat a pan or skillet over a burner set to medium with some butter or oil. Scoop about 3 Tablespoons-1/4 cup of batter into the pan. Cook for about 40 seconds until the edges are cook and bubbles come up through the batter. Flip and cook for another 15 seconds until the other side is set. Serve while still hot.
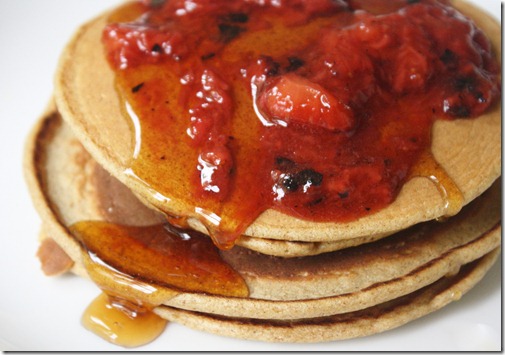
Top with maple syrup, nut butter, coconut shreds, fruit sauce, or whatever else you can think of.
You can bet what’s on the menu for tomorrow’s breakfast.
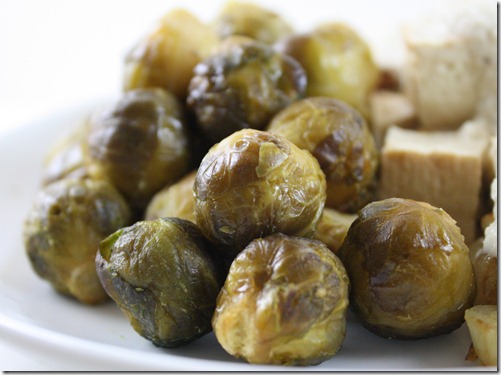
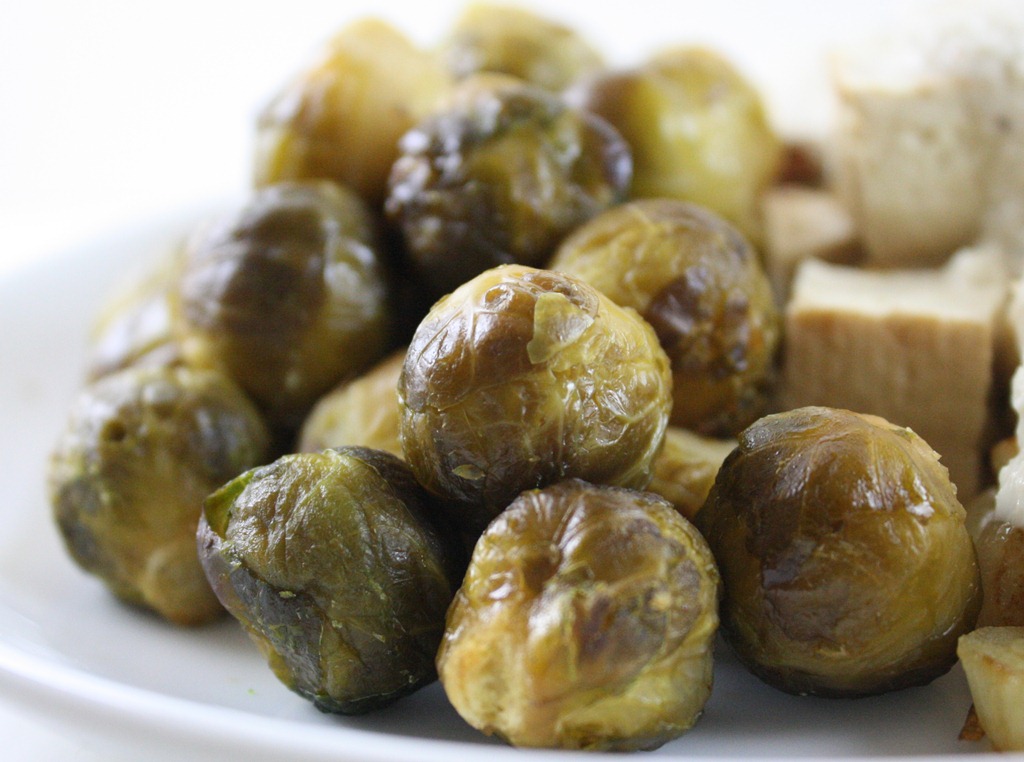
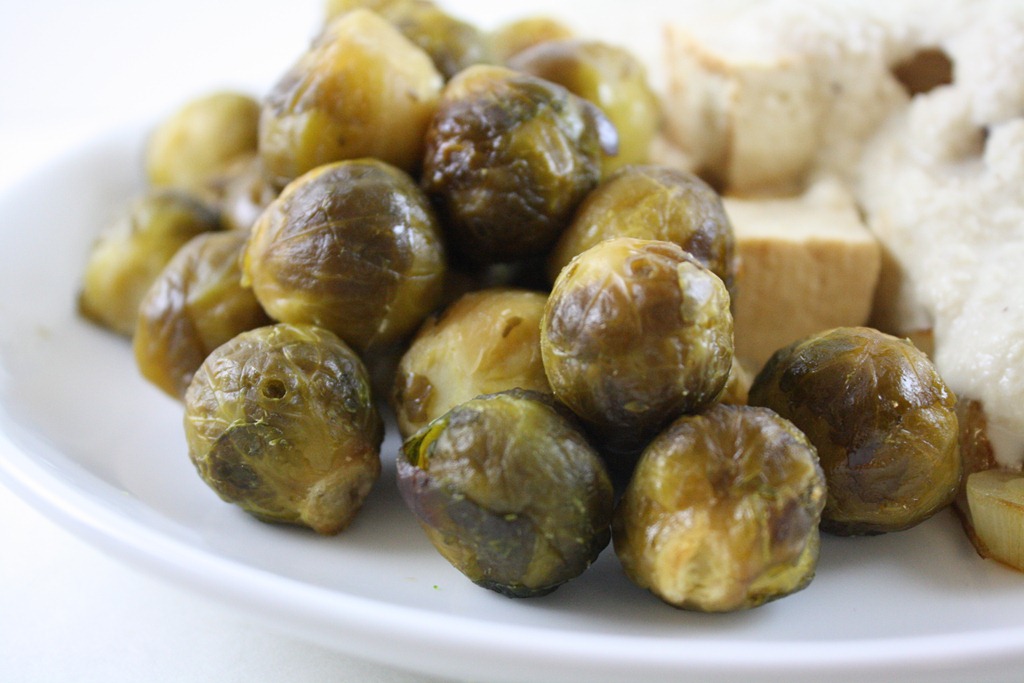
In case it isn’t obvious, I love maple and roasted things. Any excuse to add sugar to vegetables sound good to me. These have just enough flavor to get anyone to eat their vegetables.
Maple-Roasted Brussel Sprouts
Ingredients:
- 1 bunch brussel sprouts, stems removed
- 2 Tablespoons maple syrup
- 2 teaspoons cooking oil
- splash of white vinegar
- 1/4 teaspoon salt
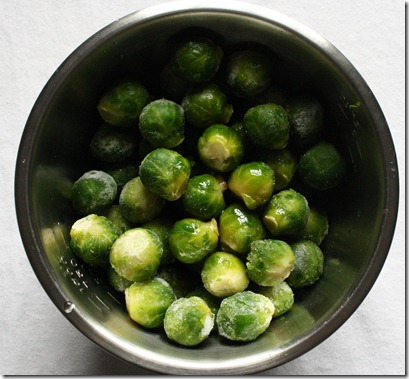
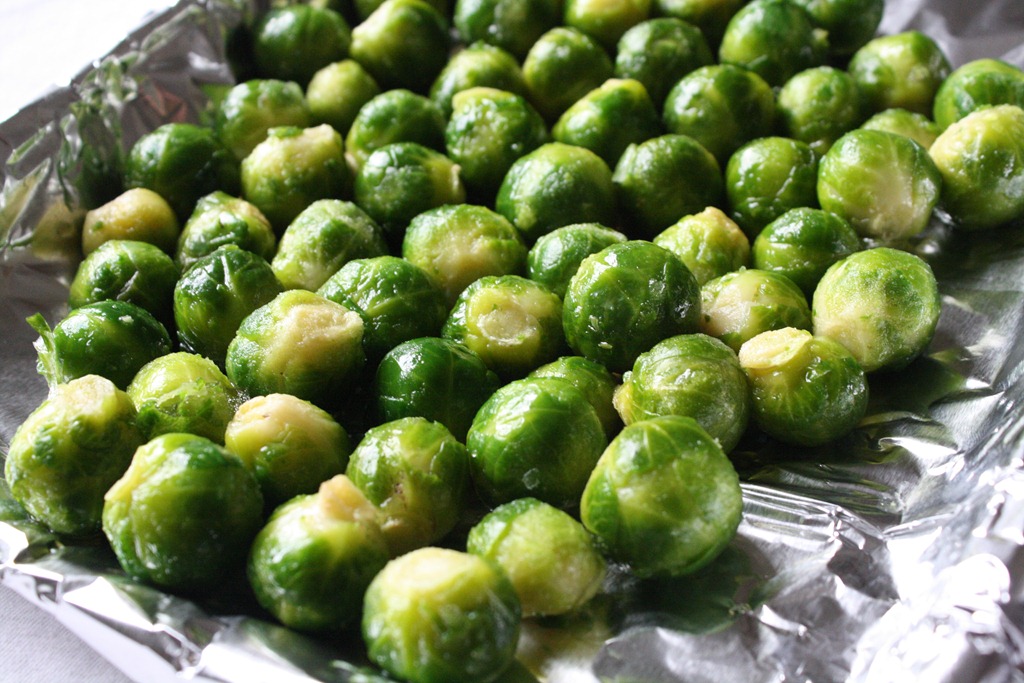
Preheat your oven to 350 degrees. Toss the brussel sprouts with the maple syrup, oil, vinegar, and salt.
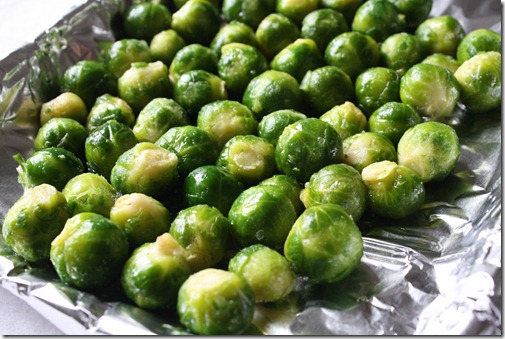
Lay the brussel sprouts out on a single layer. Bake for 45 minutes or until they’ve browned.
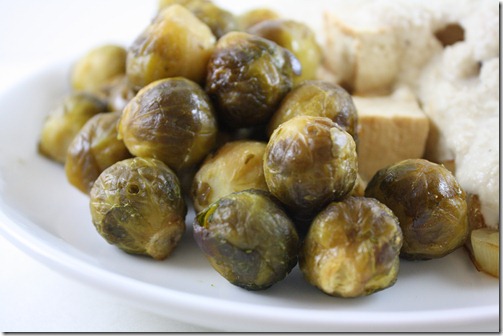
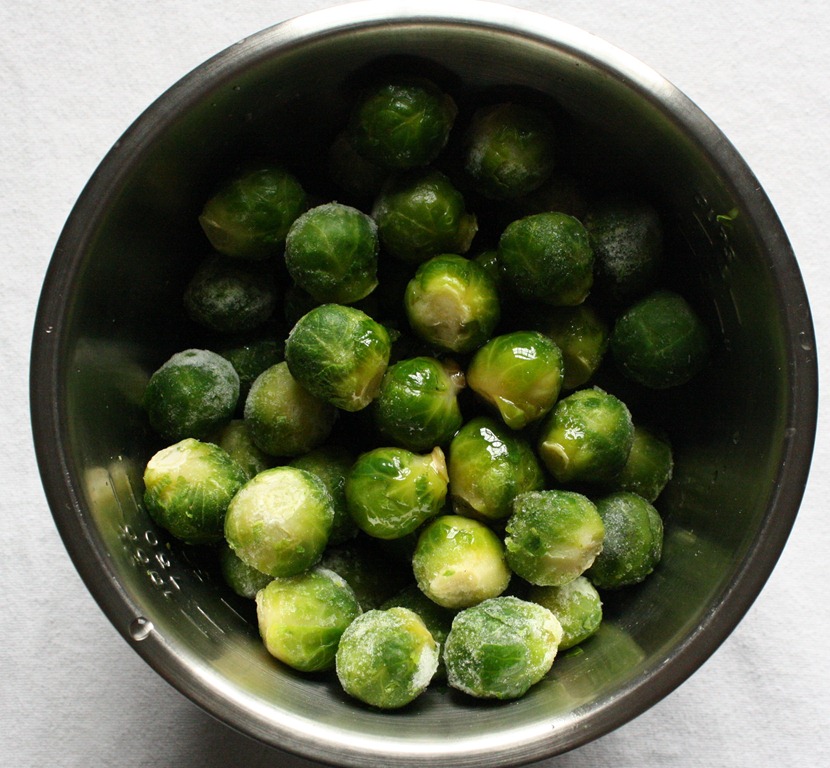
Even though these were frozen vegetables, they still tasted darn good. I’m looking forward to eating this again when the vegetable is fresh and in season to get a better caramelization. Until then, I’ll just have to see what else I can cook in maple syrup.
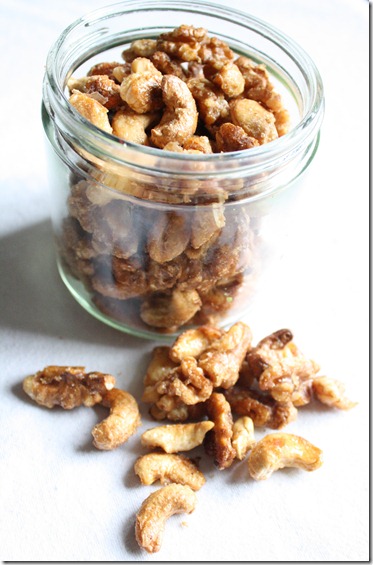
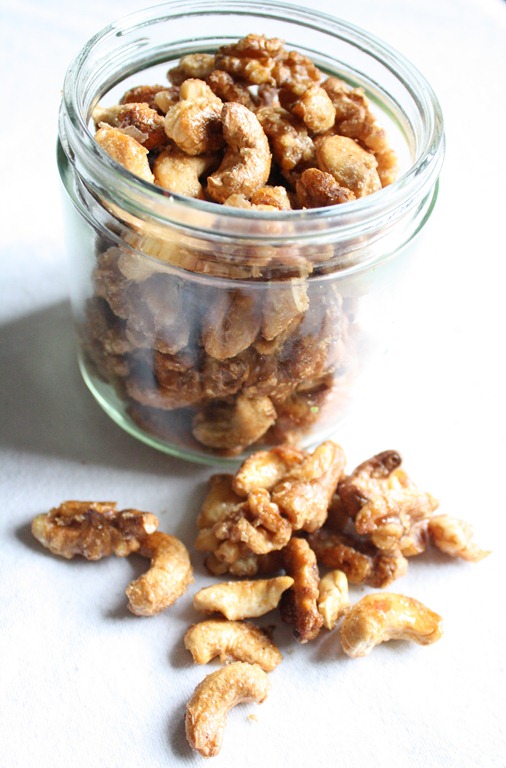
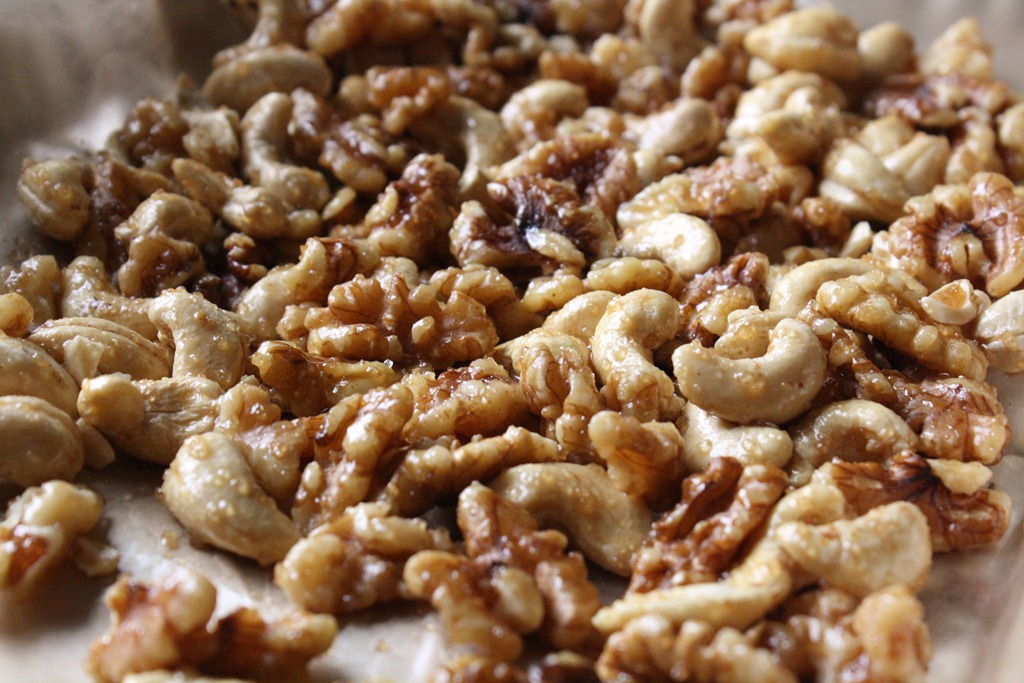
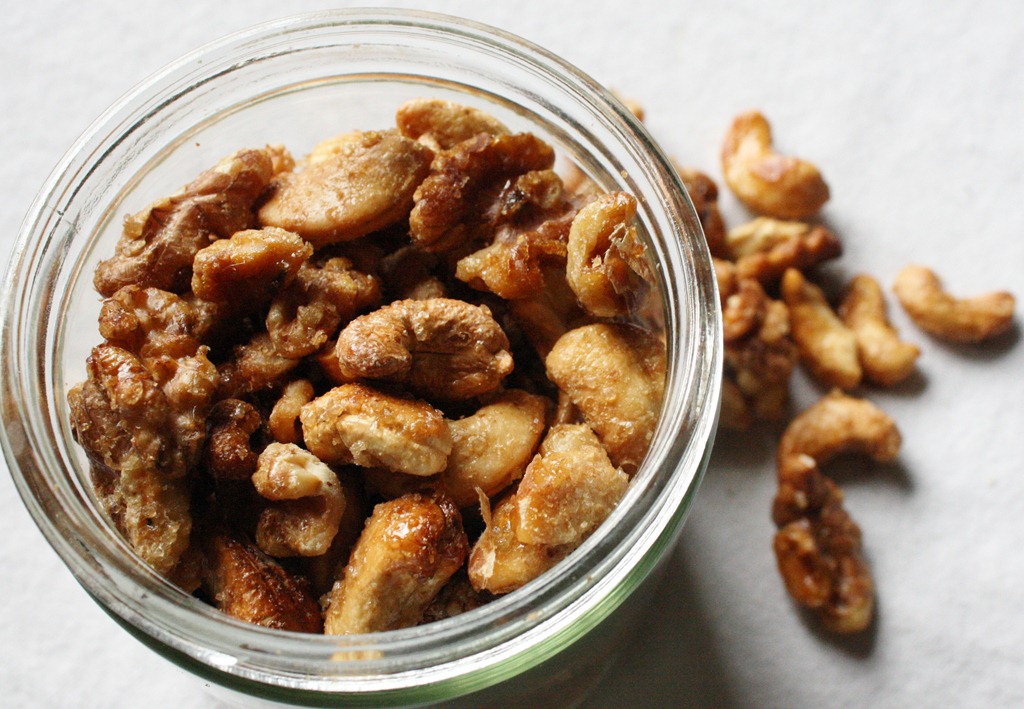
I should warn you before I share this recipe that these are like crack. They might even be more addictive than Pringles; the lab tests haven’t come back yet. I do know that about half of the batch was “missing” later on the day that I made these. Since I was the only one around, you can be the jury on that case. But really, these are very good, and dare I say “healthy”? They’re sweet but not too much so that they feel like dessert; and who doesn’t love the flavor of roasted nuts? You can think up your own joke there…
Maple Roasted Nuts
Ingredients:
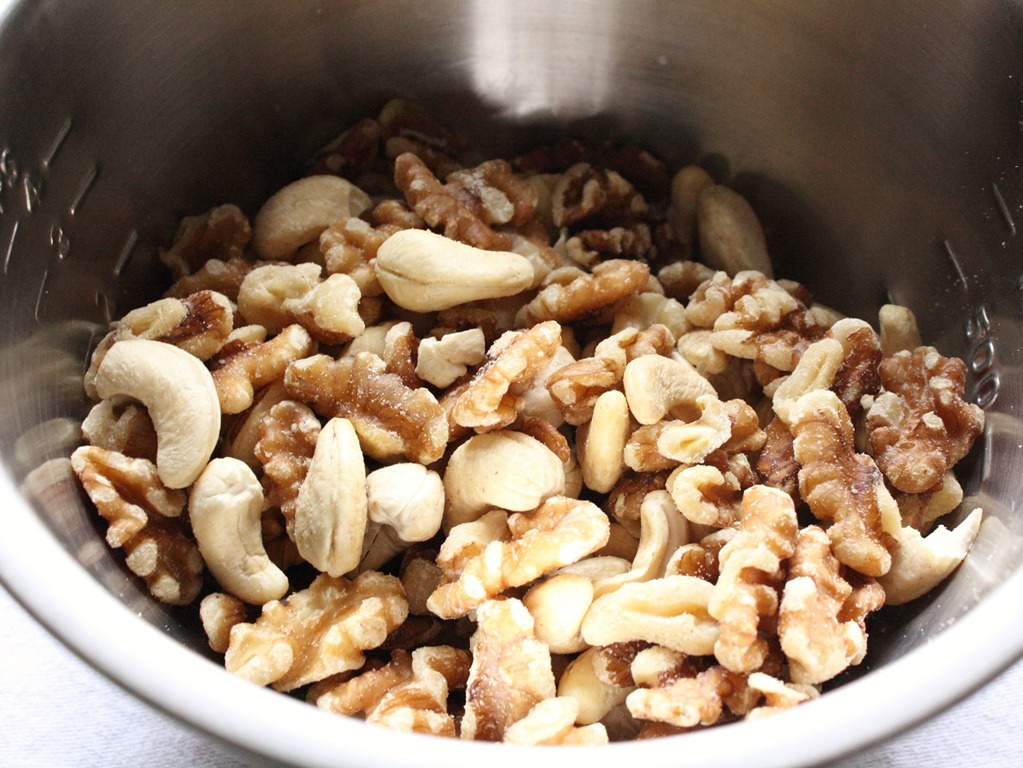
- 2 cups nuts(I used 1/2 walnuts, 1/2 cashews)
- 2 Tablespoons maple syrup
- 2 Tablespoons brown sugar
- 1/4 teaspoon salt
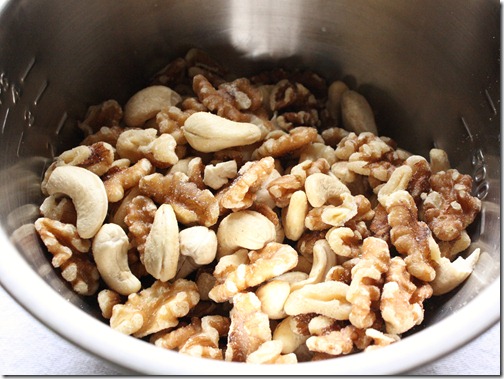
Preheat your oven to 375 degrees. Gather your nuts in a large bowl for mixing.
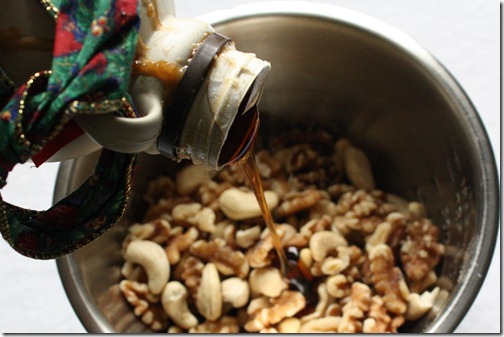
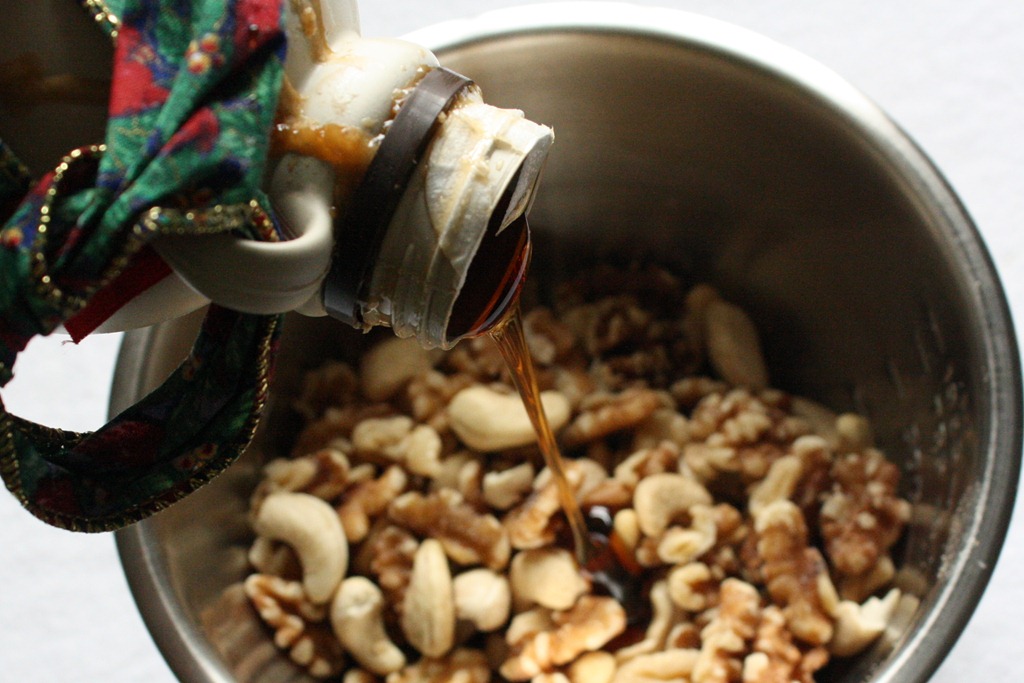
Pour in the maple syrup and add in the sugar. Toss to coat with your hands, making sure all of the sugar mixture gets used up(if you’re wondering why my maple syrup bottle has a red and green ribbon on it, it’s because it was a Christmas present; doesn’t every family give each other maple syrup for Christmas?).
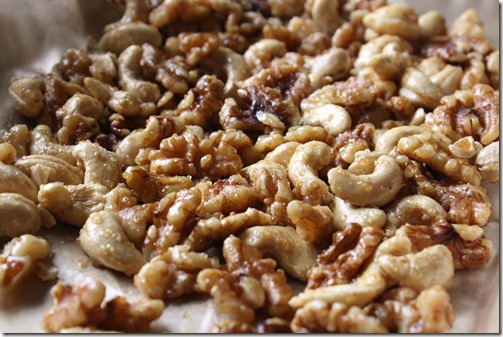
Line a tray with parchment paper and lay the nuts out in a single layer. Roast for 10-15 minutes, stirring occasionally and making sure not to burn them. Once the nuts have cooled enough to touch, separate and move them to a container to make sure they don’t stick to the pan.
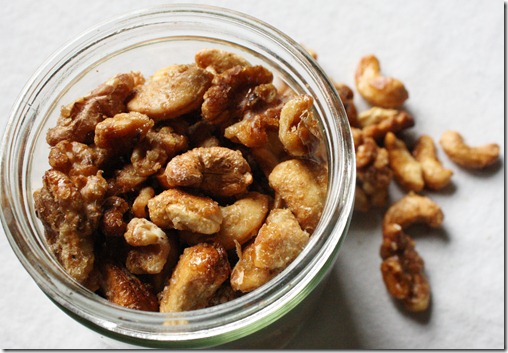
If you’re like me, then you’re going to burn a few of these because you’re easily distracted and don’t bother checking on these at all. That’s OK because the ones that aren’t burnt taste terrific. I loved the walnuts in here; next time I would try adding in some almonds, too, for more flavor. Just don’t leave the jar open next to you when you’re all alone and have no will power; that’s a dangerous combination.
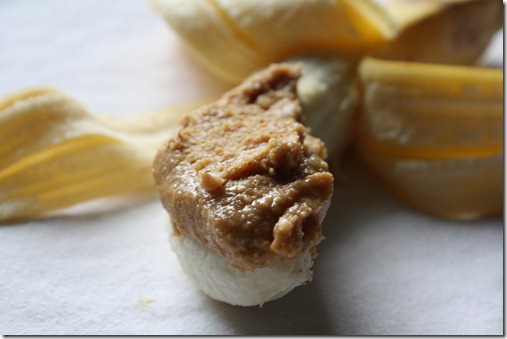
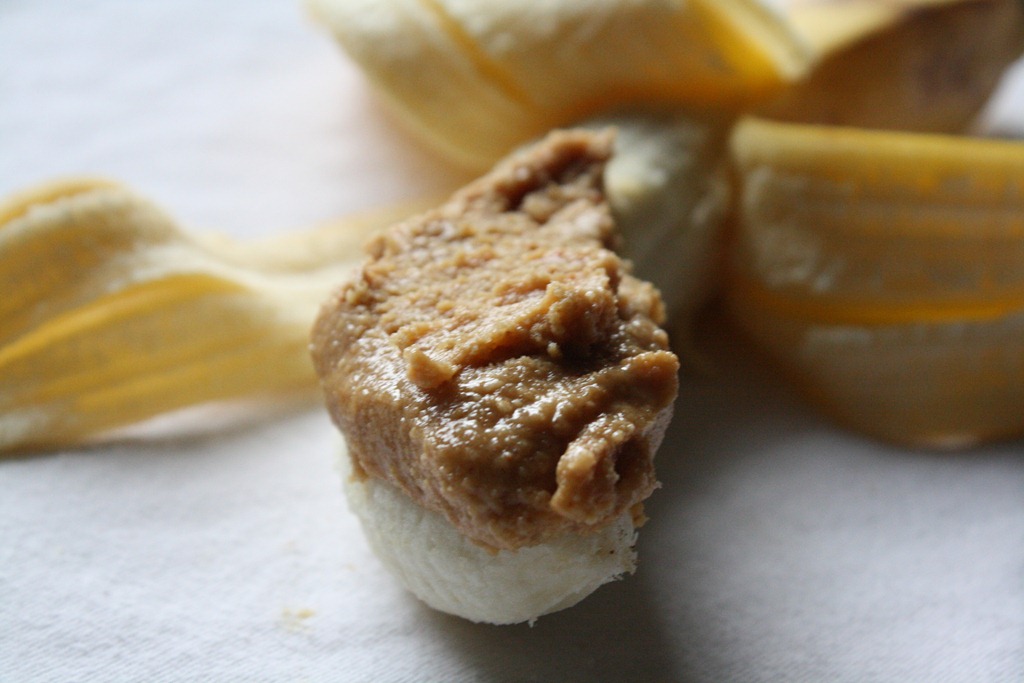
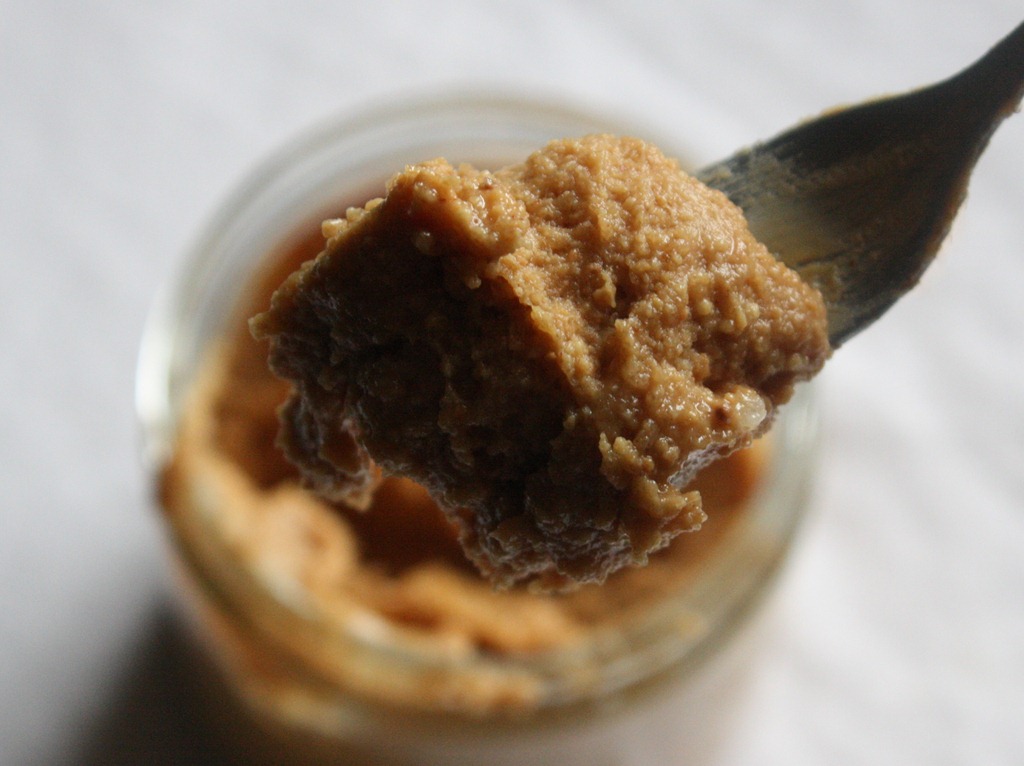
I could go broke on peanut butter; I really could. My favorite has to be PB&Co.’s Mighty Maple. If you’ve never had it, it’s love on a spoon. It has just the right amount of peanut and maple flavor, and a smooth-spreading consistency. It also has a heavy price tag at Whole Foods for something that’s mostly peanuts. After making chocolate peanut butter, making my own maple peanut butter seemed like the natural progression. It’s good; it’s not quite as good as Mighty Maple but what is? Not much. Oh, and it’s cheap and easy like a bad Valentine’s Day date. What more could you ask for?
Maple Peanut Butter
Ingredients(Makes about 1 cup):
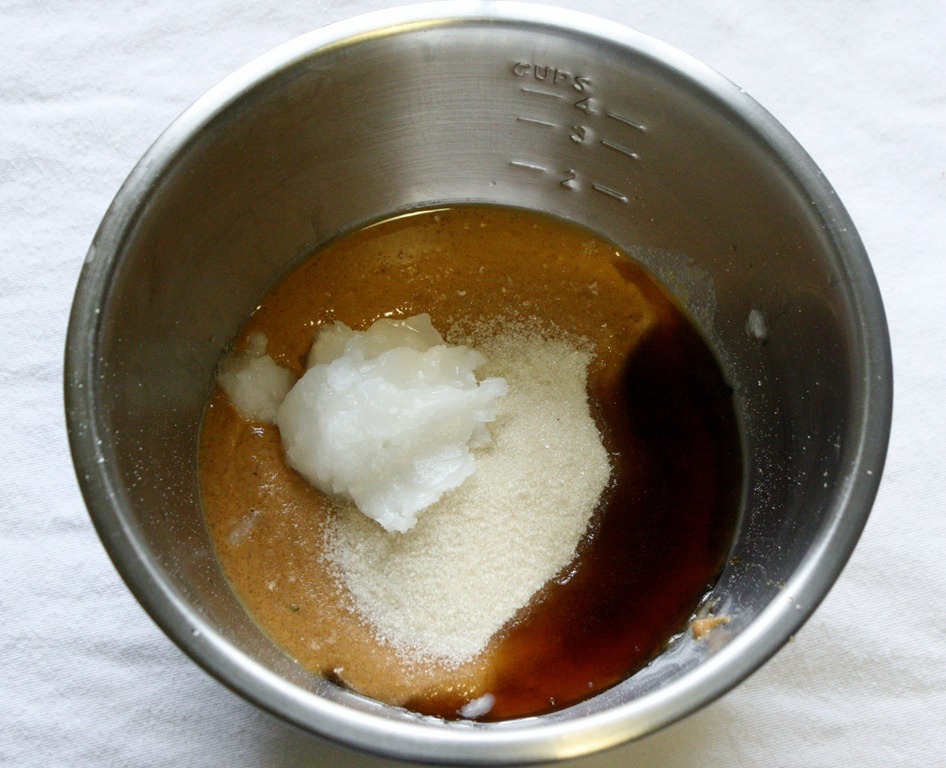
- 3/4 cup natural peanut butter OR 6 ounces shelled peanuts
- 2 tablespoons maple syrup
- 3 tablespoons maple sugar(or brown sugar)
- 2 tablespoons coconut oil, softened
- 1/4 teaspoon salt(omit if your peanut butter is salted)
If you’re starting with whole peanuts, grind them in a food processor for about 10 minutes until they make a smooth, runny peanut butter.
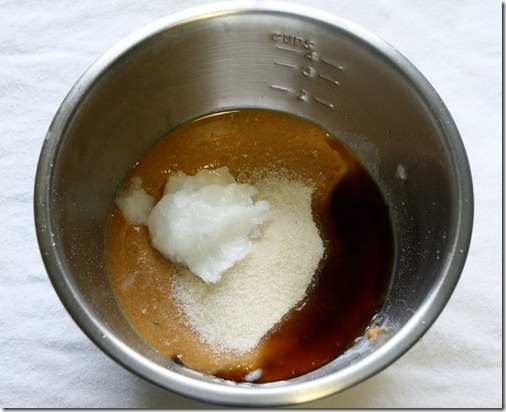
Combine all the ingredients in a bowl and stir with a spoon. That’s it. Once it’s all come together, move it to a seal-tight jar for up to 2 weeks without refrigeration.
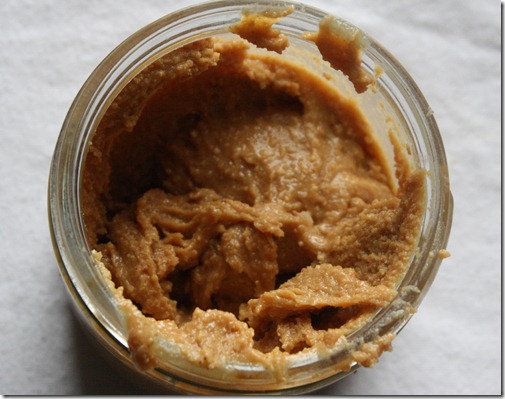
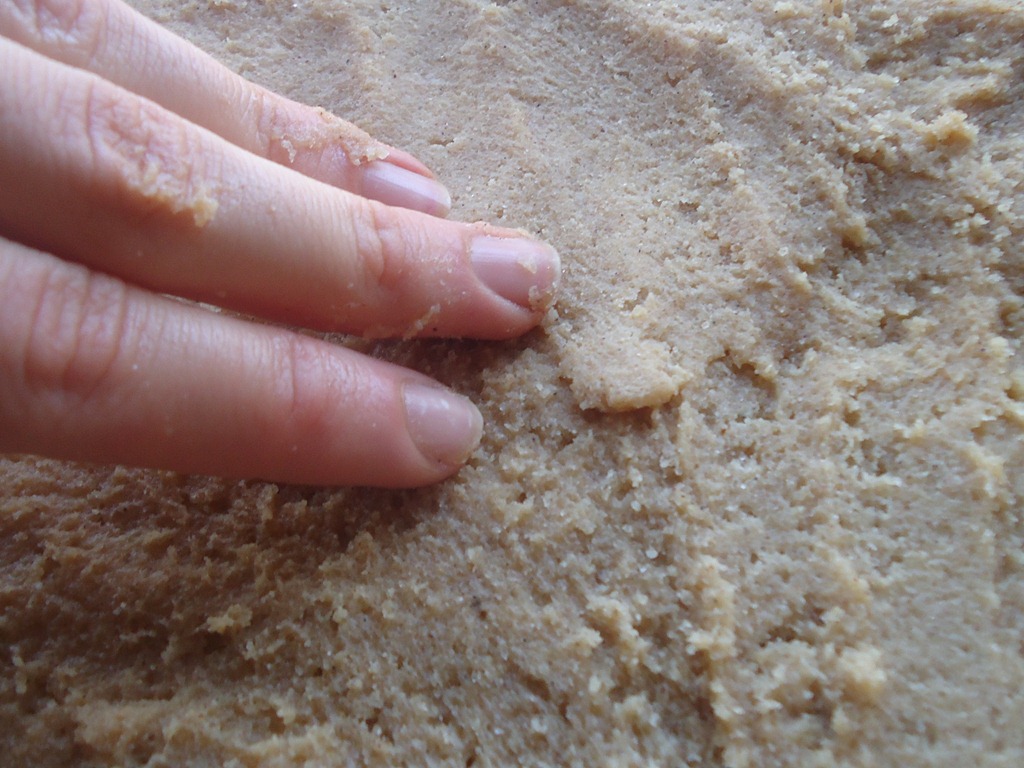
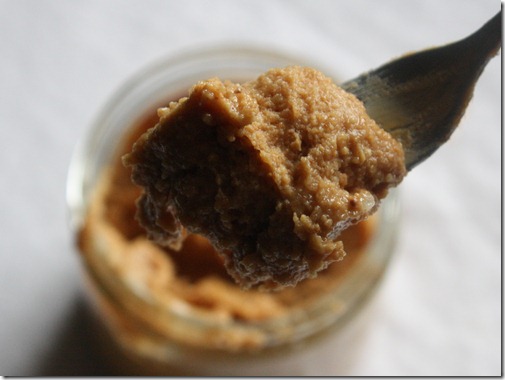
Like Mighty Maple, it’s smooth, semi-solid at room temperature, and has bits of sugar crystals to chew on in each bite. It didn’t taste quite as much as maple as I’d have hoped, but I bet with maple sugar that wouldn’t be a problem.
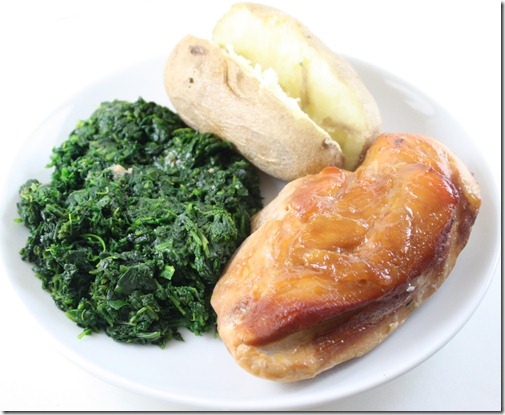
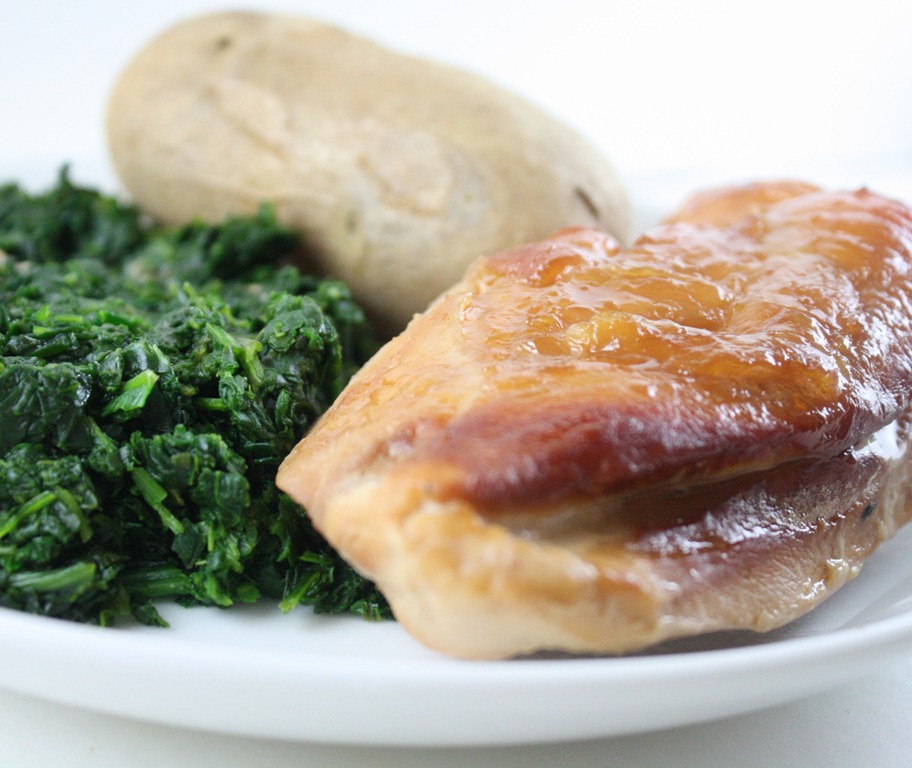
There’s a reason that “tastes like chicken” isn’t usually a compliment: chicken without sauce or seasoning isn’t exciting. I don’t like to spend too much time working on meals(or rather, I don’t have too much time to spend working on meals), so this marinade is perfect for me. It’s 3-ingredients, takes no time to put together, and with a little patience makes the food taste incredible. The smell and flavor reminded me of a teriyaki sauce but with a New England twist. And no one will call your chicken bland ever again.
Maple-Soy Marinated Chicken Breasts
Ingredients:
- 1/4 cup soy sauce
- 1/3 cup maple syrup
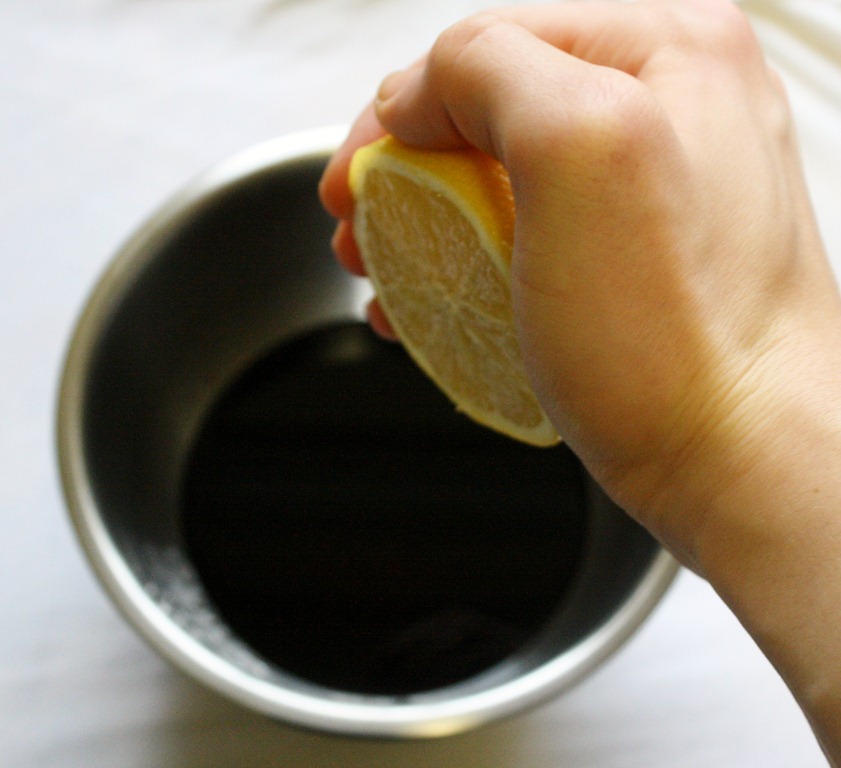
- 1/2 juiced lemon(about 2 tablespoons of juice)
- 1lb boneless, skinless chicken breasts
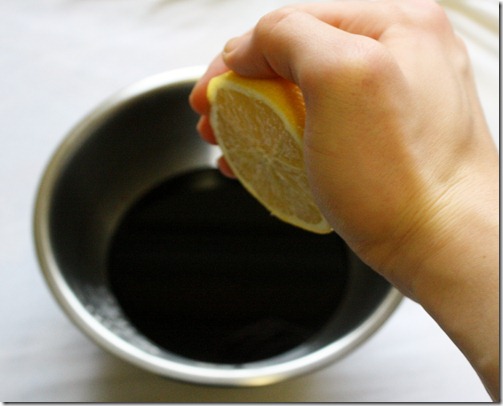
Start by collecting all the marinade ingredients into a thin deep container or a Ziploc bag.
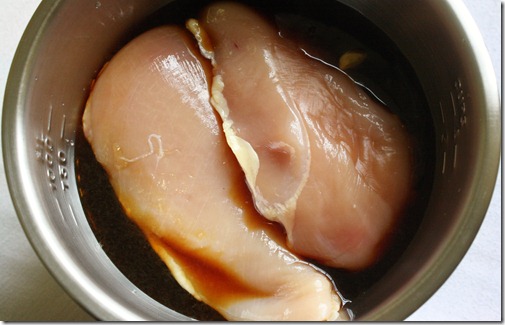
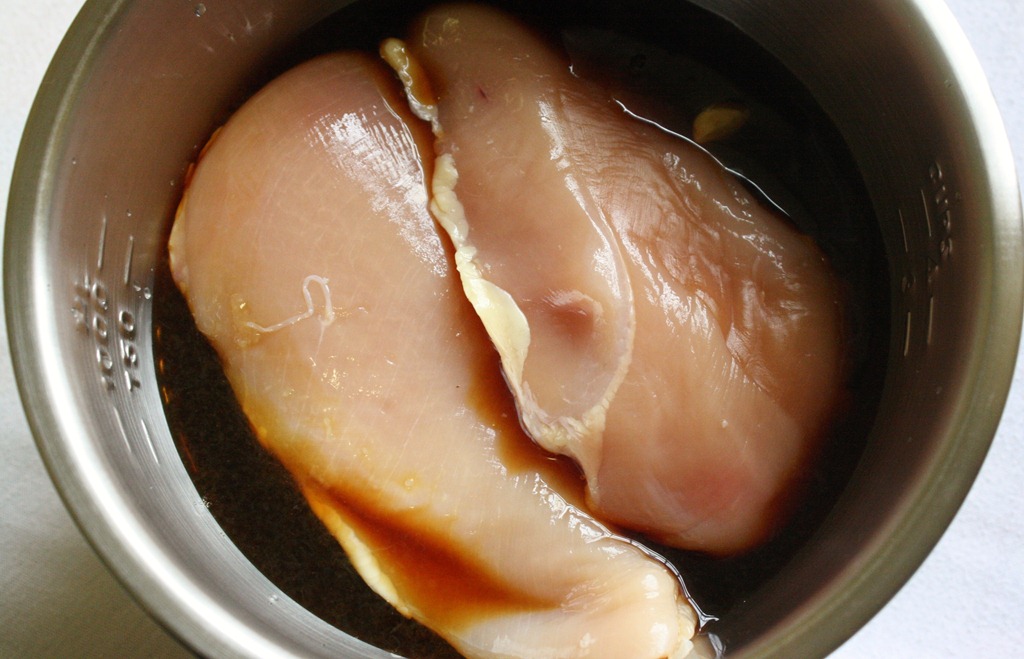
Add in the chicken and let it marinade for at least 3 hours or up to 48 hours(I let mine sit for 24 hours).
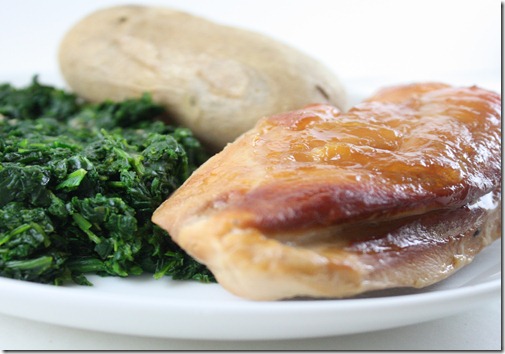
Drain the excess marinade from the chicken before cooking.
To roast, preheat an oven to 350 degrees and bake for 60 minutes. Then remove the chicken from the oven and let it sit at room temperature for 10 minutes to rest.
To grill, coat the grill pan with some cooking oil. Cook the breasts for about 6-8 minutes on both sides until the center has cooked through.

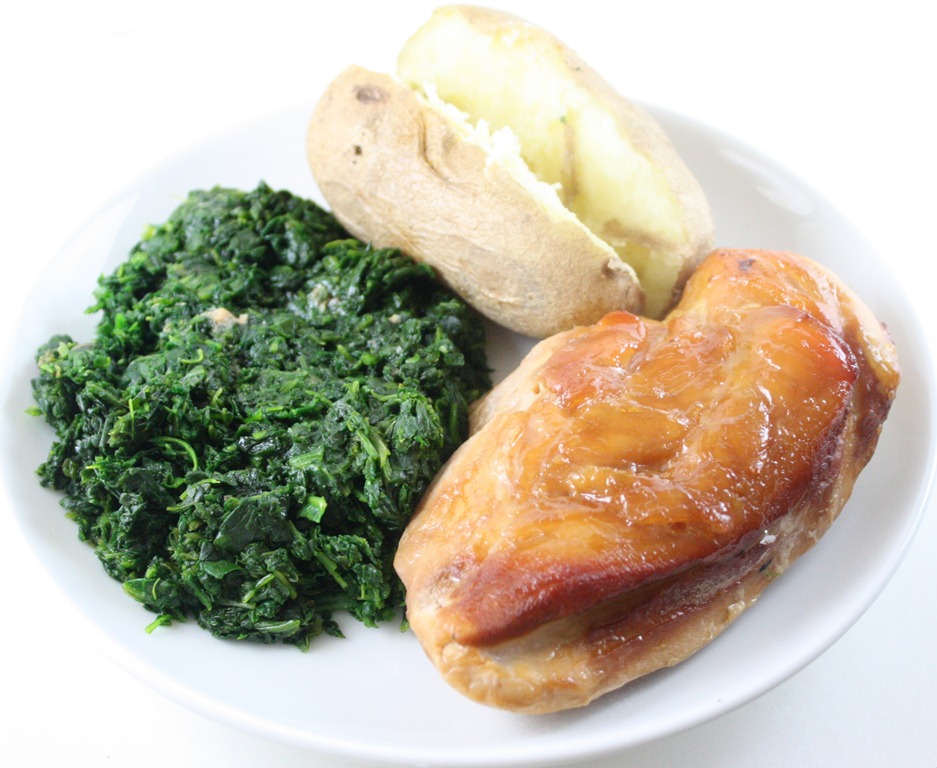
I recommend serving this with something like rice or spinach to absorb the juice for the chicken because it adds some unreal flavor. I know I’ll be making this again and again because I always have maple syrup and soy sauce on hand. You could also use this marinade for anything from pork to seitan to tofu.
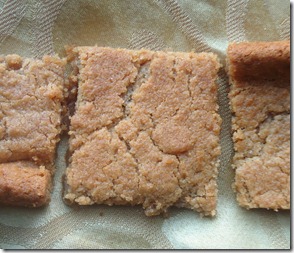
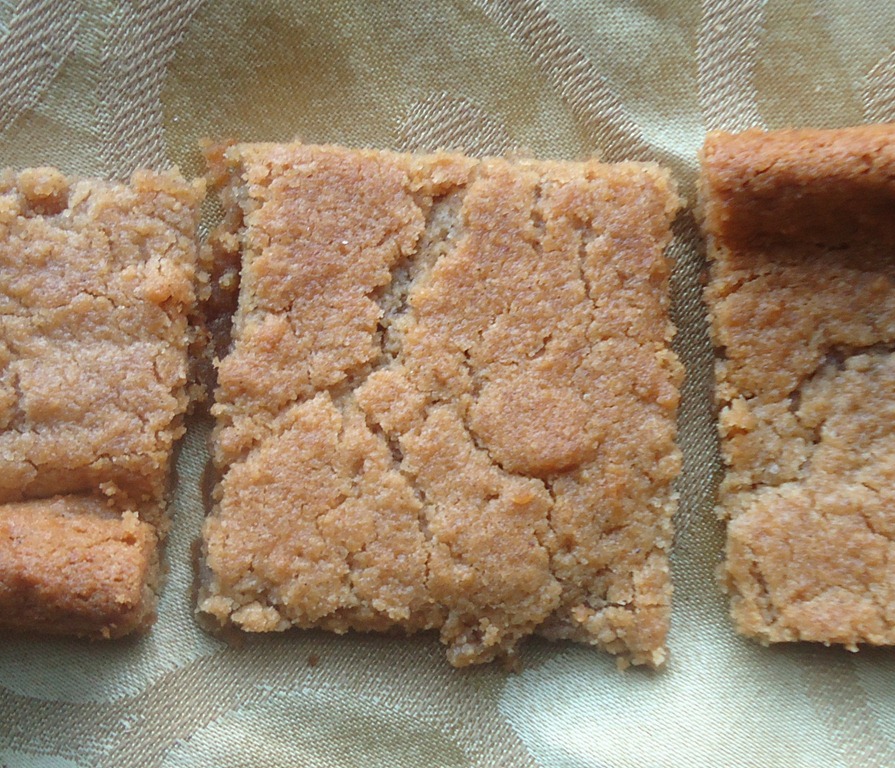
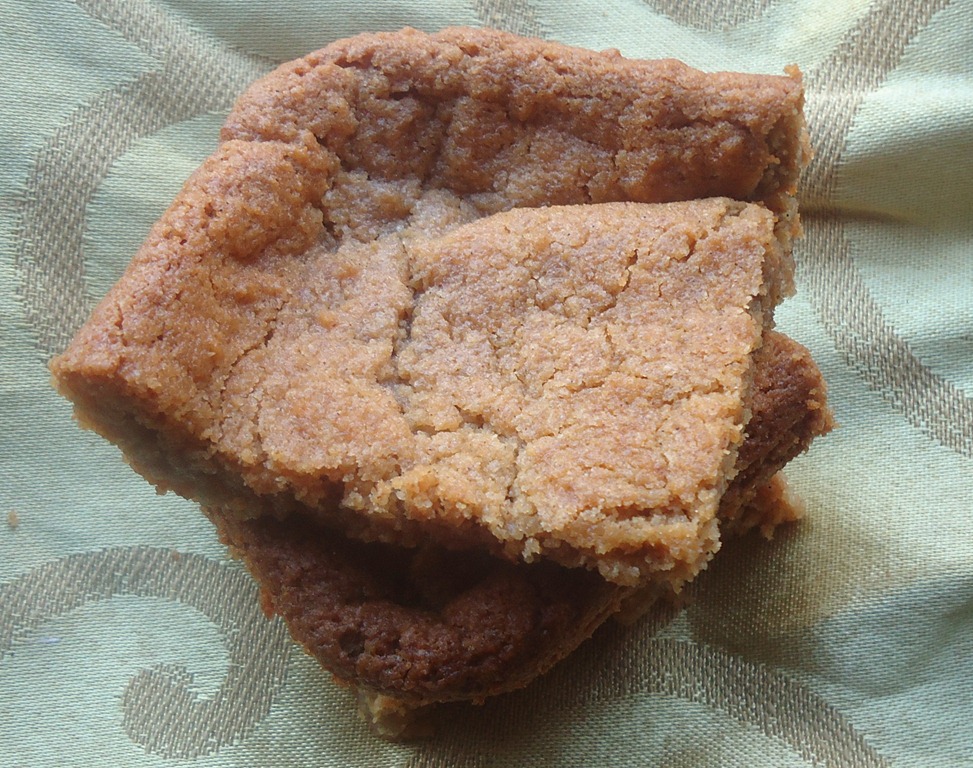
If you ask most people what the pride of New England is, they’d probably say The Red Sox or The Patriots. A foodie, on the other hand, knows that the best part about New England is our maple syrup(with Ben & Jerry filling the 2nd and 3rd spot). There’s nothing like warm french toast with pure maple syrup and some hazelnut coffee on a Fall day in New England. But this isn’t a french toast recipe. It’s better: Dessert. Nicole posted these maple snickerdoodle cookies and instantly my mind was filled with a cinnamon sugar dessert. Instead of cookies, I made blondies since they’re a little less tempermental(and so much denser). This recipe is perfect to have after dinner with a little coffee because it’s just the right balance of sweetness and spice. As we say in New England, fuck you Yankees they’re wicked good!
Maple Cinnamon Blondies
Ingredients:
- 6 tablespoon butter(or vegan alternative like Earth Balance)
- 1/2 cup + 2 tablespoons sugar
- 1/4 cup natural almond butter
- 1/4 teaspoon salt
- 1/2 teaspoon cinnamon
- 1/4 teaspoon nutmeg
- 1/4 cup maple syrup
- 1 egg
- 1/2 tablespoon vanilla extract
- 1 1/3 cup all-purpose flour(or gluten-free alternative like Bob’s Red Mill)
- 1/4 + 1/8 teaspoon baking soda
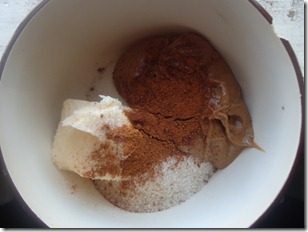
Preheat an oven to 350 degrees and let your butter soften before using. Cream together the butter, sugar, almond butter, salt, cinnamon, and nutmeg until it’s all combined.
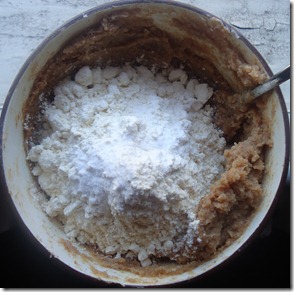
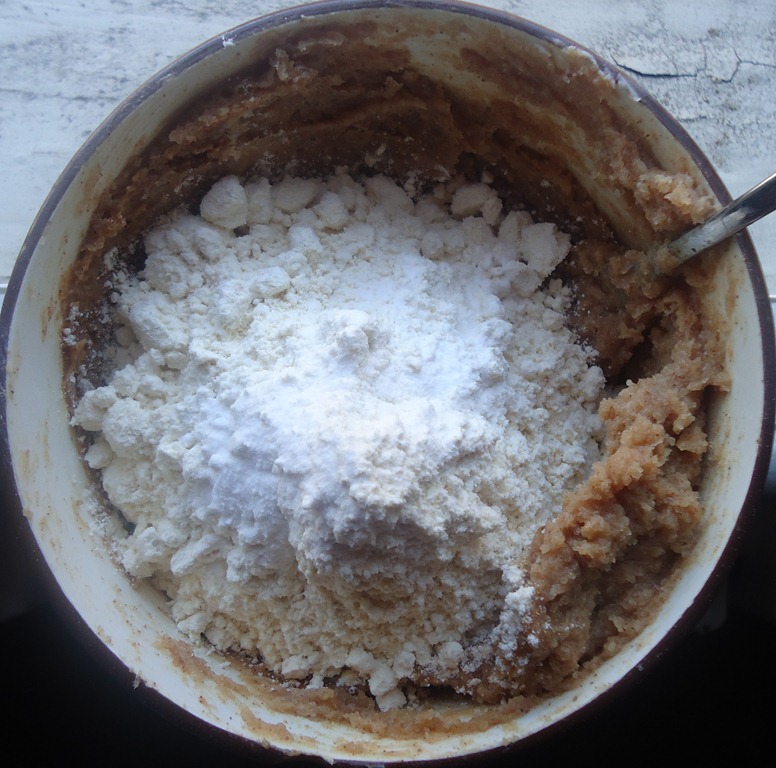
Next, add the maple syrup, egg, and vanilla extract and stir briefly. Sift in the flour and baking soda and mix until just combined. The batter should be rather thick like a cookie dough.
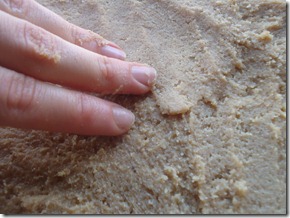
Grease an 8×8 baking pan and press the dough down in an even layer. Bake for 28-30 minutes until the center is set and the edges turn a crusty golden brown. Let the blondies cool before cutting into squares.
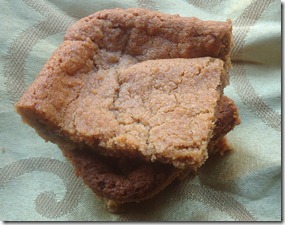
Mine came out a little thin(read: fudgy) since I didn’t use an egg or egg replacer and used gluten-free flour. But the flavor was everything that I wanted and more.
On a related note, I have no idea when this week became all about baked good recipes. I’ve been eating real food, too(sometimes…), so expect those recipes to come.

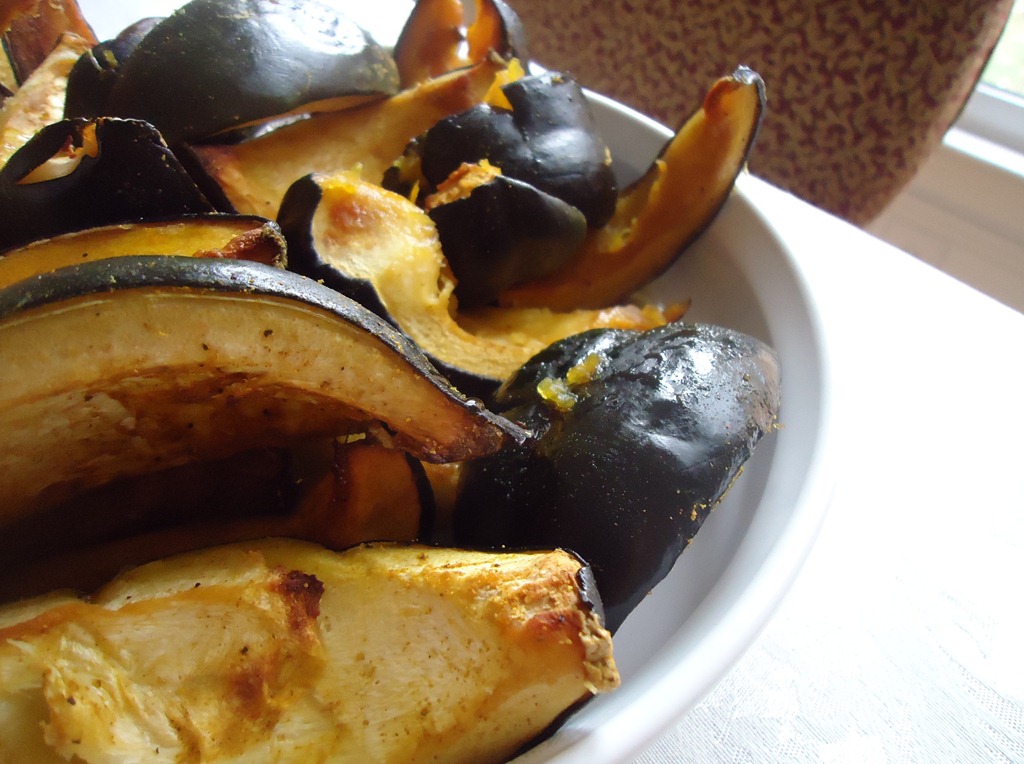
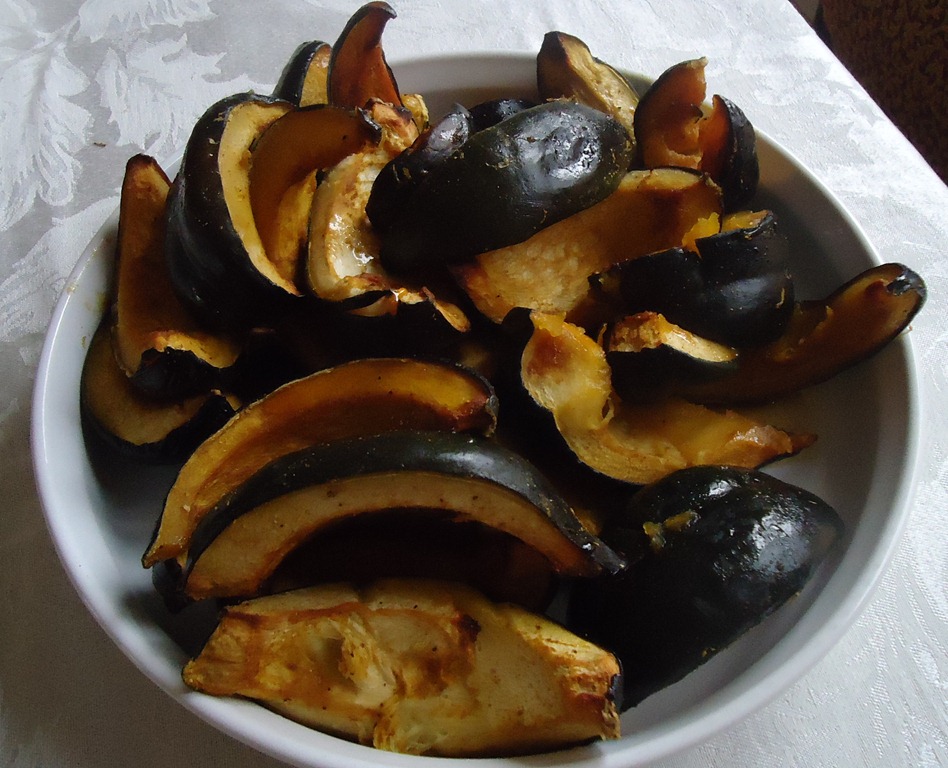
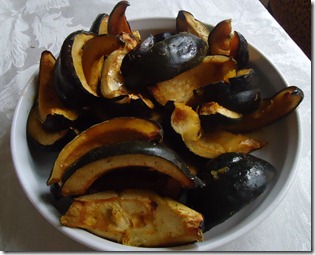
We had plenty of side dishes at our Thanksgiving table this year. Aren’t they the best part? I love sweet potatoes, but sadly they didn’t make the cut this year. We all eat enough of those regularly. Instead, we made this acorn squash recipe for something equally delicious. This is something I make whenever I have an acorn squash around; the sweet maple syrup pairs perfectly with some heat from the curry powder. Even though it might not be a “traditional” Holiday side, it’s surely one to please.
Maple-Curry Acorn Squash
Ingedients(Makes 4 servings)
- 2 medium acorn squashes, cut into 1/6ths or 1/8ths
- 1/4 cup maple syrup
- 1 tablespoon Indian curry powder
- 1/2 teaspoon salt
Preheat an oven to 350 degrees. Line a baking tray with aluminum foil.
Add all of the ingredients into a large ziploc bag and toss around to coat. Once the squash is covered, lay each piece out individually on the tray and bake for 50-55 minutes, until the squash is tender. Serve hot.
Not only is it flavorful, but it’s simple, too! And the maple syrup-curry glaze that forms during cooking is warm and comforting. This is one of those dishes that will have everybody eating their vegetables.
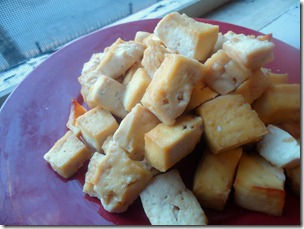
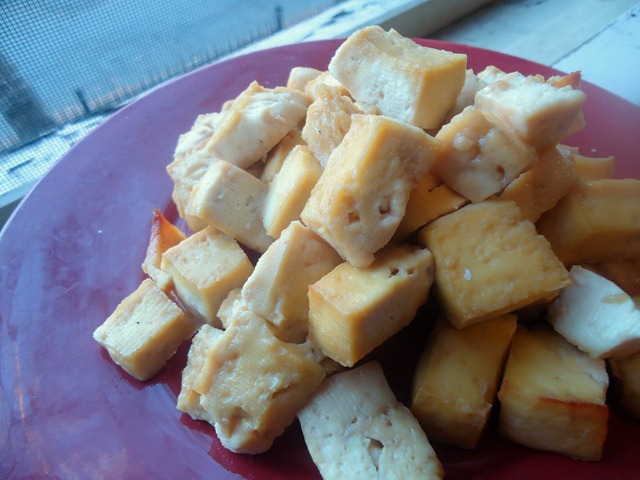
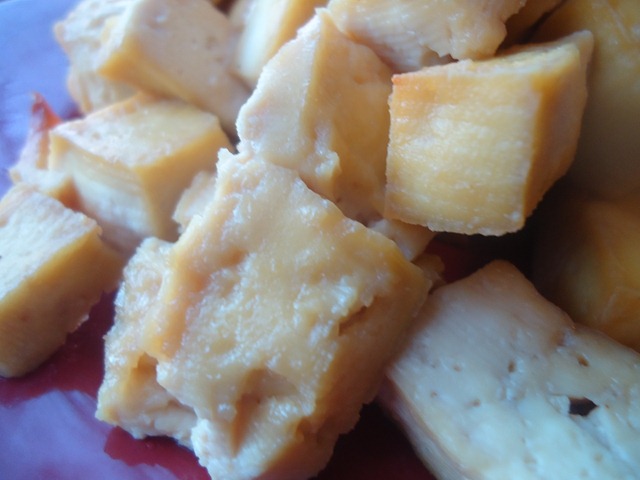
I love when people ask me what to do with tofu. I could go on and on and on because there are so many different ways to cook and flavor it; it’s really really versatile! But more often than not I’ll give them this recipe. Why? Because it’s 3 ingredients and so so simple. Best of all—It doesn’t taste “tofu-y”. If you or anyone you know have been intimidated by tofu, give this recipe a try.
Maple Baked Tofu
Ingredients:
- 1 firm block of tofu, pressed
- 1/4 cup maple syrup
- 1/2 teaspoon salt
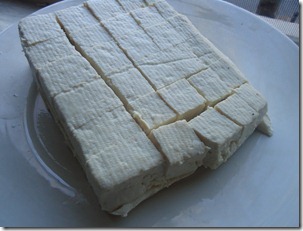
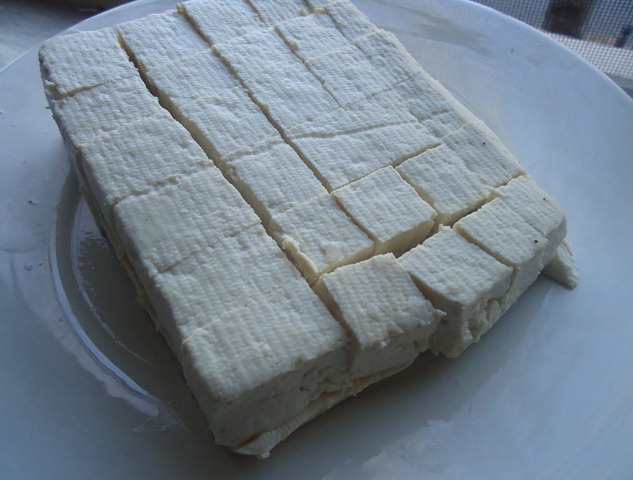
Preheat your oven to 350 degrees. Press the tofu to remove excess moisture by wrapping a towel around the tofu and placing a heavy weight on top of it. Cut it into bite-sized cubes.
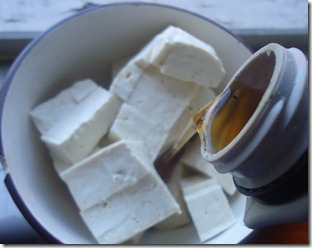
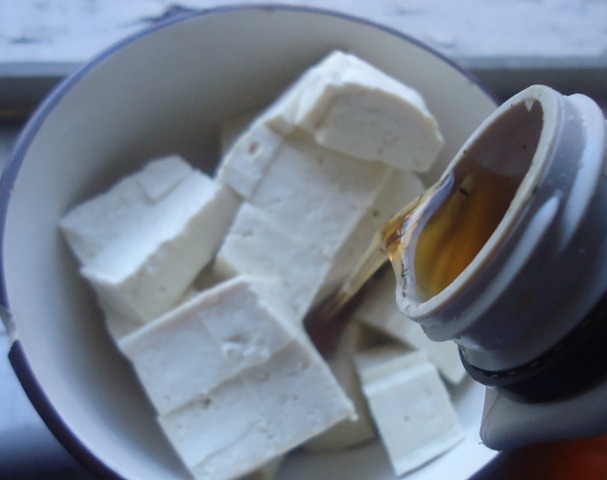
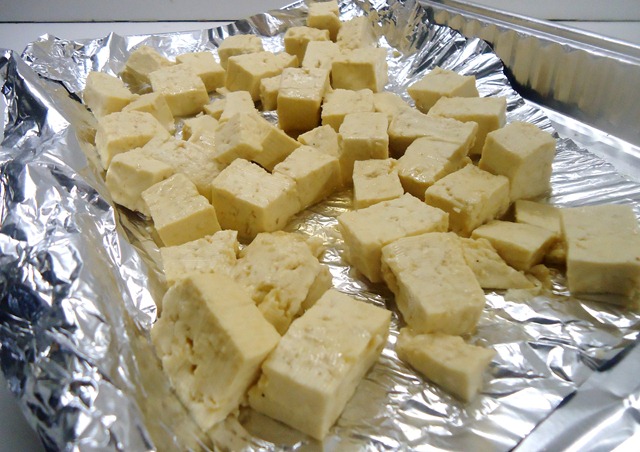
Toss together all the ingredients in a bowl to coat evenly. Line a baking tray with aluminum foil and spread the tofu out as a single layer.
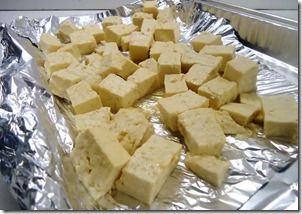
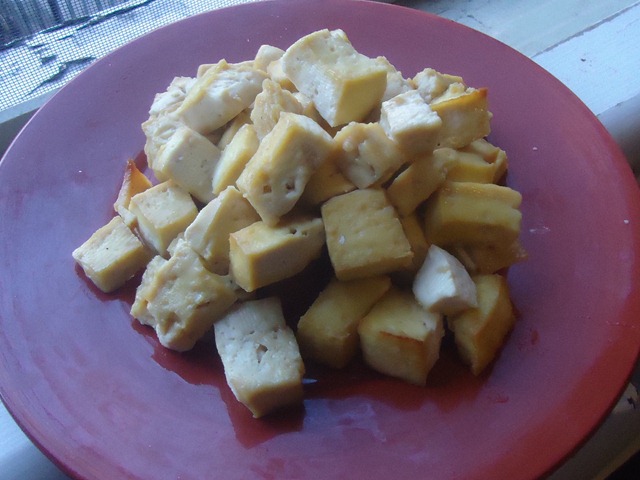
Bake for 50 minutes or until firm and golden.
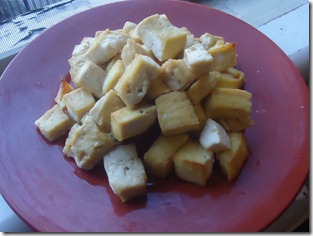
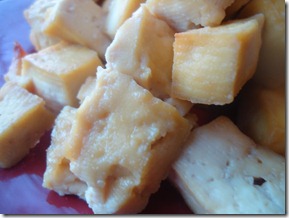
This tastes sweet, salty, savory, and golden. It’s so simple to make and yet has such flavor. The texture is meaty, sort of like chicken breast. And it goes perfect with roasted vegetables in the Fall, too! Even if you’re scared of tofu, try it! You won’t be sorry.