Category Archives: Breakfast

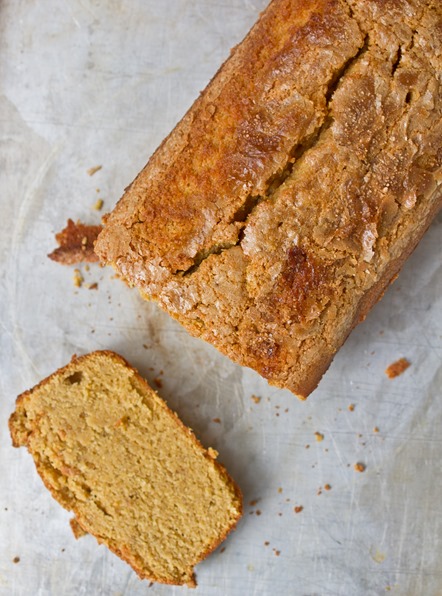
Gluten-Free Pumpkin Bread

Gluten-Free Pumpkin Bread

I usually keep things very organized. I’m a serial to-do list maker and planner. But sometimes my pantry can get a little bit hectic; I’ll throw an ingredient in there and not see it for another 5 months.

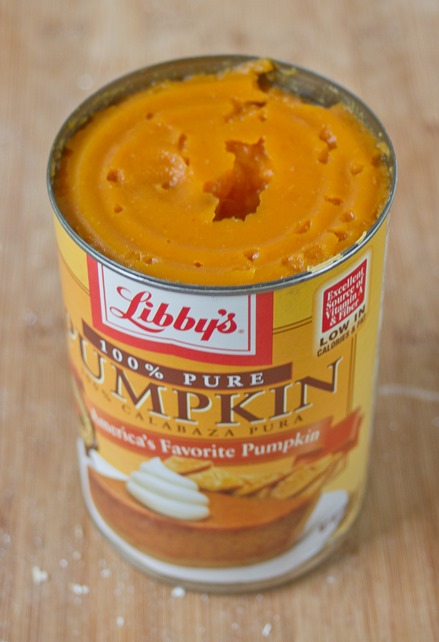
When I moved 2 weeks ago I found 3 cans of pumpkin that never got baked into a pie, custard or pudding. I know it’s not at all the season for pumpkin desserts but there are some things I can’t turn down and a good slice of pumpkin bread is one of those.

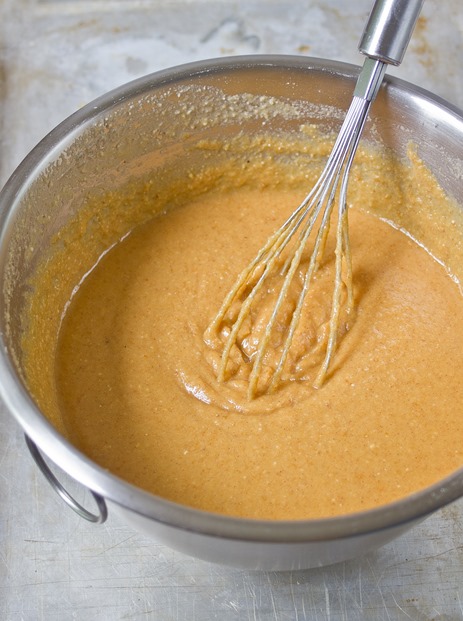
Gluten-Free Pumpkin Bread Batter

My one warning with this recipe(and most gluten-free recipes for that matter) would be not to taste the batter. The batter will taste terrible because raw chickpea flour and coconut flour have weird tastes to them. However, once fully cooked, the funny flavor goes away and all you’ll be able to taste is spices and pumpkin.

Gluten-Free Pumpkin Bread

Prep time: 15 minutes

Cook time: 60 minutes

Ingredients(Makes 1 loaf):

  • 1 1/2 cups chickpea flour
  • 6 Tablespoons coconut flour
  • 3/4 cup cane sugar
  • 1/4 cup brown sugar
  • 3/4 cup pumpkin puree
  • 4 eggs
  • 6 Tablespoons oil
  • 1/2 cup water
  • 1 1/2 teaspoons pumpkin pie spice
  • 1 teaspoon vanilla extract
  • 3/4 teaspoon baking soda
  • 2 Tablespoons brown sugar for topping

Gluten-Free Pumpkin Bread Pumpkin

Method:

  1. Preheat your oven to 350 degrees.
  2. In a large bowl sift together the chickpea flour and coconut flour and set aside.
  3. In a separate bowl beat together the remaining ingredients until well mixed.
  4. Combine the wet and dry ingredients and beat together. Slowly incorporate the water while beating until all of the ingredients are mixed together.
  5. Grease the bottom and sides of a 8-inch loaf pan.
  6. Pour the batter into the loaf pan and shake it gently to level the top.
  7. Sprinkle the remaining brown sugar on top of the batter in a thin layer.
  8. Bake for 60 minutes or until the center of the loaf is baked through.
  9. Remove from the oven and let cool completely before slicing.

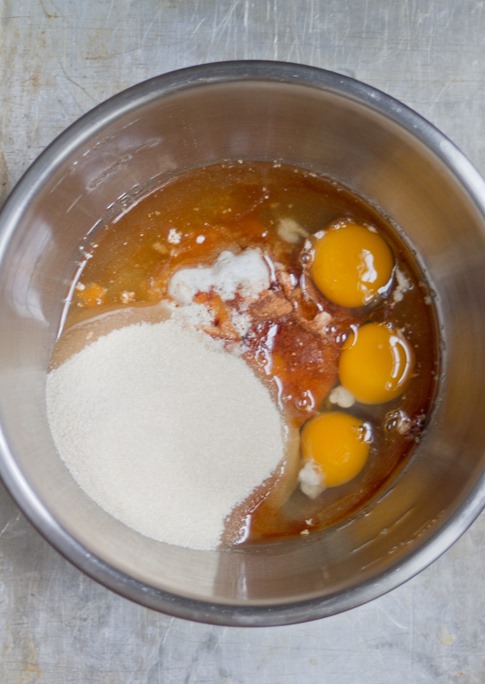
Gluten-Free Pumpkin Bread Ingredients


Peanut Butter Banana Granola

Peanut Butter Banana Granola

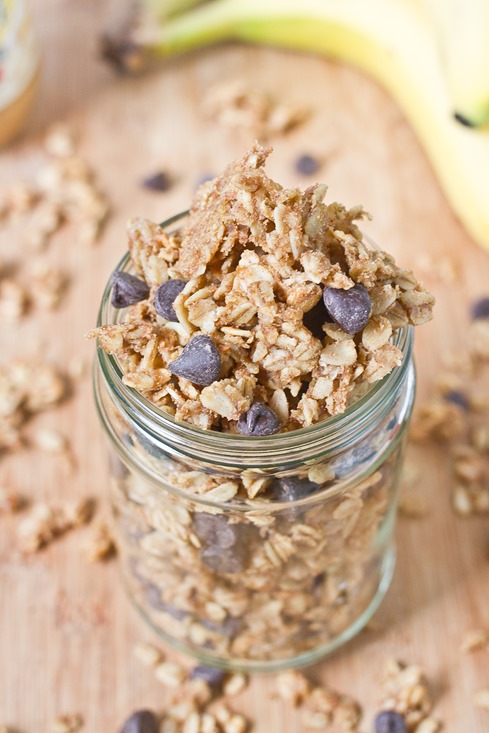
I’ve eaten yogurt, granola and a sliced banana for more meals this past month than I’m willing to admit. I’m not sure if it’s because it’s so good or so easy; it’s probably a bit of both. I never knew if you could cook the banana flavor into the granola until I saw this recipe. That gave me all the confidence I needed to try it out.

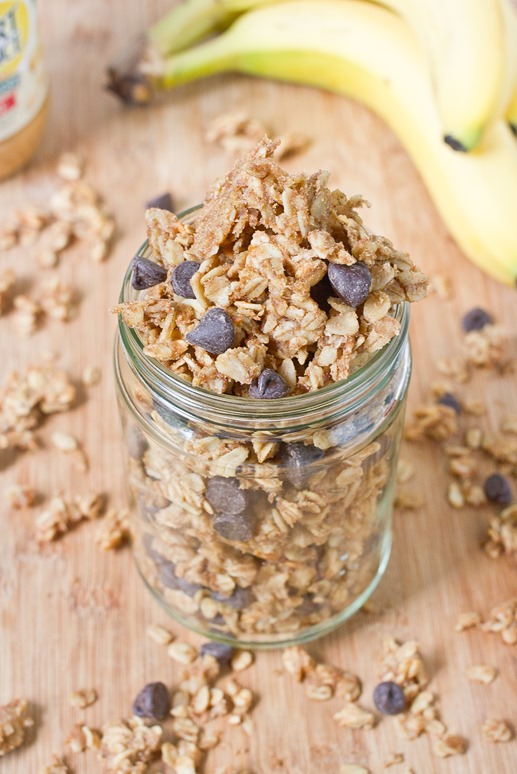
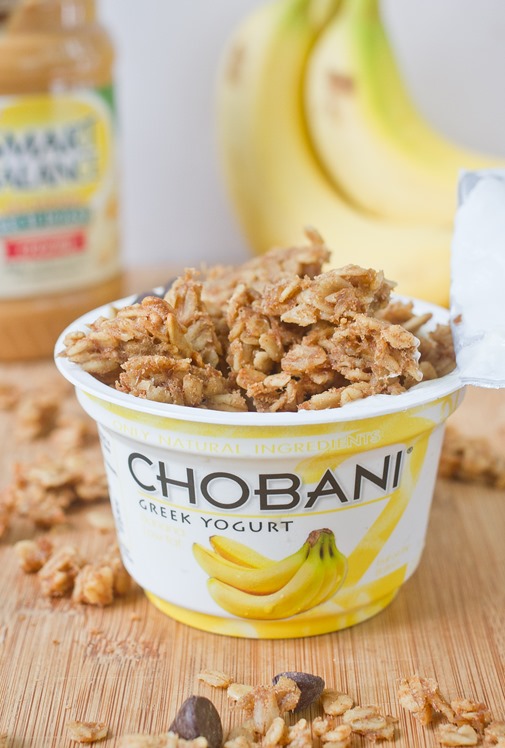
This is the kind of granola I have no trouble eating all by itself. It has every flavor and texture in it you could possibly want. The clusters are slightly softer than normal granola because of the bananas; it reminds me of the crusty outside of slightly overcooked banana bread. It’s great to eat with just about any flavor of yogurt, too.

Peanut Butter Banana Granola Ingredients

This granola tasted fresher than any I’ve tried before. It’s great to make for yourself if you will eat it over the course of a week but might not be the best to give as a gift to someone. Make sure to refrigerate this to keep it its freshest.

Peanut Butter Banana Granola

Prep time: 10 minutes

Cook time: 30 minutes

Ingredients(Makes about 3 cups)

  • 1 banana, mashed
  • 2 cups rolled oats
  • 1/4 cup maple syrup
  • 2 Tablespoons peanut butter
  • 2 Tablespoons oil
  • 1/2 teaspoon cinnamon
  • 1/2 teaspoon vanilla extract
  • 1/4 teaspoon salt
  • 1/2 cup chocolate chips(optional)
  • 1/2 cup chopped nuts(optional)

Peanut Butter Banana Granola Yield

Method:

  1. Preheat your oven to 350 degrees.
  2. In a large bowl, mix together the banana, oats, syrup, peanut butter, oil, cinnamon, vanilla and salt until evenly mixed.
  3. Spread the oats out in a thin layer on a non-stick baking surface.
  4. Bake for 25-30 minutes, breaking up the oats into clusters about 20 minutes into baking.
  5. When the clusters are golden and firm, remove them from the oven and let them cool.
  6. Once the granola has cooled, add chocolate chips or nuts if using. Store in a sealed container in the refrigerator when not eating.  
Peanut Butter Banana Granola Yogurt


Strawberry Cashew Granola

Strawberry Cashew Granola

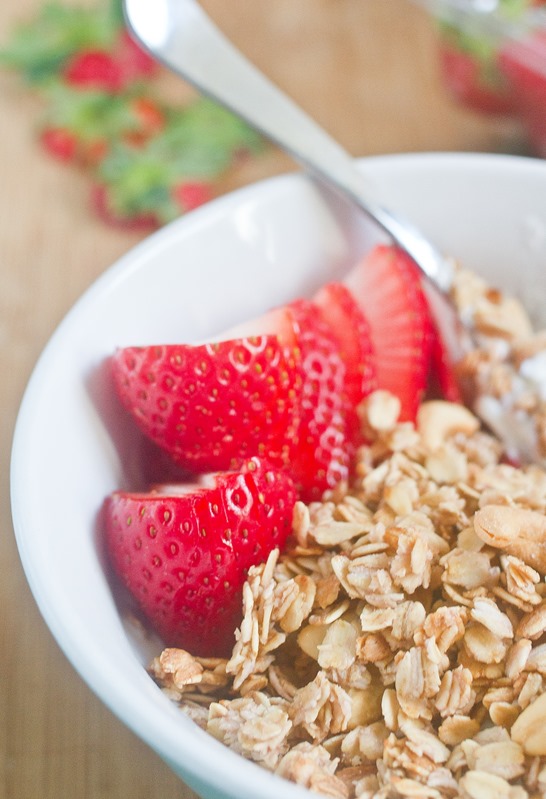
The best thing about Spring so far has been buying produce that’s not potatoes or shipped from the other side of the country at the supermarket. I even got suckered into buying a plant just because it was on sale and comes from a local town; I’m a marketer’s dream.
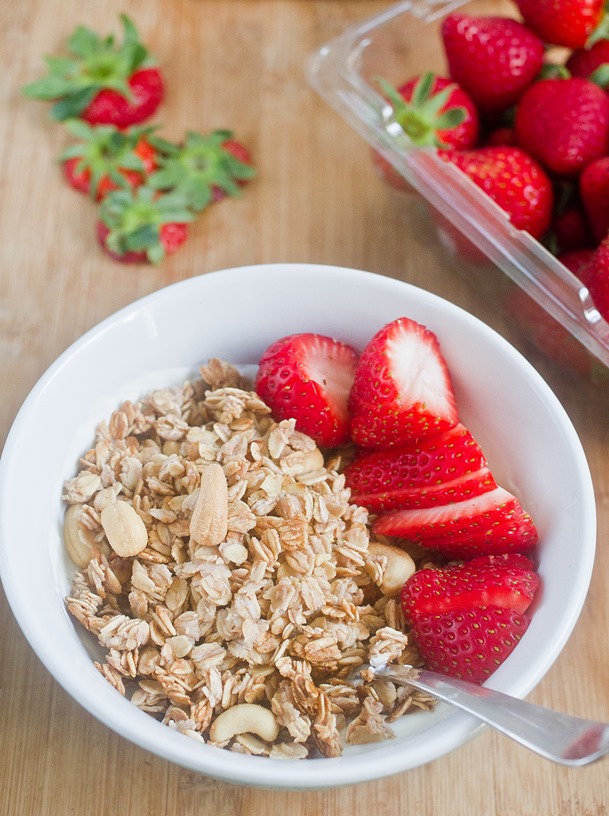
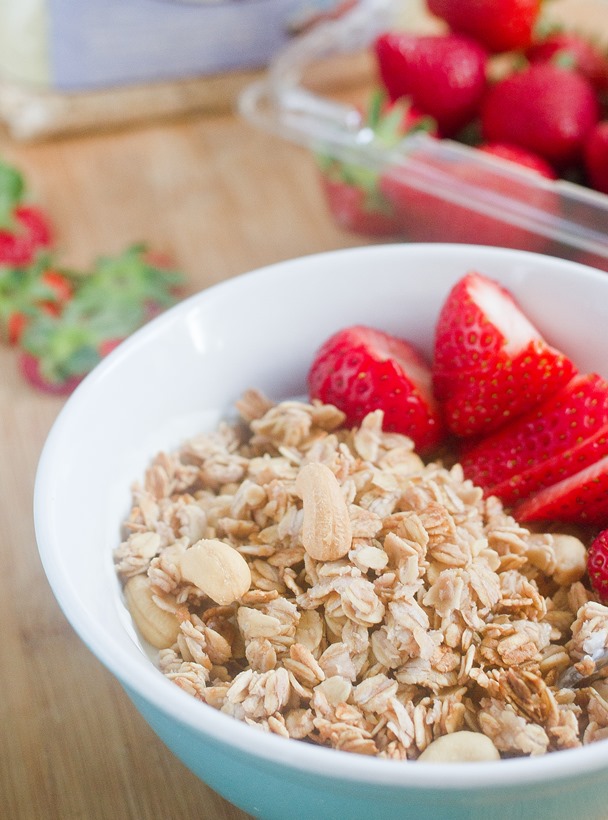
After a long, exciting weekend outdoors I couldn’t bring myself to do much more on Sunday night other than stay in watching TV and making this granola. Thankfully the recipe is simple enough that you can throw it together whenever. The next morning I slept through my alarm for almost an hour and hastily threw together a breakfast of yogurt, fresh strawberries, and this granola. Even on the run it tasted delicious.

Strawberry Cashew Granola Strawberries

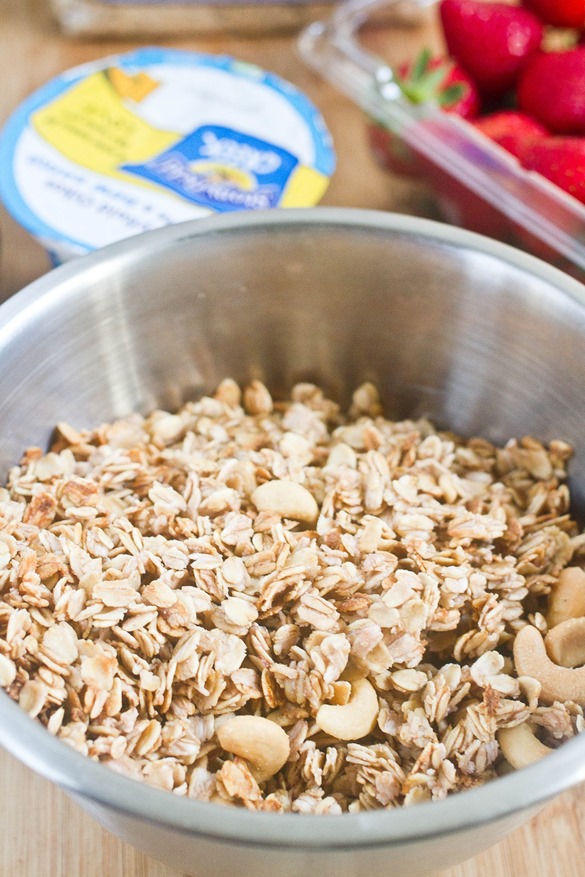
The flavor of this granola is very subtle which is great over plain or vanilla yogurt in the morning before your taste buds really wake up. If you don’t feel like making the strawberry syrup you can also mix 6 Tablespoons of maple syrup with 2 Tablespoons of a good strawberry jam and have the same flavor.

Strawberry Cashew Granola

Prep time: 5 minutes

Cook time: 25 minutes

Ingredients(Makes 2 1/2 cups):

  • 2 cups rolled oats
  • 1/2 cup strawberry syrup
  • 1/4 teaspoon salt
  • 2 Tablespoon vegetable oil
  • 1/2 cup roasted salted cashews

Strawberry Cashew Granola Yield

Method:

  1. Preheat your oven to 350 degrees.
  2. In a large bowl mix together the oats, syrup, salt, and oil.
  3. Spread the oat mixture over a non-stick baking surface in a thin layer.
  4. Bake for 20-25 minutes until the oats are toasted.
  5. Remove from the oven and let the granola cool.
  6. Break the granola apart and toss the clumps with the cashews.
  7. Store in an air-tight container at room temperature.

Strawberry Cashew Granola Serving

Mushroom and Herb Cheese Omelette

Mushroom and Herb Cheese Omelette Mushrooms

A lot of the best food just isn’t very photogenic. Eggs and melted cheese always taste good without fail, but they don’t come off as pretty on a plate. Still—how could you say no to making anything with melted cheese?

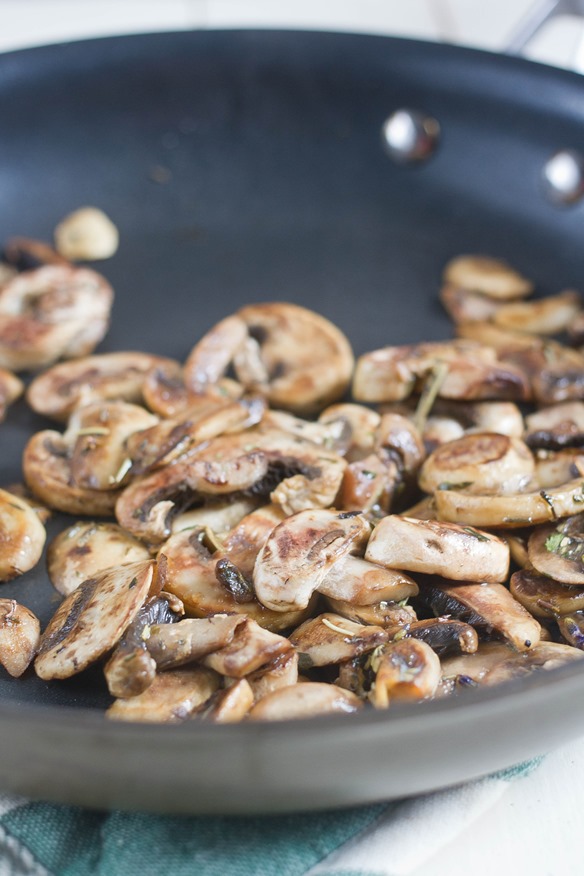
I’m not a big fan of mushrooms on their own but they add a great flavor and texture to just about anything. They also soak up all of the flavors around them so chances are if you don’t like mushrooms you just haven’t made them properly yet. Sautéing them in oil and herbs before adding them to the omelette gives them extra flavor and keeps them from tasting like rubber. 

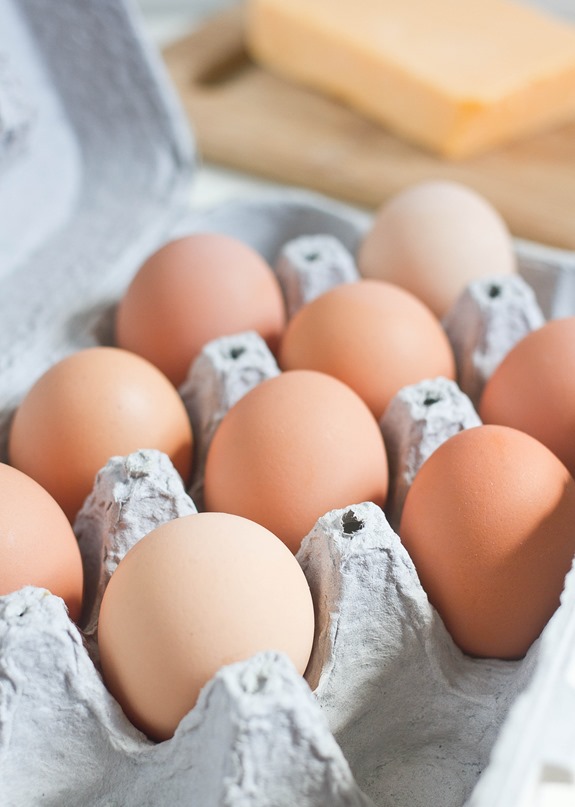
Mushroom and Herb Cheese Omelette Eggs

If you don’t have herbs or want to flavor this differently, you can sauté some garlic and onions or fresh peppers with the mushrooms for something spicy or sweet instead of savory.

Mushroom and Herb Cheese Omelette

Prep time: 5 minutes

Cook time: 10 minutes

Ingredients(For 2 servings):

  • 3/4 cup mushrooms
  • 2 Tablespoons olive oil
  • 1/2 Tablespoon dried herbes de Provence
  • 1/2 teaspoon salt
  • 5 extra large eggs
  • 1/2 cup grated sharp cheddar cheese

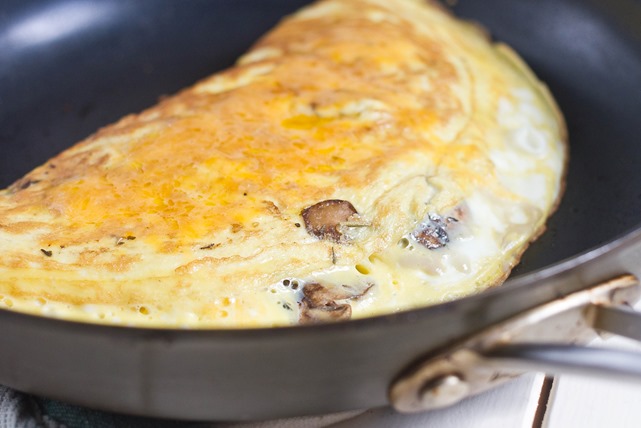
Mushroom and Herb Cheese Omelette Finished

Method:

  1. Heat the oil in a pan over a burner set to medium.
  2. Sauté the mushrooms for about 5 minutes until they brown on both sides. Add in the herbs halfway through your cooking.
  3. Remove the mushrooms from the heat and season them with the salt. Set them aside in a separate bowl.
  4. Crack and beat the eggs together. Return the pan to the burner with a little bit of oil on the bottom to prevent the eggs from sticking.
  5. Pour in the beaten eggs and let them cook until the bottom has set.
  6. Spread the mushrooms and half of the cheese out over half of the pan of eggs. Carefully with a spatula lift the other half to fold it over the mushroom and cheese.
  7. Cover the omelette and let it cook through until the egg has set.
  8. Lift the cover and add the remaining cheese on top. Cover again until the cheese has melted.
  9. Move to a plate and serve hot.

Maple Hazelnut Granola

Maple Hazelnut Granola

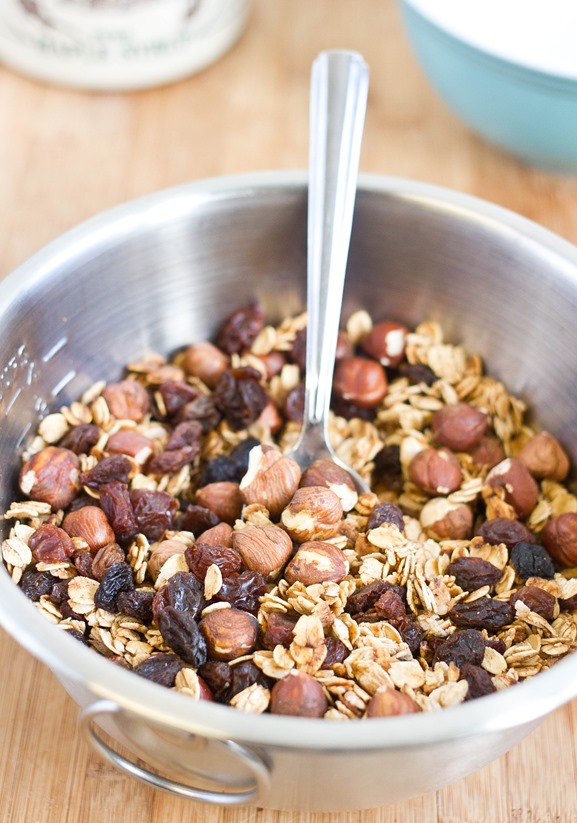
It’s been a while since I’ve posted a recipe for granola. That’s mostly because I’ve been reluctant to pay $7 for a bag of gluten-free rolled oats at the grocery store near me. But this week I finally caved in because I’d missed a bowl of hot, soft oatmeal in the morning and chewy, crunchy granola on my yogurt.

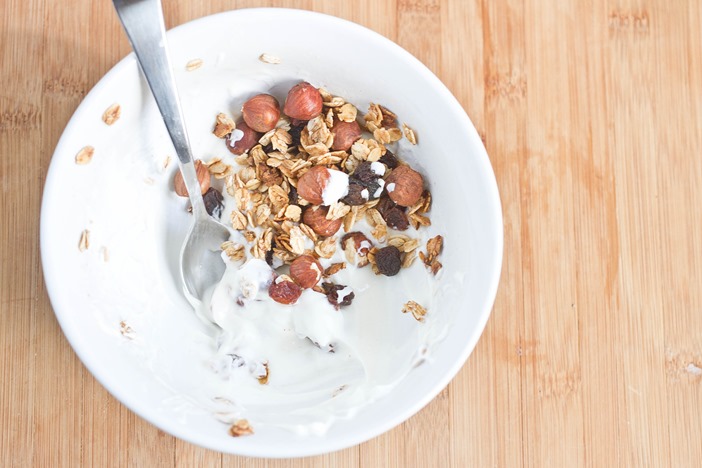
I love the subtle flavor of maple syrup; when I sweeten my yogurt I usually choose maple syrup over honey. It’s even better with a little cinnamon and vanilla mixed in to remind you of warm french toast. This granola is great over some maple yogurt but also by the handful.

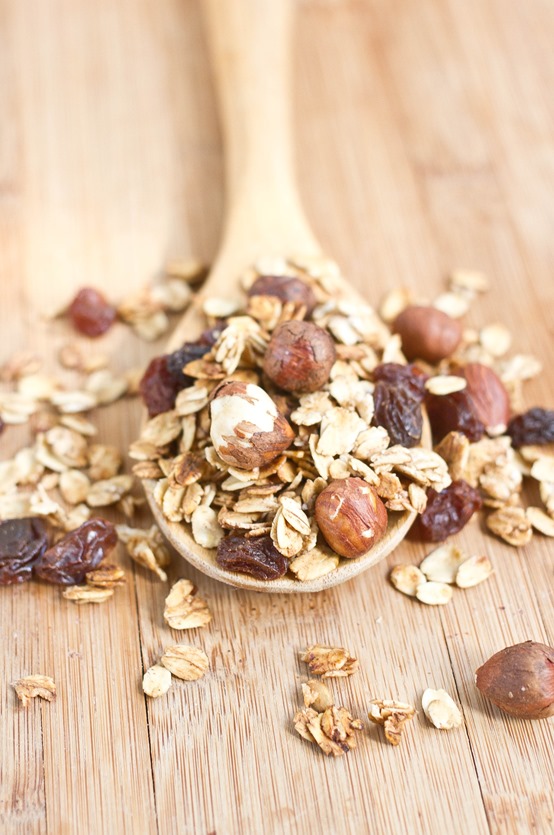
Maple Hazelnut Granola Sample

This granola isn’t too sweet on its own. If you prefer a sweeter granola, increase the maple syrup to 1/2 cup. You can also add some chocolate chips once the granola has cooled for a fun flavor.

Maple Hazelnut Granola

Prep time: 10 minutes

Cook time: 20 minutes

Ingredients(Makes about 3 1/2 cups):

  • 2 1/2 cup rolled oats
  • 1/3 cup maple syrup
  • 2 Tablespoons cooking oil
  • 1 teaspoon vanilla extract
  • 1/2 teaspoon cinnamon
  • 1/4 teaspoon salt
  • 1/2 cup hazelnuts
  • 1/2 cup raisins

Maple Hazelnut Granola Yield

Method:

  1. Preheat your oven to 350 degrees.
  2. In a large bowl, mix together the oats, syrup, oil, vanilla, cinnamon and salt thoroughly.
  3. Lay the oats out on a non-stick baking tray in a thin layer.
  4. Bake for 20-25 minutes until the oats are toasted but not burnt.
  5. Remove the granola from the oven and let the oats cool.
  6. Once cool, toss the oats with the hazelnuts and raisins until thoroughly mixed.
  7. Store in an air-tight container at room temperature when not eating.

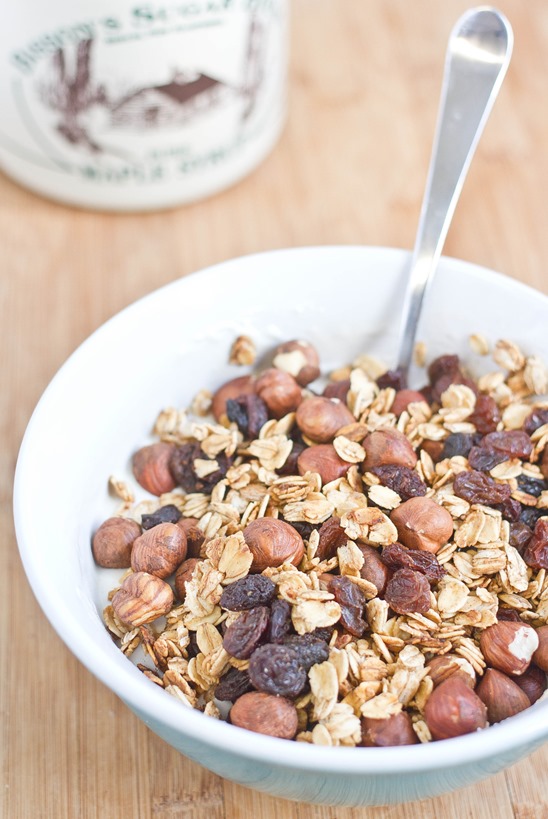
Maple Hazelnut Granola Serving

Gluten-Free Chobani Pancakes

Gluten-Free Chobani Pancakes

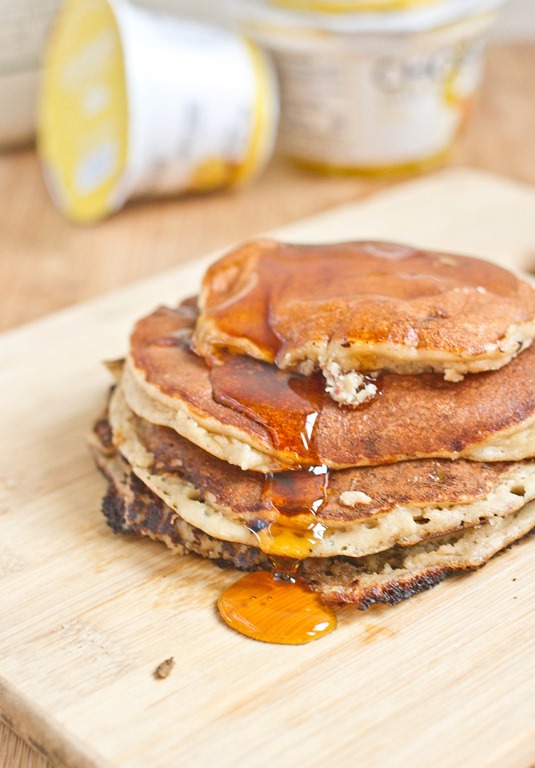
Pancakes are always a good breakfast choice. I’ve never found a recipe though where the first one or two comes out as good as the last; mine are always misshapen and burnt. But by the 3rd pancake the pan is seasoned and magic starts happening and they come out the perfect color and texture every time. Maybe that’s just a feature of pancake recipes in general.

This recipe uses almond flour, which gives it a slightly nutty flavor. I prefer using almond flour here to most other gluten-free flours because it doesn’t have a strange flavor when you taste the raw batter(and somehow that always ends up happening). Besides that there’s just Greek yogurt and eggs; it couldn’t be much simpler.

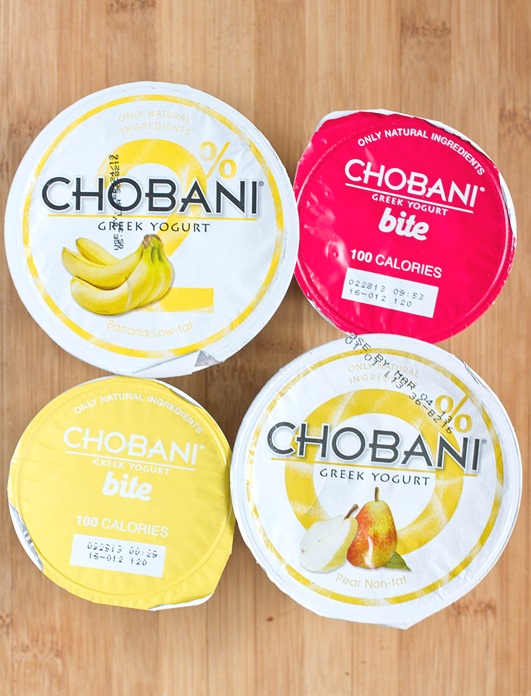
Gluten-Free Chobani Pancakes Flavors

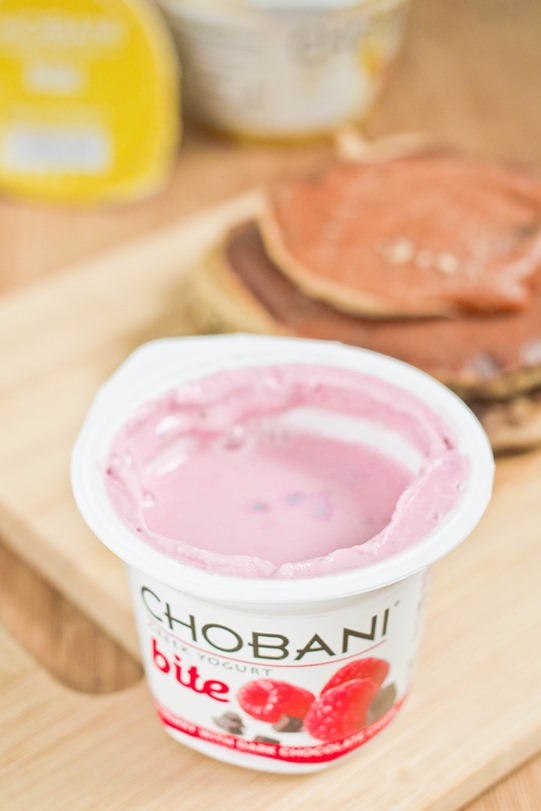
Chobani sent me their newest flavors to taste and play around with in the kitchen: banana, pear, raspberry chocolate chunk and pineapple with caramel bits. I really couldn’t pick one that I preferred over the others; they were all amazing. I made this recipe with the raspberry chocolate chunk and it had a hint of those flavors. I could imagine that any of these would be good in the pancakes. It all depends what you’re in the mood for!

Gluten-Free Chobani Pancakes

Prep time: 5 minutes

Cook time: 5 minutes

Ingredients(Makes 1 serving):

  • 1/2 cup almond flour
  • 4oz flavored Chobani greek style yogurt
  • 1 egg
  • 1/4 teaspoon baking soda

Gluten-Free Chobani Pancakes Ingredient

Method:

  1. Heat a frying pan over low-medium heat with a little oil or non-stick cooking spray.
  2. In a medium-sized bowl, beat together all of the ingredients until mixed.
  3. Pour 1/4 cup of batter into the center of the pan. Cook for about 30 seconds until the bottom is set and bubbles come through the center.
  4. Flip the pancake and cook the other side until it’s cooked through. Remove from the pan.
  5. Continue cooking until all of the batter is used up.
  6. Serve hot with butter and maple syrup.

Gluten-Free Chobani Pancakes Eaten

I would definitely recommend doubling or tripling the recipe for a crowd. You can substitute any nut flour for almond flour in a pinch but not coconut flour since that’s something different entirely.

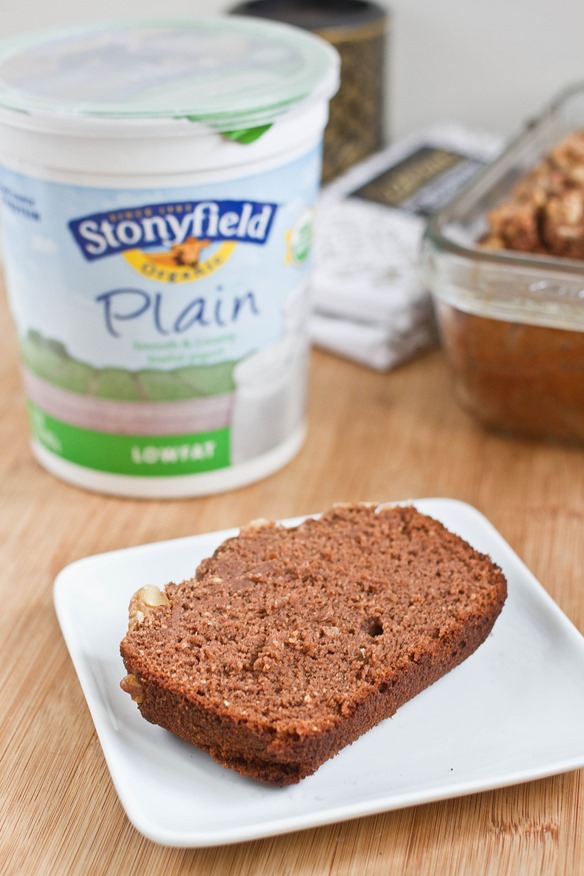
Healthy Chocolate Walnut Bread

Healthy Chocolate Walnut Bread

If February is the month of chocolate, March is probably the month of dessert detox. I could never give up chocolate cold-turkey, though; I would never want to. There are always ways to lighten up chocolate treats to make them better for your every day.

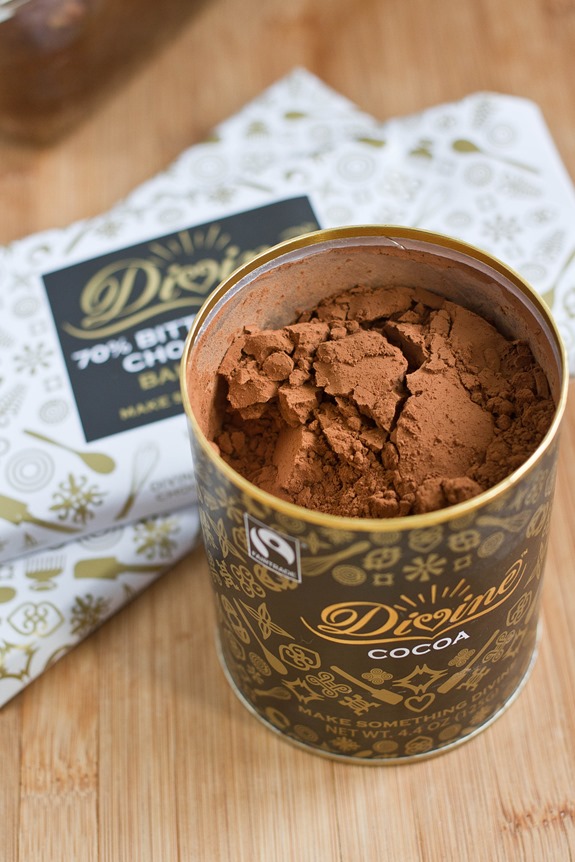
Stonyfield Farm asked some of their Clean Plate Club bloggers to make a chocolate treat healthier using yogurt and Divine Chocolate. Chocolate quick-breads are always delicious but usually too sugary to eat for any meal except dessert; yogurt and less sugar is an easy fix to make this a lighter food.

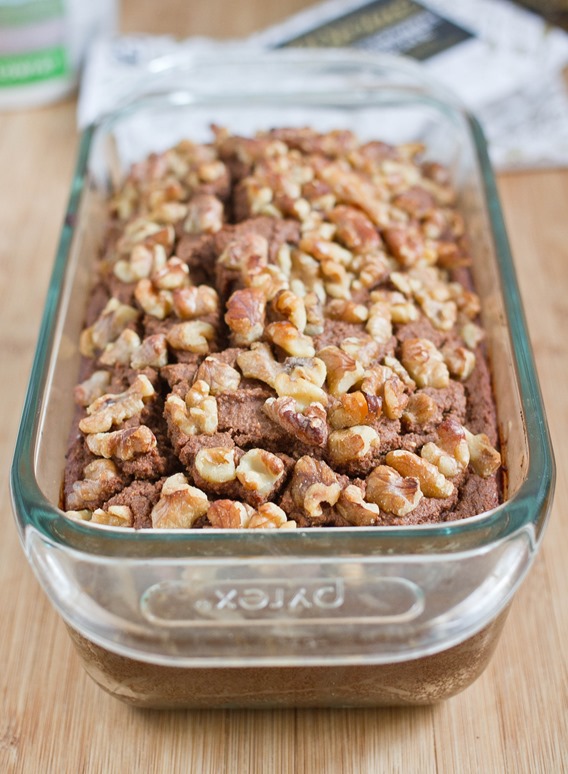
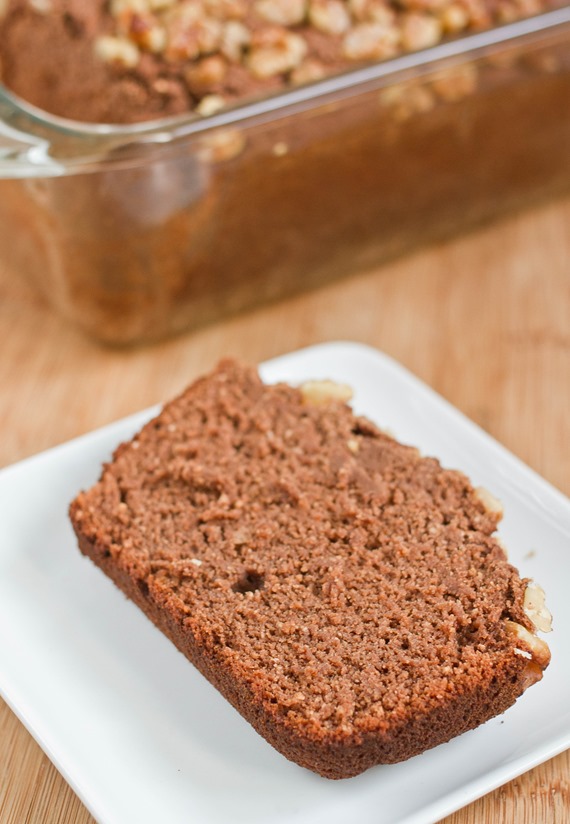
This chocolate loaf looks decadent but has a lot to offer besides fat. It’s only a little sweet—perfect for a quick breakfast with a cup of coffee. The nuts on top offer some healthy fats while using yogurt in place of more oil cuts down the calories. Using a whole-grain flour like brown rice flour also adds nutrients to each slice.

Healthy Chocolate Walnut Bread Cocoa Powder

The Divine Chocolate was incredible to work with. I used the milk chocolate bar to make this recipe but couldn’t stop eating the dark chocolate bar all on its own. It melted incredibly smoothly and evenly; that’s always the benefit of using actual baking chocolate instead of chocolate chips. Instead of plain yogurt you could always use sweetened vanilla yogurt or even one with more flavor to it.

Healthy Chocolate Walnut Bread

Prep time: 15 minutes

Cook time: 45 minutes

Ingredients(Makes 1 loaf):

Healthy Chocolate Walnut Bread Slice

Method:

  1. Preheat your oven to 350 degrees.
  2. In a large bowl sift together the coconut flour, brown rice flour, cocoa powder, and baking soda.
  3. Mix in the eggs, maple syrup, yogurt, water, and oil until the batter is wet and mixed.
  4. Melt the milk chocolate baking bar in a microwave or over the stove top.
  5. Slowly fold the melted chocolate into the batter until entirely mixed.
  6. Grease a 9-inch loaf pan.
  7. Pour the batter into the loaf pan. Add the crushed walnuts on top and press them in gently.
  8. Bake for 40-45 minutes until the center of the loaf is cooked through. Let the bread cool before cutting.

Healthy Chocolate Walnut Bread Slice w Yogurt

You’ll never guess it’s any good for you.

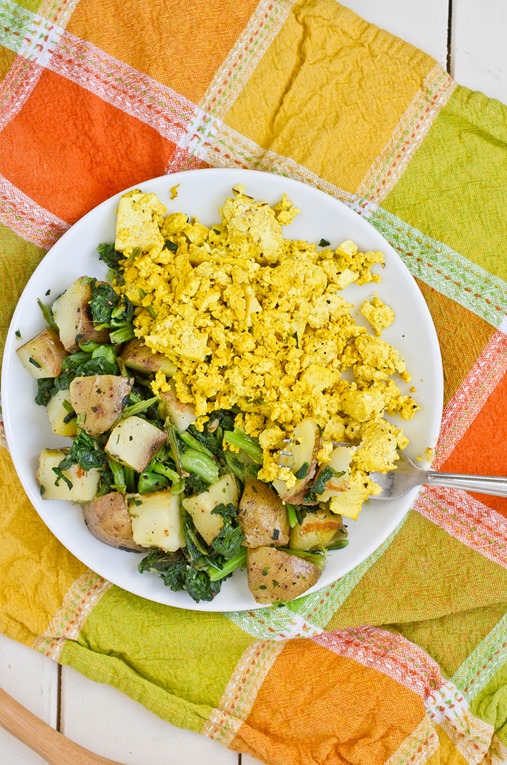
Scrambled Tofu

Scrambled Tofu

This recipe is an oldie but a goodie.

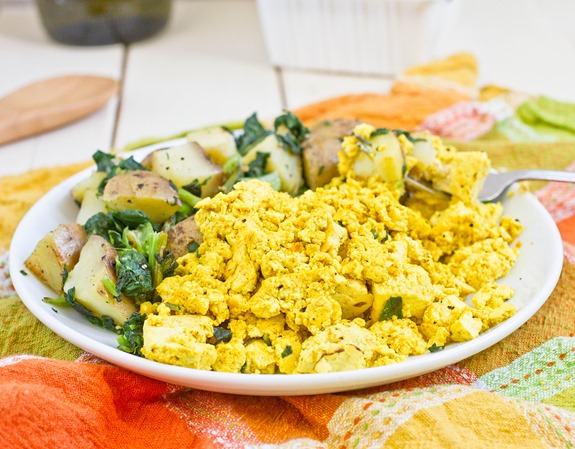
If I had to recommend one dish for someone who wants to eat less animal products it would be scrambled tofu. It looks just like eggs and you can really flavor it however you like. Not to mention it only takes about 10 minutes from start to finish.

I started eating less scrambled eggs and more scrambled tofu after watching Vegucated on Netflix. I won’t go into personal ethics on why I made the switch but it’s a good documentary to watch on Netflix in between marathons of Being Human and United States of Tara.

Scrambled Tofu Yield

You can easily change this recipe to make it more flavorful by adding herbs and sautéed vegetables into the mix. I usually use curry powder to make mine a little spicy.

Scrambled Tofu

Prep time: 5 minutes

Cook time: 5 minutes

Ingredients(Makes 2 servings):

  • 1 block extra firm tofu
  • 1 Tablespoon olive oil
  • 1 teaspoon turmeric
  • 1/2 teaspoon salt
  • 1/4 teaspoon black pepper
  • 1/4 teaspoon garlic powder
  • 1/4 teaspoon onion powder

Scarmbled Tofu Easy

Method:

  1. In a large bowl, mash the tofu with a fork lightly until it’s textured to resemble scrambled eggs.
  2. Heat the oil in a pan over medium heat.
  3. Mix the turmeric, salt, pepper, garlic and onion powder in with the tofu until it’s evenly coated.
  4. Sauté the tofu in the oil until it’s heated through and takes on a vibrant color.
  5. Remove from the pan and serve hot.

Afterwards I put a big pile of ketchup on the side of the plate. What’re eggs and hash browns without ketchup?

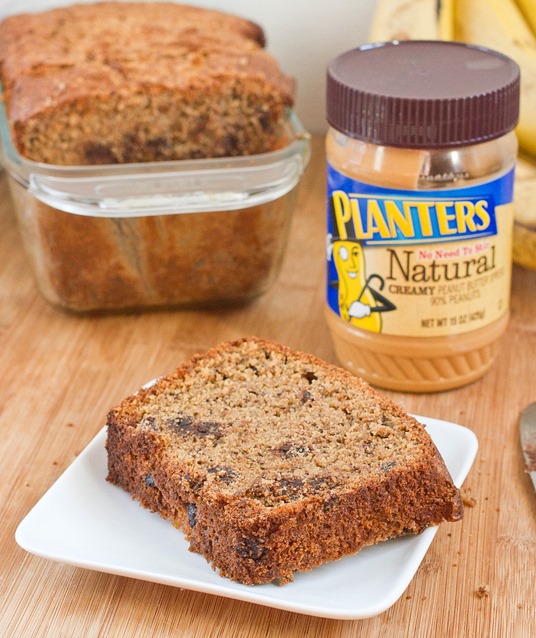
Brown Rice Flour Banana Bread

Gluten-Free Peanut Butter Banana Bread

I’ll be the first to admit that gluten-free baking is tougher than baking with flour. Instead of just wheat you have a hundred different varieties of flour and starches to work with and if you’ve never used them before you have no idea how they work in recipes. It’s a hassle.

I’m always drawn to making recipes that use just one type of flour because I don’t like to have to go out and buy 6 or 7 to make a single loaf of bread. This recipe only uses brown rice flour, which is a gluten-free whole grain flour that bakes well and doesn’t overpower any of the other flavors. You’ll have a hard time telling this bread is gluten-free.

Gluten-Free Peanut Butter Banana Bread Serving

I used Bob’s Red Mill’s brown rice flour for this recipe which is the least grainy I’ve found and has a great texture when baked. In baking, weight’s always the most reliable measure so if you can

Gluten-Free Peanut Butter Banana Bread

Prep time: 15 minutes

Cook time: 60 minutes

Ingredients(Makes 1 loaf):

  • 2 large bananas
  • 4 eggs
  • 3/4 cups sugar
  • 1/2 cup peanut butter
  • 1/3 cup vegetable oil
  • 1 1/2 cups(240 grams) brown rice flour
  • 1/2 Tablespoon baking soda
  • 1 teaspoon cinnamon
  • 1 teaspoon vanilla extract
  • 1/2 cup chocolate chips
  • 1/2 cup water

Gluten-Free Peanut Butter Banana Bread Slice

Method:

  1. Preheat your oven to 350 degrees.
  2. Mash the bananas until they’re completely smooth.
  3. In a large bowl, stir together the bananas, eggs, sugar, peanut butter, and oil until mixed.
  4. Add in the flour, baking soda, cinnamon, vanilla, and chocolate chips and stir.
  5. Slowly add the water until the batter has a loose consistency.
  6. Grease a 9-inch loaf pan.
  7. Pour the batter into the loaf pan and bake for 60 minutes until the center has set.
  8. Remove from the oven and let the loaf cool before cutting in.

I found my loaf got stale sitting on the counter after a day but microwaving a slice for 60 seconds between two paper towels made it taste fresh out of the oven.

Gluten-Free Pumpkin Pancakes

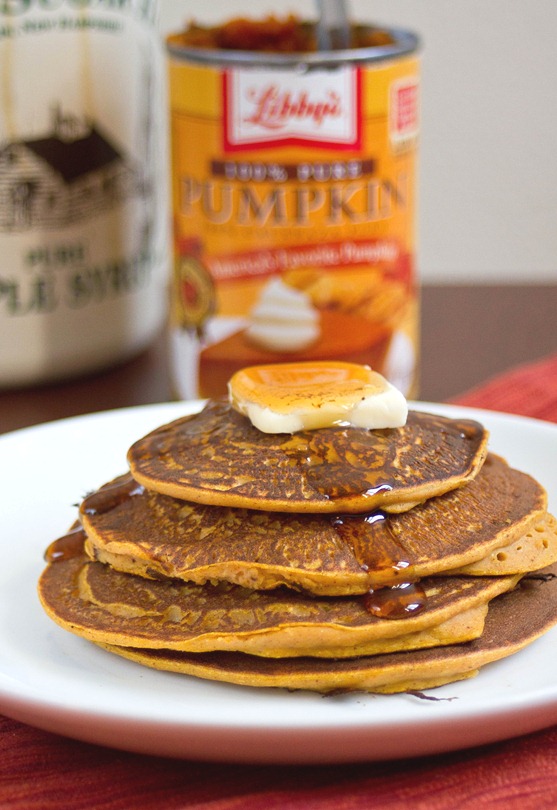
gluten-free pumpkin pancakes

This recipe has been a long time coming. I bought a can of pumpkin at the start of November and it’s been sitting in my pantry unused since then. Finally when I realized I didn’t have anything to cook for dinner one night I remembered I had the ingredients for these pancakes and whipped some up.

They were so good I made them again the next morning and took pictures. My only regret is that I didn’t have chocolate chips at the time to mix into the batter.  Add some of those and you’d have perfection.

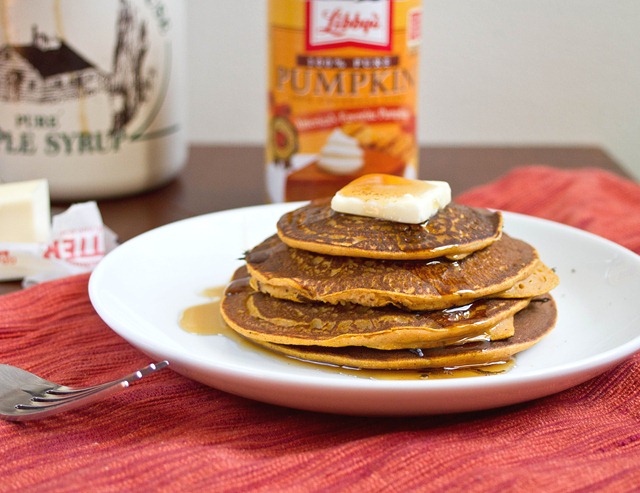
gluten-free pumpkin pancakes plated

If you don’t have pumpkin pie spice just add a little bit of cinnamon and nutmeg to flavor these. You can also use almond extract in place of the vanilla extract for an interesting flavor.

Gluten-Free Pumpkin Pancakes

Prep time: 5 minutes

Cook time: 10 minutes

Ingredients(Makes 2 servings):

  • 1/2 cup + 2 Tablespoons chickpea flour
  • 1/2 cup pumpkin puree
  • 1 large egg
  • 3 Tablespoons cane sugar
  • 1/2 teaspoon pumpkin pie spice
  • 1/4 teaspoon vanilla extract
  • 1/4 teaspoon baking soda
  • ~1/2 cup water

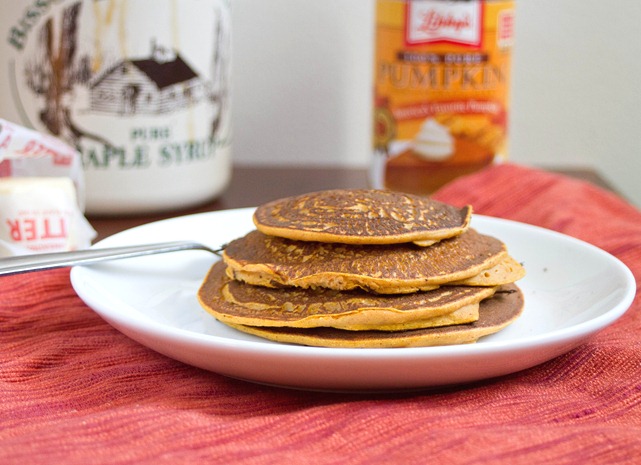
gluten-free pumpkin pancakes finished

Method:

  1. Heat a frying pan over a burner set to medium and grease it lightly.
  2. In a large bowl whisk together the chickpea flour, egg, pumpkin, sugar, pumpkin spice, baking soda, and vanilla.
  3. Slowly incorporate the water until the batter is somewhat runny and easy to pour. If the water doesn’t seem to be enough, slowly add more by the Tablespoon.
  4. Pour about 3 Tablespoons of batter into the pan. Flip when the pancake is bubbly and the sides have set to cook the other side. Make sure to cook long enough so that it’s cooked through the center.
  5. Move the cooked pancake to a serving plate and repeat until all the batter is used up.

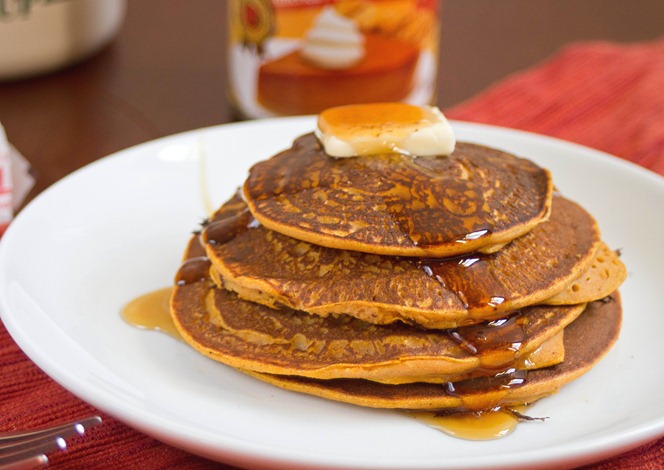
gluten-free pumpkin pancakes serving

Make sure to cook the center through even if it looks like they’re starting to burn a little on the outside. Nothing is less appealing than raw chickpea flour. The thinner the pancakes are the easier it is to get an evenly cooked consistency.