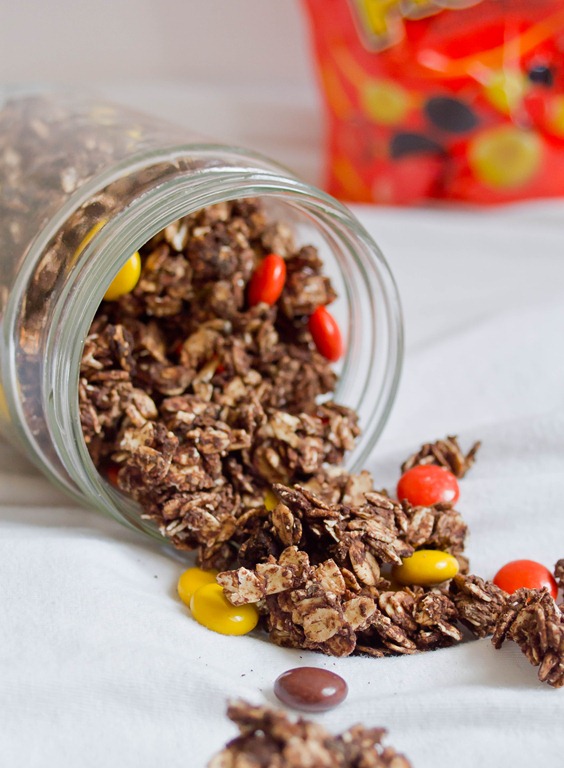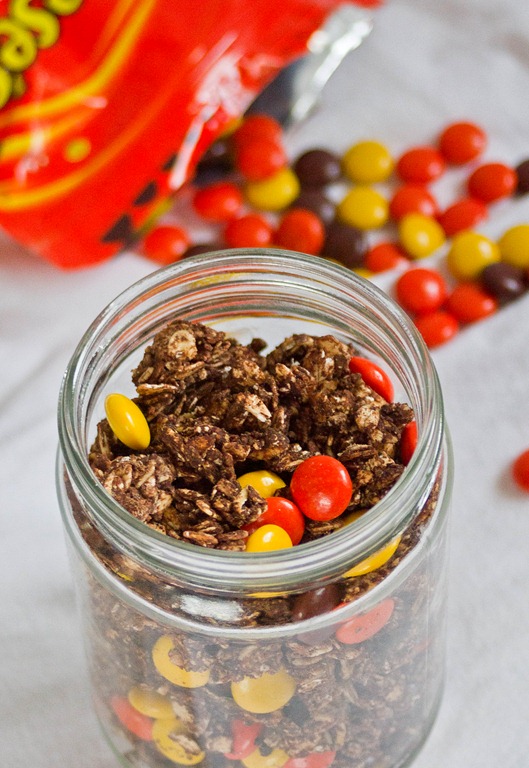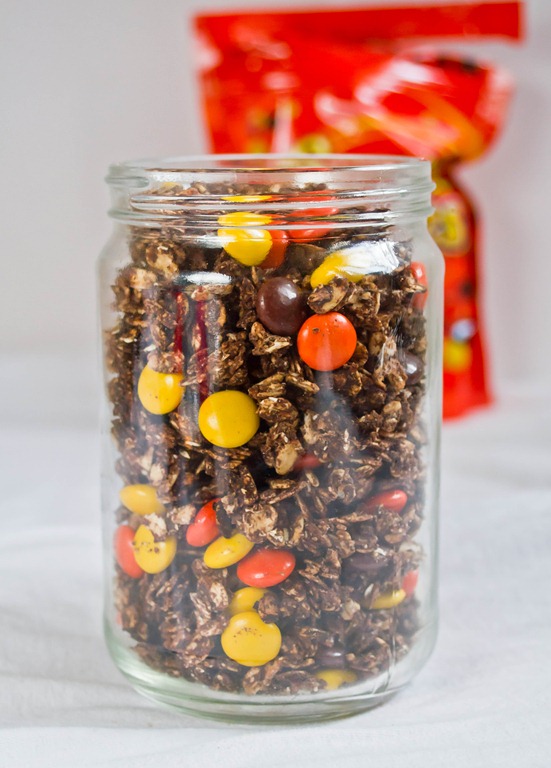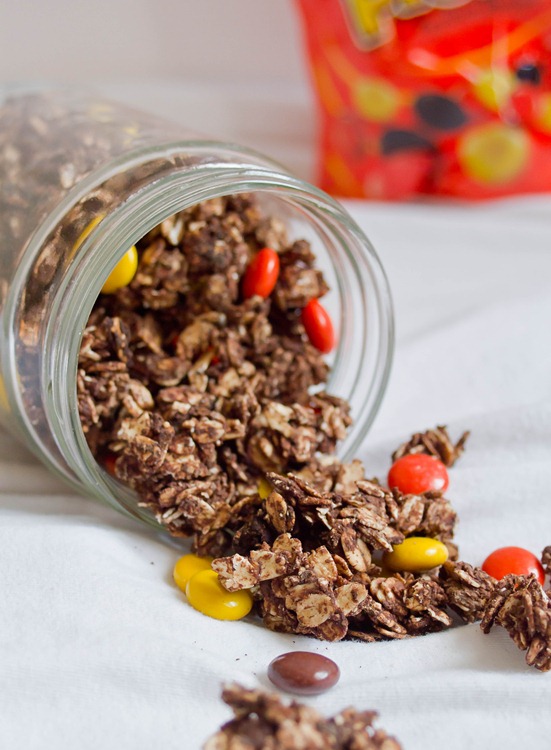
My favorite thing about this time of year is going present shopping for friends and family but boy does it eat up a day. After going to several stores and eventually CVS for wrapping paper and tape, I couldn’t help but do some grocery shopping and pick up the bag of Reese’s Pieces that was conveniently on sale.
I’ve made peanut butter granola before and chocolate granola but never chocolate granola with peanut butter. That was an oversight seeing how peanut butter and chocolate has to be the best combination known to man. Just think of Reese’s cups and Fastbreak bars and—of course—Reese’s Pieces. I’m not quite sure if adding candy to granola still makes it breakfast food but it has peanut butter so it must be healthy.
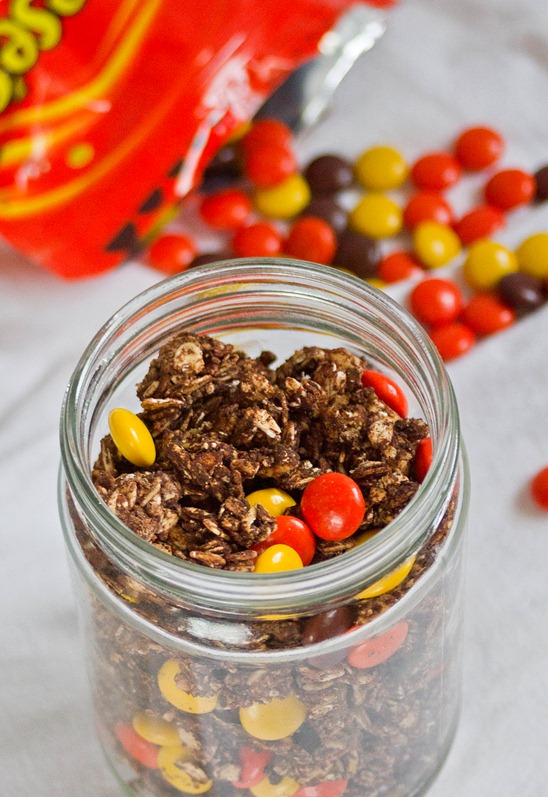
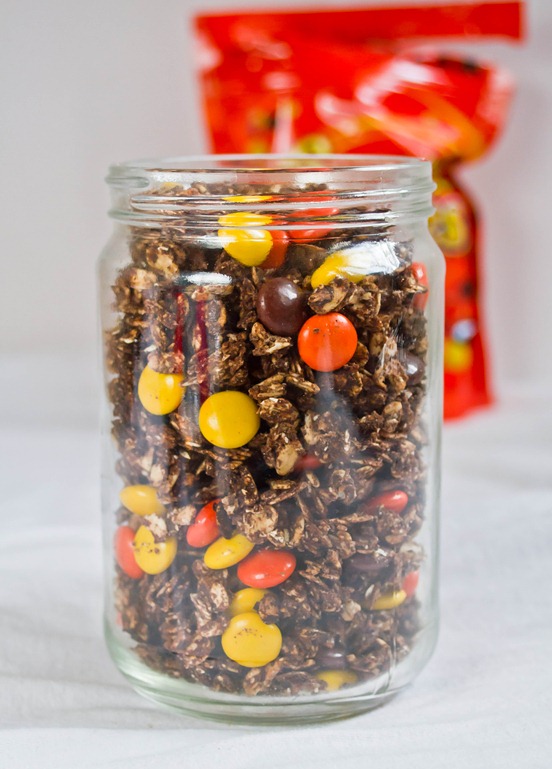
This is a great granola to make if you like granola with clusters since the peanut butter holds the oats together. Just be sure not to break it up too much after it’s done cooking to keep most of the clusters.
Reese’s Pieces Granola
Prep time: 10 minutes
Cook time: 20-25 minutes
Ingredients(Makes about 3 cups):
- 2 cup rolled oats
- 6 Tablespoons peanut butter
- 1/4 cup cocoa powder
- 6 Tablespoons to 1/2 cup maple syrup(or any liquid sweetener)
- 1/2 cup Reese’s Pieces
- 1/2 cup peanuts(optional)
Method:
- Preheat your oven to 350 degrees.
- In a large bowl mix together the oats, peanut butter, cocoa powder and maple syrup. If the peanut butter you’re using is the no-stir kind, melt it in the microwave briefly before mixing it in.
- Spread the oats out onto a non-stick baking tray. Bake for 20-25 minutes until the granola cooks together.
- Remove from the oven and break the granola into clusters using a utensil.
- Let the granola cool completely before adding in the Reese’s Pieces.
- Store in an air-tight container at room temperature.
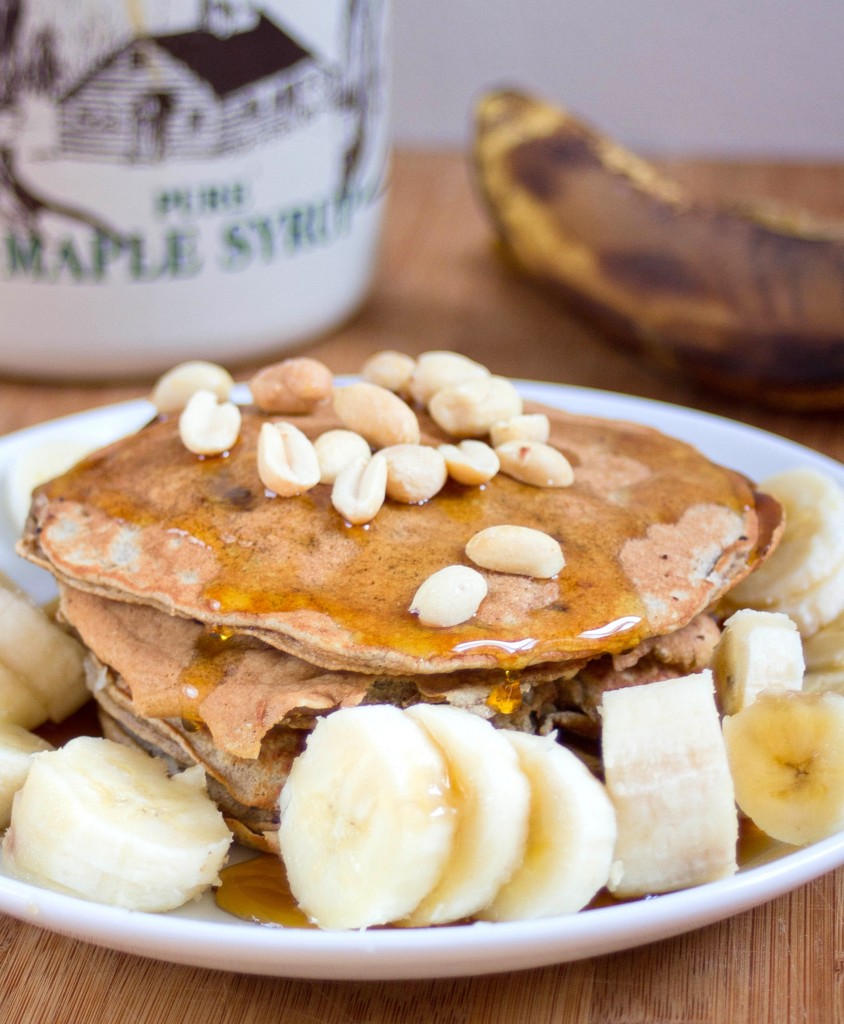
It’s been getting harder and harder to get out of bed in the morning lately. I’m used to freezing temperatures in New England by now but I’ve never learned to like them and it’s only getting colder from here on out. Blankets are getting thicker, showers are getting longer, and breakfasts are getting tastier because they’re always the best reason to get out of bed.
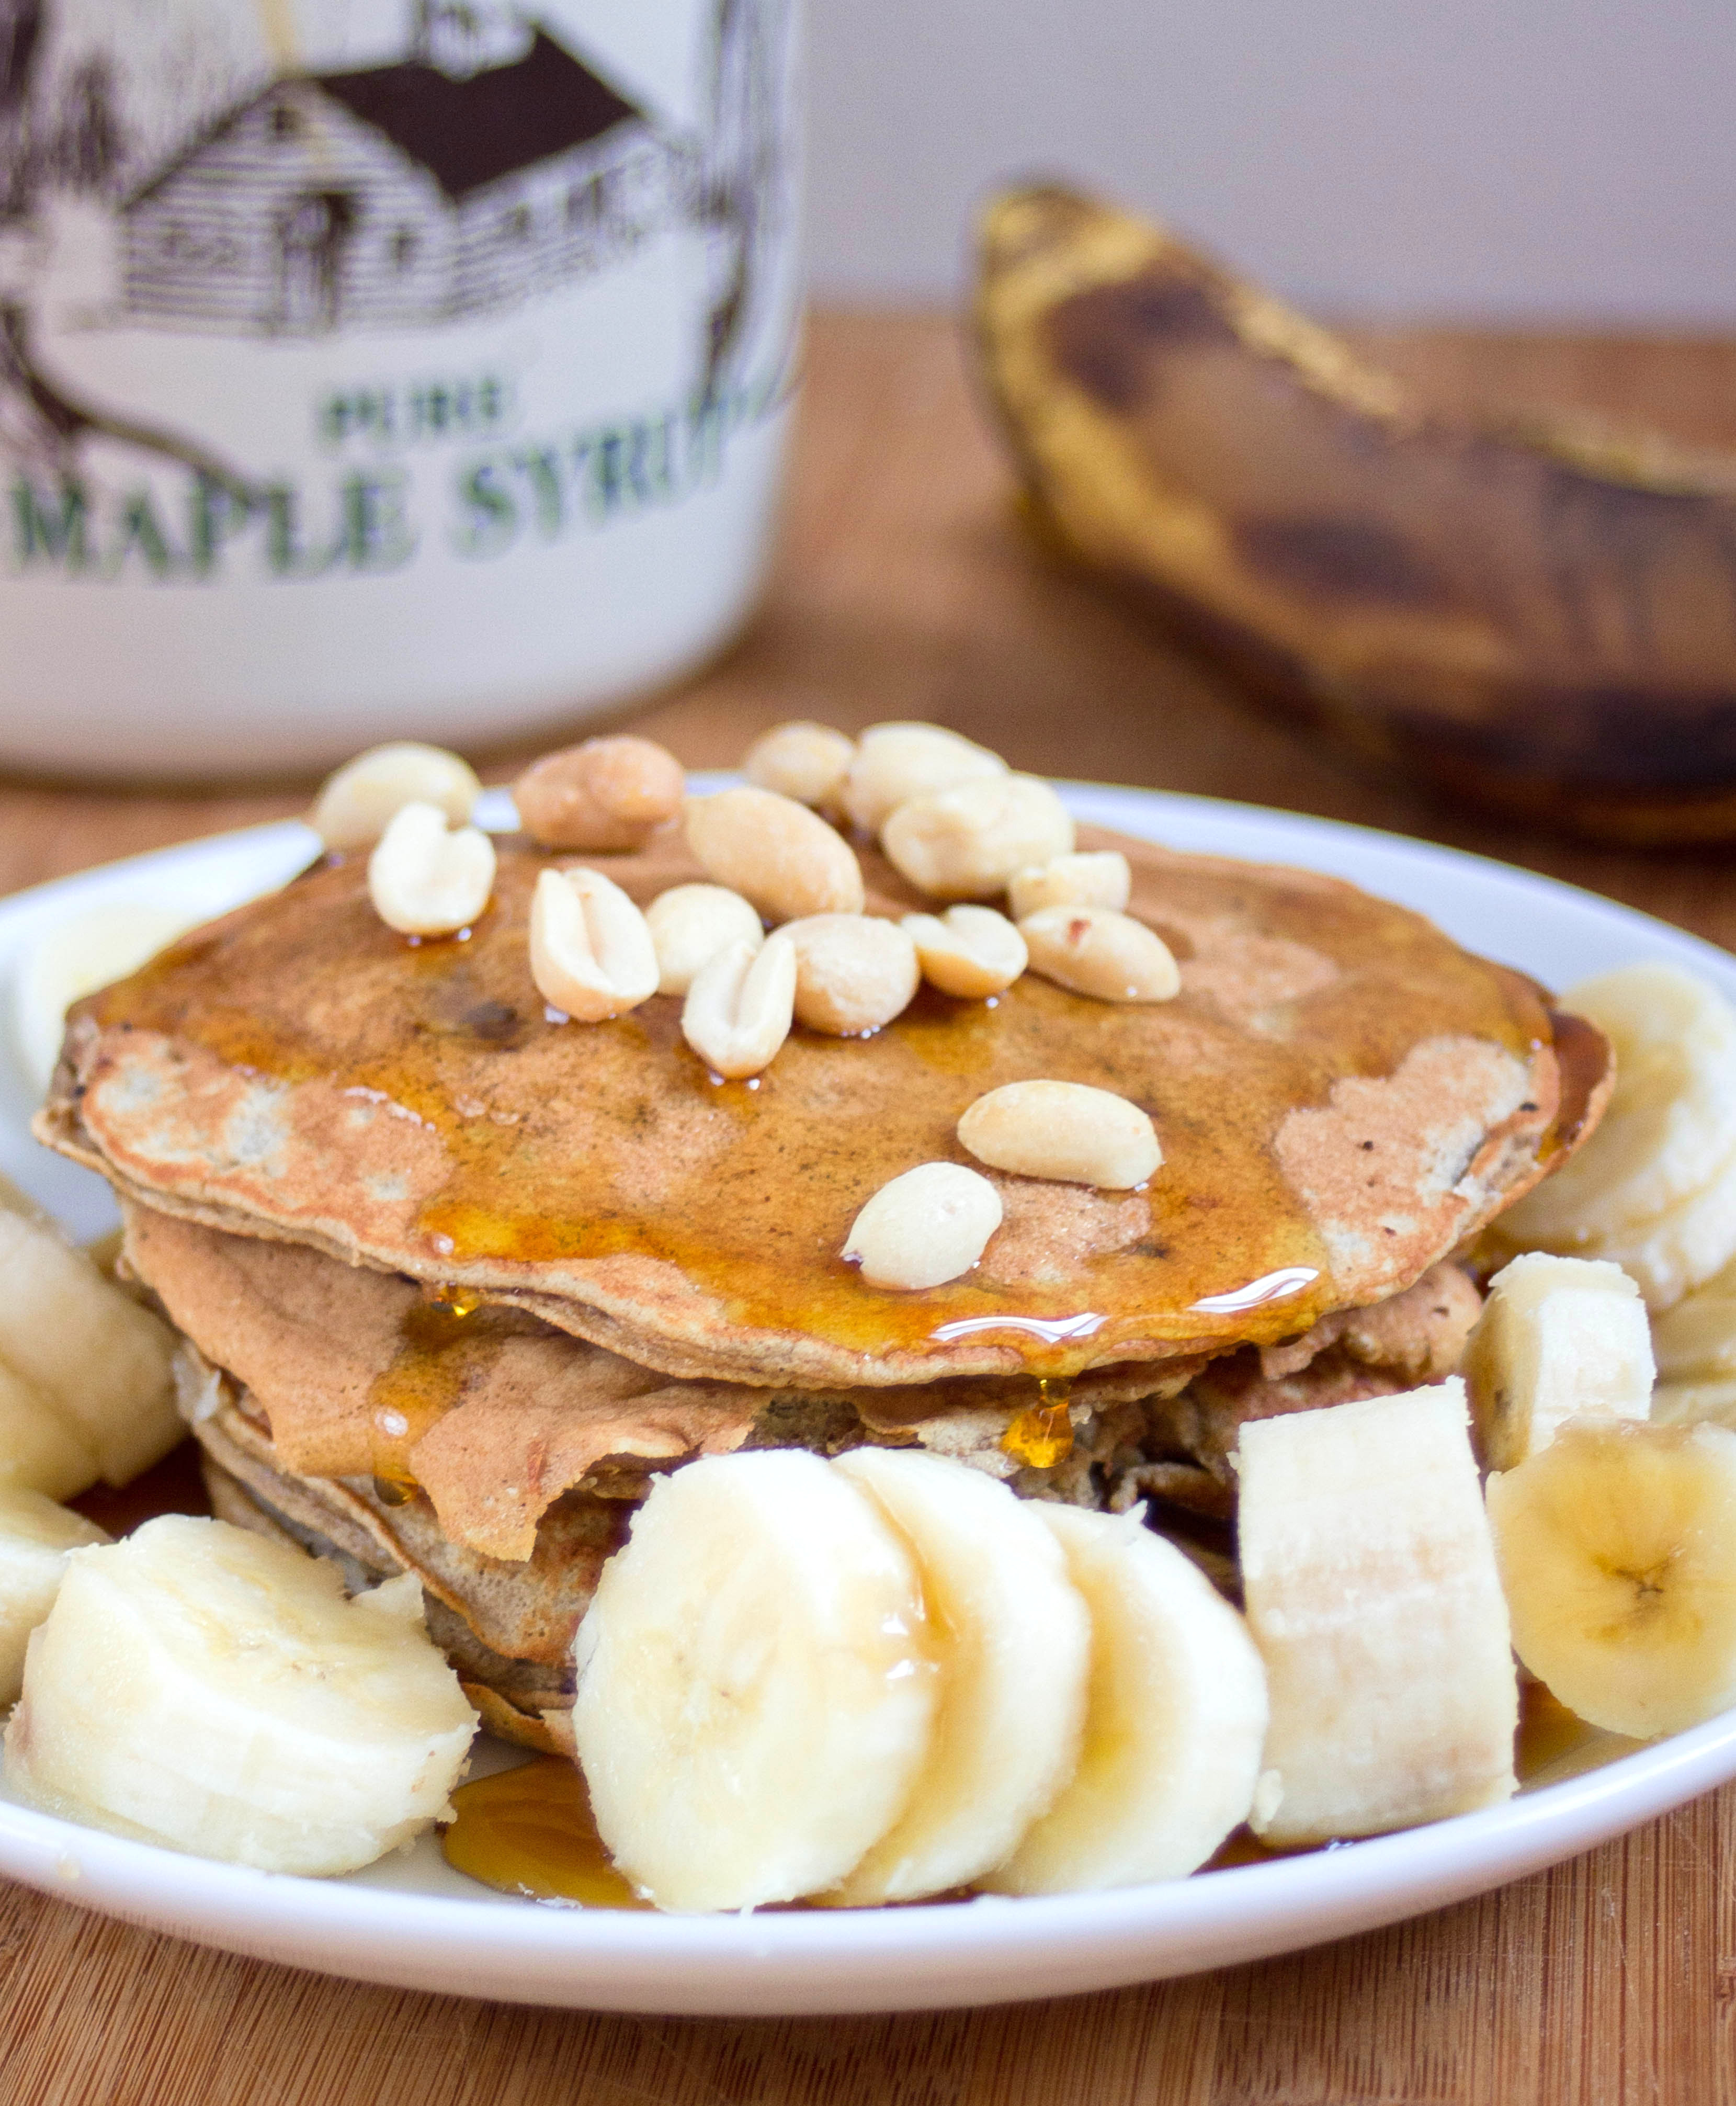
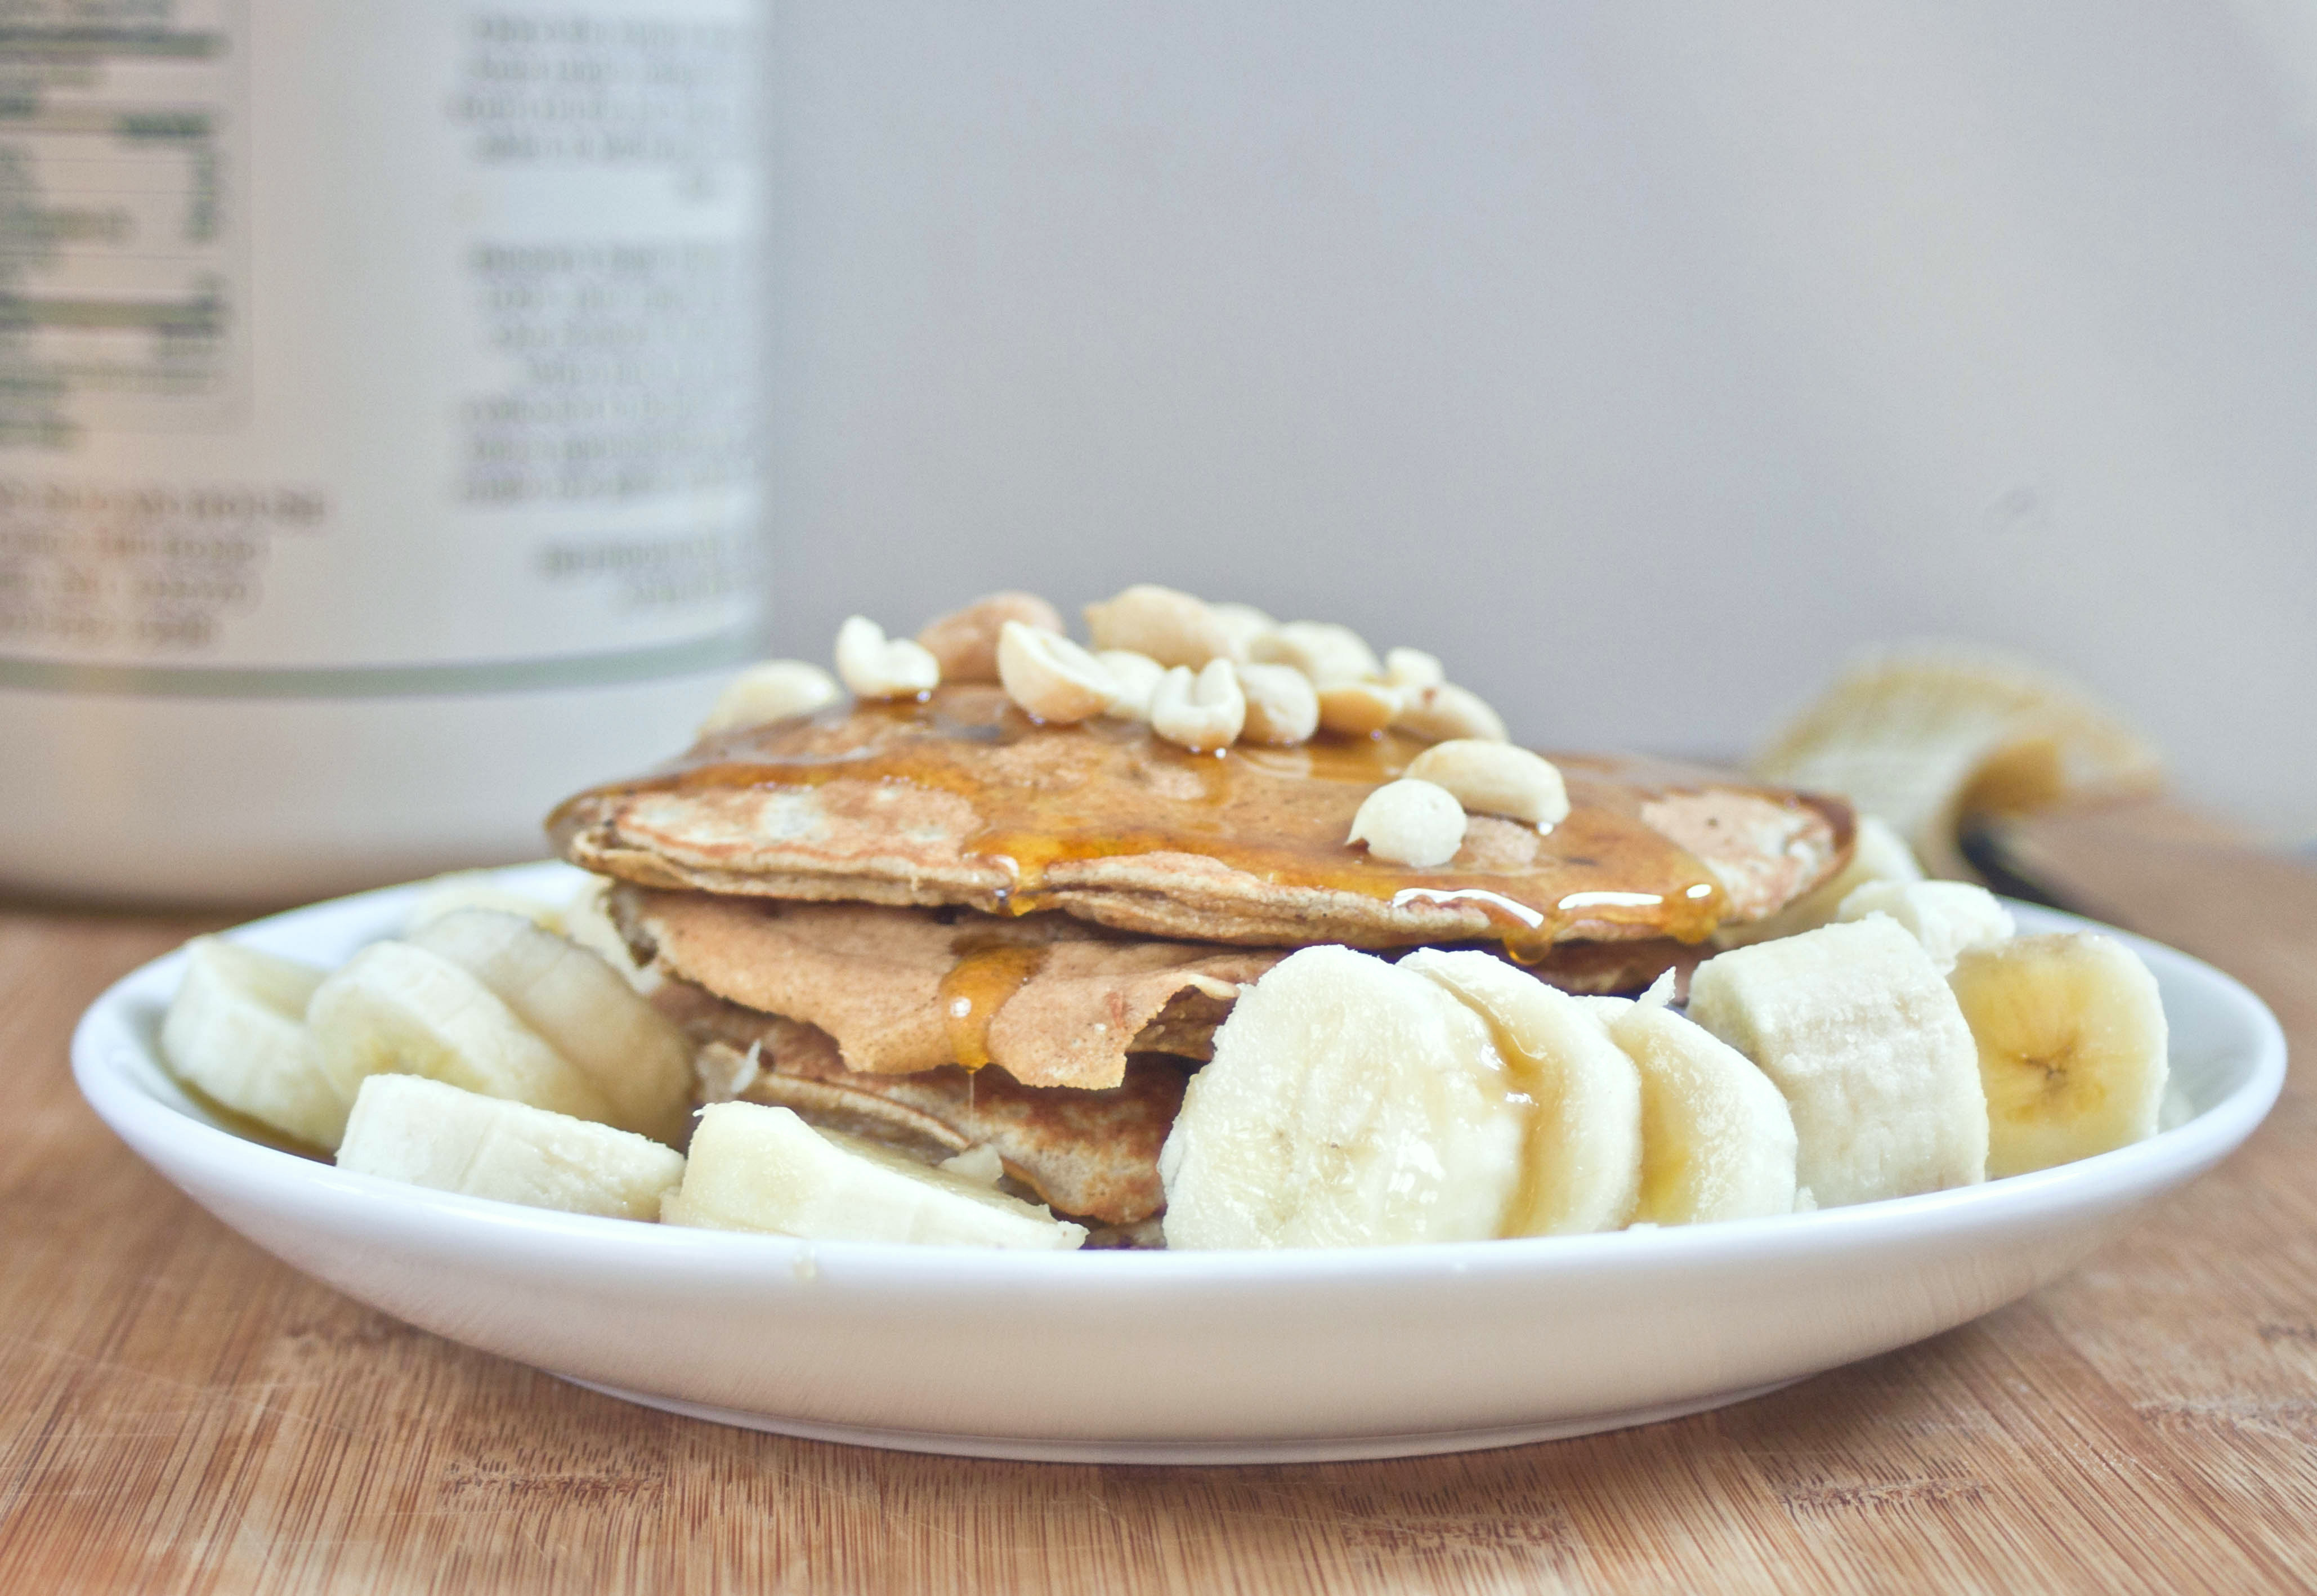
These pancakes are an older recipe that I wanted to revisit and spend more time on. It’s hard to find good gluten-free pancakes and the more flavors you can get the better. They’re entirely naturally sweetened, too, until you pour the maple syrup on top which is a must. A little pat of cinnamon butter and it’d be heaven.
The recipe only makes about one serving. I would recommend doubling or tripling it and storing the extra pancakes in a Ziploc bag in the refrigerator to have extra for another morning.
Gluten-Free Banana Pancakes
Prep Time: 5 minutes
Cook Time: 10 minutes
Ingredients(makes 1 serving):
- 1/3 cup mashed banana(about a medium-sized banana)
- 1/2 cup chickpea flour
- 1 egg
- 1/4 teaspoon cinnamon
- 1/4 teaspoon baking soda
- 1/4-1/3 cup water
Method:
- In a mixing bowl combine the mashed banana, chickpea flour, egg, cinnamon, baking soda and 1/4 cup water and mix.
- Add more water if necessary to get the consistency somewhere between thick-runny and runny.
- Preheat a non-stick pan over medium heat.
- Scoop about 1/4 cup batter into the pan for each pancake. Only cook 1 or 2 at a time to avoid overcrowding.
- Cook on one side until the top is bubbly, then flip and cook for about another minute. Repeat until all the batter is used.
Definitely worth waking up for.
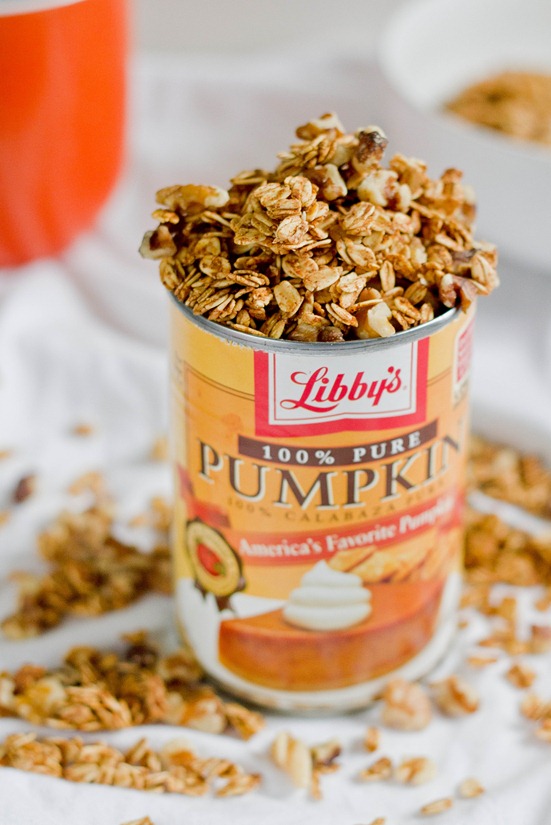
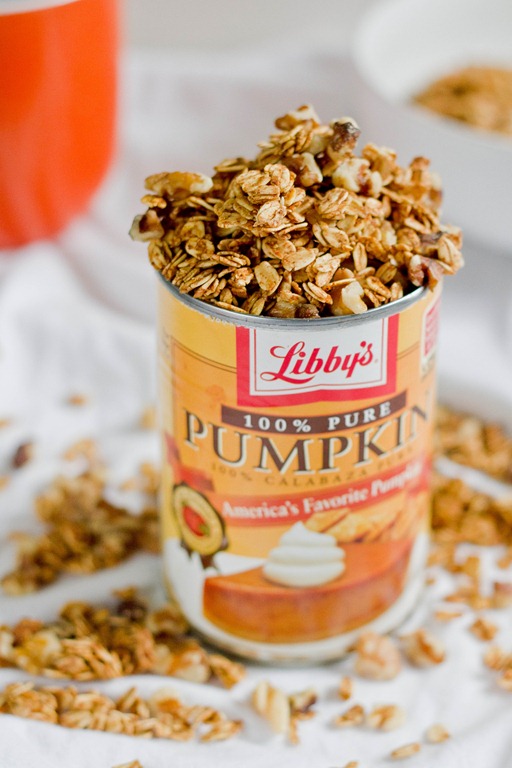
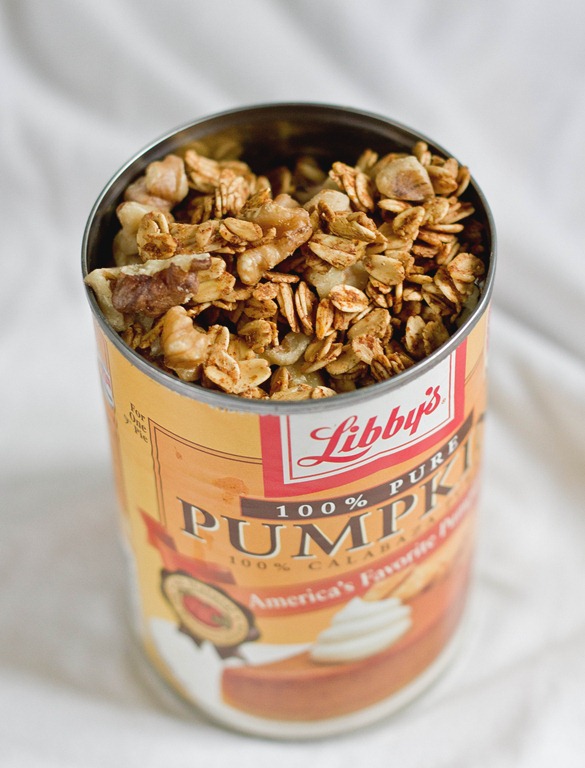
It was really only a matter of time before I combined pumpkin and granola, wasn’t it?
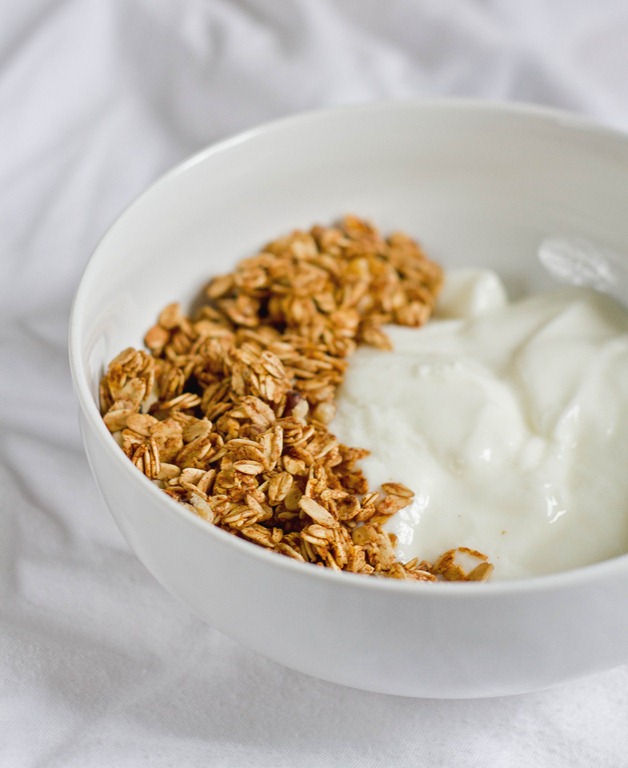
If you like granola and yogurt with a cup of tea on crisp Fall morning, this is definitely a recipe for you. Most of the flavor comes from the pumpkin spice rather than the actual pumpkin. Still it tastes(and smells!) delicious.
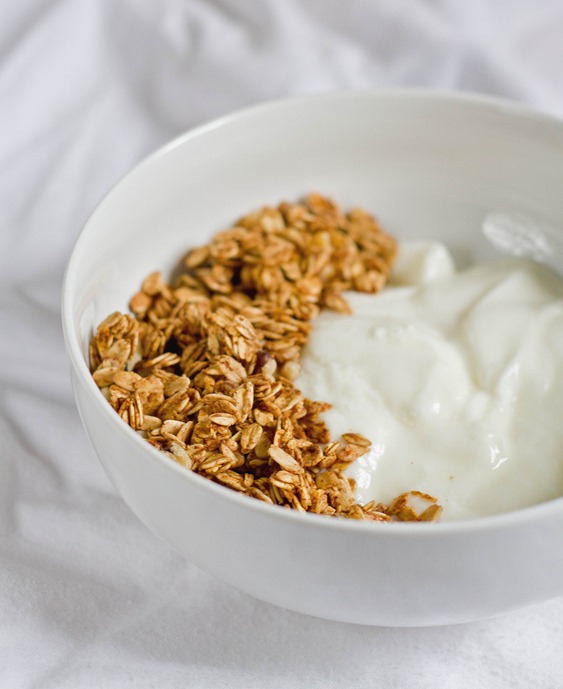
If you don’t have pumpkin pie spice on hand, just use a mix of cinnamon, allspice, ginger, cloves, and nutmeg to get the same flavor. You can also add in an extra 1/2 cup of raisins or dried apple slices if you want to add a touch of sweetness.
Homemade Pumpkin Granola
Prep time: 10 minutes
Cook time: 25 minutes
Ingredients(Makes about 3 cups):
- 2 1/2 cups rolled oats
- 1/4 cup maple syrup
- 2 Tablespoons pumpkin puree
- 2 Tablespoons cooking oil
- 1 Tablespoon pumpkin pie spice
- 1/4 teaspoon salt
- 1/2 cup crushed walnuts
Method:
- Preheat your oven to 350 degrees.
- In a large bowl, mix together the oats, maple syrup, pumpkin, oil, spice and salt thoroughly.
- Lay the wet oats out on a non-stick baking surface in a thin layer.
- Bake for 25 minutes, breaking up the oats around 10-15 minutes before taking them out of the oven.
- Let the oats cool completely once they’re done.
- Mix in the walnuts and store the granola in a sealed container at room temperature for up to 2 weeks.
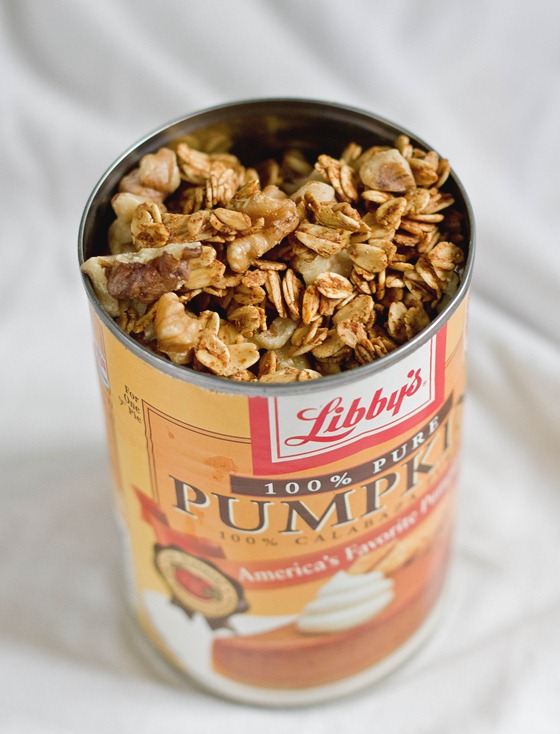
You can also feel free to add white chocolate chips and candy corn. I can say from experience that that’s a winning combination.
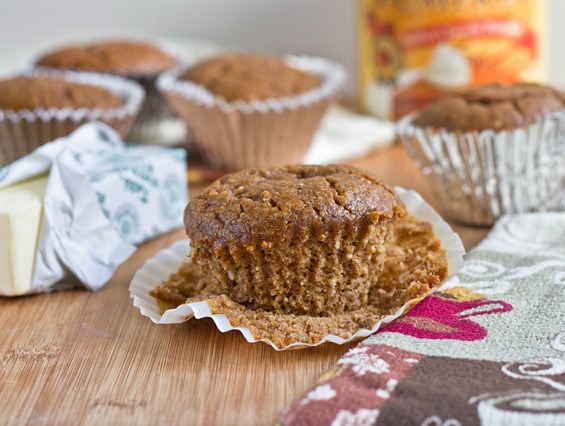
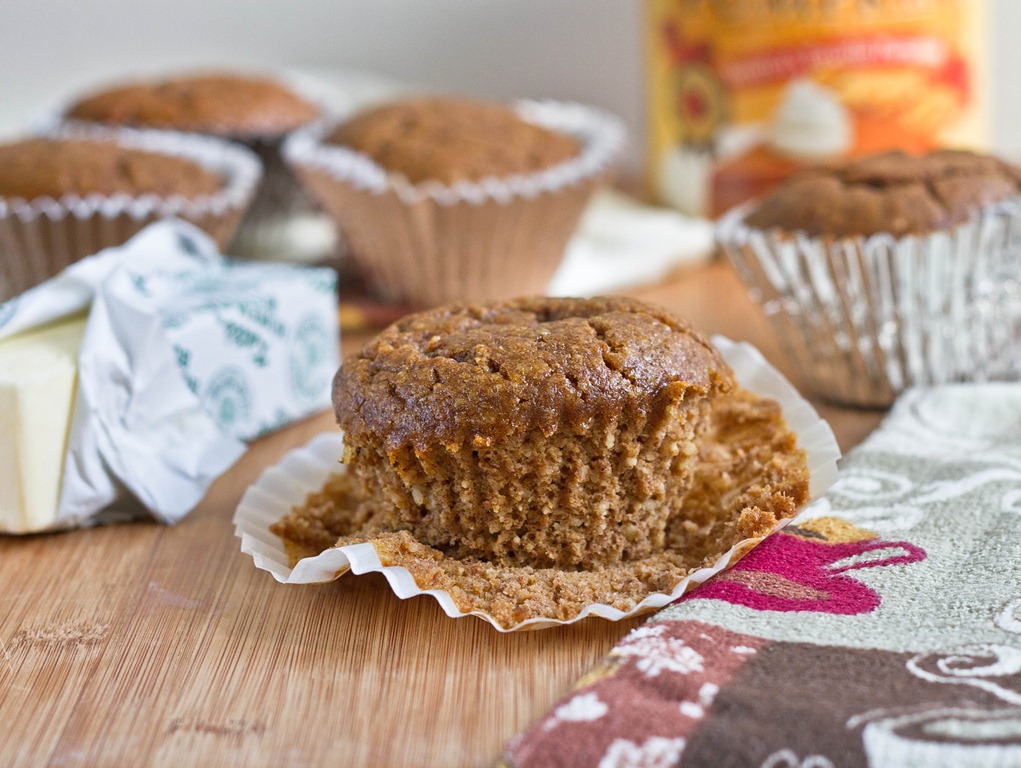
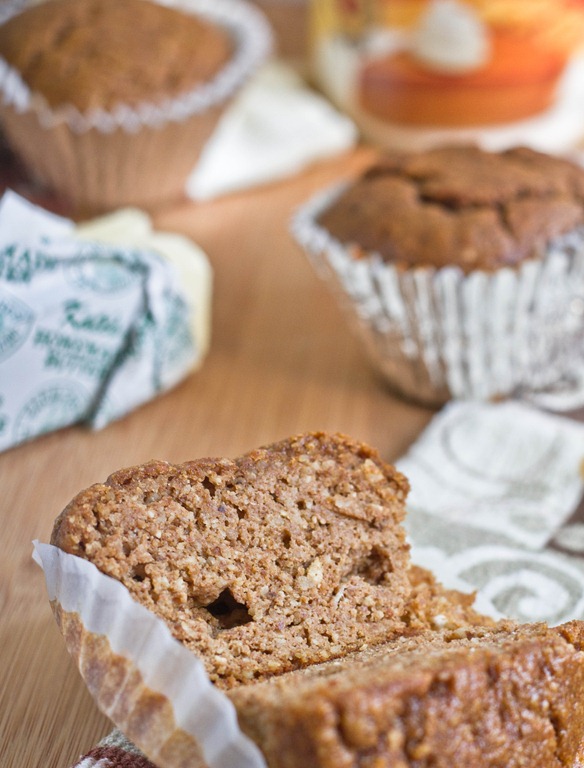
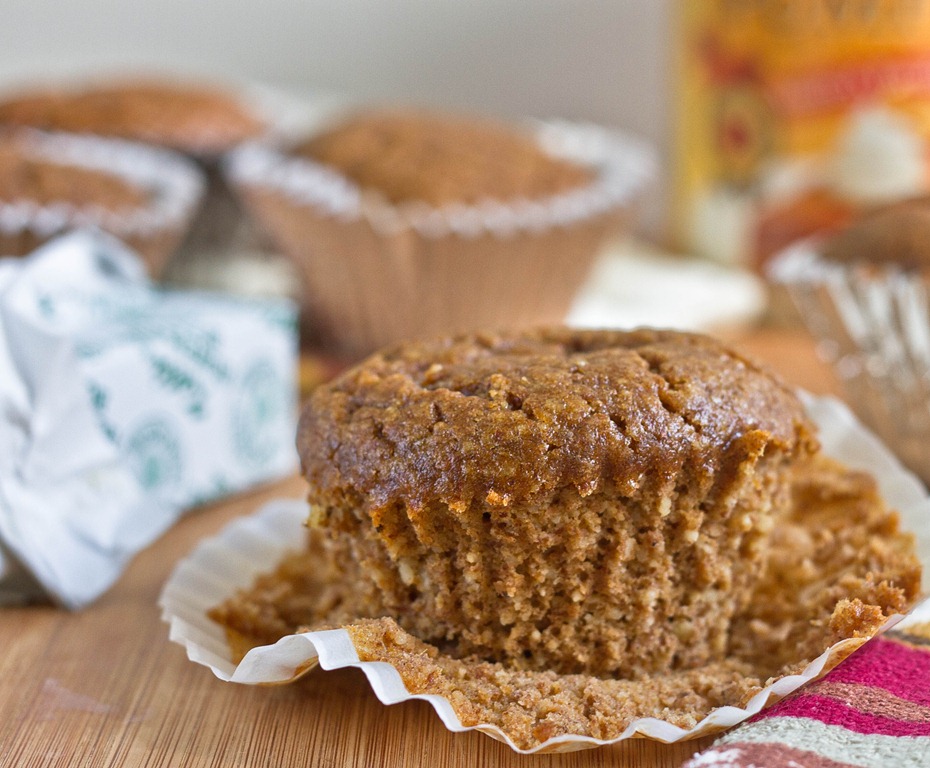
A lot of people debate what the difference between a muffin and a cupcake is. Some say it depends on whether it’s frosted or not while for others it’s about the texture. For me it’s about nutrition. Is it healthy enough that you’d want to eat it for breakfast? Then it’s a muffin. If it’s a sugar and fat bomb even without frosting, you’re probably looking at a cupcake.
These muffins are dense, chewy, and hearty. The best way to eat one is warm with some peanut butter or cream cheese smeared inside. It’s not incredibly sweet but has a nice flavor from all of the pumpkin spices. It definitely passes the breakfast test.
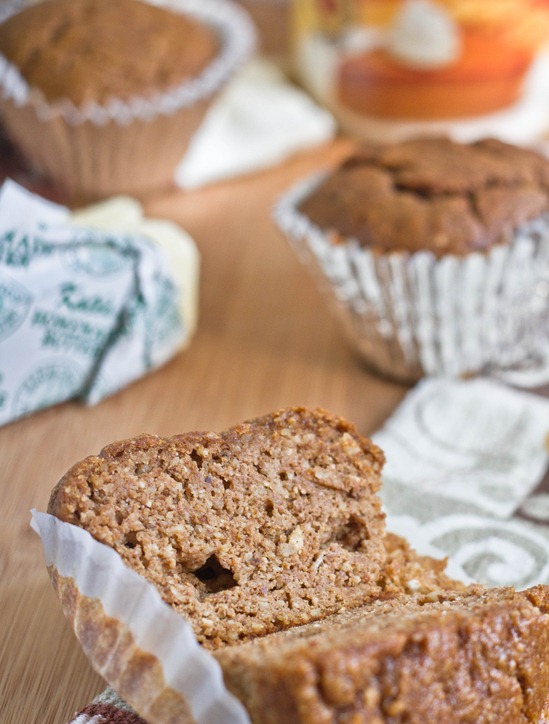
If you don’t have 3 cups of almond flour, you can make your own by grinding 3 cups of almonds in a food processor like I did. Make sure to run it for a really long time to avoid getting larger pieces of almonds.
Grain-Free Pumpkin Muffins
Prep time: 10 minutes
Cook time: 25 minutes
Ingredients(Makes about 10 muffins):
- 3 cups almond flour or meal
- 1 cup pumpkin
- 1/4 cup vegetable oil
- 3/4 cup maple syrup
- 6 eggs
- 2 Tablespoons tapioca starch
- 2 teaspoon pumpkin pie spice
- 1/2 teaspoon salt
- 1 teaspoon baking soda
Method:
- Preheat your oven to 350 degrees.
- In a large bowl, mix together the almond flour, pumpkin, vegetable oil, maple syrup, and eggs until there are no clumps left.
- Mix in the tapioca starch, spice, salt and baking soda.
- Pour the batter into lined muffin tins.
- Bake for 25 minutes or until a toothpick inserted in the center comes out clean. Turn the oven off and let the muffins cool in there with the door slightly cracked open.
- Store at room temperature for 2-3 days or freeze them to make them last longer.

Don’t skimp on the pumpkin spice blend; that’s where all the delicious pumpkin muffin flavor is.
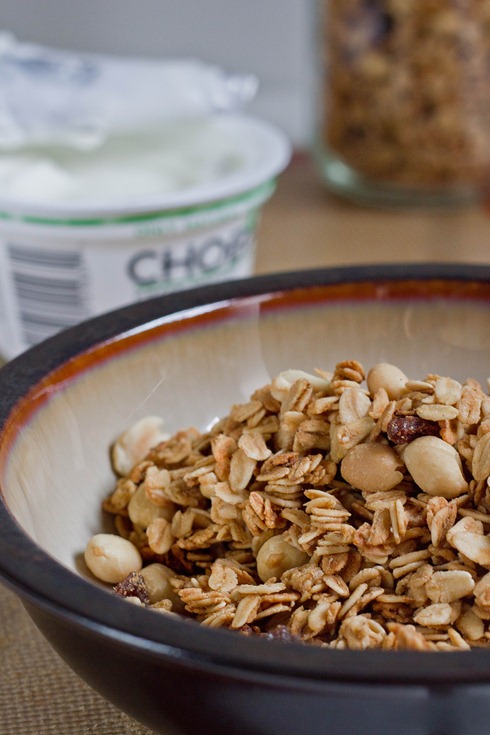
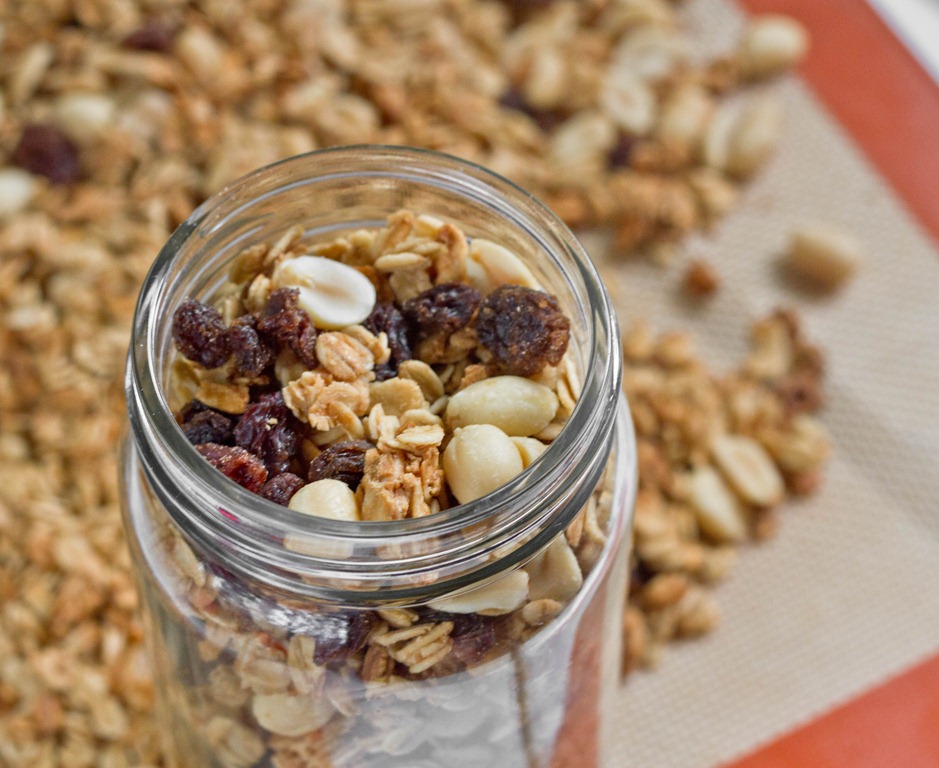
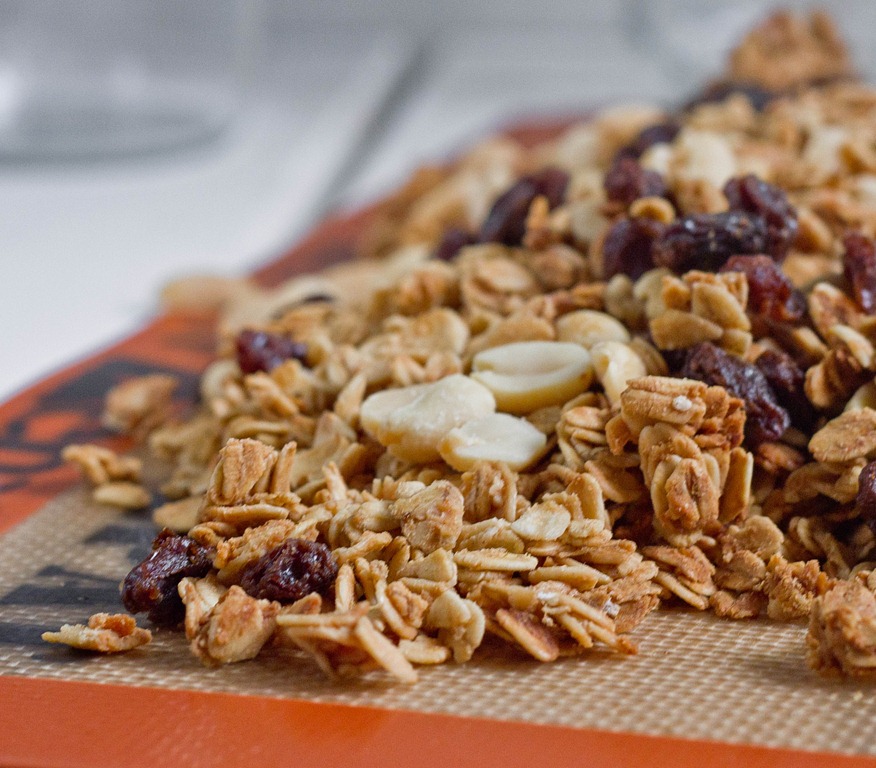
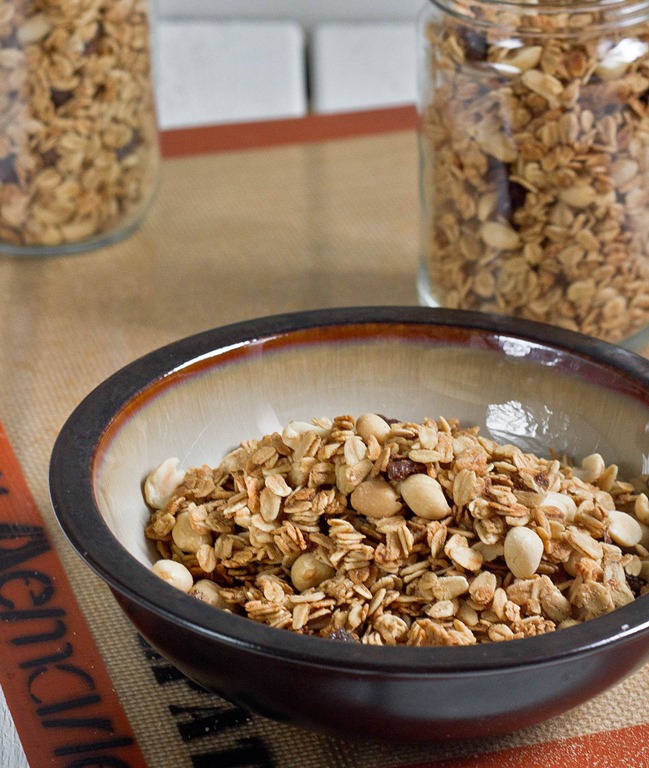
Sometimes I get sick of food. Kale, potatoes, eggs—all things I usually love—just don’t seem as appetizing lately. There are a few foods I never get sick of like peanut butter, oats, and yogurt. When that’s all you want to eat, what’s better to do than make granola?
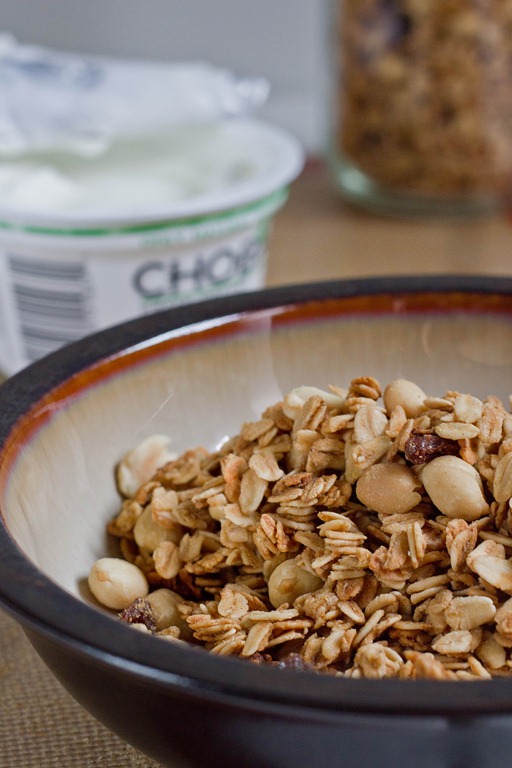
This has been my go-to lunch as of late. I’m usually hurried and granola and a container of yogurt are convenient and easy to pack; add a banana and you’re all set. I’m also a huge fan of GORP and ants on a log so raisins add the perfect touch to round out the recipe.
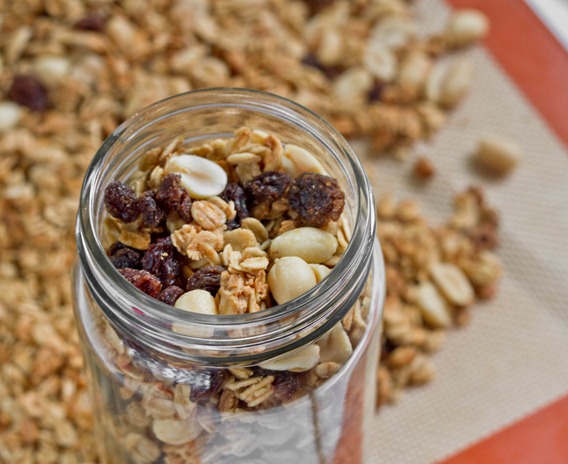
This granola doesn’t have an in-your-face peanut butter flavor; instead, it’s a lighter, sweeter nutty flavor. It’s also chewier than most other granolas I’ve made and reminds me of a crumbled up granola bar on top of yogurt.
Peanut Butter Granola
Prep time: 10 minutes
Cook time: 35 minutes
Ingredients(Makes about 3 1/2 cups):
-
2 1/2 cups oats
-
2 Tablespoons peanut butter
-
2 Tablespoons peanut oil*
-
1/3 cup maple syrup
-
1/2 teaspoon vanilla extract
-
1/4 cup salted roasted peanuts
-
1/4 cup raisins
*You can use any type of oil but peanut oil will have the best flavor

Method:
- Preheat your oven to 350 degrees.
- In a large bowl, mix together the oats, peanut butter, oil, maple syrup and vanilla.
- Spread the oats out in a thin layer on a non-stick baking sheet.
- Bake for 35 minutes breaking up the oats with a utensil every ten minutes or so until the oats are toasty and golden.
- Let the oats cool before mixing in the peanuts and raisins. Store in a sealed container at room temperature.
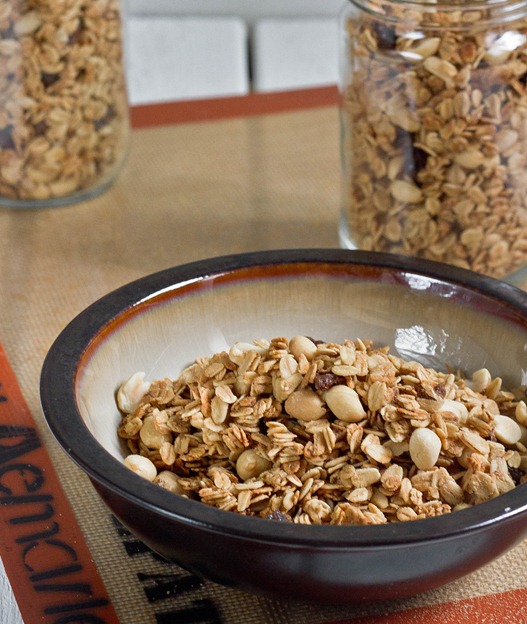
Of course you could (and probably should) add chocolate chips as a mix-in. I’m not sure why I didn’t think of that; I must have been tired that day.
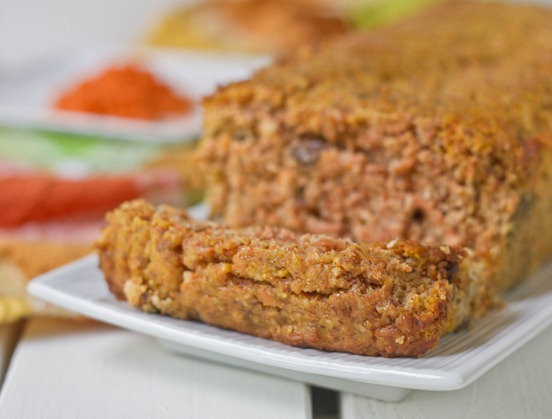
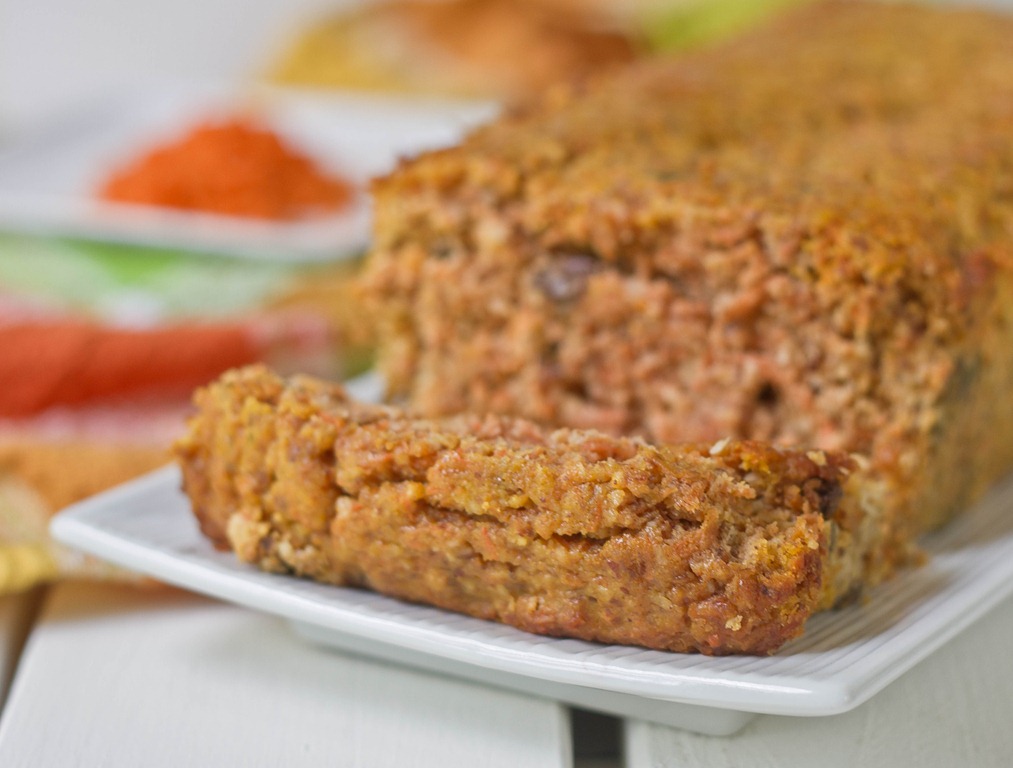
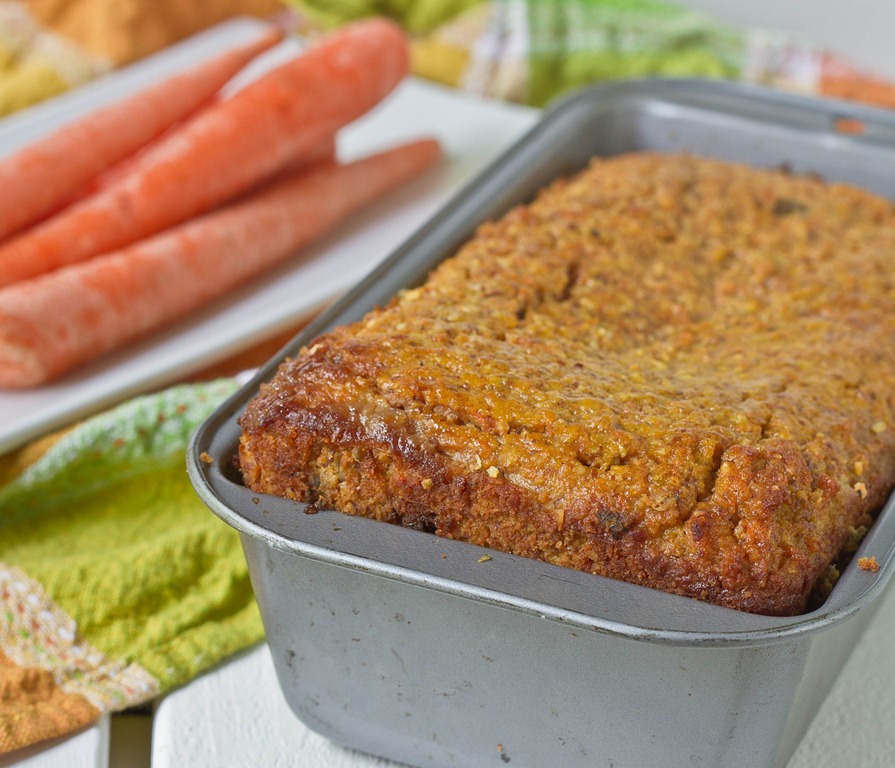
I’m a sucker for sweet breads. So far this Summer we’ve made banana bread and zucchini bread. That got me wondering what other fruits and vegetables you can bake into bread?
As unglamorous as they are, carrot desserts are some of my favorites; I’ve had carrot cakes at multiple birthdays throughout the years. Some people think they sound too healthy to make a good dessert, but if you slap enough cream cheese frosting onto anything it will taste good, right?
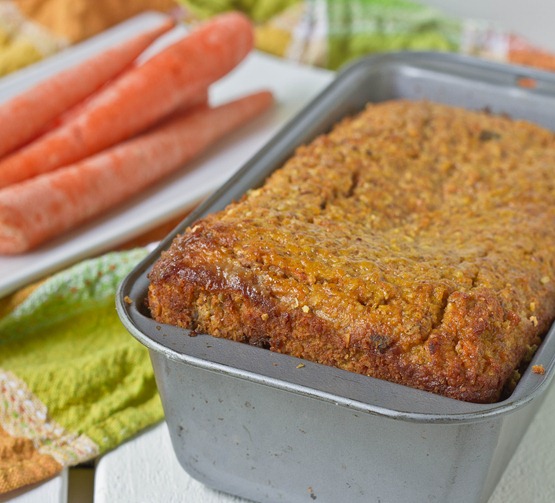
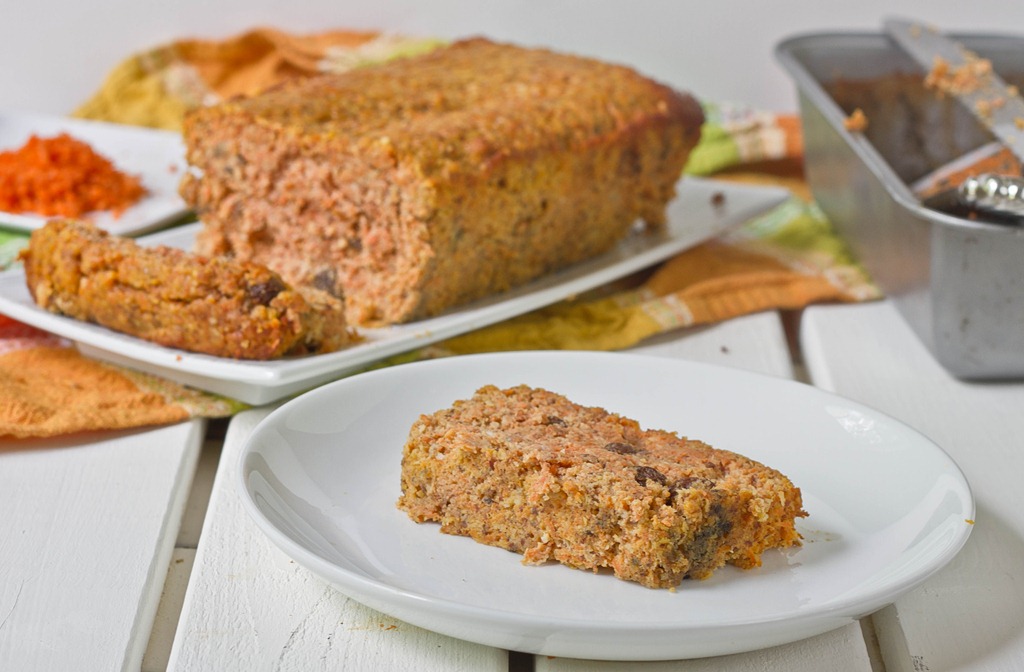
This bread isn’t quite as sweet as a carrot cake or carrot cake muffin would be; I like that because the last thing I need in the morning is a sugar coma. Instead it’s rather spicy with jewels of sweetness from the raisins. You can swap in toasted walnuts for the coconut for a nuttier flavor and added crunch. Of course you can also add white chocolate chips and cream cheese frosting; it’s all about how decadent you want to go.
Gluten-Free Carrot Bread
Prep time: 15 minutes
Cook time: 50 minutes
Ingredients(Makes 1 loaf):
- 1 1/4 cup almond flour
- 1/2 cup brown sugar
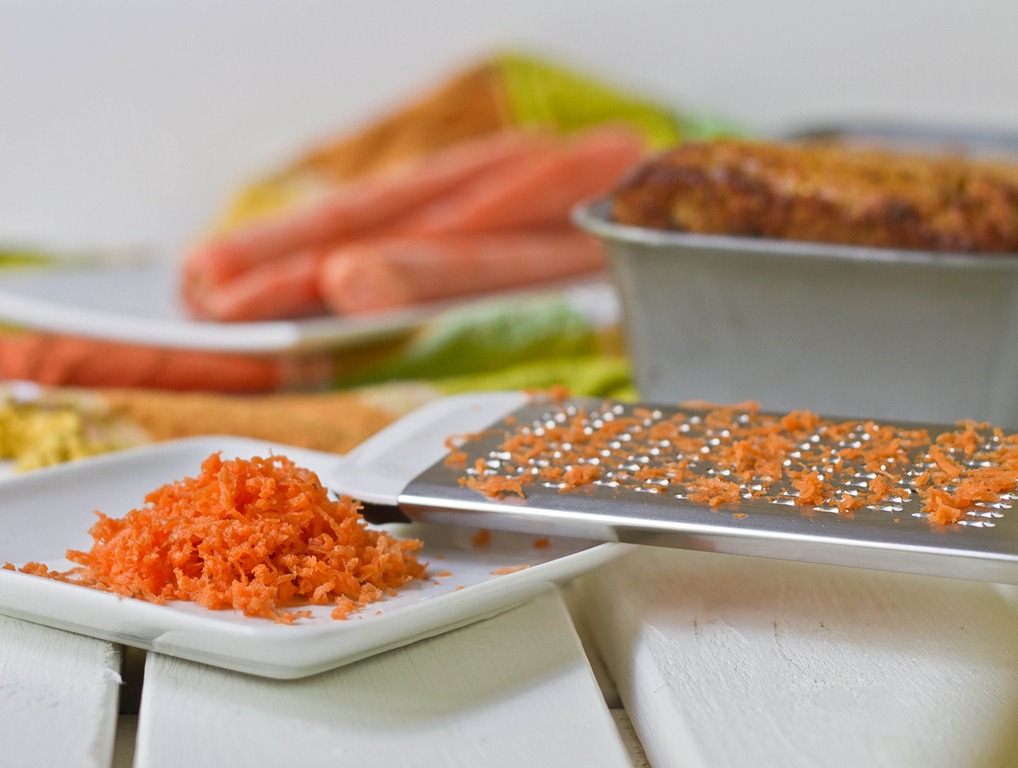
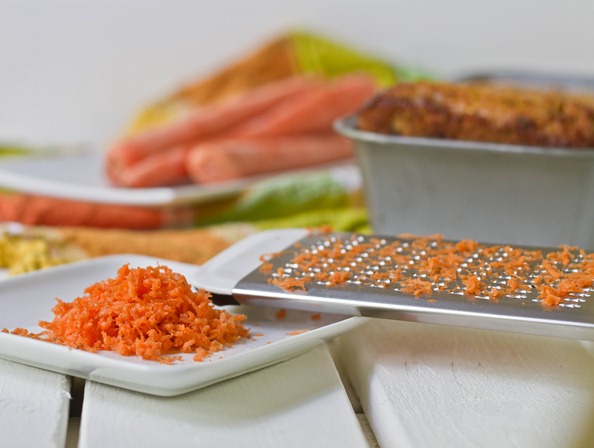
- 3/4 cup tightly packed shredded carrot
- 1/4 cup vegetable oil
- 1 6oz container plain yogurt
- 4 extra large eggs
- 1/4 cup raisins
- 1/4 cup shredded coconut
- 1/4 teaspoon salt
- 1/2 teaspoon baking powder
- 1/2 teaspoon cinnamon
- 1/2 teaspoon nutmeg
Method:
- Preheat your oven to 350 degrees.
- In a large bowl, beat together the almond flour and brown sugar to make sure there aren’t any clumps.
- Add in the carrots, oil, yogurt, and eggs and mix completely.
- Toss in the raisins, coconut, salt, baking powder and spices and mix again.
- Pour the batter into a greased 9-inch loaf pan.
- Bake for 50 minutes or until the center of the loaf has set.
- Remove from the oven and let cool completely before cutting into slices.
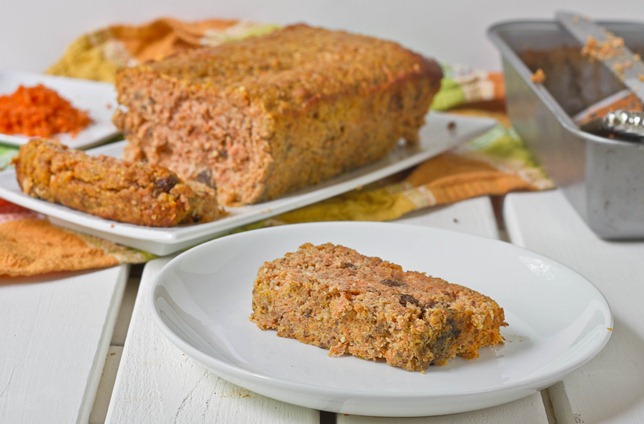
It didn’t take me very long to mix some powdered sugar and cream cheese and spread it onto a hot slice. It didn’t take me long at all.
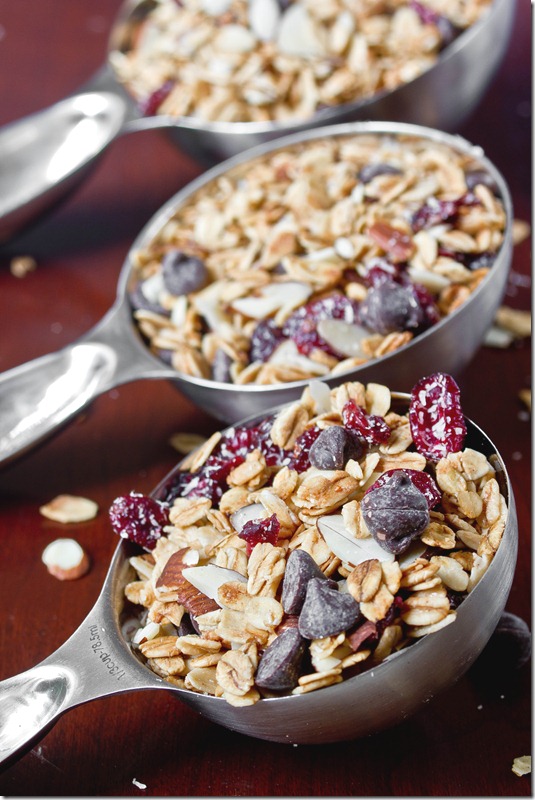
I’m not sure how I’d live if I were allergic to nuts. Peanuts, coconuts, almonds, cashews, pistachios—all of them; they’ve become a staple in my diet without gluten or meat. And don’t even get me started on all of the amazing things you can bake with almond flour…
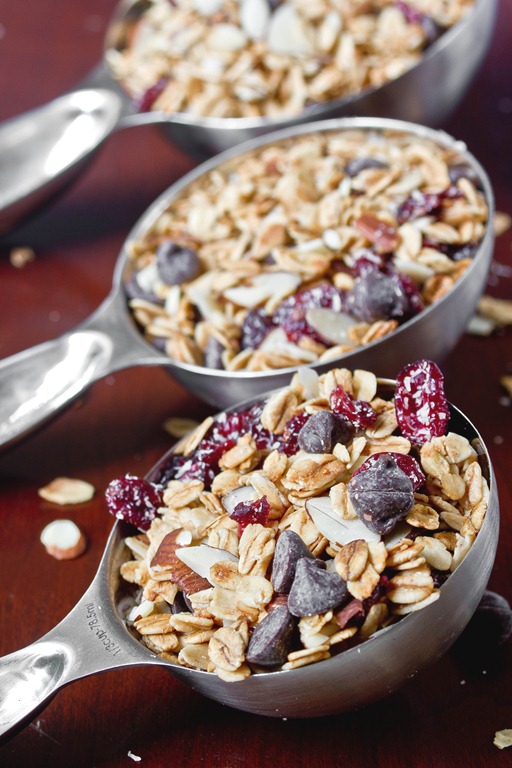
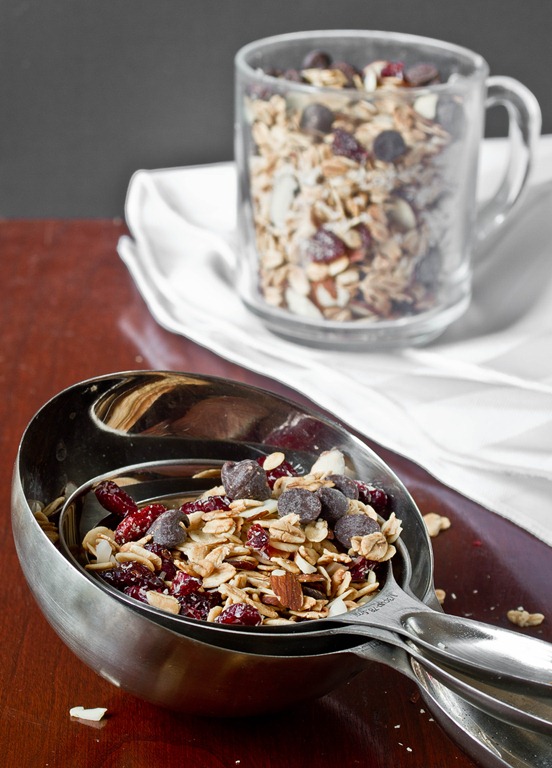
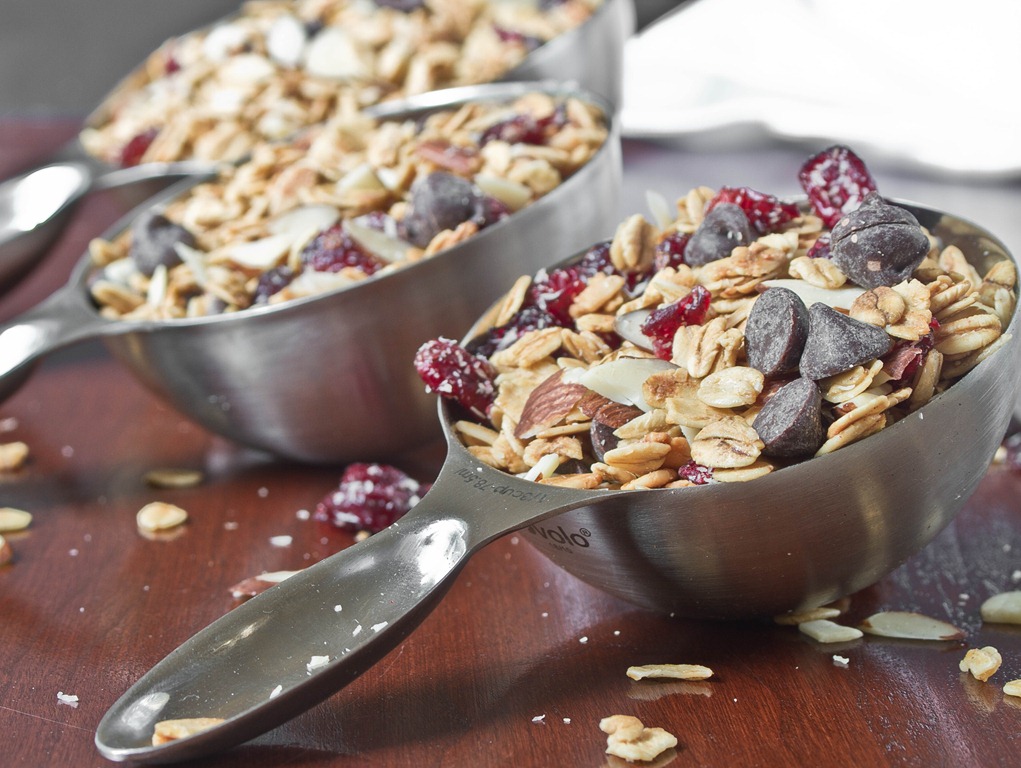
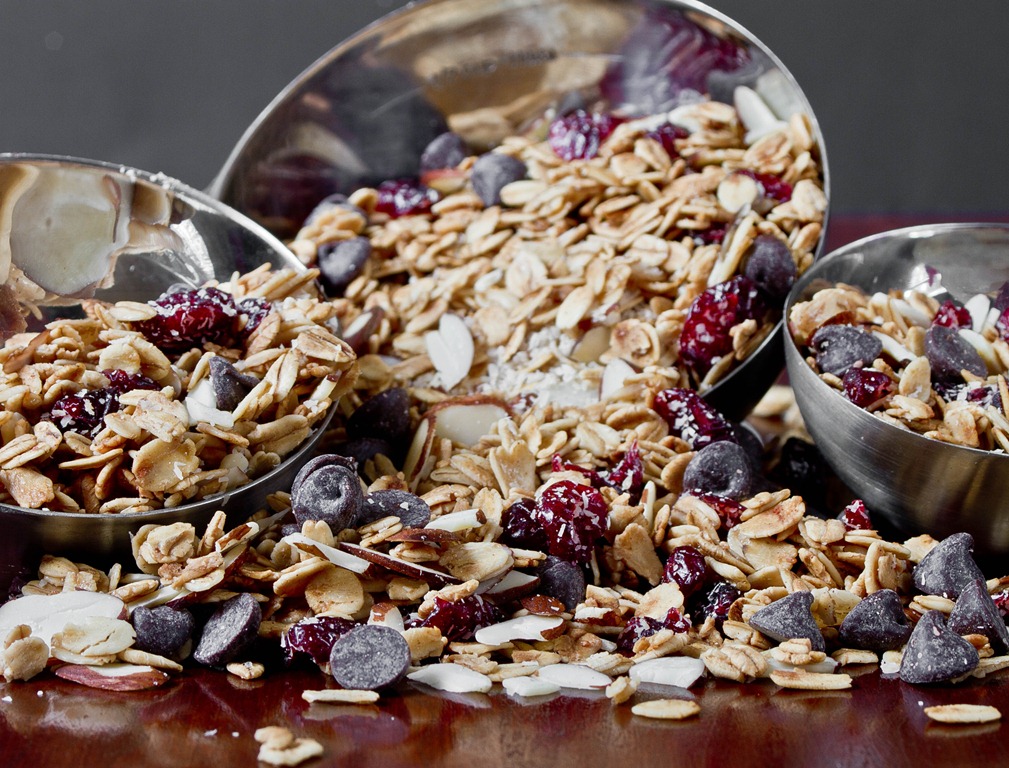
Thankfully, I’m not, so I can go on making granola chockfull of all sorts of nuts packed with protein, fiber, and healthy fats. I’m not one to always use coconut oil(mostly because of the price), but I love how aromatic it is when I do. You can smell all the flavors in this granola as it bakes, from the earthy cinnamon and vanilla to the fruity coconut.
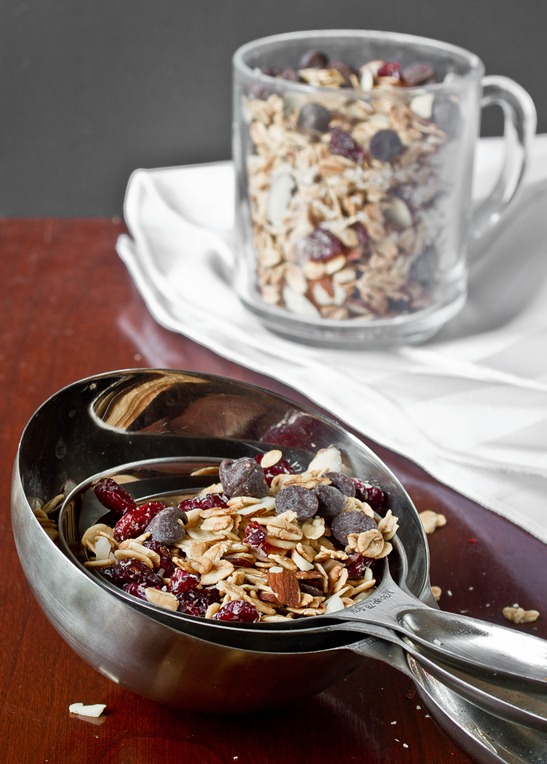
Toasting the nuts adds a much more vibrant flavor to them. The easiest way to do this is in a large frying pan over low to medium heat. It’s easier and more consistent than throwing the nuts into the oven; just be sure to pay close attention to them as they will burn quickly.
Coconut Almond Granola
Prep time: 10 minutes
Cook time: 35 minutes
Ingredients(Makes about 3 cups):
- 2 1/4 cups gluten-free oats
- 1/3 cup liquid sweetener
- 2 Tablespoons coconut oil, melted
- 1/4 teaspoon cinnamon
- 1/2 teaspoon vanilla
- 1/4 teaspoon salt
- 1/4 cup shredded coconut
- 1/4 cup sliced almonds
- 1/4 cup chocolate chips(optional)
- 1/4 cup dried cherries(optional)
Method:
- Preheat your oven to 350 degrees.
- Mix together the oats, sweetener, coconut oil, cinnamon, vanilla, and salt in a large bowl.
- Lay the oats out in a 1/2-inch thick layer on a lined baking tray.
- Bake for 30-35 minutes, breaking up the oats every 10 minutes or so, until they’re toasted and golden. Remove from the oven and let cool.
- While the granola is baking, toast the coconut and almonds together in a large frying pan. Make sure to stop once they’re aromatic and golden and take care not to burn them.
- Toss the toasted coconut and almonds in with the granola. Toss in the cherries and chocolate chips as well if using, but make sure that the granola and nuts are completely cool before adding in the chocolate chips or else they’ll melt on touch.
- Store in an air-tight container for up to 2-3 weeks
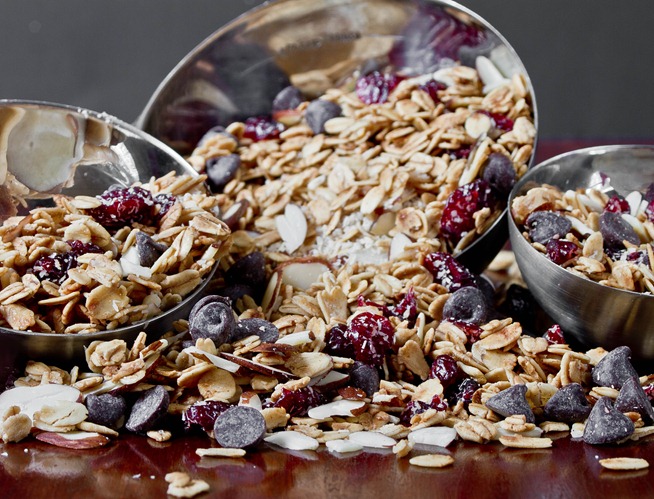
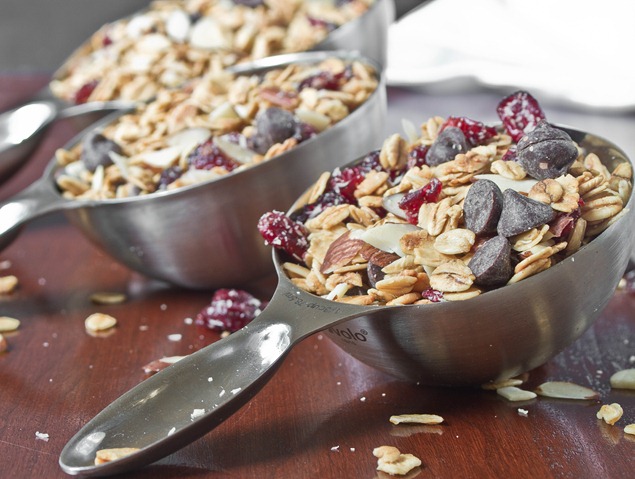
I said that the cherries and chocolate chips were optional but… they’re really not optional; you’re only cheating yourself if you leave them out. Between the rich toasted nuts and sweet fruit and chocolate, I’m always going back for more.

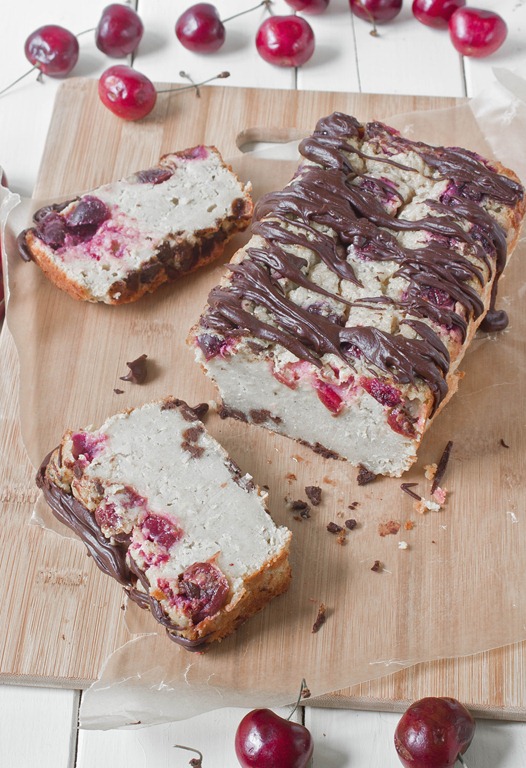
I love fresh cherries. They’ve been on sale the past few weeks and I’ve been eating them by the pound. As good as cherries are on their own, with chocolate they’re out of this world.
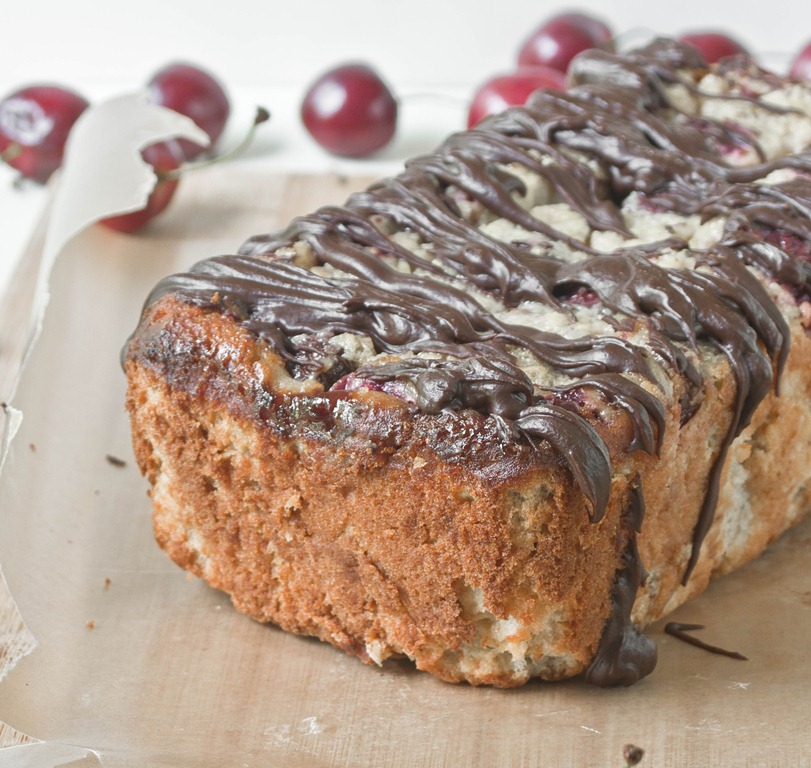
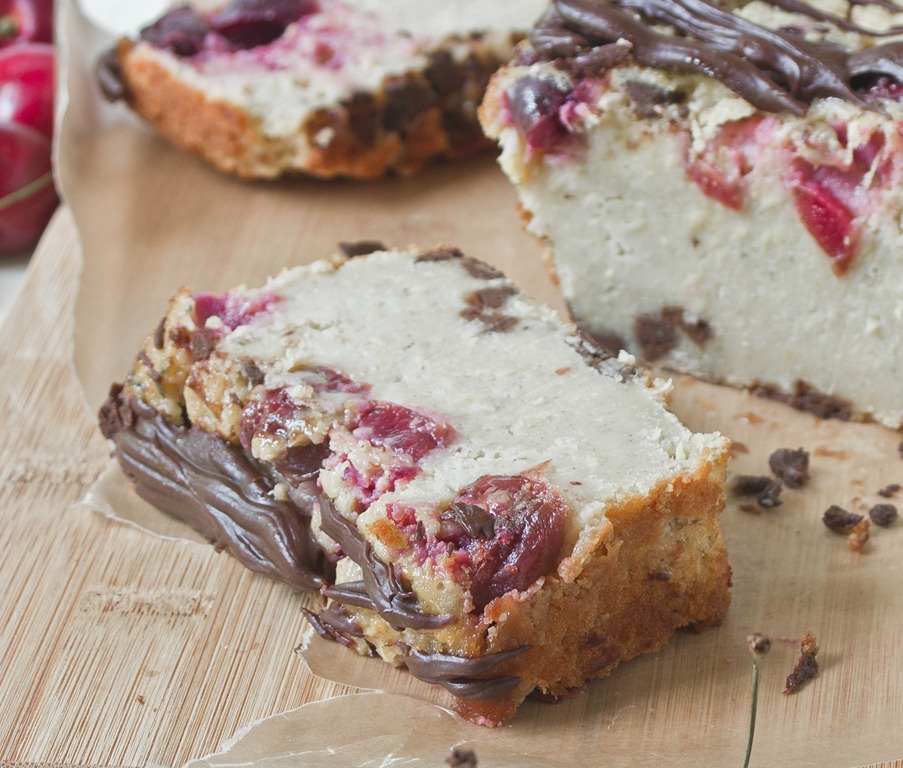
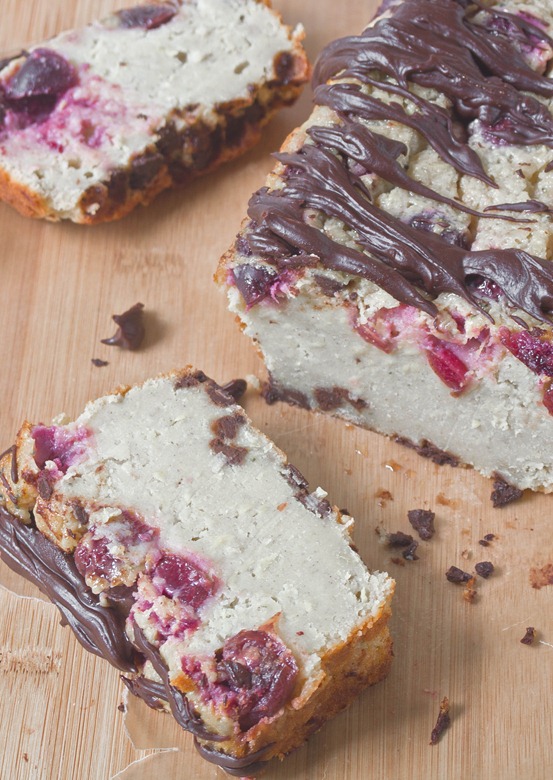
I’d never made zucchini bread before this loaf. Something about a vegetable in a bread doesn’t scream “delicious”. But then again, when you add cherries, chocolate chips, and ganache, what wouldn’t be delicious. I threw a banana into the mix, too, because I thought the fruity flavor would help to mask any taste the zucchini might bring.
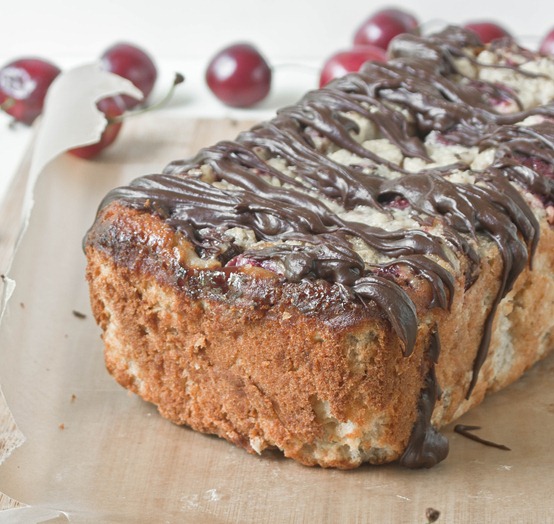
Normally sweet breads are loaded with oil. To reduce the oil and pump up the nutrition I swapped in Greek yogurt to keep it most and also full of protein.
If you have a picky eater in the family who might be turned off by specks of green in their bread, just peel the zucchini with a vegetable peeler before shredding it. 2 medium sized zucchinis should yield about 1 cup.
Dark Chocolate Cherry Zucchini Bread
Prep time: 15 minutes
Cook time: 1 hour 20 minutes
Ingredients(Makes 1 loaf):
- 1 cup shredded zucchini
- 1 6oz container plain greek yogurt
- 3 eggs
- 2 egg whites
- 1 banana, mashed
- 2 Tablespoons oil
- 1 1/3 cups gluten-free all purpose flour(or regular flour)
- 3/4 cup light brown sugar
- 1/2 teaspoon cinnamon
- 1/4 teaspoon salt
- 1/2 teaspoon baking soda
- 1/4 cup chocolate chips
- 1/2 cup pitted and halved cherries
Method:
- Preheat your oven to 350 degrees.
- In a large bowl, mix together the zucchini, yogurt, eggs, egg whites, banana, and oil.
- Add in the flour, sugar, cinnamon, salt, and baking soda and mix again.
- Lastly, gently fold in the chocolate chips and cherry halves.
- Grease a 9-inch loaf pan and pour in the batter.
- Bake until the center of the bread has set and the edges begin to brown—about an hour and 20 minutes.
- Wait for the bread to cool before cutting. Garnish with melted chocolate or powdered sugar.
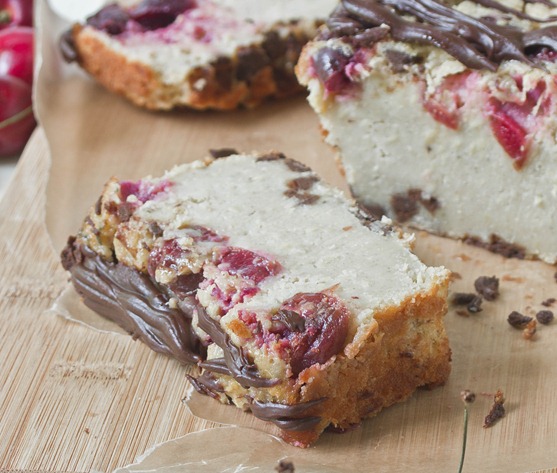
This came out a lot more dense than I anticipated, almost like pound cake(not that that’s a bad thing at all). Like any low-fat bread, I’d recommend eating this within 2-3 days before it turns stale.
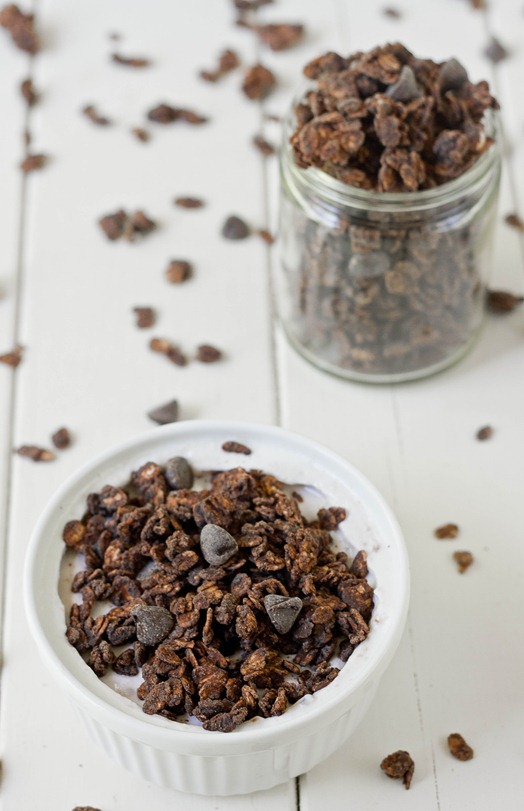
My favorite flavor of yogurt is pomegranate, followed closely by raspberry. I never expected to love pomegranate yogurt, especially since I don’t love pomegranates on their own, but it’s really won my heart. And the best way to eat it is with something chocolate on top. The creamy, tart and sweet yogurt with deep, dark chocolate is just too good for words.
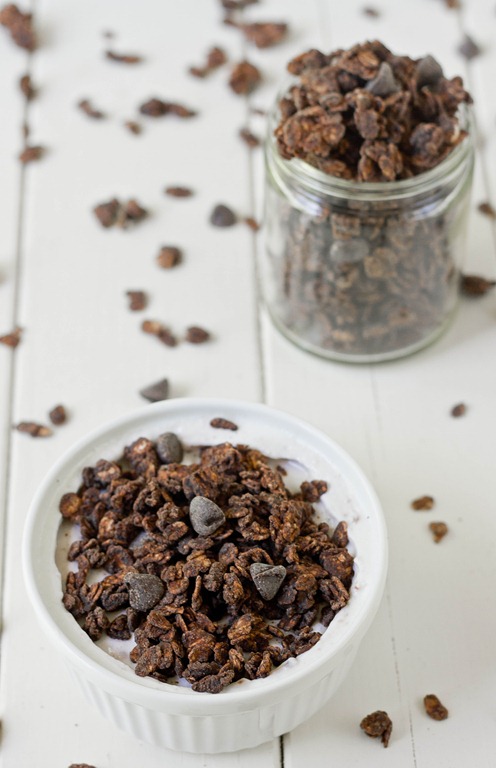
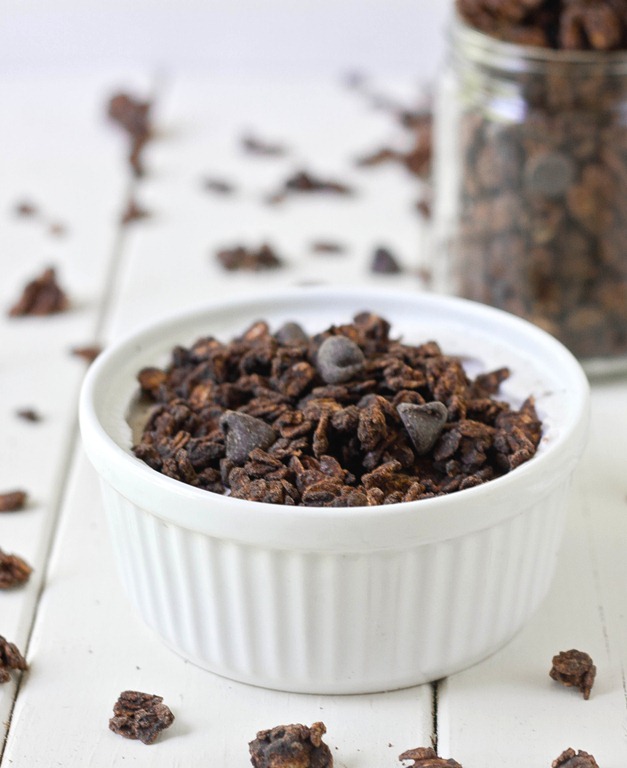
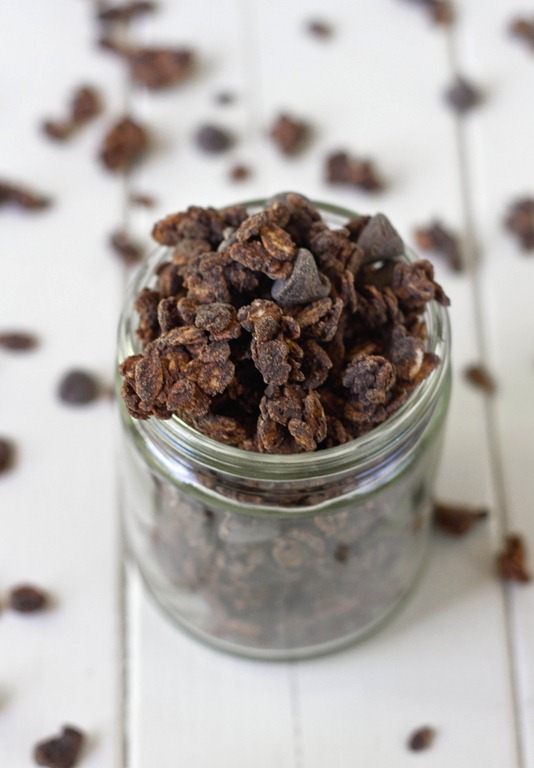
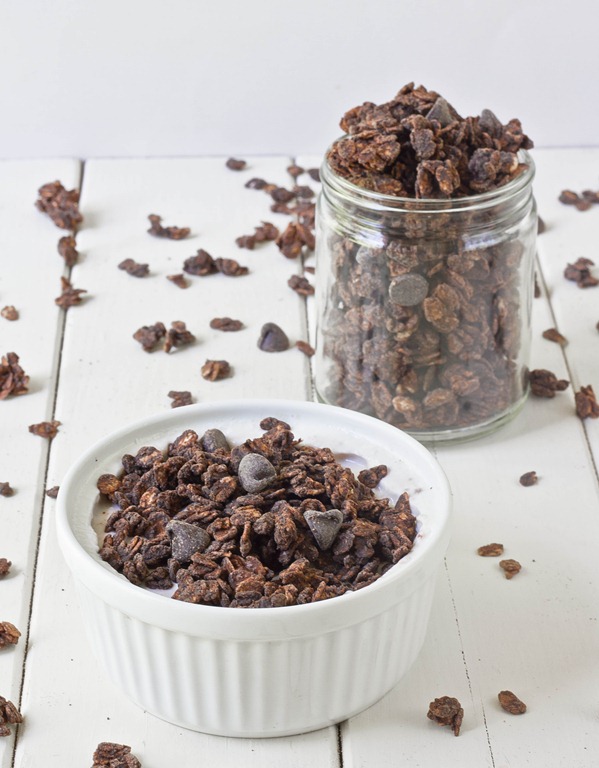
Of course after I loaded up my shopping cart with pomegranate yogurt over the weekend I came home and immediately decided to make chocolate granola. The last time I had chocolate granola it was store-bought and—though good—it was really lacking something: More chocolate. This granola has cocoa powder baked onto the oats, and then is hit with melted chocolate and chocolate chips after it’s done. The result is pure clustery chocolate goodness.
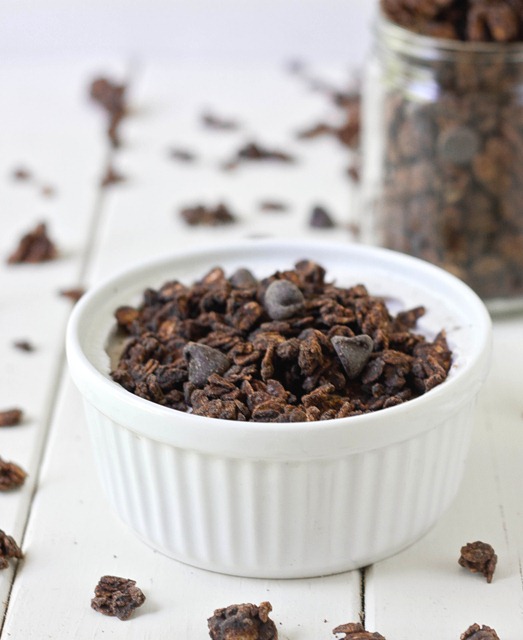
Give this granola a nutty twist by mixing in toasted almonds or salted peanuts along with the chocolate chips.
Double Chocolate Granola
Prep time: 10 minutes
Cook time: 35 minutes
Ingredients(Makes about 2 3/4 cups):
- 2 1/4 cups rolled oats
- 2 Tablespoons oil
- 1/3 cup cocoa powder
- 1/4 cup cane sugar
- 1/4 teaspoon salt
- 2 Tablespoons liquid sweetener
- 2 Tablespoons water
- 1/2 cup chocolate chips, divided

Method:
- Preheat your oven to 350 degrees.
- In a large bowl, mix together the oats, oil, cocoa powder, cane sugar, salt, sweetener, and water.
- Lay the uncooked granola on a non-stick baking tray in a 1/2-inch thick layer.
- Bake for 30-40 minutes, breaking up the oats occasionally until they’re stiff and dry.
- Transfer the hot granola into a bowl with 1/4 cup of chocolate chips. Mix the granola as the chocolate chips melt, covering them with the melted chocolate.
- Once the granola has cooled completely, toss the granola to break apart any large clusters and add in the other 1/4 cup chocolate chips.
- Serve in an airtight container at room temperature for up to 2 weeks.
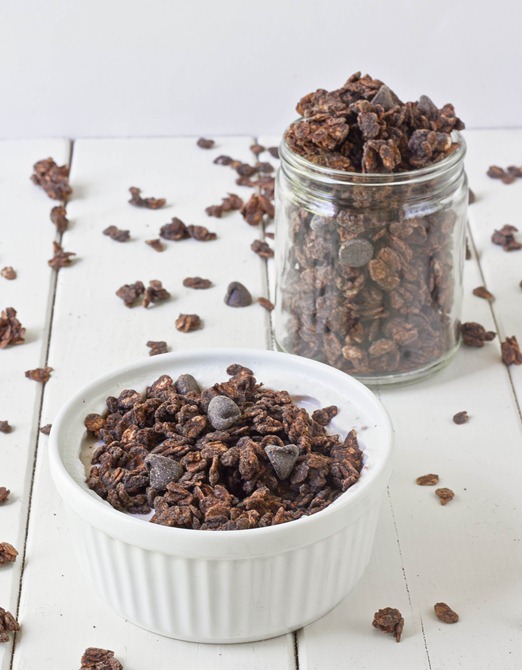
I’m going to need more yogurt.
One of the funniest misconceptions of a gluten-free diet is that it’s a low carb diet.
Hardly.
Yes, eliminating gluten from your diets limits the number of carbs you can eat. And when you’re eating on-the-go you’re limited to options like salads and nuts that are low carb. But at heart most gluten-free eaters are still carb lovers like everyone else, and when given the chance we’ll gladly make a meal out of gluten-free muffins, pancakes, and waffles. And don’t forget the syrup.
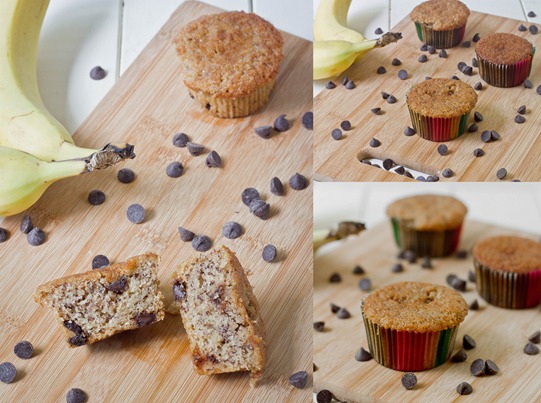
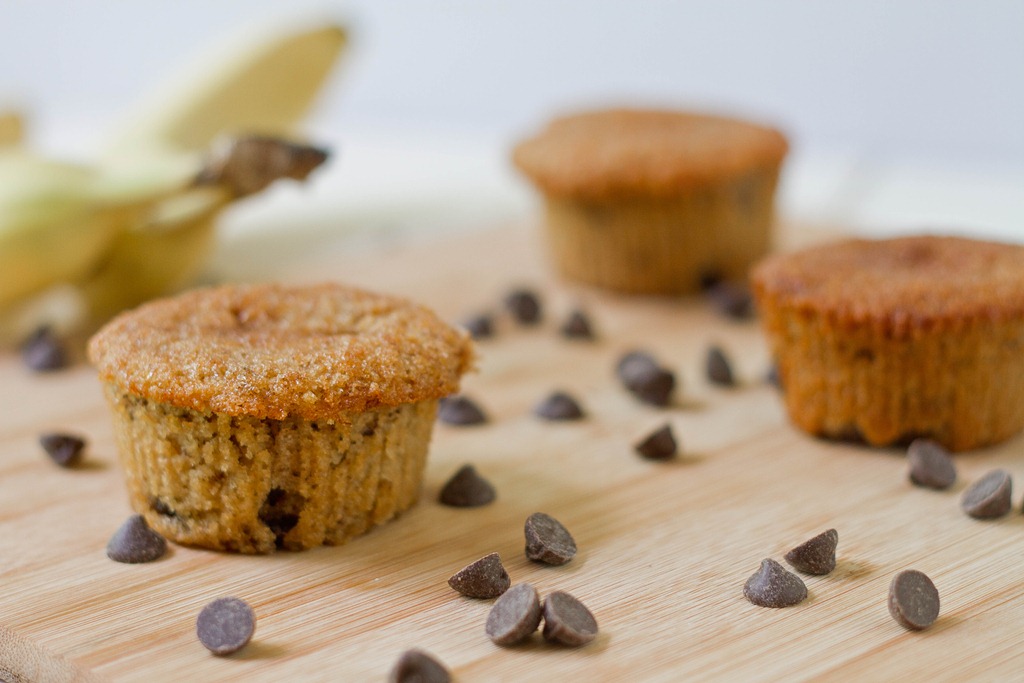
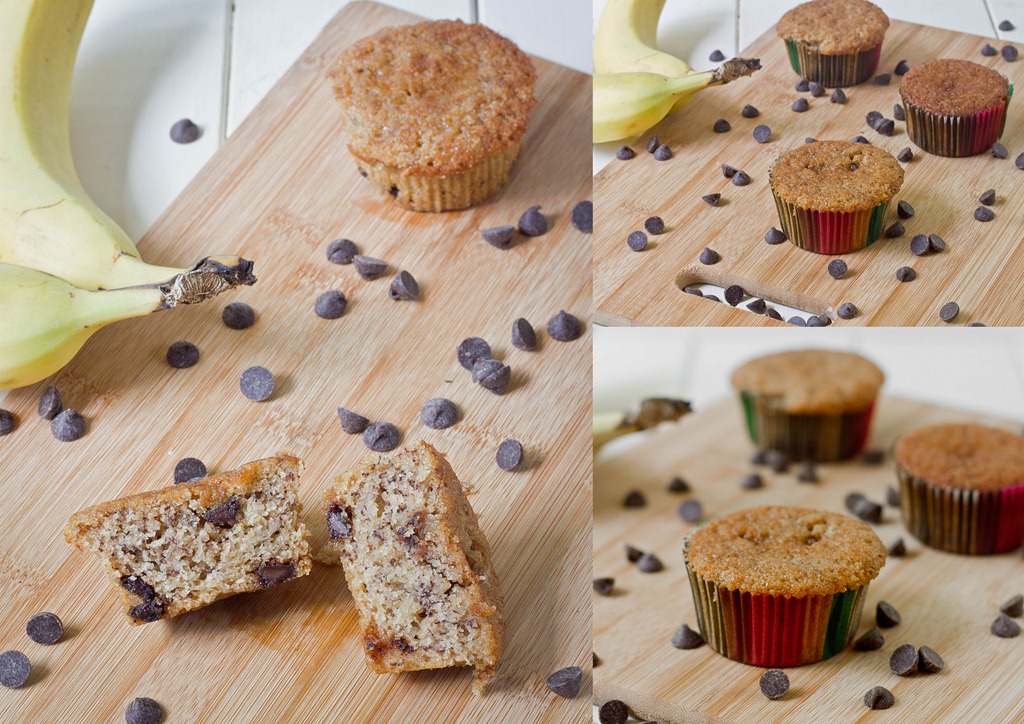
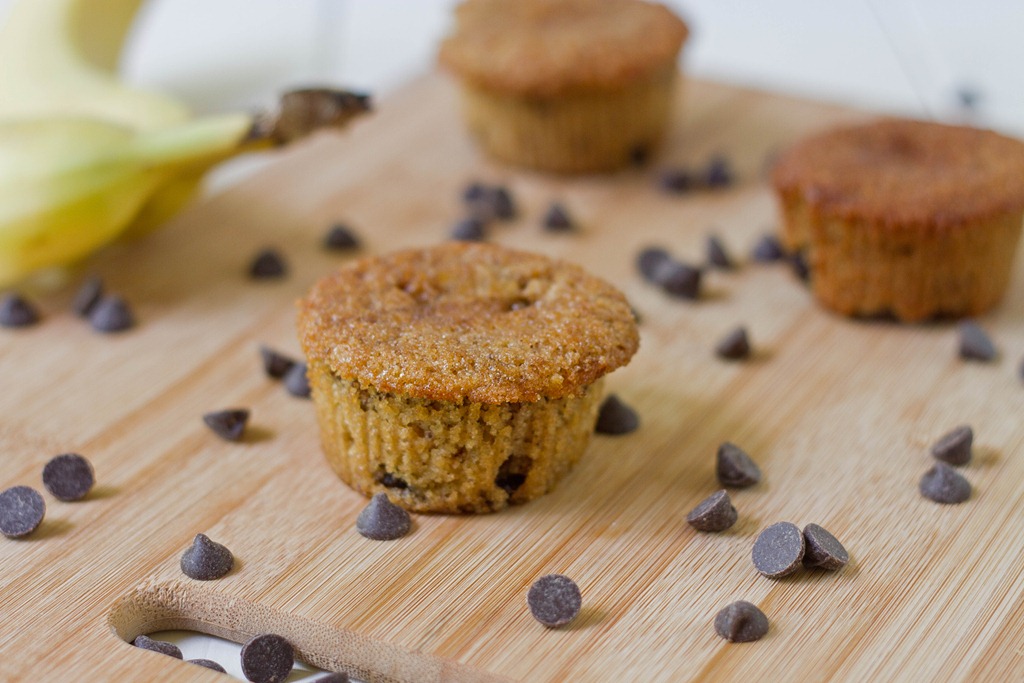
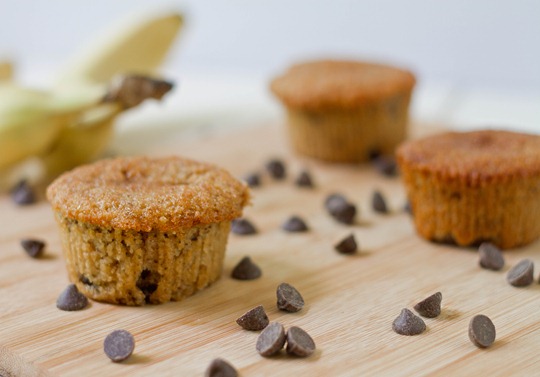
Thinking back, I can’t really remember the last time I ate a muffin(because why bake muffins when you can make cupcakes). Banana nut would probably be my favorite, but since we were out of nuts when I made this chocolate chip would have to do. Who could say no to banana chocolate chip anyway?
Don’t have brown rice flour? You can substitute oat flour instead. If you don’t have that you can always make your own by grinding 2 cups of gluten-free rolled oats in a food processor.
Gluten-Free Banana Chocolate Chip Muffins
Prep time: 15 minutes
Cook time: 30 minutes
Ingredients(Makes a dozen muffins):
- 1 1/4 cup brown rice flour
- 1/4 cup corn starch
- 3/4 cup sugar
- 2 ripe bananas, mashed
- 6 Tablespoons vegetable oil
- 1/2 cup water
- 2 eggs
- 1/2 teaspoon cinnamon
- 1/4 teaspoon salt
- 1/4 teaspoon baking soda
- 1/2 cup chocolate chips
Method:
- Preheat your oven to 350 degrees.
- In a large bowl, sift together the brown rice flour, corn starch, and sugar.
- Add in the mashed bananas, oil, water, and eggs and stir the batter together.
- Add in the cinnamon, salt, and baking soda and mix completely.
- Pour the batter into twelve lined muffin tins.
- Drop an even amount of chocolate chips onto the top of each muffin.
- Bake for about 30 minutes until the tops start to brown and the muffins are cooked in the center.
- Remove from the oven and let the muffins cool slightly before touching.
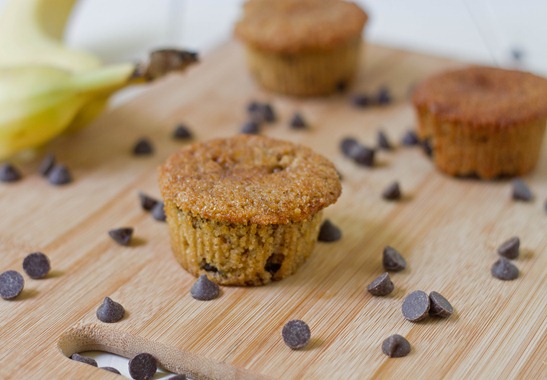
Soft, spicy and studded with chocolate chips. Tomorrow morning’s going to be tasty.