Tag Archive: Baking

Oatmeal Energy Bars

Oatmeal Energy Bars

These bars were something of a fail, but definitely one worth sharing.

I love granola bars, prepackaged snack—basically anything from the grocery store that calls itself healthy and has too much sugar in it. They’re always delicious and the right portion but usually overpriced. Why not make your own?

Well, these taste much fresher than your typical grocery store splurge and that’s their only flaw. They’re somewhere between a chewy brownie and a granola bar which is a texture that takes some getting used to. Besides that the ingredients are simple and wholesome and full of fiber.

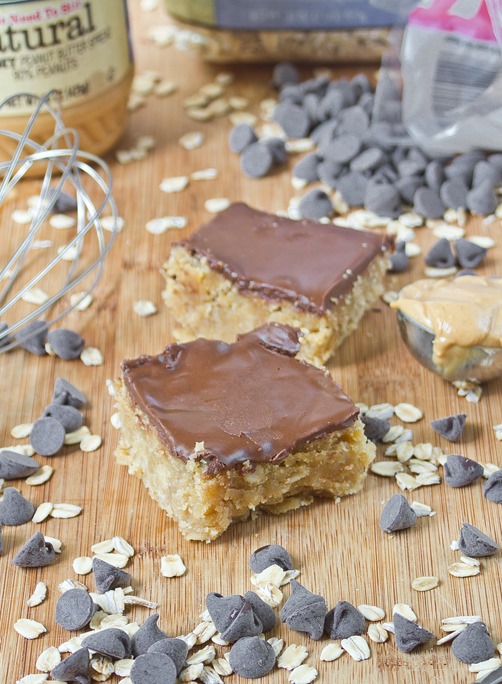
Oatmeal Energy Bars Done

While the chocolate definitely makes this look like a dessert, it’s not that sweet and the texture is more chewy than cakey. It’s a great power snack or something to pack in a lunchbox that’s a little healthier than other desserts.

Oatmeal Energy Bars

Prep time: 10 minutes

Cook time: 30 minutes

Ingredients(Makes 16 squares):

  • 1 1/2 cups all-purpose flour(whole grain or gluten-free are good substitutes)
  • 1 cup rolled oats
  • 3/4 cup peanut butter, separated
  • 1/4 cup oil
  • 1/2 cup brown sugar
  • 1 egg
  • 1 teaspoon vanilla extract
  • 1/4 teaspoon salt
  • 1/2 cup water
  • 1/2 cup chocolate chips

Oatmeal Energy Bars Ingredients

Method:

  1. Preheat your oven to 350 degrees.
  2. In a large bowl mix together the flour and the oats.
  3. In a separate bowl, beat together 1/2 of cup peanut butter, oil, brown sugar, vanilla, salt, egg, and water until smooth.
  4. Mix together the dry and wet ingredients until they form a batter.
  5. Lightly oil an 8 x 8 pan and pour the batter in in an even level.
  6. Bake for 30 minutes or until the center has set.
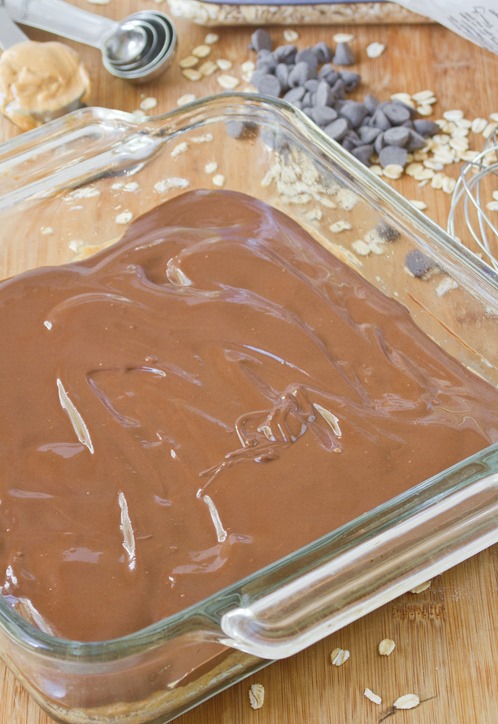
  7. Melt the chocolate chips and remaining 1/4 cup of peanut butter together and mix until they make a ganache.
  8. Pour the chocolate on top of the baked good and spread it out evenly.
  9. Refrigerate for 30 minutes to an hour until the chocolate has set.
  10. Slice into squares before serving.
Oatmeal Energy Bars Ganache

What Makes A Good Cookbook

What Makes A Good Cookbook

This week #confessyourunpopularopinion was trending on Twitter and here’s mine: On the whole, I hate cookbooks.

For starters they’re clumsier and more limited than looking up recipes online, but that isn’t the real problem. What’s worse is that most don’t actually teach you how to cook. If a cookbook just gives you a long ingredient list followed by an equally long process of steps that keep your nose buried in the book, it’s no good. That’s because you aren’t actually learning how to cook; you’re learning how to follow directions.

A good cookbook shouldn’t just tell you what to make, but also how to make it and why to make it that way. If you start understanding how different ingredients work together in recipes and why to treat them how you do, you can learn to cook just about anything without ever picking up a book over time.

So while I said, “I hate cookbooks,” there are a few I’ve read and swear by that do things the right way. Here are a few of my favorites.

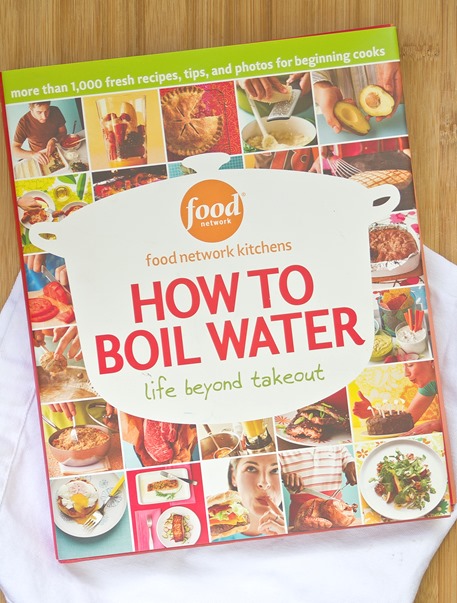
How To Boil Water Cookbook

How To Boil Water is the first cookbook I can remember buying. If you were starting your freshman year of college, this would be Cooking 101. The recipes this book gives are more like tests to make sure you’re reading the words in between and understand  your way around a fully stocked kitchen. It’s a great introduction.

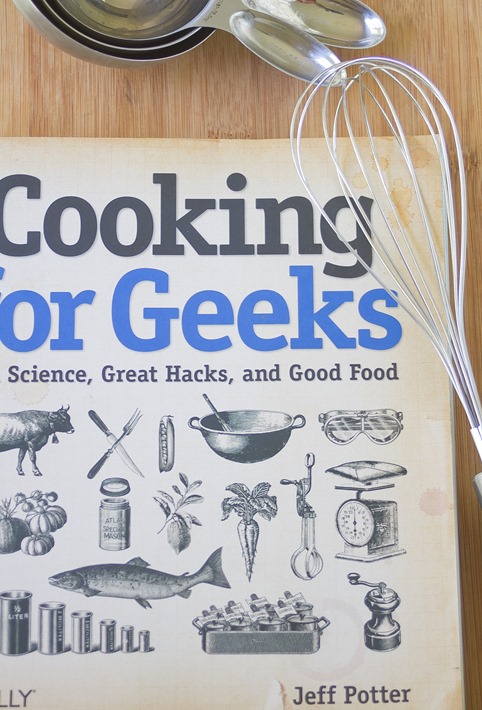
Cooking For Geeks Cookbook

If How To Boil Water is Cooking 101, Cooking For Geeks is the senior honors seminar. It teaches you what to do in the kitchen and explains everything scientifically. There are plenty of recipes but the book’s more about what makes a mousse rather than how to make a mousse so you can go on and feel comfortable creating any recipe you can dream up. It’s a lengthy read, though’; this one’s definitely not for the faint of heart.

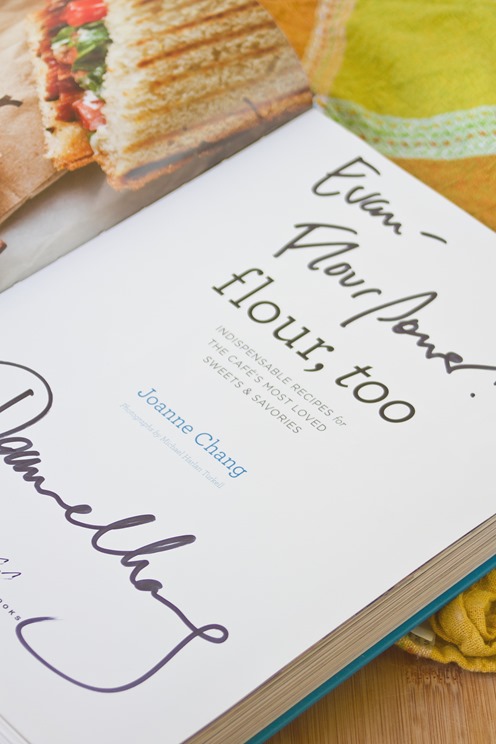
Flour, Too Cookbook

Flour Too is a recent favorite. It’s more like your standard cookbook with long ingredient lists and instructions but it does it the right way. In the front you’ll find a lengthy section breaking down cooking vocabulary and ingredients with descriptions and reasons for their use. Having something like that in any cookbook is a great step to learning the hows and whys of the recipes.

So those are my favorites. If you’re interested in cooking facts, techniques, and tips, be sure to follow @Kitchen 101 on Twitter for some 140-character lessons from Russell and myself.

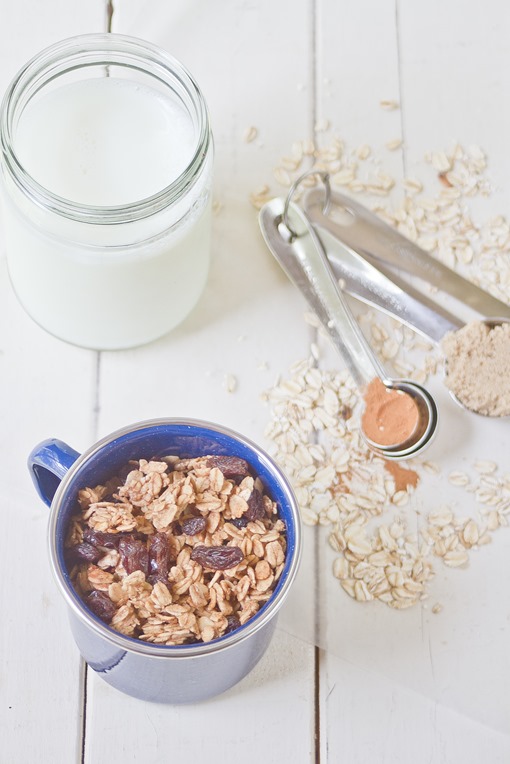
Low-Fat Cinnamon Brown Sugar Granola

Low-Fat Cinnamon Brown Sugar Granola

Brown sugar is an ingredient I don’t use enough. When I find it in the pantry, I could eat it by the spoonful. It reminds me of cinnamon rolls and apple crumbles, and so does this simple granola recipe.

I usually like to add some sort of healthy fat like almonds or peanut butter to my granola but wanted to try something different. There’s only 2 Tablespoons of oil in the entire batch and no nuts. If you’re looking for a leaner breakfast, this will definitely fit the bill.

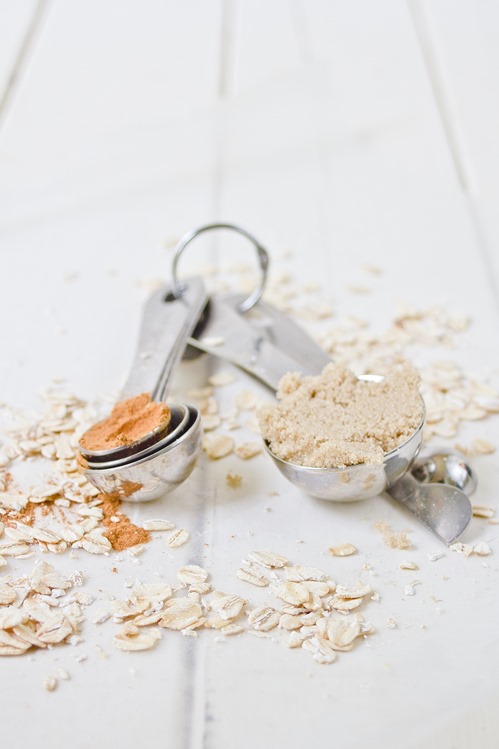
Low-Fat Cinnamon Brown Sugar Granola Ingredients

You can add more spices to suit your favorite flavors. Swapping in pumpkin pie spice or adding your own nutmeg and allspice will give it a slightly nuttier flavor. Make sure to use gluten-free oats if dealing with a gluten allergy.

Low-Fat Cinnamon Brown Sugar Granola

Prep time: 10 minutes

Cook time: 30 minutes

Ingredients

  • 2 1/2 cups rolled oats
  • 1/2 cup light brown sugar
  • 2 Tablespoons vegetable oil
  • 3 Tablespoons water
  • 1/2 teaspoon cinnamon
  • 1/4 teaspoon salt
  • 1/2 cup raisins

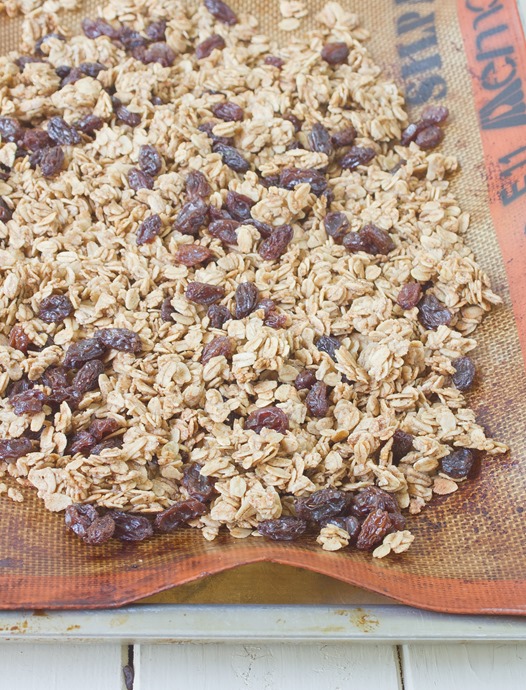
Jun 25th 002Low-Fat Cinnamon Brown Sugar Granola Baked

Method:

  1. Preheat your oven to 350 degrees.
  2. In a large bowl, mix together the oats, sugar, oil, water, cinnamon, and salt until the sugar dissolves and the ingredients are evenly mixed.
  3. Pour the oats out onto a non-stick baking surface and spread them out into a thin layer.
  4. Bake for 30 minutes or until the oats are crisp and turn golden.
  5. Remove from the oven and let cool completely.
  6. Add the raisins into the granola and mix well.
  7. Store in a sealed container at room temperature when not enjoying.

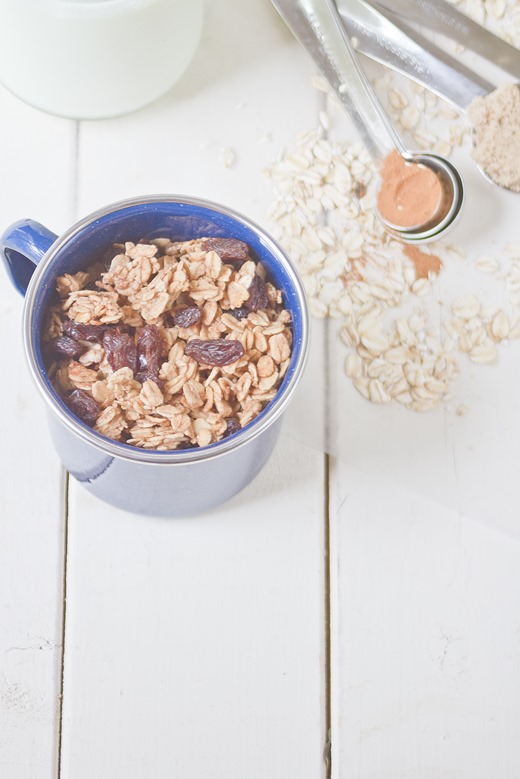
Low-Fat Cinnamon Brown Sugar Granola Serving

Gluten-Free Pineapple Rum Bread

Gluten-Free Pineapple Rum Bread

I’ve been on a sweetbread kick lately. They’re a lot more appetizing in the morning than a bowl of hot oatmeal, especially with some cool Greek yogurt on the side. At first I had the idea to make a pineapple loaf but quickly realized it needed a little something extra. And what goes better in the Summer with pineapple juice than rum?

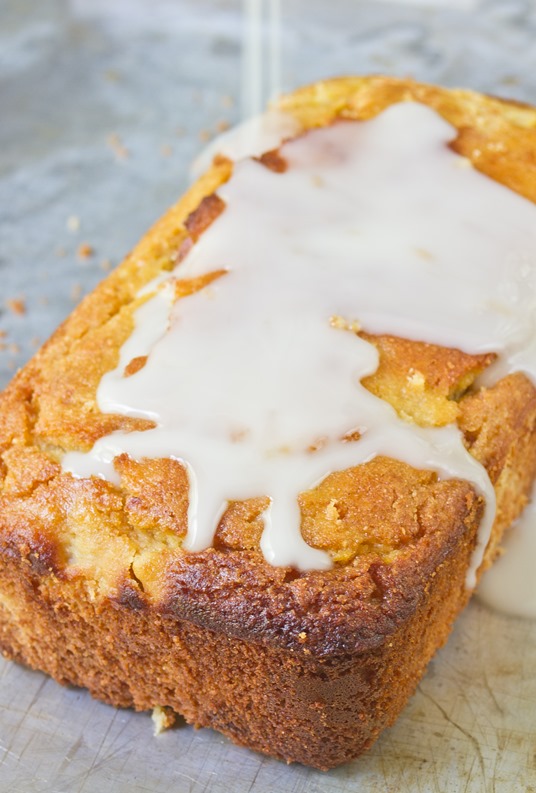
Gluten-Free Pineapple Rum Bread Glazing

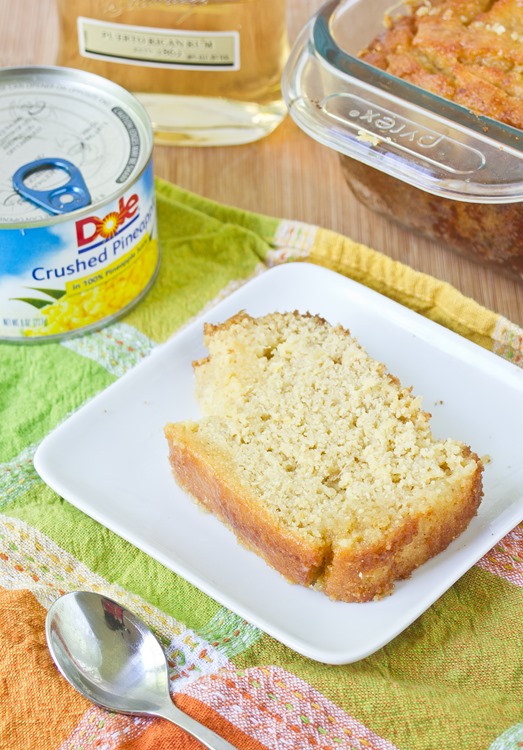
Make sure you buy crushed pineapple and not diced or rings. You can buy canned pineapple that’s exactly 1 cup; just reserve 1 Tablespoon of juice for the glaze. It’s better to add the glaze while it’s still in the loaf pan so that all of it gets absorbed.

Gluten-Free Pineapple Rum Bread

Prep time: 15 minutes

Cook time: 50 minutes

Ingredients(Makes 1 loaf):

  • 1 1/2 cups chickpea flour
  • 6 Tablespoons coconut flour
  • 3/4 teaspoon baking soda
  • 1/4 cup sugar
  • 1/4 cup brown sugar
  • 3 eggs
  • 1/4 cup vegetable oil
  • 1 cup pineapple chunks with juice, 1 Tablespoon of juice reserved
  • 1/4 cup + 1 Tablespoon rum
  • 1/2 cup powdered sugar

Gluten-Free Pineapple Rum Bread Ingredients

Method:

  1. Preheat your oven to 350 degrees.
  2. In a large bowl, mix together the chickpea flour, coconut flour, baking soda, sugar, and brown sugar.
  3. Beat in the eggs, vegetable oil, pineapple chunks, and 1/4 cup of rum until the batter comes together.
  4. Grease an 8-inch loaf pan. Pour the batter in and gently shake it to level out.
  5. Bake for 50 minutes or until the center has set.
  6. Remove the loaf from the oven and let it rest.
  7. In a small bowl, beat together the powdered sugar, 1 Tablespoon of rum and 1 Tablespoon of pineapple juice until the sugar dissolves.
  8. Poke the top of the loaf multiple times with a toothpick and pour the glaze on top. Let the loaf set for another 2 hours until the glaze has been absorbed.
  9. Slice and serve at room temperature. Keep refrigerated when not enjoying.

Gluten-Free Pineapple Rum Bread Serving

Gluten-Free Lemon Crinkle Cookies

Gluten-Free Lemon Crinkle Cookies

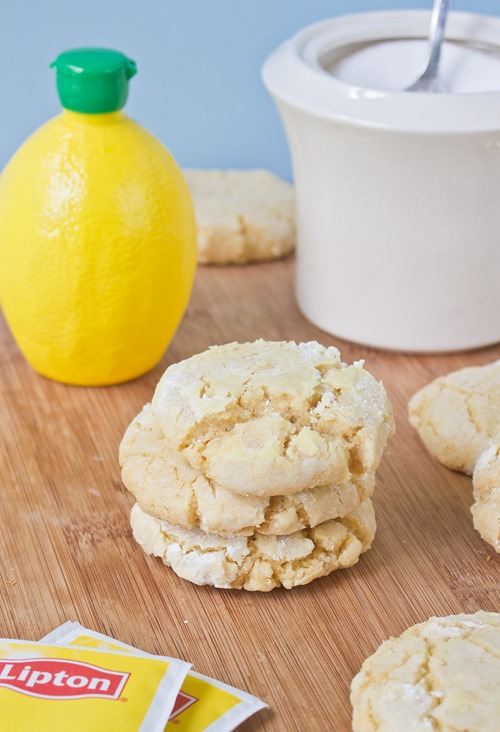
While cookies aren’t my favorite dessert, there are a few that I have a soft spot for. Soft, delicate lemon cookies covered in a powdered sugar glaze are definitely one of those few.

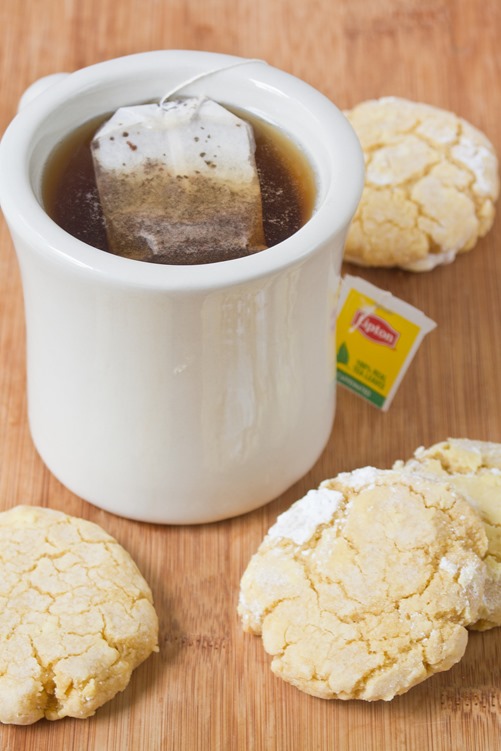
Even though there’s no chocolate in these, I find them just as addicting as if there were. The outside is sweet and glazed while the inside is chewy and slightly tart from the lemon. They’re perfect in the morning or after dinner with a cup of tea. And while fresh lemon juice surely would make these cookies taste amazing, using the plastic lemon juice is just as good, too.

Gluten-Free Lemon Crinkle Cookies Tea

The hardest part of making these cookies(which aren’t really hard at all) is getting the consistency of the dough right to shape them. When they’re too dry, the dough crumbles; adding a little bit of lemon juice to get them to the texture of Play-Doh makes them just right for shaping into cookies.

Gluten-Free Lemon Crinkle Cookies

Prep time: 15 minutes

Cook time: 18 minutes

Ingredients(Makes about 16 cookies):

  • 1 1/2 cups all-purpose gluten-free flour
  • 3/4 cup sugar
  • 1/2 teaspoon baking powder
  • 1/4 cup vegetable oil
  • 1 egg
  • 1/2 teaspoon vanilla extract
  • 1 teaspoon lemon extract
  • 1 Tablespoon lemon juice + extra
  • 1/2 cup powdered sugar

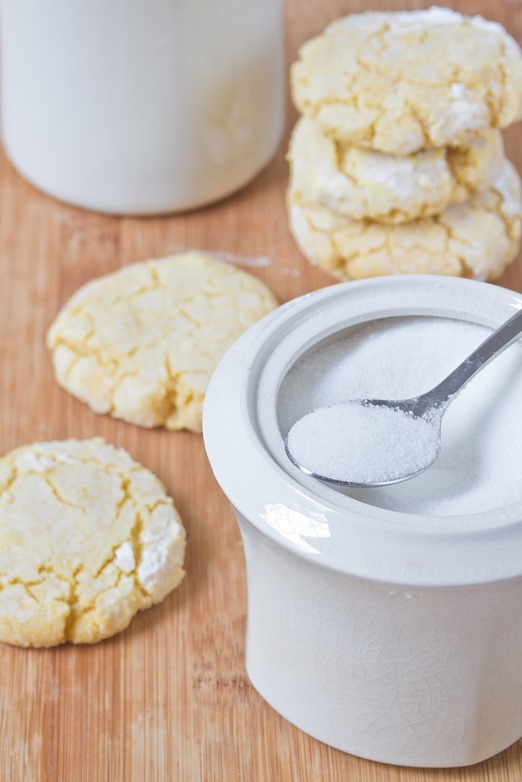
Gluten-Free Lemon Crinkle Cookies Sugar

Method:

  1. Preheat your oven to 350 degrees.
  2. In a large bowl, stir together the flour, sugar, and baking powder until evenly mixed.
  3. Add in the oil, egg, extracts and lemon juice and mix the dough together by hand.
  4. Mold the dough into 1-inch balls and then flatten them gently into a cookie shape in your hands. If the dough is too dry and crumbles, add a little more lemon juice to wet it and bring it to the right consistency.
  5. With clean hands, pour the powdered sugar into a shallow bowl or dish.
  6. Drop the cookies on both sides onto the powdered sugar to coat the outside.
  7. Put the sugar-covered cookies onto a non-stick baking tray and repeat until all of the dough is used up.
  8. Bake for 18 minutes.
  9. Remove from the oven and let the cookies cool completely before moving them.
  10. Store in an air-tight container at room temperature when not enjoying.

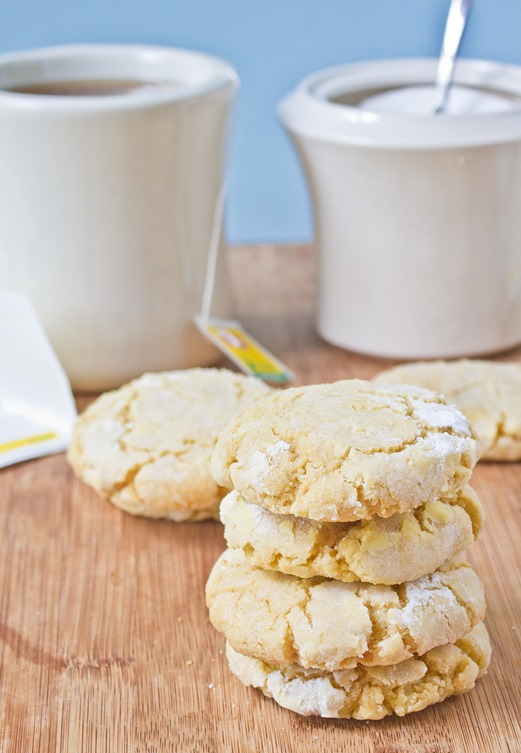
Gluten-Free Lemon Crinkle Cookies Stack

Gluten-Free Pumpkin Bread

Gluten-Free Pumpkin Bread

I usually keep things very organized. I’m a serial to-do list maker and planner. But sometimes my pantry can get a little bit hectic; I’ll throw an ingredient in there and not see it for another 5 months.

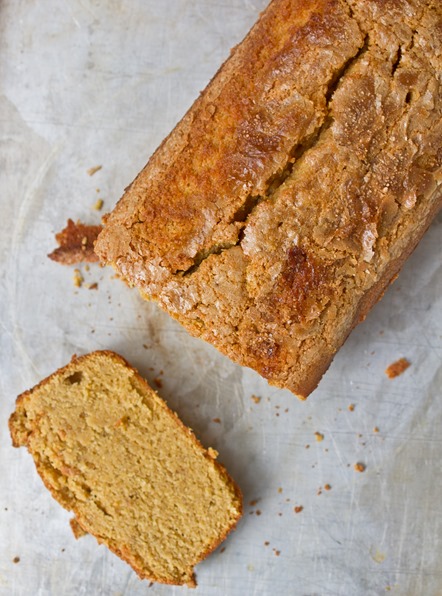
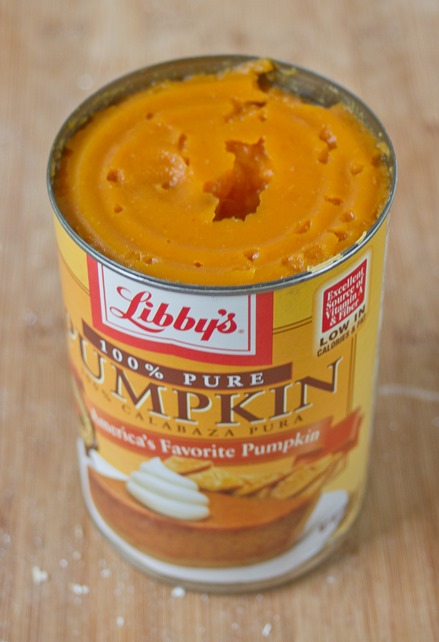
When I moved 2 weeks ago I found 3 cans of pumpkin that never got baked into a pie, custard or pudding. I know it’s not at all the season for pumpkin desserts but there are some things I can’t turn down and a good slice of pumpkin bread is one of those.

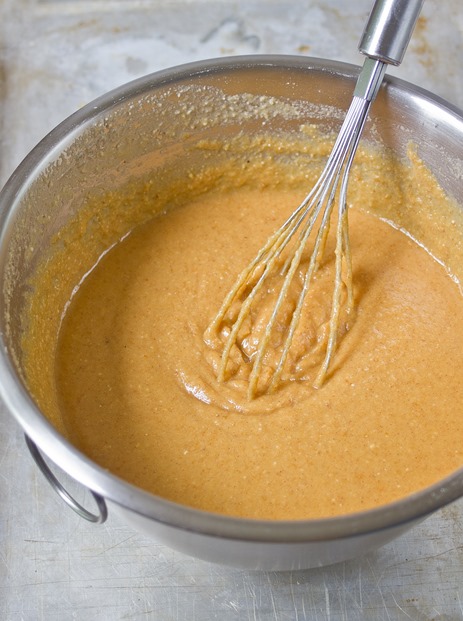
Gluten-Free Pumpkin Bread Batter

My one warning with this recipe(and most gluten-free recipes for that matter) would be not to taste the batter. The batter will taste terrible because raw chickpea flour and coconut flour have weird tastes to them. However, once fully cooked, the funny flavor goes away and all you’ll be able to taste is spices and pumpkin.

Gluten-Free Pumpkin Bread

Prep time: 15 minutes

Cook time: 60 minutes

Ingredients(Makes 1 loaf):

  • 1 1/2 cups chickpea flour
  • 6 Tablespoons coconut flour
  • 3/4 cup cane sugar
  • 1/4 cup brown sugar
  • 3/4 cup pumpkin puree
  • 4 eggs
  • 6 Tablespoons oil
  • 1/2 cup water
  • 1 1/2 teaspoons pumpkin pie spice
  • 1 teaspoon vanilla extract
  • 3/4 teaspoon baking soda
  • 2 Tablespoons brown sugar for topping

Gluten-Free Pumpkin Bread Pumpkin

Method:

  1. Preheat your oven to 350 degrees.
  2. In a large bowl sift together the chickpea flour and coconut flour and set aside.
  3. In a separate bowl beat together the remaining ingredients until well mixed.
  4. Combine the wet and dry ingredients and beat together. Slowly incorporate the water while beating until all of the ingredients are mixed together.
  5. Grease the bottom and sides of a 8-inch loaf pan.
  6. Pour the batter into the loaf pan and shake it gently to level the top.
  7. Sprinkle the remaining brown sugar on top of the batter in a thin layer.
  8. Bake for 60 minutes or until the center of the loaf is baked through.
  9. Remove from the oven and let cool completely before slicing.

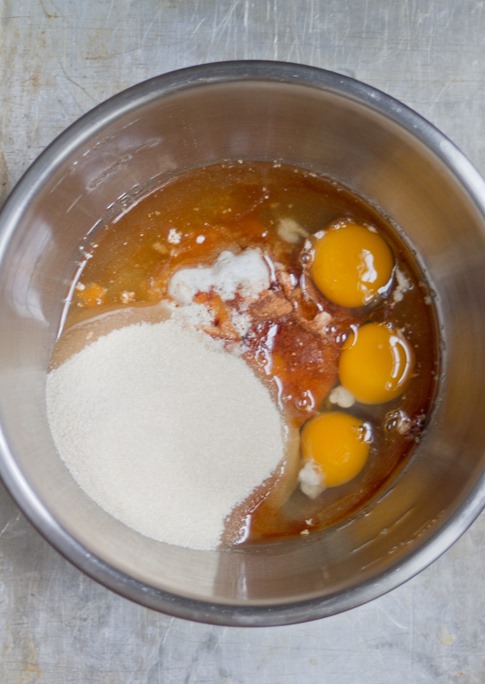
Gluten-Free Pumpkin Bread Ingredients


Oatmeal Peanut Butter Cookies

Peanut Butter Oatmeal Cookies

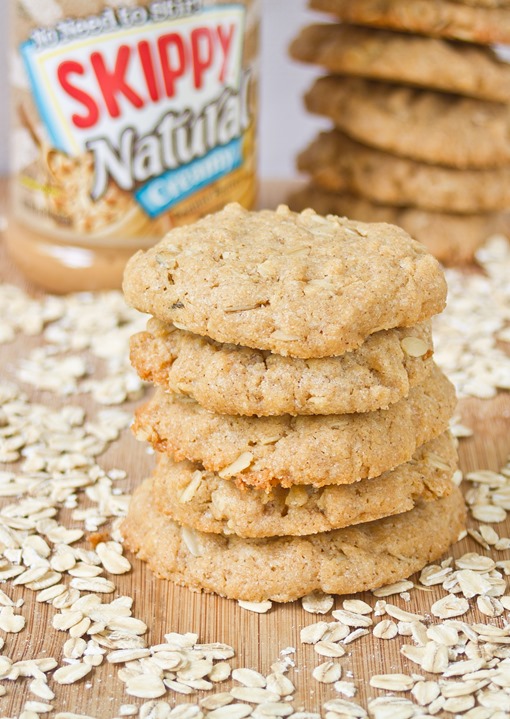
Peanut butter cookies are one of my favorite desserts to keep around the house. That’s probably because I don’t just eat them for dessert; they’re also great as an afternoon snack, crumbled on top of yogurt, right before dinner when you’re feeling snackish—whenever. They’re just the right amount of sweet and nutty to satisfy.

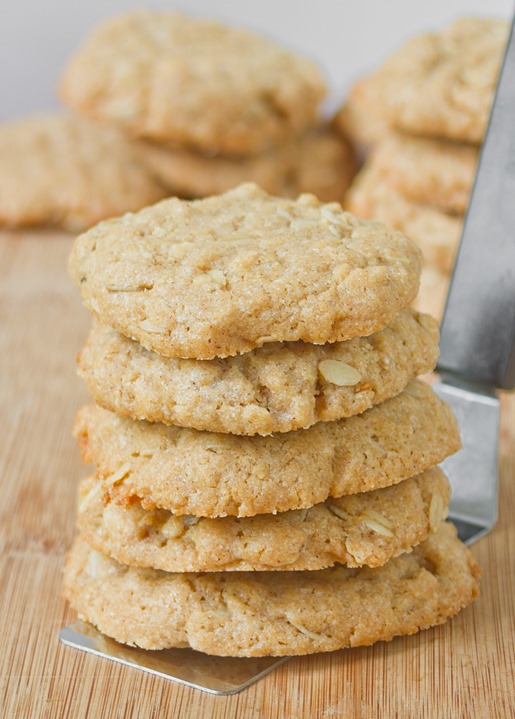
I’m always trying different peanut butter cookies recipes to see how the texture and flavor compares. These are one of my new favorites. Once these cookies cool, they’re the thick and chewy kind. They’re perfect for filling with ice cream and making a cookie sandwich, covering in melted chocolate or filling with a little raspberry jam.

Peanut Butter Oatmeal Cookies Ingredients

I used gluten-free all-purpose flour for these cookies and they came out perfectly. If you use a gluten-free flour I’d recommend a pre-mixed blend for the best consistency. Your cookies should be rollable when all the ingredients are mixed but if the batter is still too thick you can add milk by the Tablespoon until it softens up.

Oatmeal Peanut Butter Cookies

Prep time: 10 minutes

Cook time: 20 minutes

Ingredients(Makes about 18 cookies):

  • 1 cup rolled oats
  • 1 cup all-purpose flour OR 1 cup all-purpose gluten-free flour
  • 3/4 cup cane sugar
  • 3/4 teaspoon baking soda
  • 1/2 teaspoon salt
  • 1/2 teaspoon cinnamon
  • 1/2 cup peanut butter
  • 1/4 cup vegetable oil
  • 1/4 cup milk
  • 1 egg
  • 1 teaspoon vanilla extract

Peanut Butter Oatmeal Cookies Baked

Method:

  1. Preheat your oven to 350 degrees.
  2. In a large bowl, mix together the oats, flour, sugar, baking soda, salt, and cinnamon well.
  3. In a separate bowl, beat the remaining ingredients until they make a homogenous liquid.
  4. Mix the wet ingredients in with the dry until it forms a uniform dough.
  5. Roll the dough into 1-inch balls and place them on a lined baking tray.
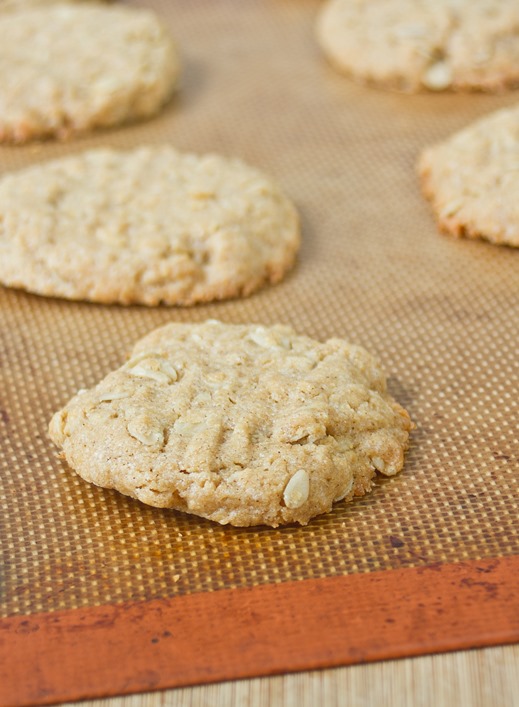
  6. Press down on each ball lightly with the tongs of a fork in a criss-cross pattern on top.
  7. Bake for 18 minutes until the center of the cookies are firm and the outsides are golden.
  8. Remove from the oven and let them cool completely before moving.
  9. Store in a sealed container at room temperature.

Peanut Butter Oatmeal Cookies Stacked

Peanut Butter Banana Granola

Peanut Butter Banana Granola

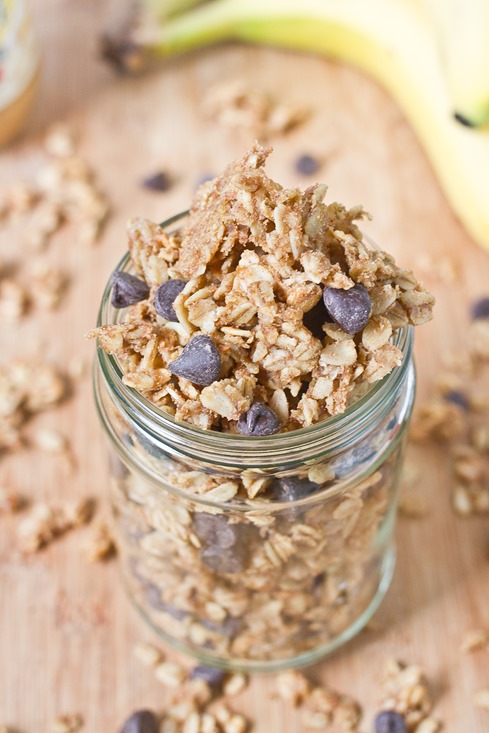
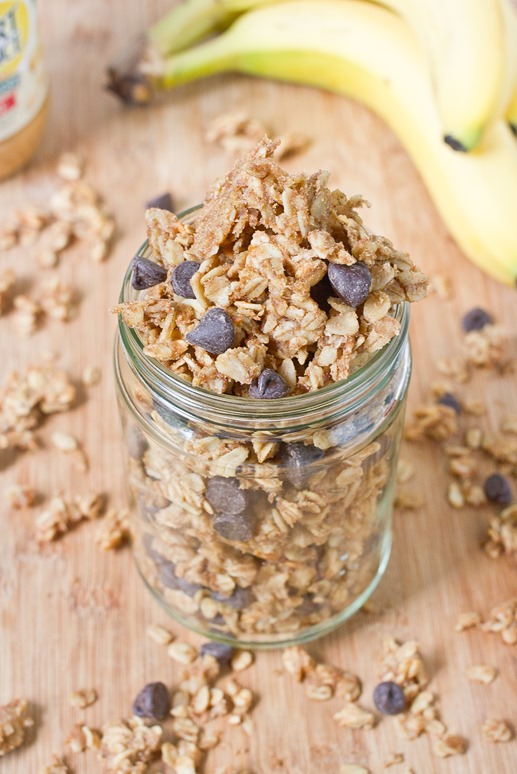
I’ve eaten yogurt, granola and a sliced banana for more meals this past month than I’m willing to admit. I’m not sure if it’s because it’s so good or so easy; it’s probably a bit of both. I never knew if you could cook the banana flavor into the granola until I saw this recipe. That gave me all the confidence I needed to try it out.

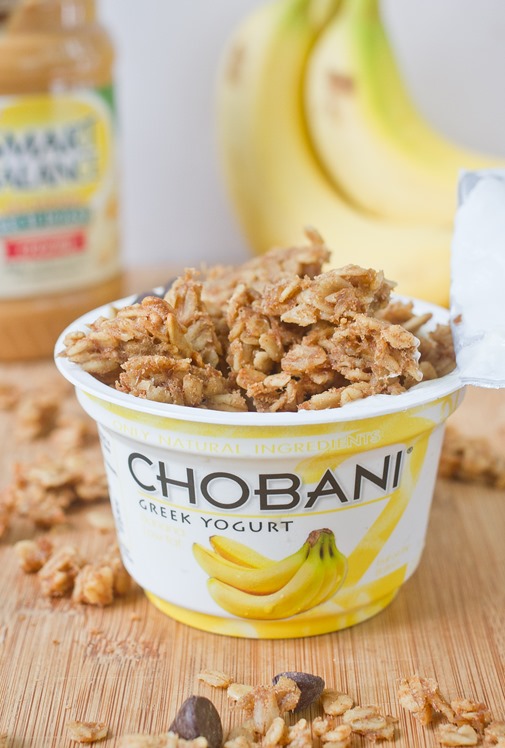
This is the kind of granola I have no trouble eating all by itself. It has every flavor and texture in it you could possibly want. The clusters are slightly softer than normal granola because of the bananas; it reminds me of the crusty outside of slightly overcooked banana bread. It’s great to eat with just about any flavor of yogurt, too.

Peanut Butter Banana Granola Ingredients

This granola tasted fresher than any I’ve tried before. It’s great to make for yourself if you will eat it over the course of a week but might not be the best to give as a gift to someone. Make sure to refrigerate this to keep it its freshest.

Peanut Butter Banana Granola

Prep time: 10 minutes

Cook time: 30 minutes

Ingredients(Makes about 3 cups)

  • 1 banana, mashed
  • 2 cups rolled oats
  • 1/4 cup maple syrup
  • 2 Tablespoons peanut butter
  • 2 Tablespoons oil
  • 1/2 teaspoon cinnamon
  • 1/2 teaspoon vanilla extract
  • 1/4 teaspoon salt
  • 1/2 cup chocolate chips(optional)
  • 1/2 cup chopped nuts(optional)

Peanut Butter Banana Granola Yield

Method:

  1. Preheat your oven to 350 degrees.
  2. In a large bowl, mix together the banana, oats, syrup, peanut butter, oil, cinnamon, vanilla and salt until evenly mixed.
  3. Spread the oats out in a thin layer on a non-stick baking surface.
  4. Bake for 25-30 minutes, breaking up the oats into clusters about 20 minutes into baking.
  5. When the clusters are golden and firm, remove them from the oven and let them cool.
  6. Once the granola has cooled, add chocolate chips or nuts if using. Store in a sealed container in the refrigerator when not eating.  
Peanut Butter Banana Granola Yogurt


Oat Flour Brownies

Oat Flour Brownies

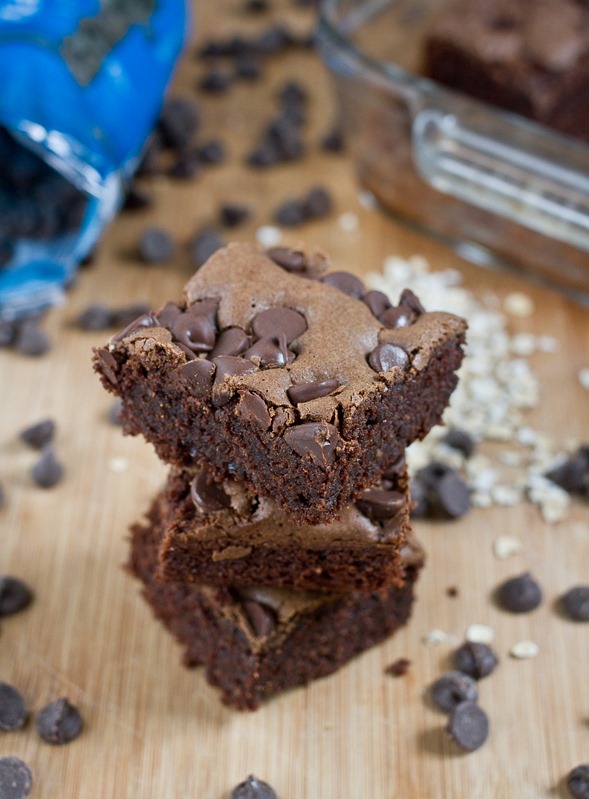
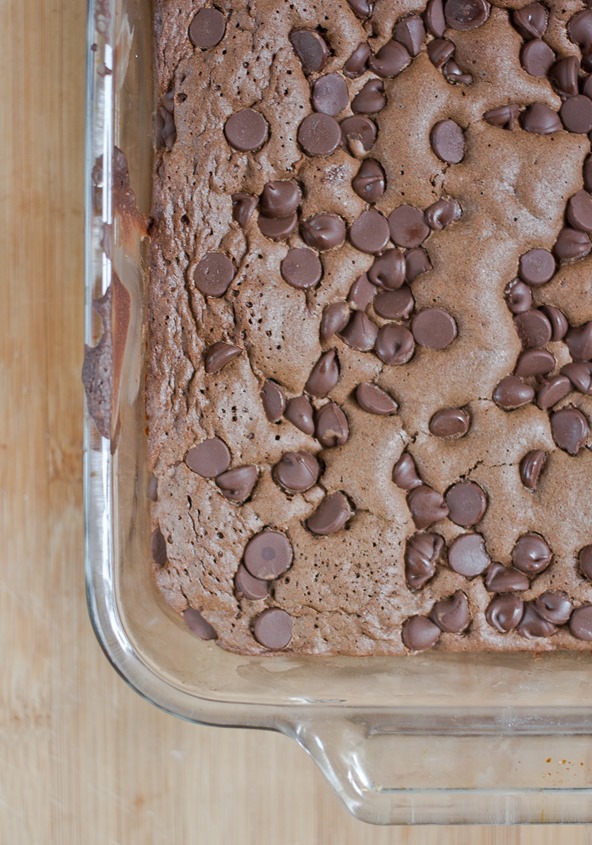
If there’s one thing I could make with my eyes closed, it’s brownies. I think my 6th sense is knowing when brownies are done in the oven without a timer. I can tell this is another brownie recipe I’ll come back to time and time again.
One commenter mentioned that she uses oat flour in recipes that call for almond flour regularly and I wanted to try that for myself with my almond flour brownies recipe. Almond flour is a great gluten and grain-free baking flour but I don’t always keep it handy.

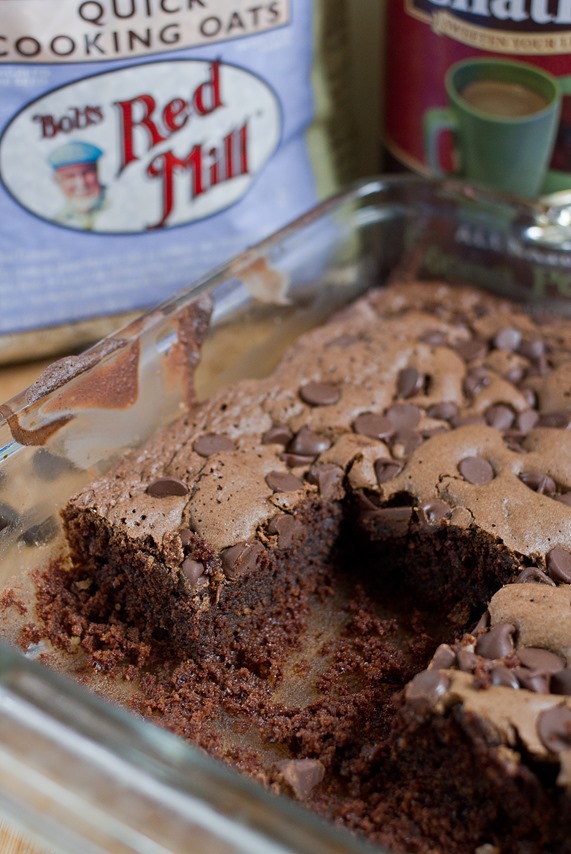
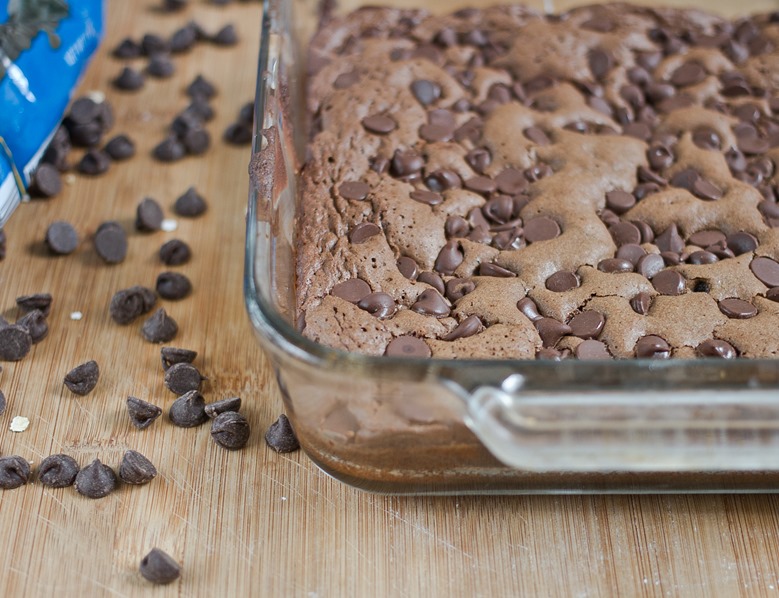
This recipe is basically the same as for almond flour brownies except with a little bit of water added to account for the grains. The brownies came out perfectly moist and chewy. I think the grains made them taste a little bit more like regular brownies than their almond counterpart. They were also slightly cakier than the almond flour brownies but still completely enjoyable for fudgy brownie lovers. Overall these were definitely a winner.

Oat Flour Brownies Overhead

You don’t need to go out and buy a bag of oat flour for this recipe; you can make 3/4 cup oat flour by grinding 1 cup of rolled oats in a food processor or high-speed blender until it’s finely ground. If it’s big enough, you can even use the processor as a mixing bowl and blend the ingredients right in there instead of dirtying more dishes.

Oat Flour Brownies

Prep time: 15 minutes

Cook time: 30 minutes

Ingredients(Makes 1 8 x 8 pan):

  • 3/4 cup oat flour
  • 1/4 teaspoon salt
  • 2 tablespoons unsweetened cocoa powder
  • 1/2 teaspoon baking powder
  • 3/4 cup sugar
  • 3 large eggs
  • 1 teaspoon vanilla
  • 1 teaspoon instant coffee granules(optional)
  • 1/2 cup butter
  • 7oz semisweet or bittersweet baking chocolate, divided OR 3/4 cup chocolate chips
  • 1/4 cup water

Oat Flour Brownies Yield

Method:

  1. Preheat your oven to 350 degrees.
  2. Mix together the oat flour, salt, cocoa powder, and baking powder and set aside.
  3. In a separate bowl, melt together 4 ounces of chocolate or a scant 1/2 cup chocolate chips with the butter.
  4. While the chocolate is melting, beat together the eggs, sugar, vanilla, water, and coffee granules if using.
  5. Slowly pour the melted chocolate and butter into the egg/sugar mixture while whisking until fully incorporated. Don’t go too fast so that the raw eggs don’t cook upon contact.
  6. Add the chocolate mixture in with the dry ingredients and mix completely.
  7. Pour the batter in a greased 8 x 8 pan.
  8. Sprinkle the top with the remaining chocolate and gently press it into the batter.
  9. Bake for 30 minutes or until a toothpick poked into the center comes out clean. Let these cool completely before cutting in.

Oat Flour Brownies Pan

Whole Grain Banana Cake Squares

Whole Grain Banana Cake Squares

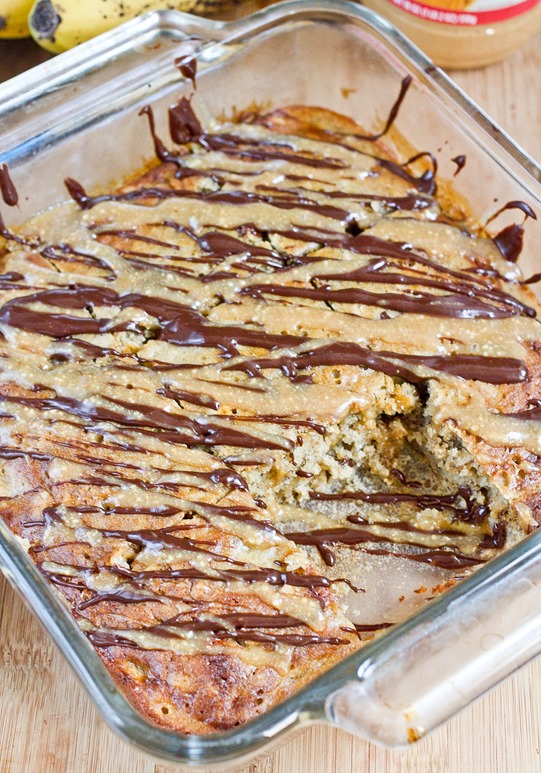
I always grab bananas at the store to throw in smoothies or have for breakfast. This week I guess I forgot to eat them because they were brown and mushy before I knew it. I’d much rather life hand me brown bananas than lemons because bananas are a lot more fun to bake with. I couldn’t decide on making banana blondies or banana bread and ended up settling for something in between.

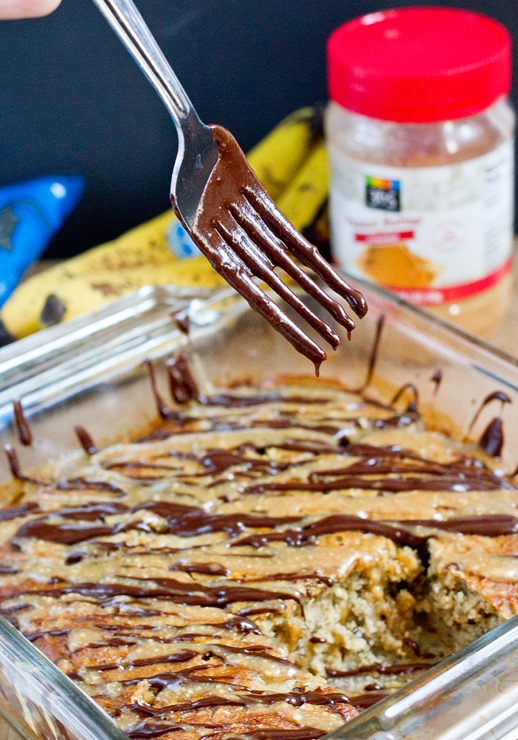
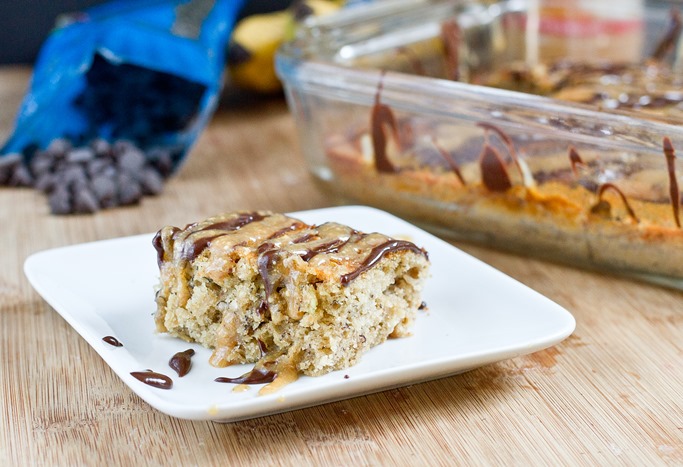
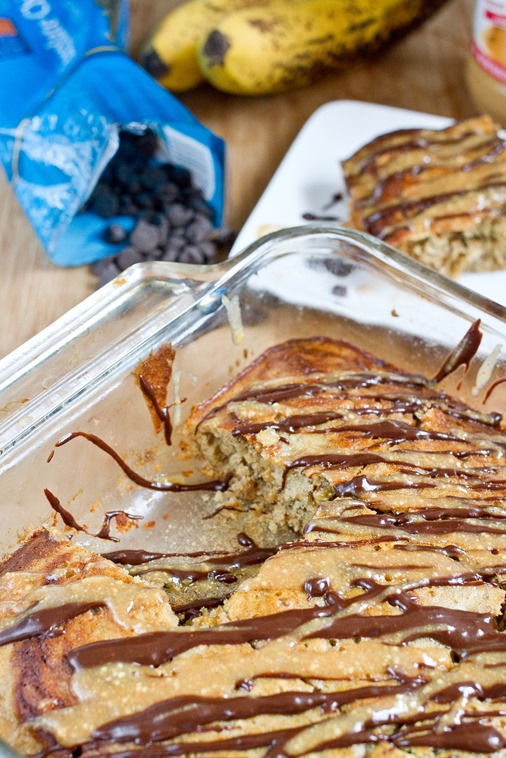
I intended these to be a healthy afternoon snack, but then covering them in chocolate and peanut butter seemed a lot more fun. They actually aren’t bad for you with their whole grains, fiber, natural sugars and a little bit of healthy fats. The squares are definitely sweet enough on their own—adding a drizzle on top just makes them that much better.

Whole Grain Banana Cake Squares Drizzle

The topping I used was just a chocolate ganache made with 1/4 cup chocolate chips, 2 Tablespoons of maple syrup, and a Tablespoon of water and a peanut butter sauce made with 2 Tablespoons peanut butter, 2 Tablespoons of maple syrup, and a Tablespoon of water all mixed and drizzled on top. This would also be really delicious with a vanilla or peanut butter buttercream.

Whole Grain Banana Cake Squares

Prep time: 10 minutes

Cook time: 30 minutes

Ingredients(Makes one 8 x 8 pan):

  • 1 cup(2 large) mashed bananas
  • 1/2 cup sugar
  • 1/4 cup peanut butter
  • 1/4 cup vegetable oil
  • 2 eggs
  • 1 teaspoon vanilla extract
  • 1/2 cup(80g) brown rice flour
  • 1/2 cup rolled oats
  • 1/2 teaspoon baking soda

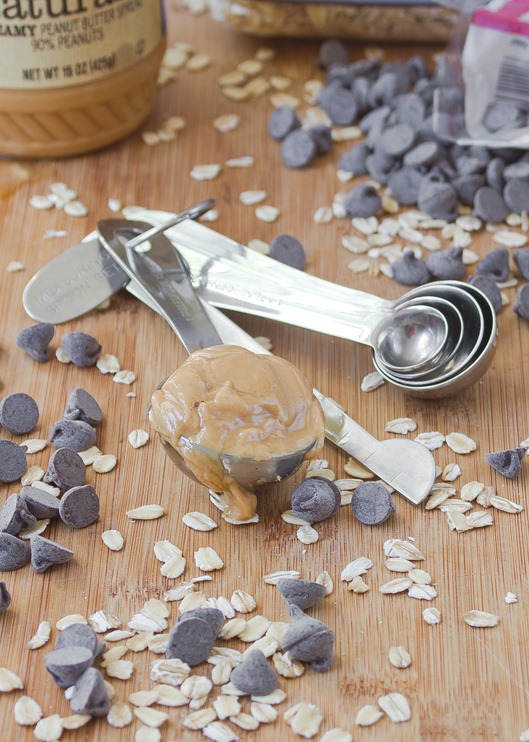
Whole Grain Banana Cake Squares Yield

Method:

  1. Preheat your oven to 350 degrees and grease an 8 x 8 baking pan.
  2. In a large bowl, beat together the mashed banana, sugar, peanut butter, oil, eggs, and vanilla.
  3. Add in the brown rice flour, oats, and baking soda and mix well.
  4. Pour the batter into the pan.
  5. Bake for 25-30 minutes until the center has set.
  6. Remove and let cool. Cover with frosting, ganache, or leave plan to serve.

Whole Grain Banana Cake Squares Slice