When I worked in a restaurant over the Summer, I spent more time with beets than I’d ever thought I would. I would work on preparing them for service for hours. I thought I’d never touch them again until I saw them at the farmers’ market last week and decided to grab some to share my knowledge.
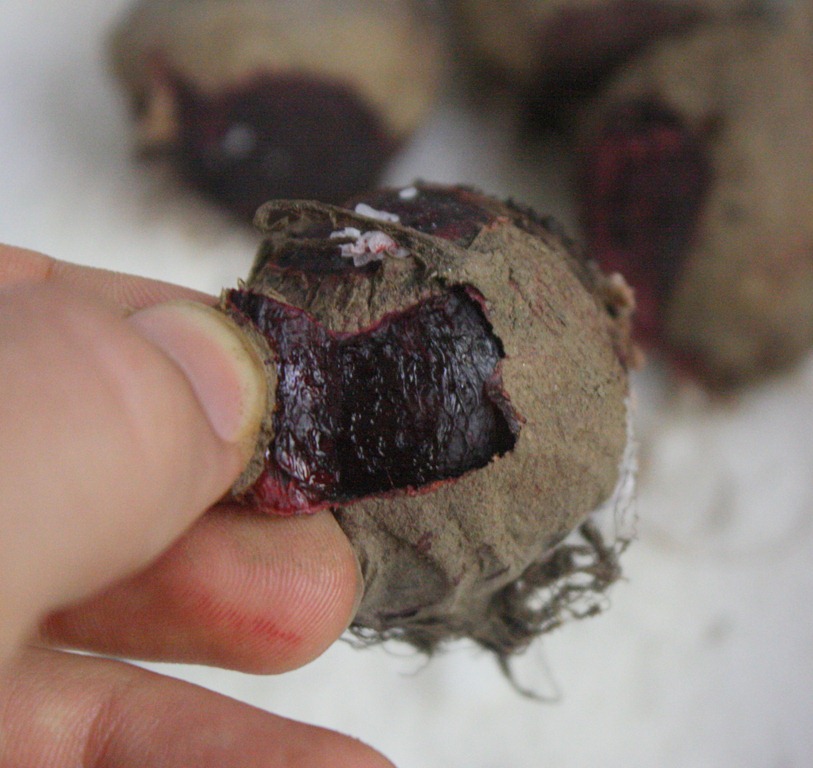
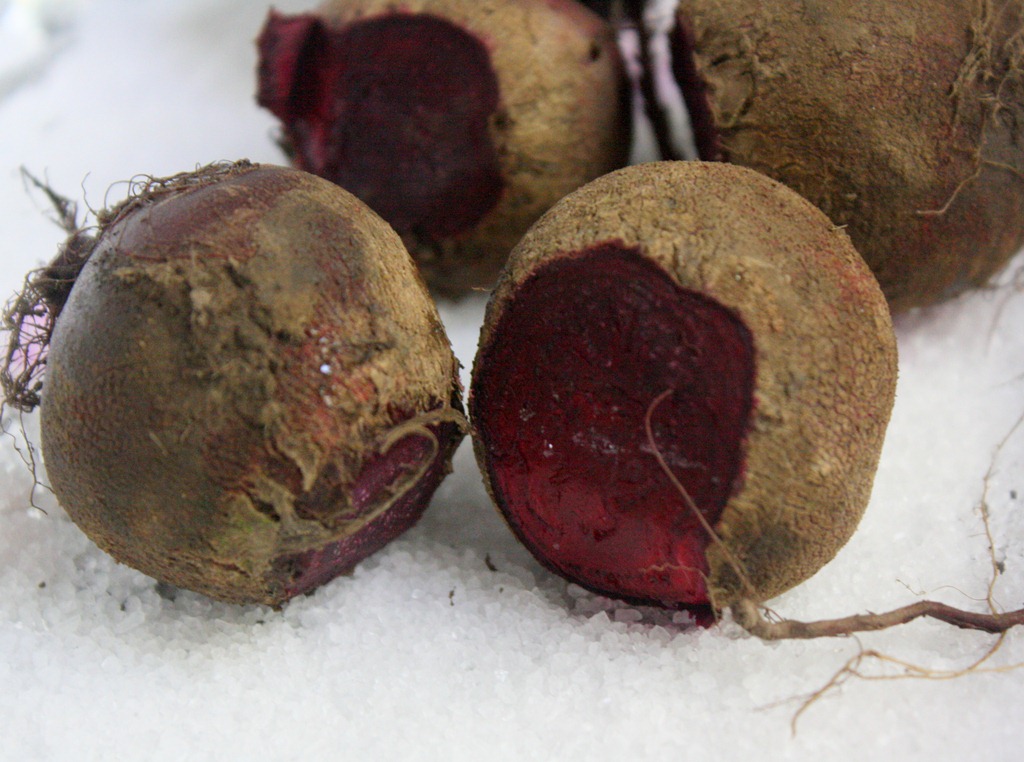
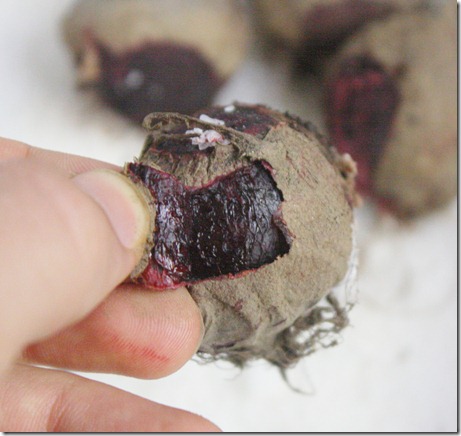
Beets aren’t exactly difficult to prepare, just a bit tedious. First we roasted them in a salt bath. The theory is that the beets absorb the salt, making their sweetness more potent. Whether that worked or not we constantly debated. Once they came out of the oven, we had to peel them, all done by hand while still piping hot. It was not the most fun job to have to do for an hour, and my fingers often looked like I had just committed a murder afterwards.
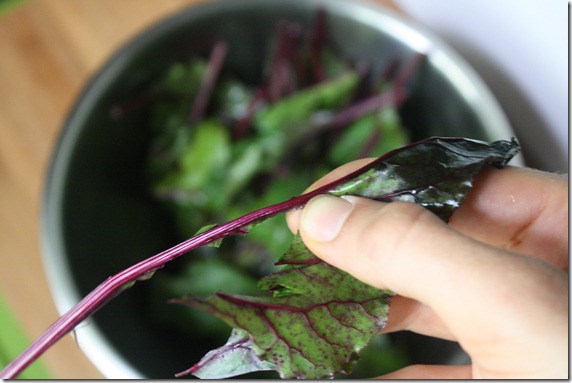
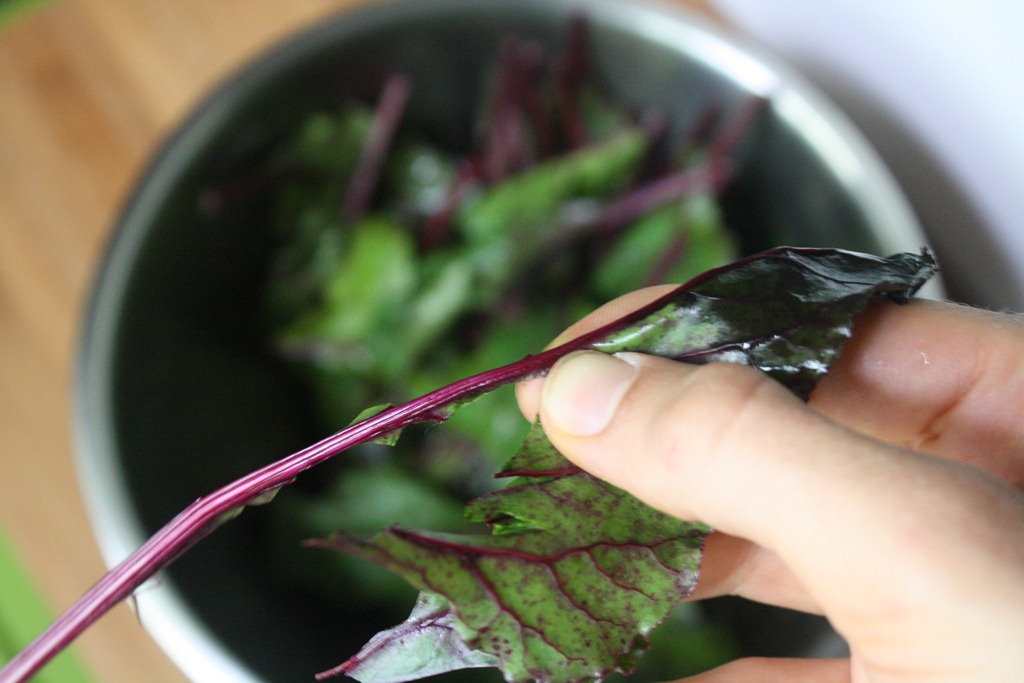
The other part of beet preparation was the greens. I didn’t know beet greens were even edible; I had always thrown mine away thinking they were poisonous like radish leaves. The proper way to peel a beet green is to pinch the leaves and remove the long, thick, purple spine in the middle. Doing this with one bunch of beets isn’t too troubling; doing it with 30 bunches of beets—well, that was anther story.
Roasted Beets
Prep time: 5 minutes
Cook time: 1 hour 10 minutes
Ingredients:
- 1 bunch of beets, stems removed
- 1/2 cup salt
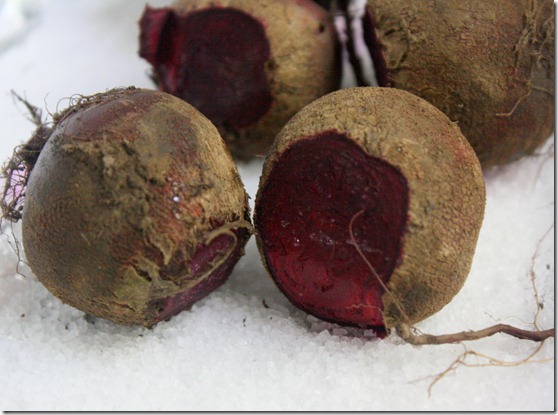
Method:
- Preheat your oven to 400 degrees.
- Pour the salt down on a baking tray.
- Lay the beets down on top of the salt. Roast for 60-70 minutes until a fork can pass through easily.
- Remove the tray from the oven and let cool slightly for 5 minutes or so.
- Gently peel the skin off of the beets using your hands. You might want to use a dish towel to protect your hands from the heat and dye of the beets.
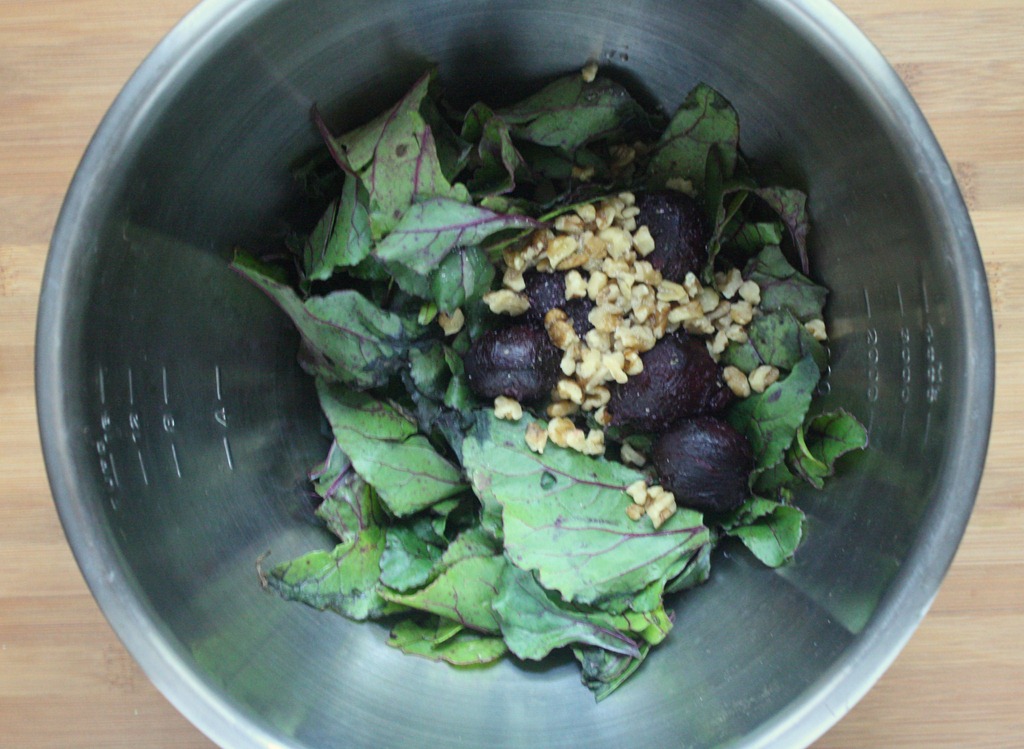
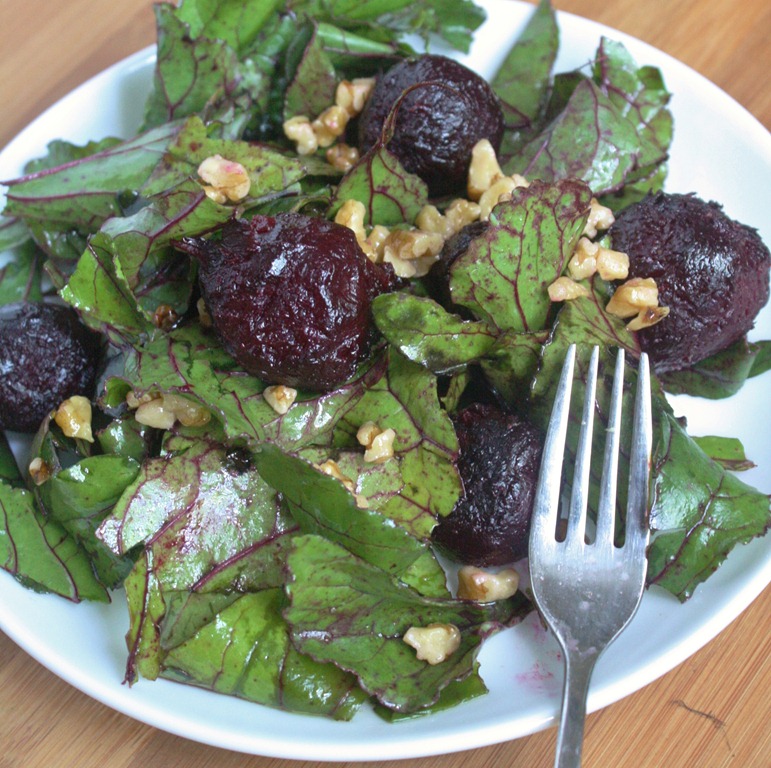
We served our beets in the restaurant in a salad. The salad prepared there had goat cheese and pistachios in it. Since I don’t eat cheese and didn’t have pistachios, I made a modified version with oil and walnuts. The recipe below could work for either variation.
Roasted Beet Salad
Prep time: 5 minutes
Cook time: 0 minutes
Ingredients(for 1 serving):
-
6 medium-sized roasted beets, cooled to room temperature
-
Greens from one bunch of beets, washed and deveined
-
1/4 cup crumbled goat cheese(optional)
-
1/4 teaspoon salt(omit if using goat cheese)
-
1 Tablespoon olive oil(omit if using goat cheese)
-
2 Tablespoons crushed walnuts or pistachios
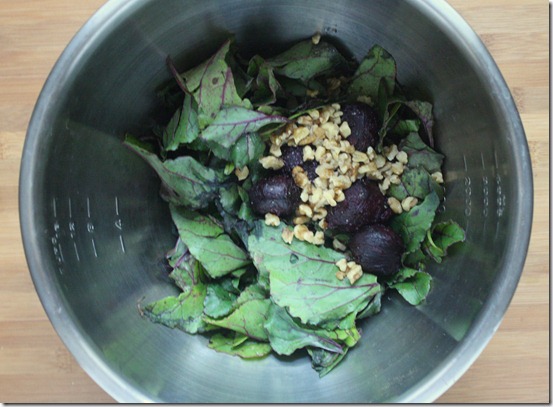
Method:
-
Combine all of the ingredients in a large bowl
-
Toss the ingredients until thoroughly mixed together.
-
Plate and serve at room temperature.
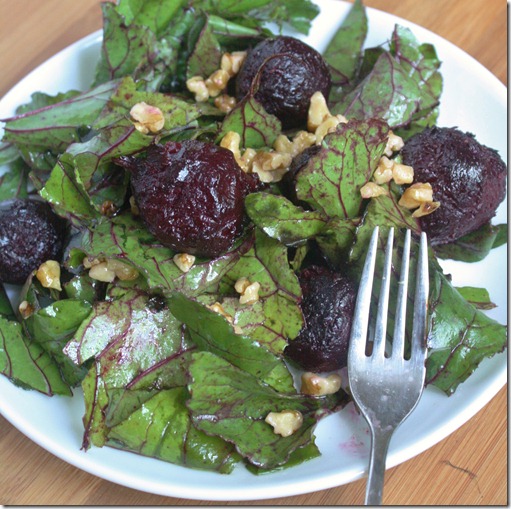
If my restaurant experience taught me anything, it’s that I’m perfectly happy eating canned beets. They’re cheaper, more convenient, and just as nutritious. That being said, preparing your own beets from scratch makes for an impressive dish.
A lot has changed since I started this blog 11 months ago. Personally, I think I’ve become a better blogger. I got my first DSLR camera for Christmas last year. At the time I didn’t know how to use it; hell, I’m still learning how to use it. I shot in auto-mode for so long that I’m just getting around to teaching myself to shoot in manual, which I’m enjoying more and more.
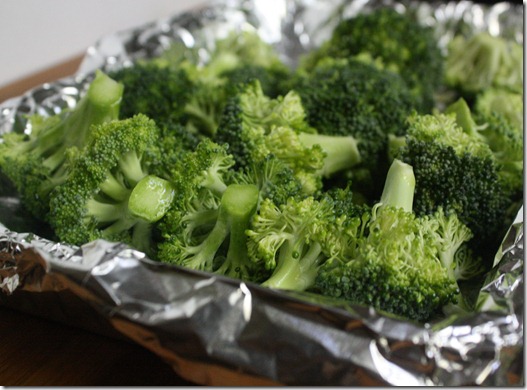
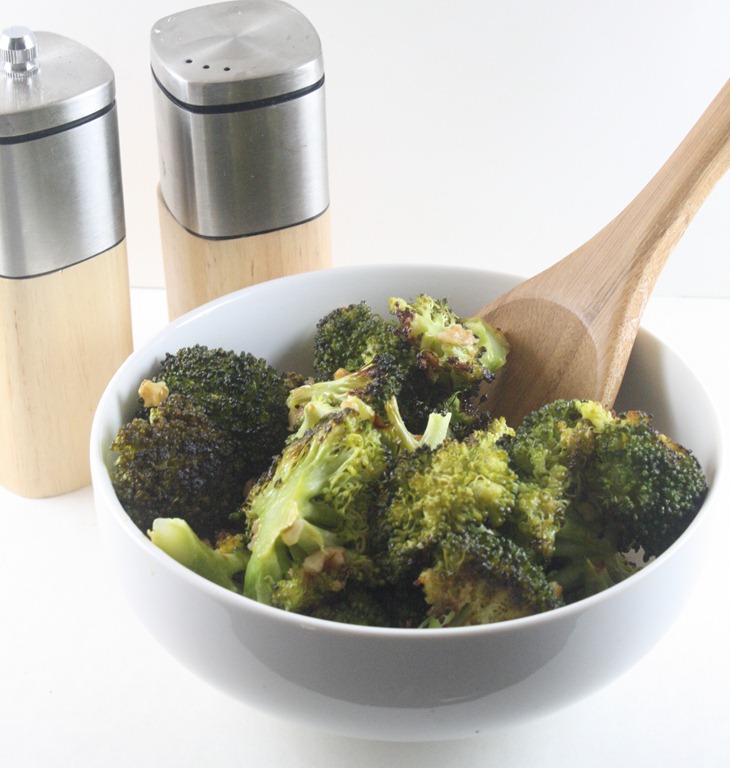
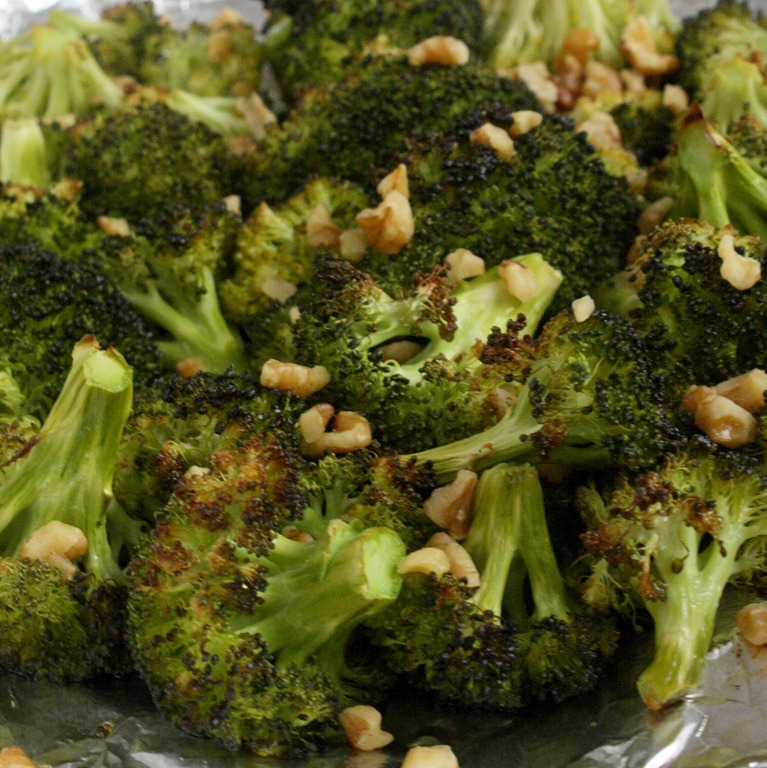
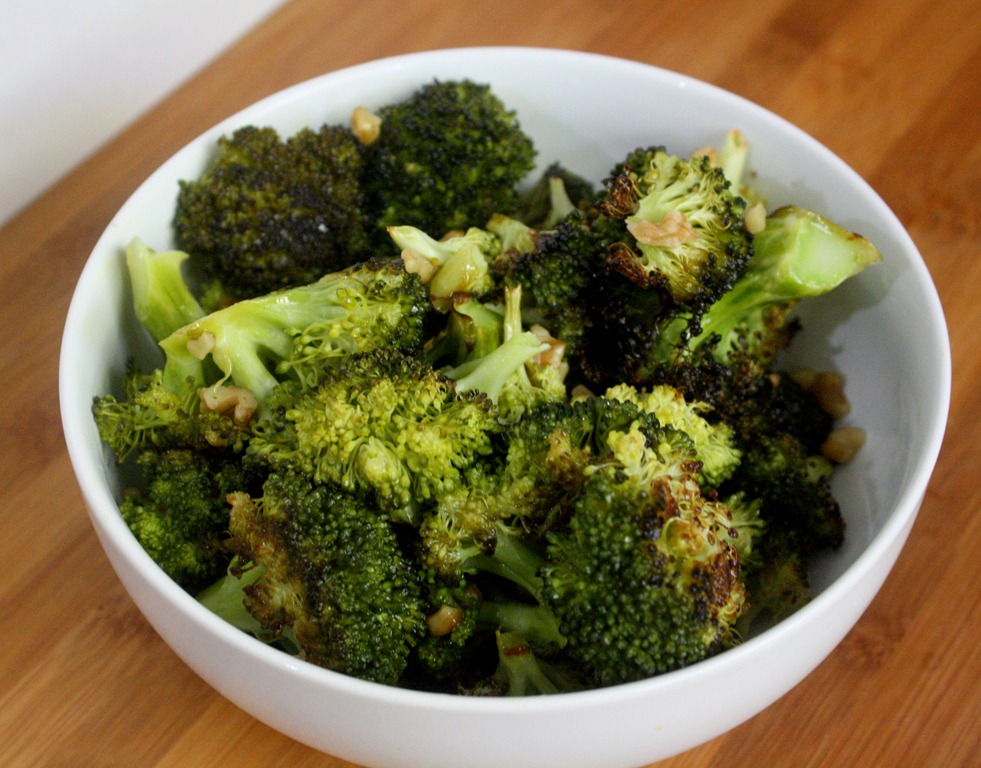
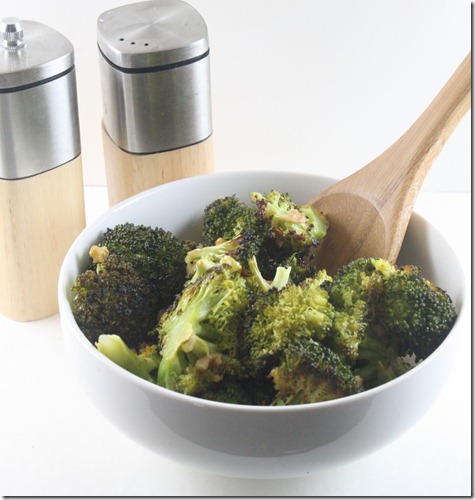
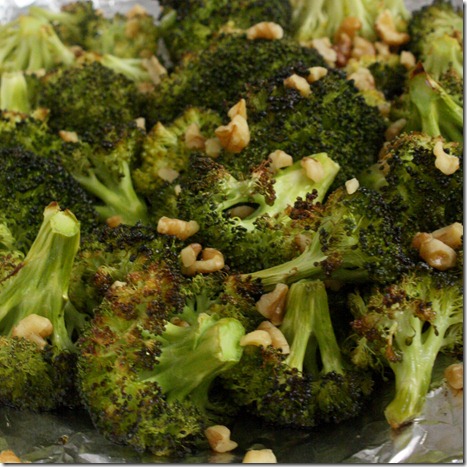
Even though my photos and writing may have changed, my recipes and the way I eat really hasn’t. Case in point: I made this broccoli last year and blogged about it, and I’m still making it today. I thought it deserved a new post, one that makes it look as great as it tastes. If you’ve never tried roasted broccoli before, you’re really missing out. It’s tender and earthy with a nutty flavor—like no other broccoli you’ve ever eaten. Toasted walnuts add a nice added crunch and compliments the flavor.
You can use frozen instead of fresh in this recipe, too, however the broccoli will have a soggy bite to it.
Nutty Roasted Broccoli
Prep time: 5 minutes
Cook time: 30 minutes
Ingredients(makes 4 servings):
- 3 cups fresh broccoli florets
- 3 Tablespoons olive oil
- 3/4 teaspoon salt
- 1/4 cup walnuts, crushed and toasted
Method:
- Preheat your oven to 375 degrees.
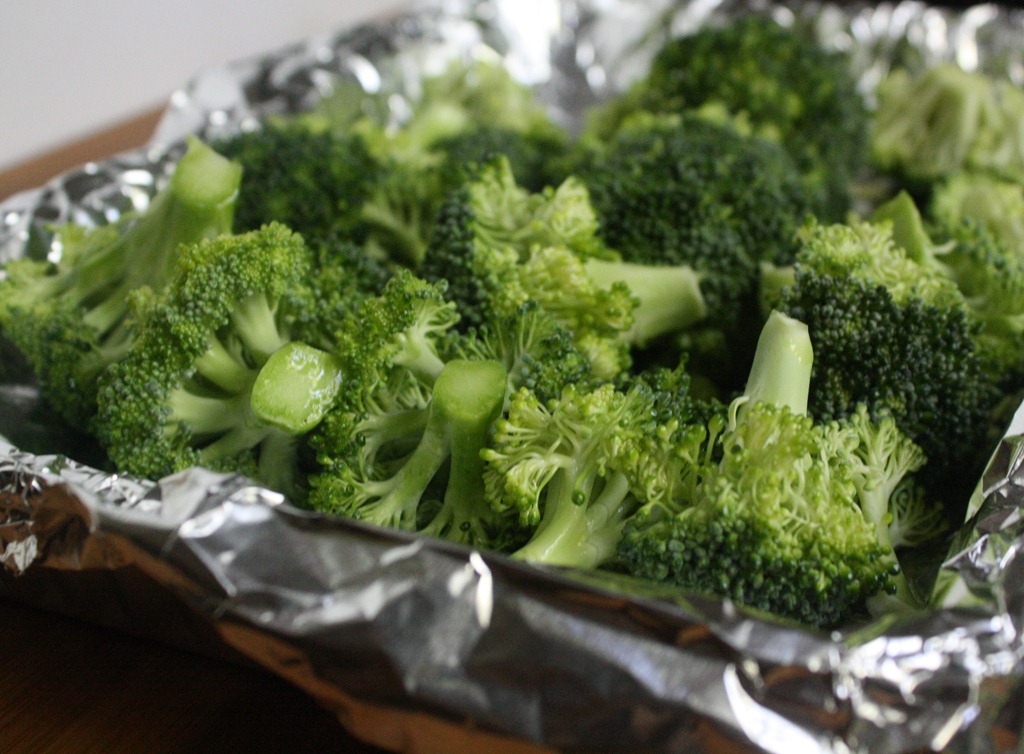
- Lay the broccoli florets out in a single layer on a baking tray.
- Pour the oil on top and sprinkle on the salt. Toss a few times with your hands.
- Roast in the oven for 30 minutes.
- When the broccoli’s done, take the tray out of the oven and add in the walnuts. Toss to distribute. Serve hot.

Seriously, what was I thinking photographing in automatic all Summer when the lighting is best? I’m just learning more and more about aperture thanks to Anne’s guest post, and it’s like seeing through a whole new lens. It’s definitely worth the read to any photo enthusiasts.
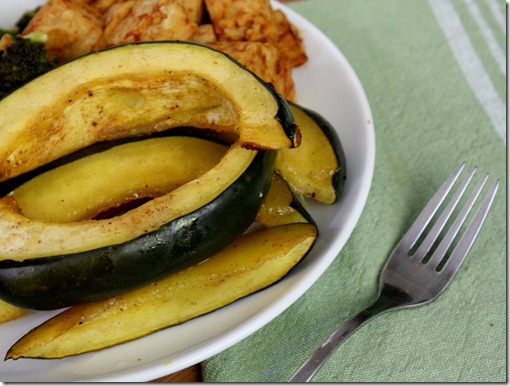
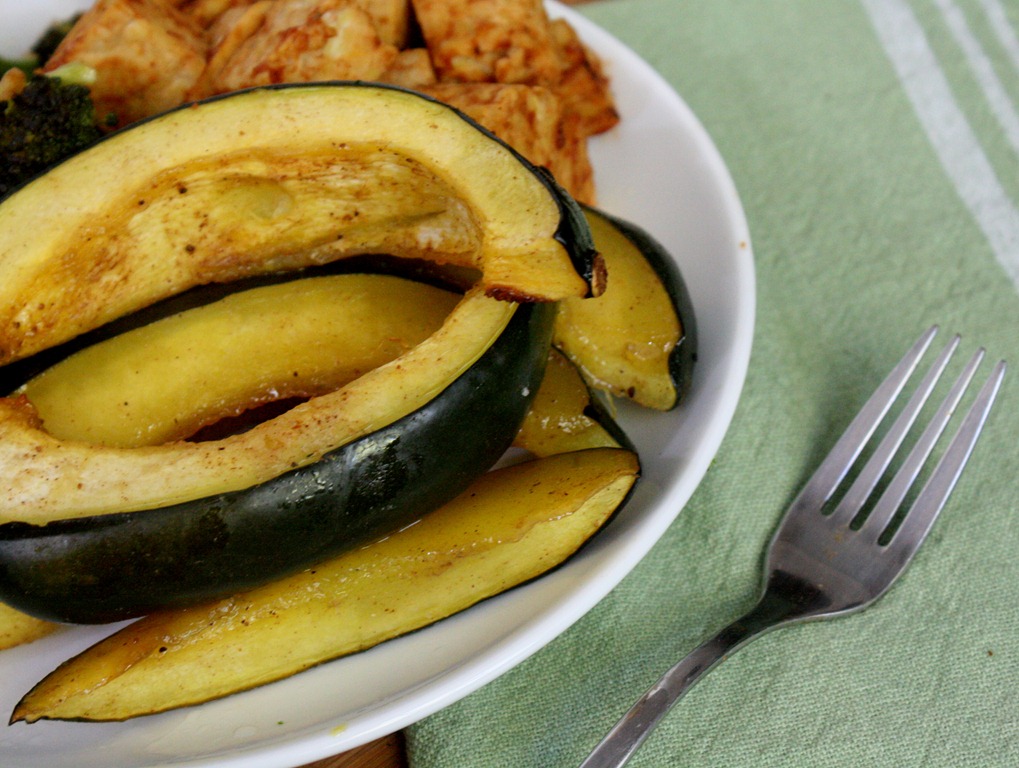
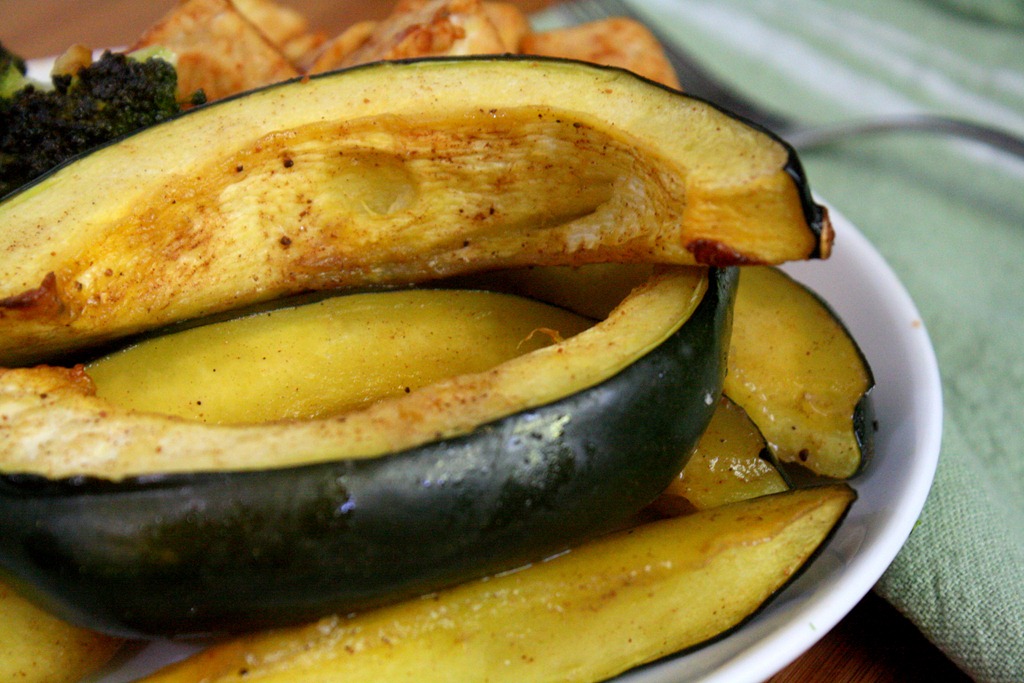
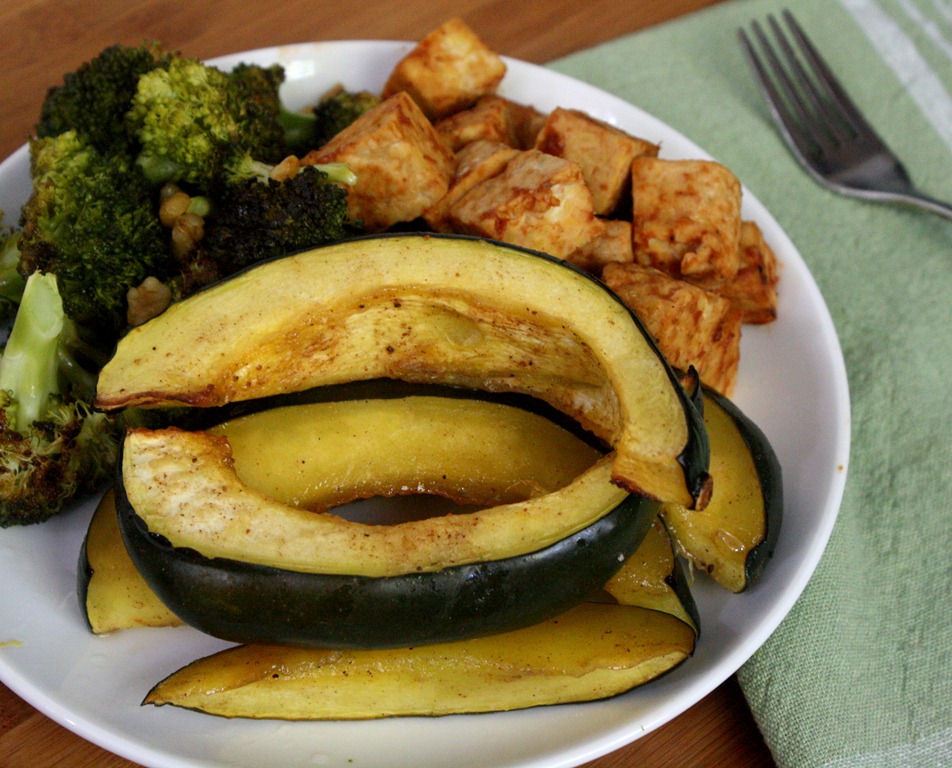
I’m already excited for Fall, not because of the weather or anything but because of the food. Roasted squash is comfort food to me. When they come into season there’s suddenly a treasure trove of new food to eat–acorn, pumpkin, butternut, spaghetti. All different and all delicious in their own way.
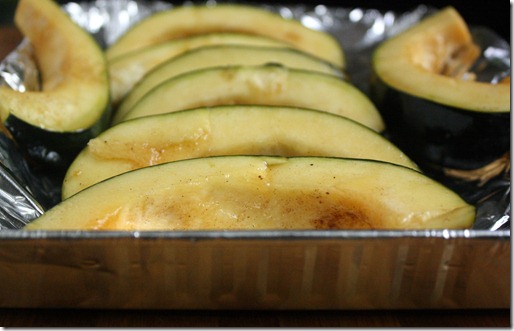
This recipe uses nutmeg, which is one of the more aggressive spices. It’s so aggressive it’s poisonous in large amounts, so you might want to have a light hand when seasoning this. The cinnamon helps to smooth out the flavor. By the end of cooking it smells like someone’s just baked a pie; that’s a smell that’s always welcomed in my house.
Nutmeg Roasted Acorn Squash
Prep time: 5 minutes
Cook time: 45 minutes
Ingredients:
-
1 acorn squash
-
1/4 cup maple syrup
-
1/2 teaspoon nutmeg
-
1/4 teaspoon cinnamon
-
1/2 teaspoon salt
Method:
- Preheat your oven to 375 degrees.
- Cut the squash in half and remove the stringy inner seeds.
- Cut the squash along each ridge into long strips.
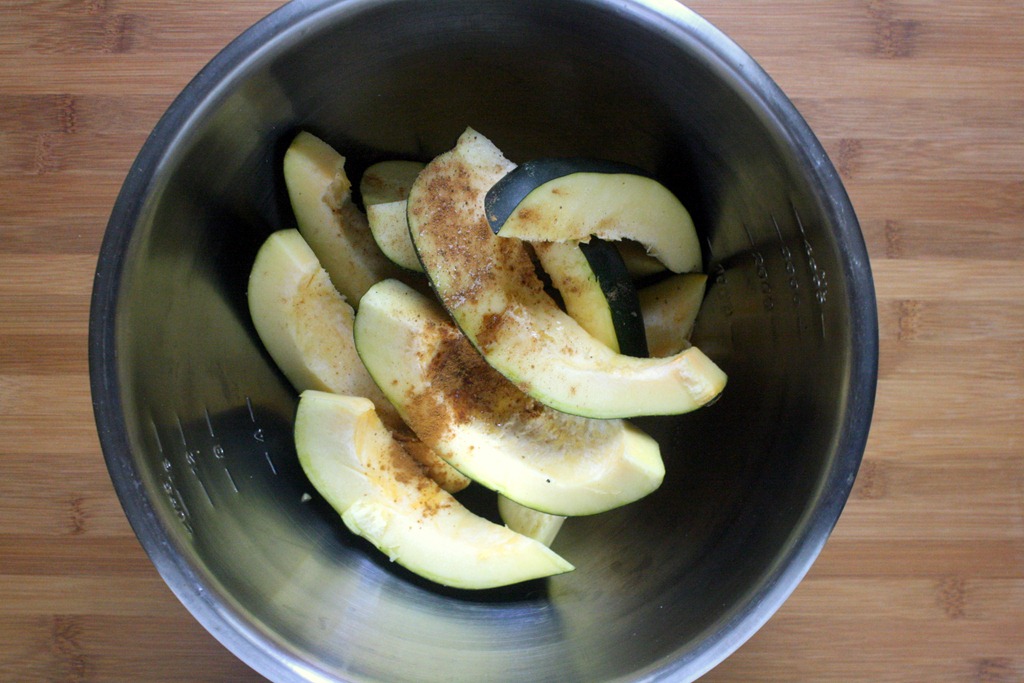
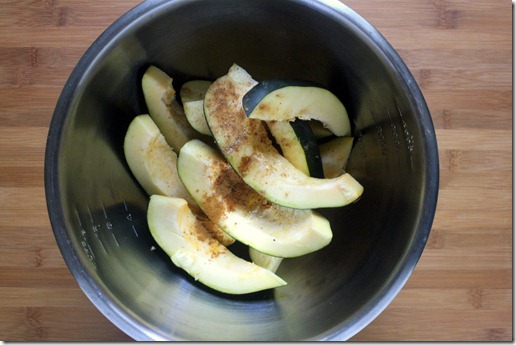
- In a mixing bowl, toss the squash, maple syrup, nutmeg, cinnamon, and salt until the squash is completely covered.
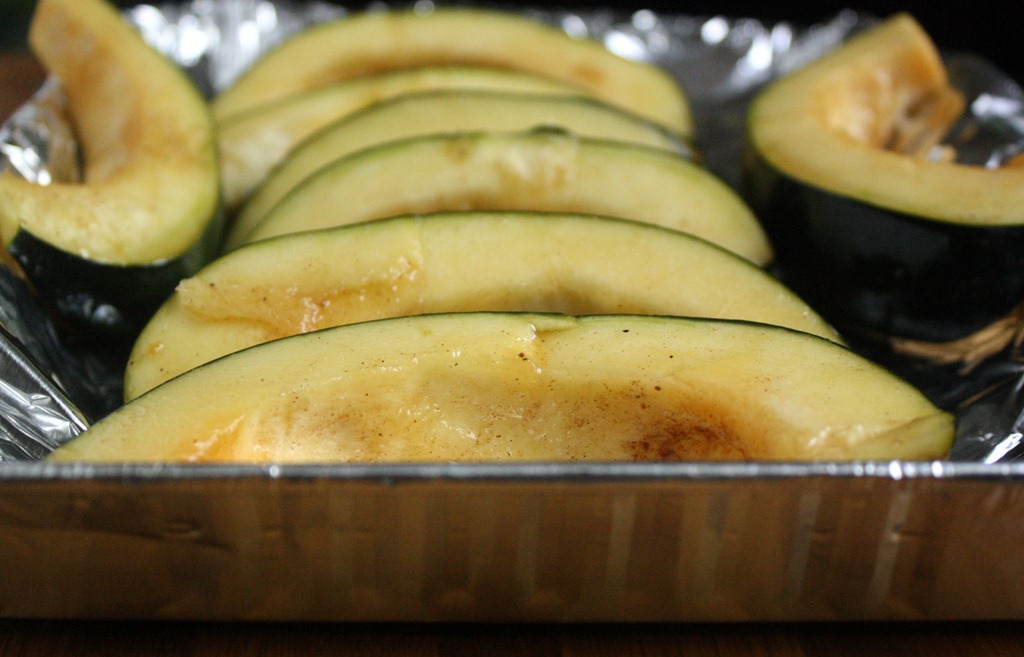
- Lay the squash out on a baking tray and roast for 45 minutes. Serve hot.
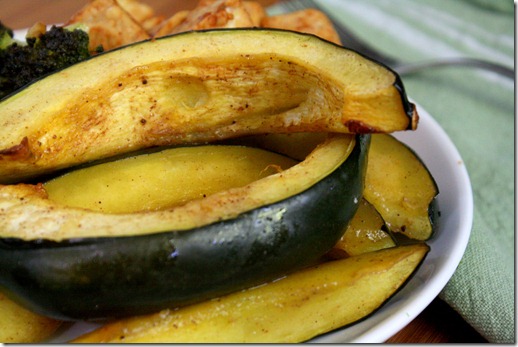
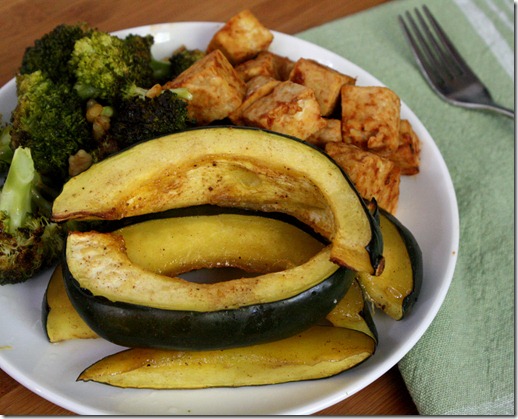
Despite the maple syrup, this recipe isn’t very sweet; it’s mostly spicy. There’ll be a lot of leftover spiced maple syrup in the mixing bowl. You can either pour it on top of the squash before roasting or reserve it as a finishing touch on the plate.
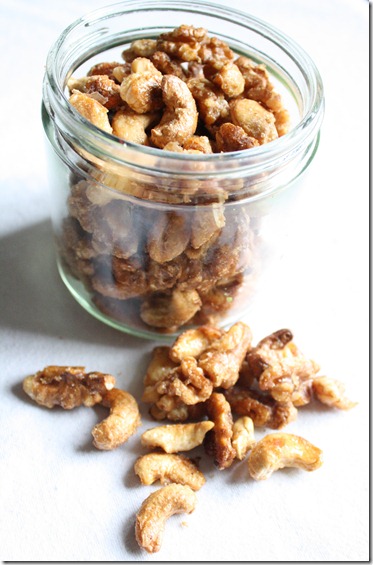
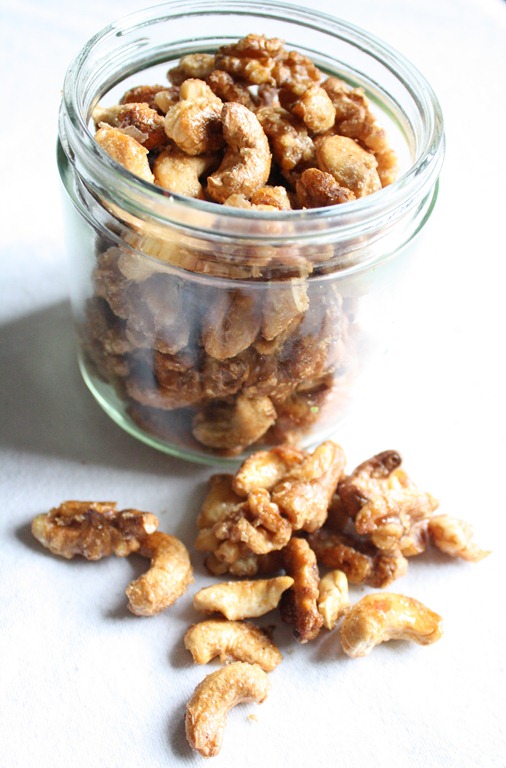
I should warn you before I share this recipe that these are like crack. They might even be more addictive than Pringles; the lab tests haven’t come back yet. I do know that about half of the batch was “missing” later on the day that I made these. Since I was the only one around, you can be the jury on that case. But really, these are very good, and dare I say “healthy”? They’re sweet but not too much so that they feel like dessert; and who doesn’t love the flavor of roasted nuts? You can think up your own joke there…
Maple Roasted Nuts
Ingredients:
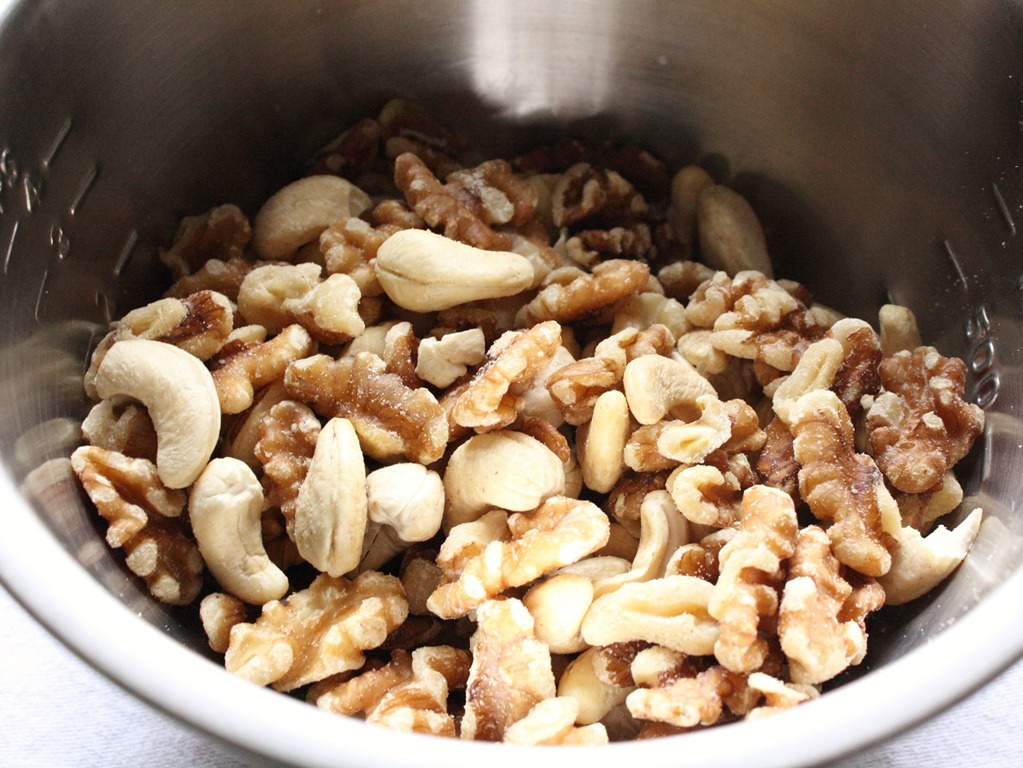
- 2 cups nuts(I used 1/2 walnuts, 1/2 cashews)
- 2 Tablespoons maple syrup
- 2 Tablespoons brown sugar
- 1/4 teaspoon salt
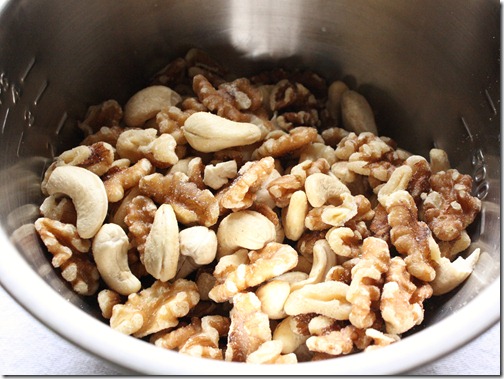
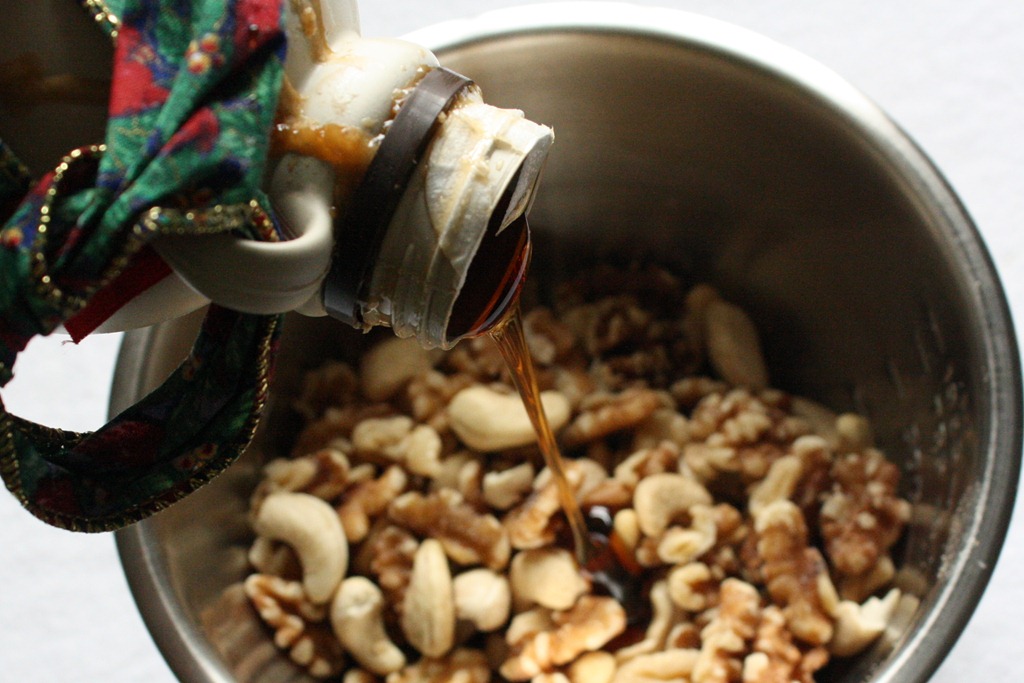
Preheat your oven to 375 degrees. Gather your nuts in a large bowl for mixing.
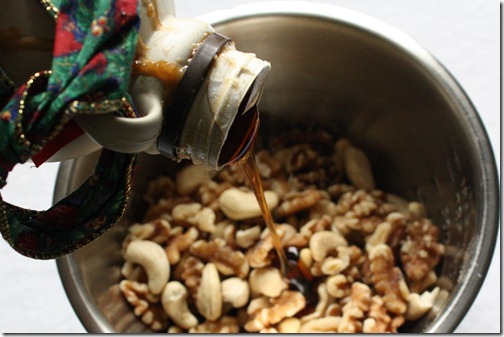
Pour in the maple syrup and add in the sugar. Toss to coat with your hands, making sure all of the sugar mixture gets used up(if you’re wondering why my maple syrup bottle has a red and green ribbon on it, it’s because it was a Christmas present; doesn’t every family give each other maple syrup for Christmas?).
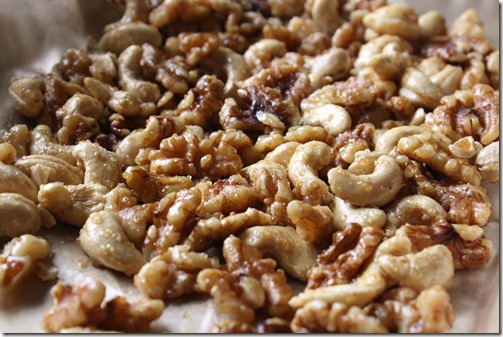
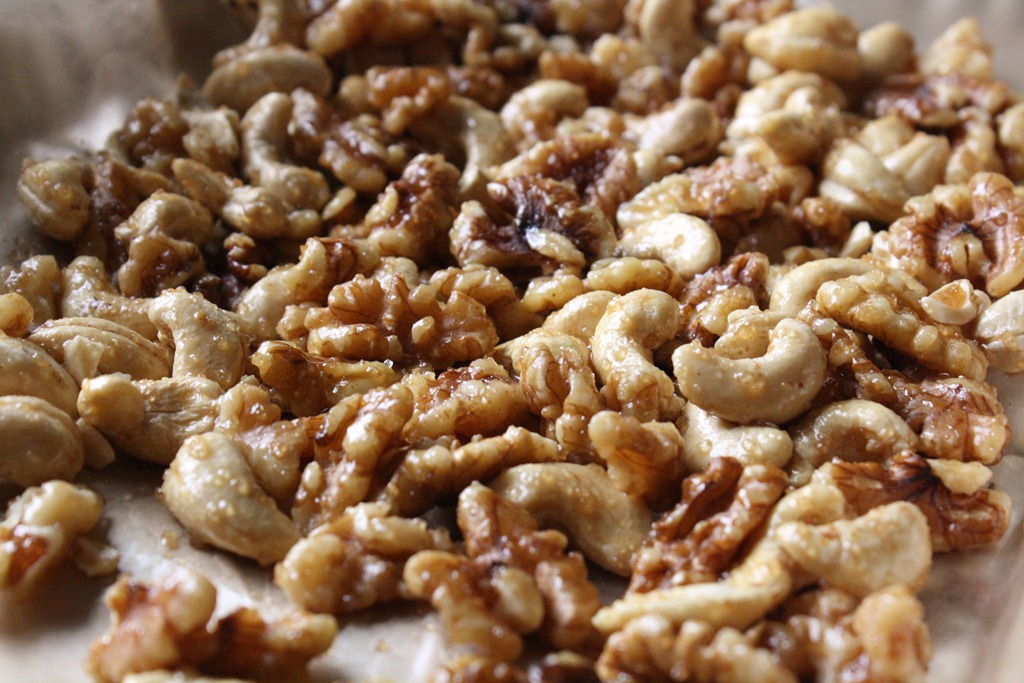
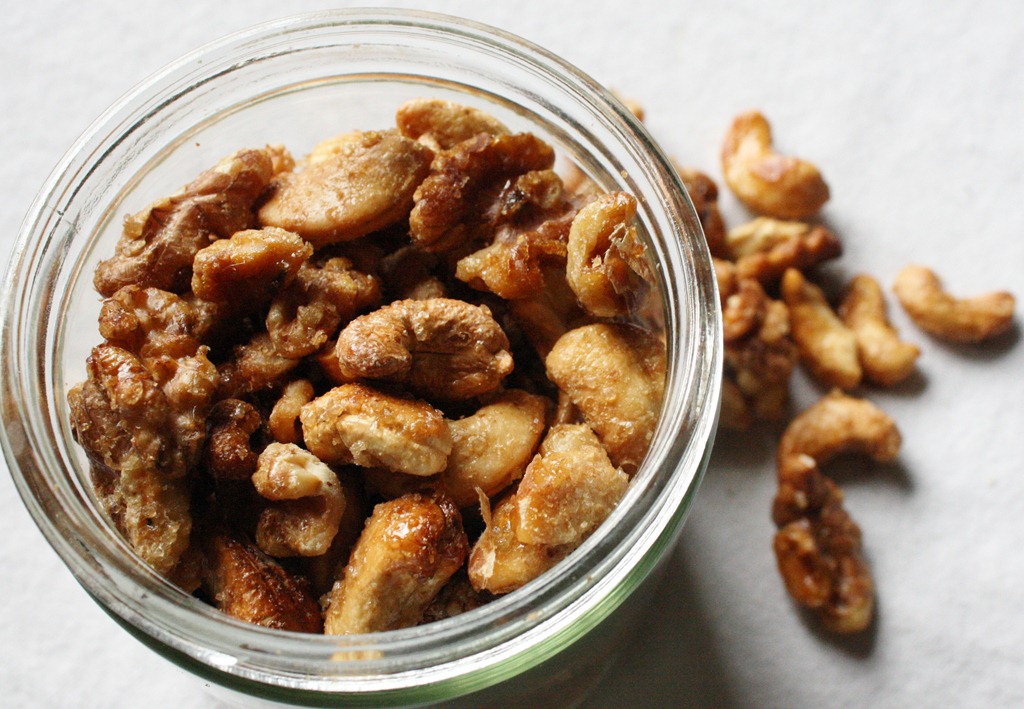
Line a tray with parchment paper and lay the nuts out in a single layer. Roast for 10-15 minutes, stirring occasionally and making sure not to burn them. Once the nuts have cooled enough to touch, separate and move them to a container to make sure they don’t stick to the pan.
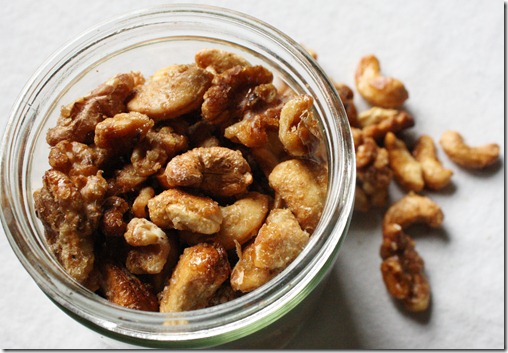
If you’re like me, then you’re going to burn a few of these because you’re easily distracted and don’t bother checking on these at all. That’s OK because the ones that aren’t burnt taste terrific. I loved the walnuts in here; next time I would try adding in some almonds, too, for more flavor. Just don’t leave the jar open next to you when you’re all alone and have no will power; that’s a dangerous combination.
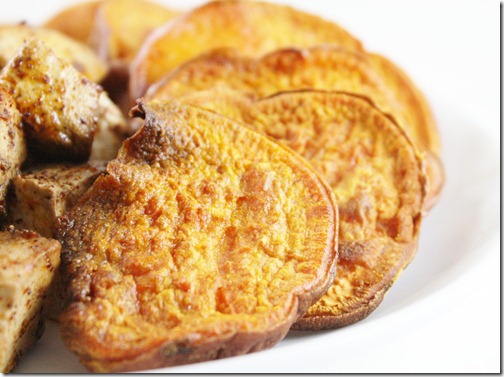
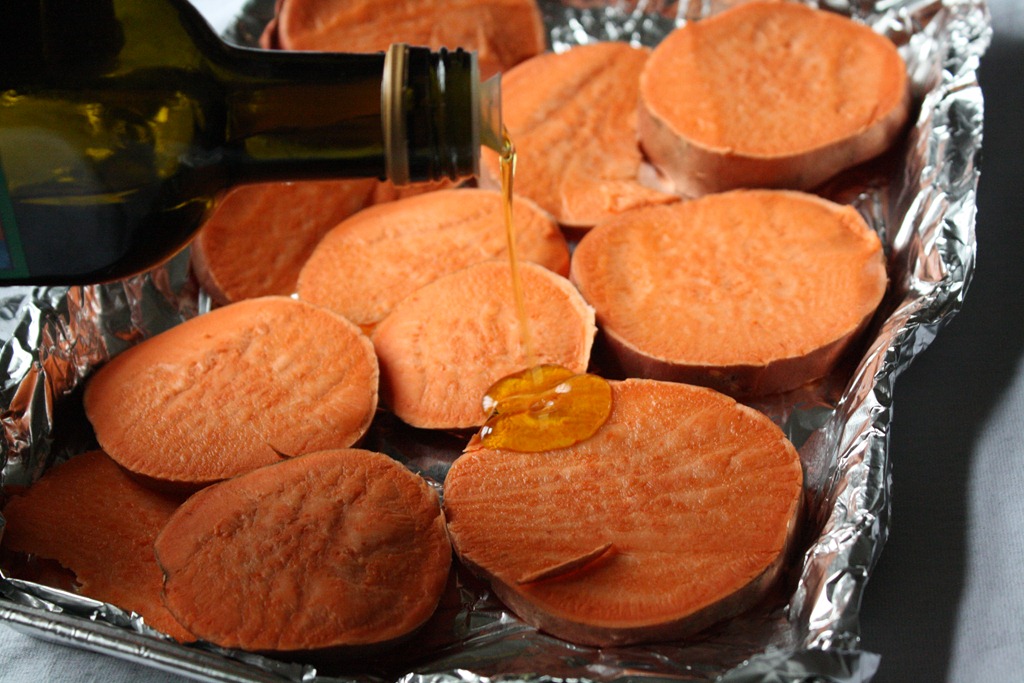
I’m constantly falling in food ruts. All through Winter I ate roasted sweet potatoes like they were becoming extinct. I completely forgot how tasty and simple sweet potato rounds are to make. I love these because they take a little less time to cook, and because the oil flavors them well. At this point, if I eat any more I’ll turn into a sweet potato. And I’m OK with that.
Sweet Potato Rounds
Ingredients:
- 1 large sweet potato
- 2 Tablespoons olive oil
- 1/4 teaspoon sea salt
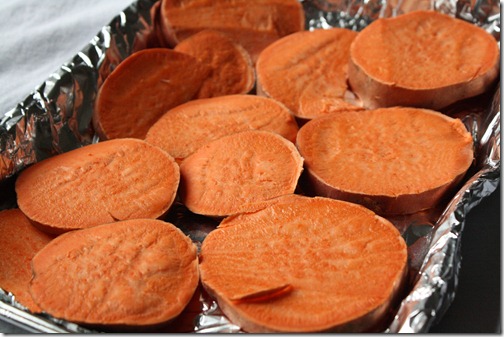
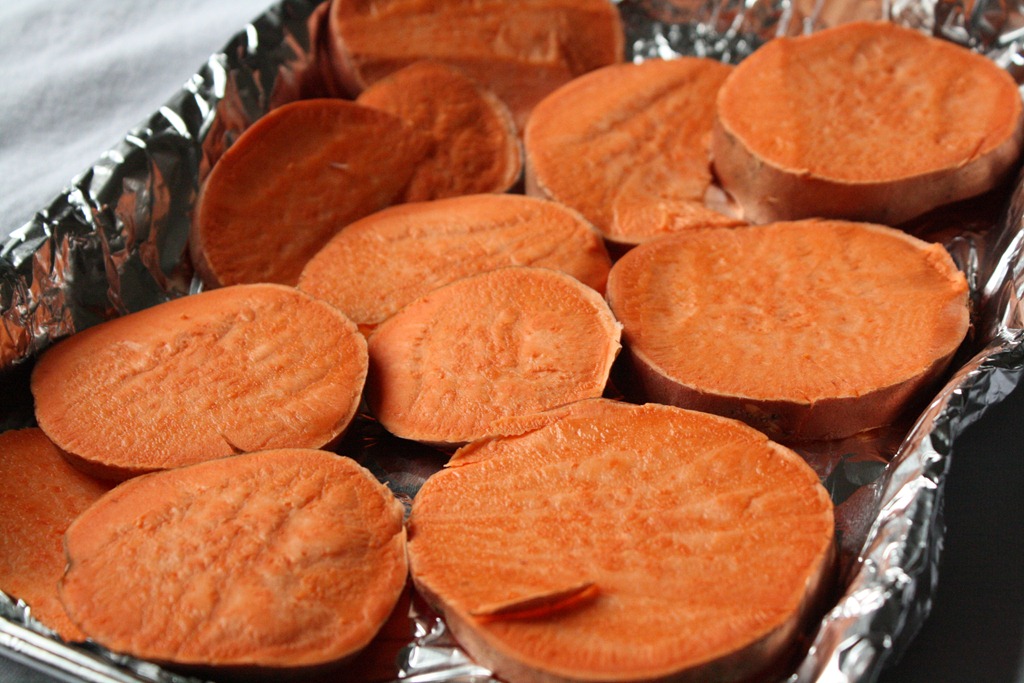
Preheat your oven to 375 degrees. Slice a sweet potato into 1/2-inch thick pieces and lay them out in a single layer.
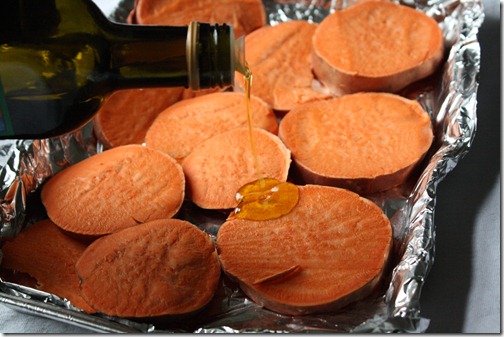
Liberally pour the olive oil over the sweet potatoes and spread it out with your hands to ensure an even coating.
Bake for 1 hour. Sprinkle with sea salt before serving.
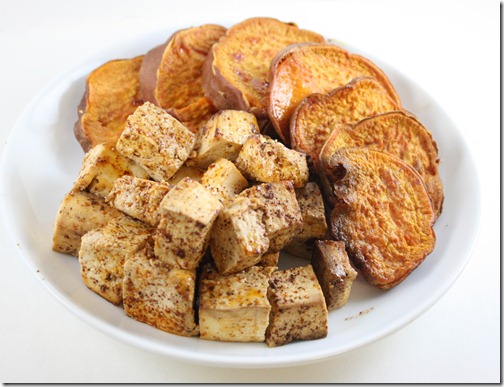
I have something of a sweet tooth so any time that vegetables can be sweet and I’m happy. I like to use olive oil with these because it makes them taste a little fruity, but for a less strong flavor try something like safflower or canola oil. Really, whatever you try, you can’t go wrong.
If I could have dinner catered by Whole Foods every night, I would. There’s something so fun about going to the salad bar and picking out what you want to eat from so many options. Or at least it’s fun until they weigh it for you and tell you how much you eat and you stop wondering why your jacket’s a little snug.
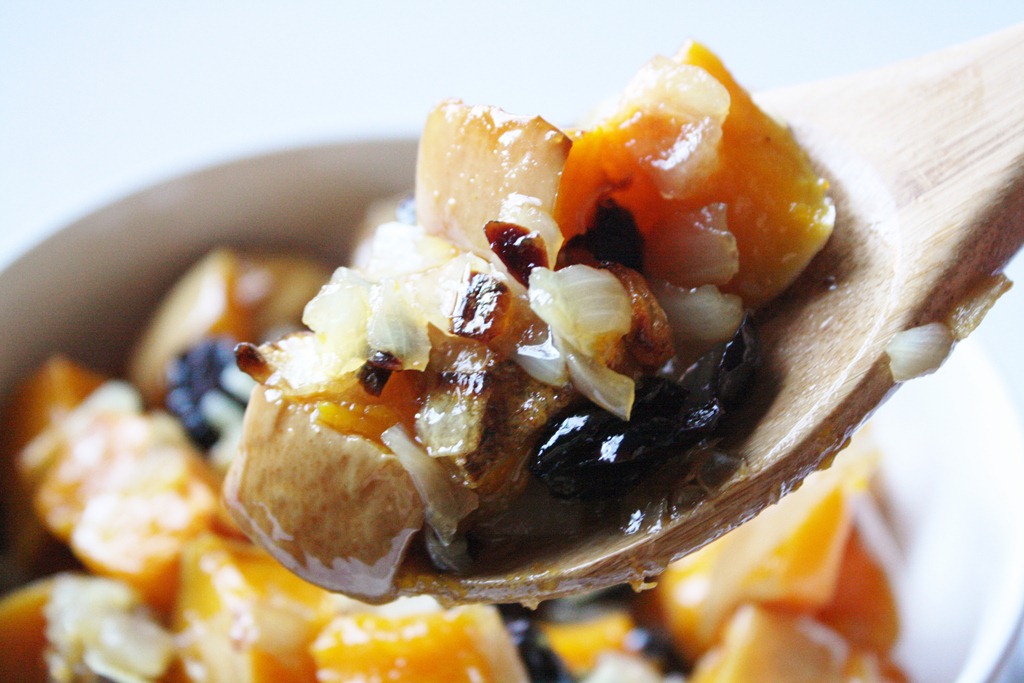
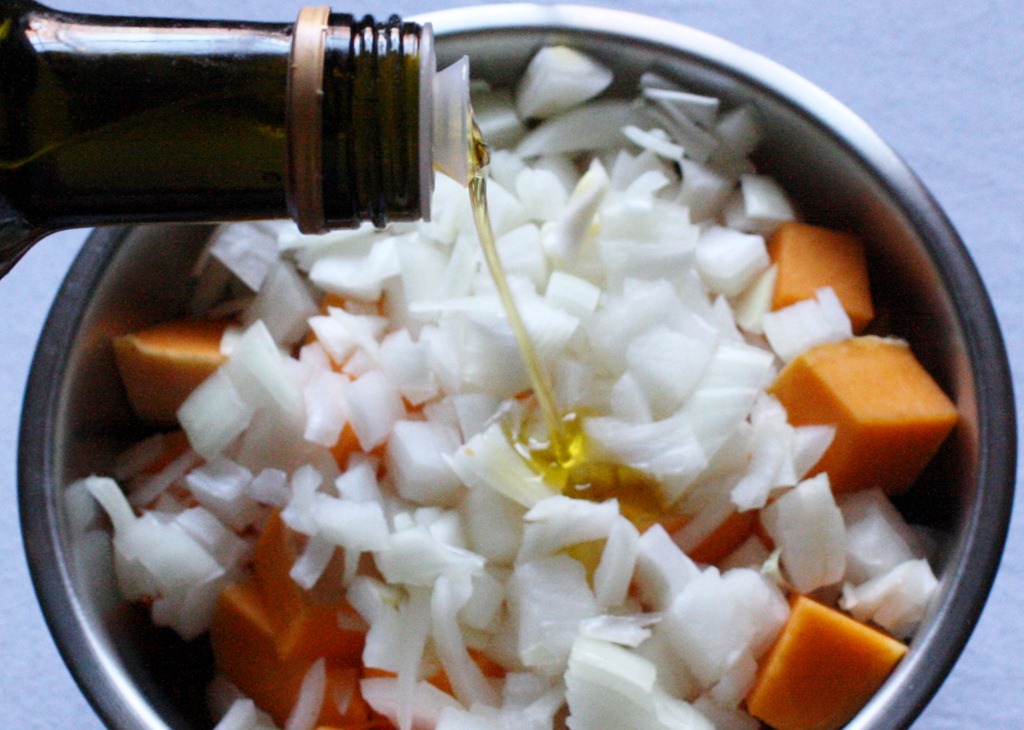
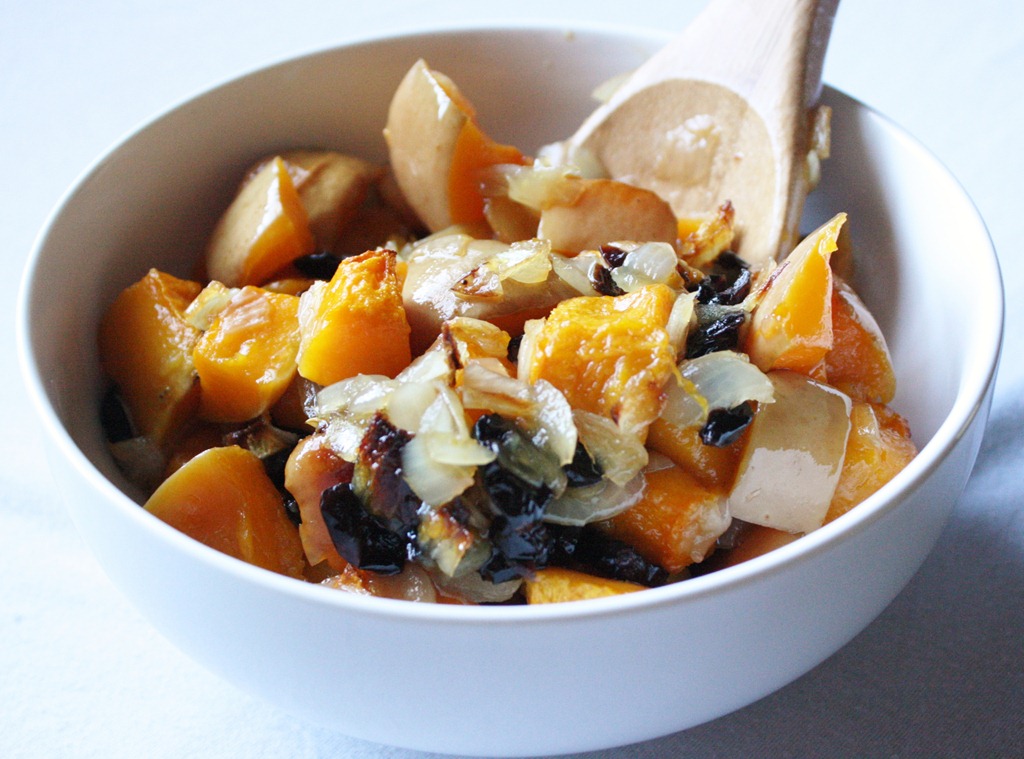
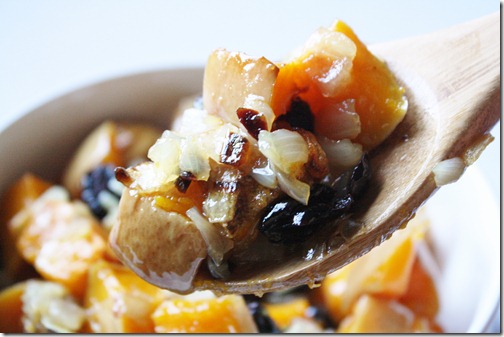
Last time I was there, I had this roasted squash and onion casserole that made me go back and buy all the ingredients to make my own. It was mind-blowing, and now this recipe is, too. It’s deliciously sweet and could get the pickiest eater to eat their veggies.
Roasted Squash With Caramelized Onions And Craisins
Ingredients(Makes 4 servings):
Preheat an oven to 375 degrees.
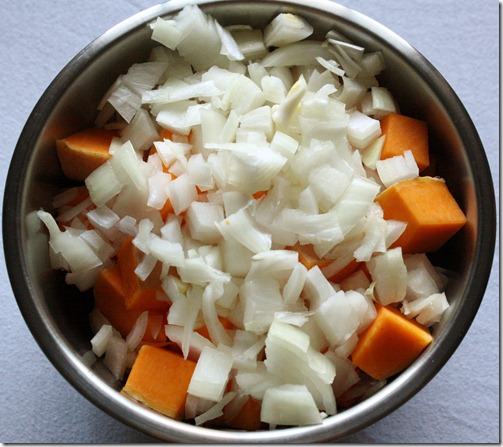
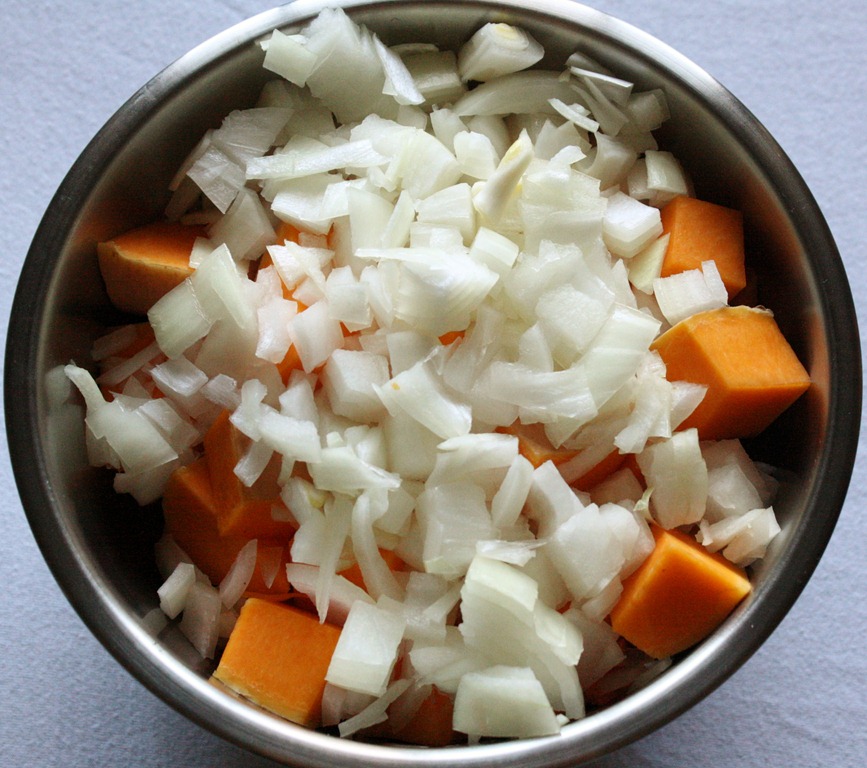
If you haven’t already, dice the squash and onion into bite-sized pieces.
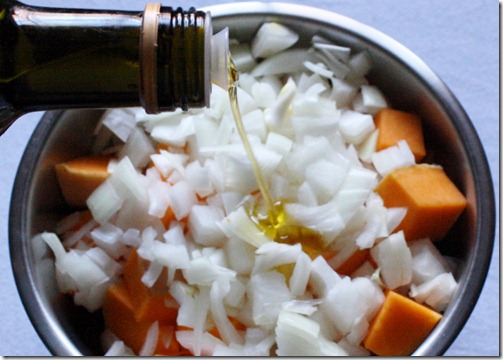
Combine the onion and squash in a bowl. Pour in the olive oil and sea salt. Toss all the ingredients together.
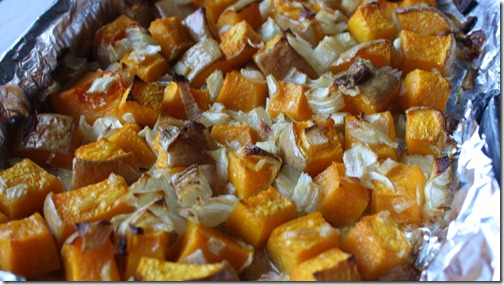
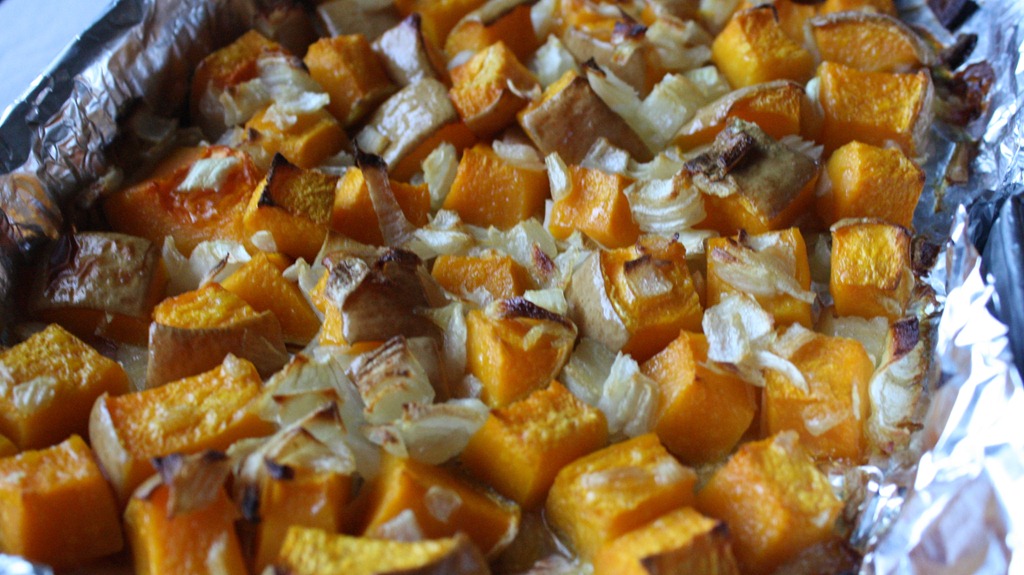
Lay the vegetables out on a baking tray and bake for 90 minutes
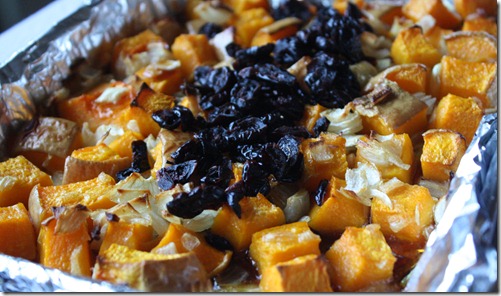
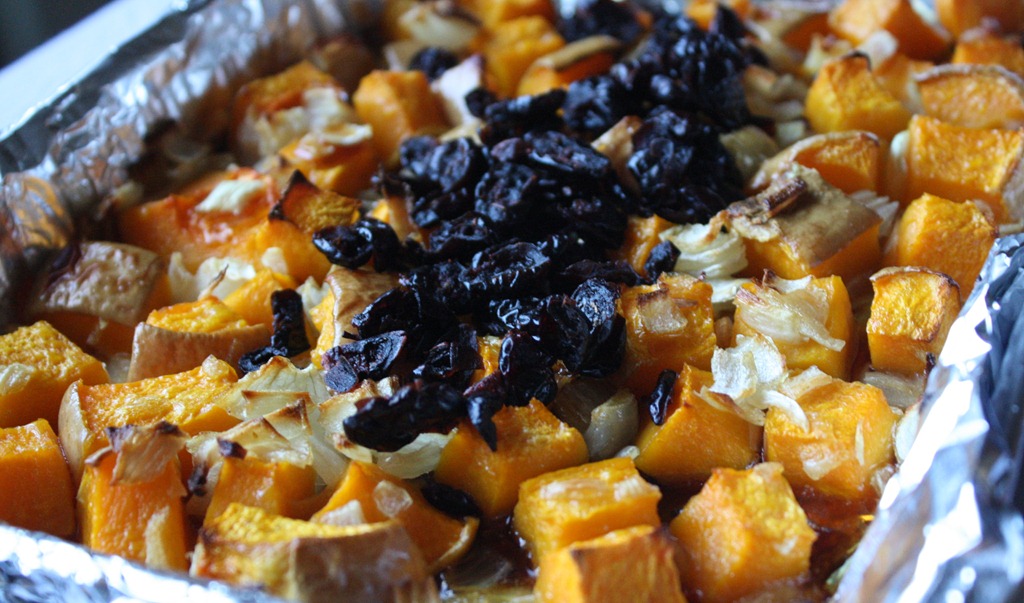
Add in the agave and craisins and mix the all the ingredients together. Drain any excess liquid and serve hot.
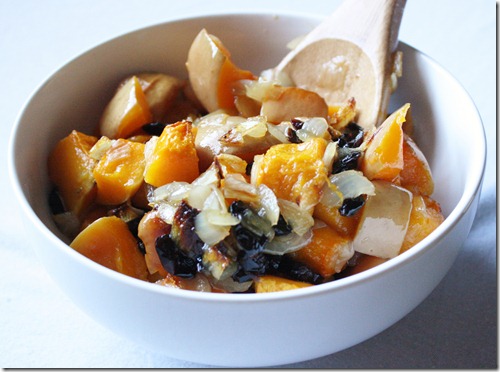
I truly forgot how much I loved caramelized onions until making this, which was gone in a flash. My breath probably still smells from them and it was entirely worth it. I’ve never been a fan of dried fruit in savory dishes but the strong, tart sweetness works really well here. It might be too soon to be planning Thanksgiving dinner, but if I were I’d add this to the list.
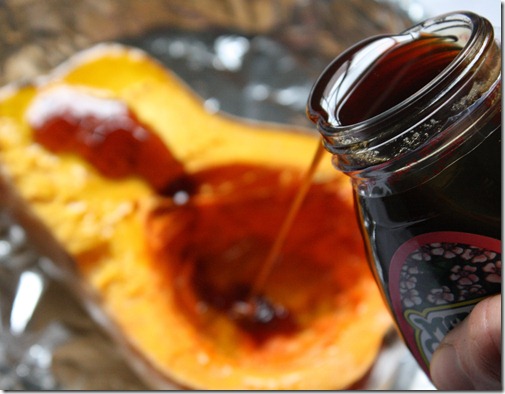
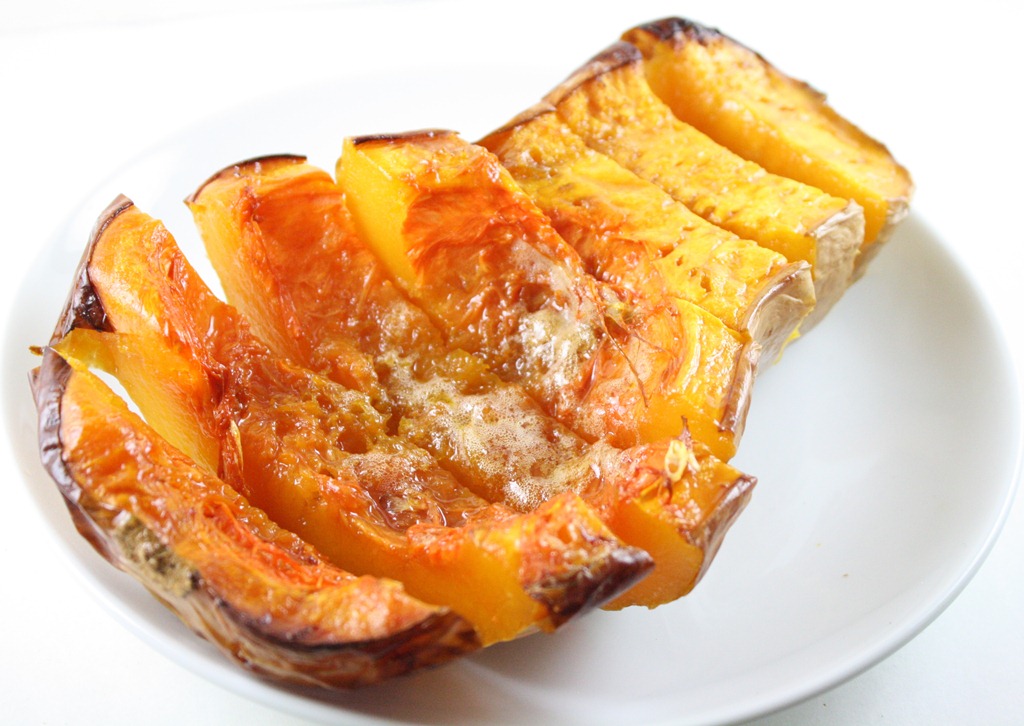
Even though Winter is ending, I still love eating any squash I can my hands on. They aren’t exactly Spring or Summer fare, but neither are the temperatures, so as long as it’s cold I’m going to figure out how to eat them in new, seasonal ways. Honey and olive oil are a natural pair for any dressing, but it turns out they work together well in this cooked recipe, too. The squash came out sweet and slightly fruity; if I closed my eyes I could almost imagine it weren’t 30 degrees outside.
Honey-Olive Oil Butternut Squash
Ingredients:
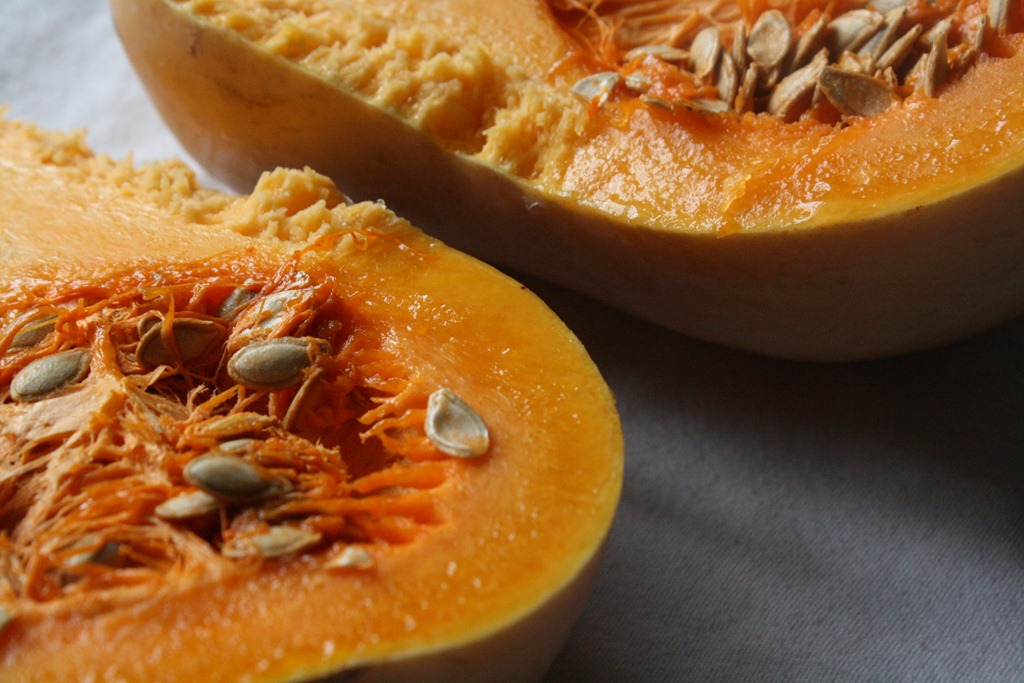
- 1 butternut squash, halved and deseeded
- 3 tablespoons olive oil
- 3 tablespoons honey
- pinch of salt
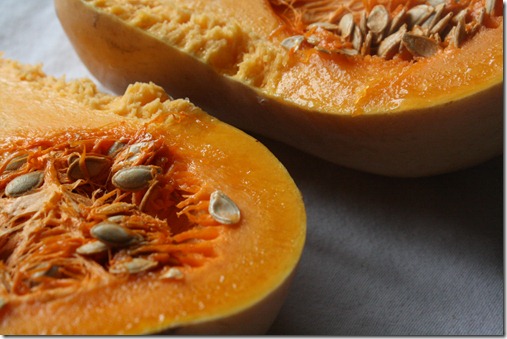
Preheat your oven to 375 degrees. Roast the squash by itself for an hour until soft and tender.
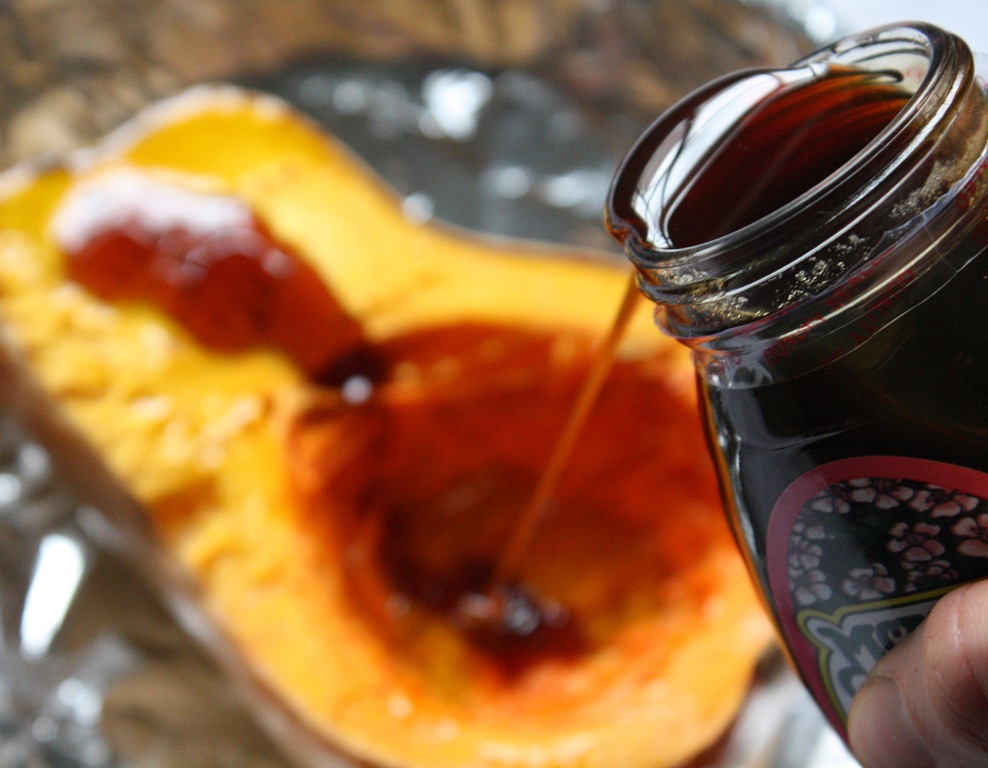
Remove the squash from the oven and poke holes in the flesh. Pour on 1 1/2 tablespoons of the olive oil and honey on each side of the squash. Put it back in the oven and cook for another 30 minutes.
Pour off the excess liquid and serve hot with a pinch of salt on top.

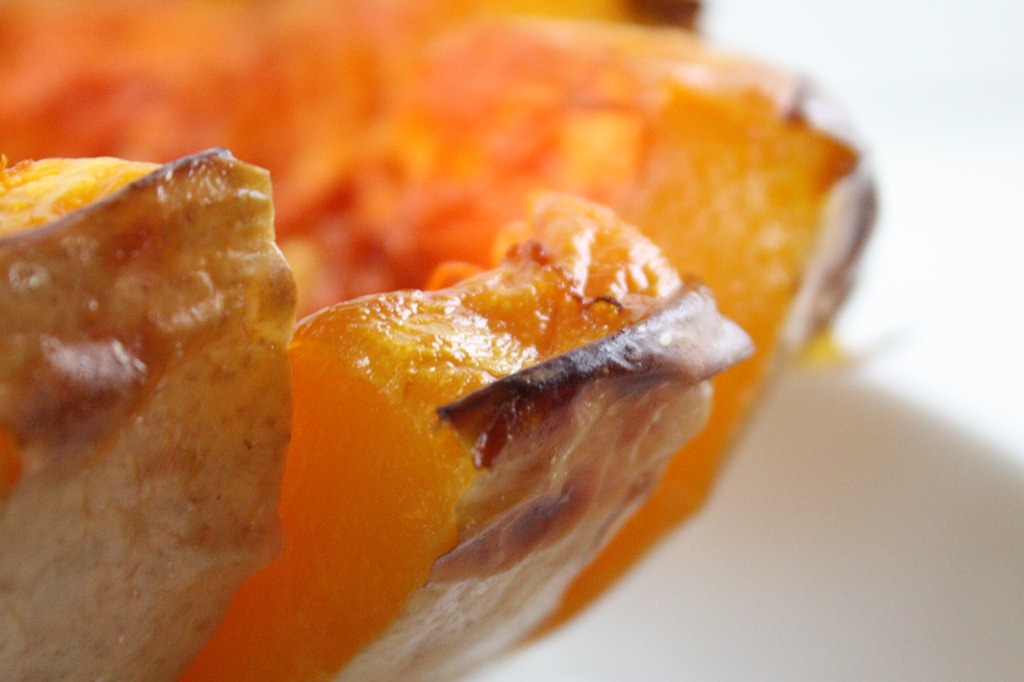
I was impressed with how strong the flavors of honey and olive oil were even after cooking; they make the squash taste more Summery and less earthy, so it was a nice depart from plain butternut squash. And because it was olive oil and not butter, it felt light.
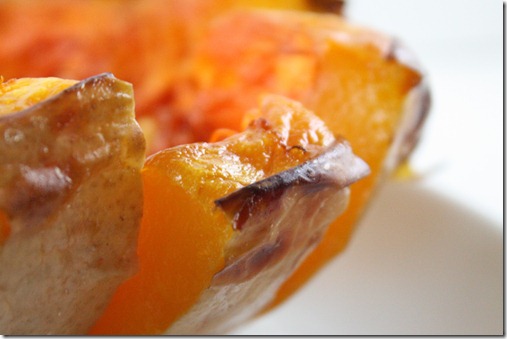
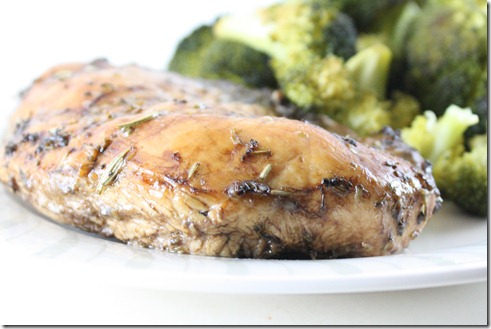
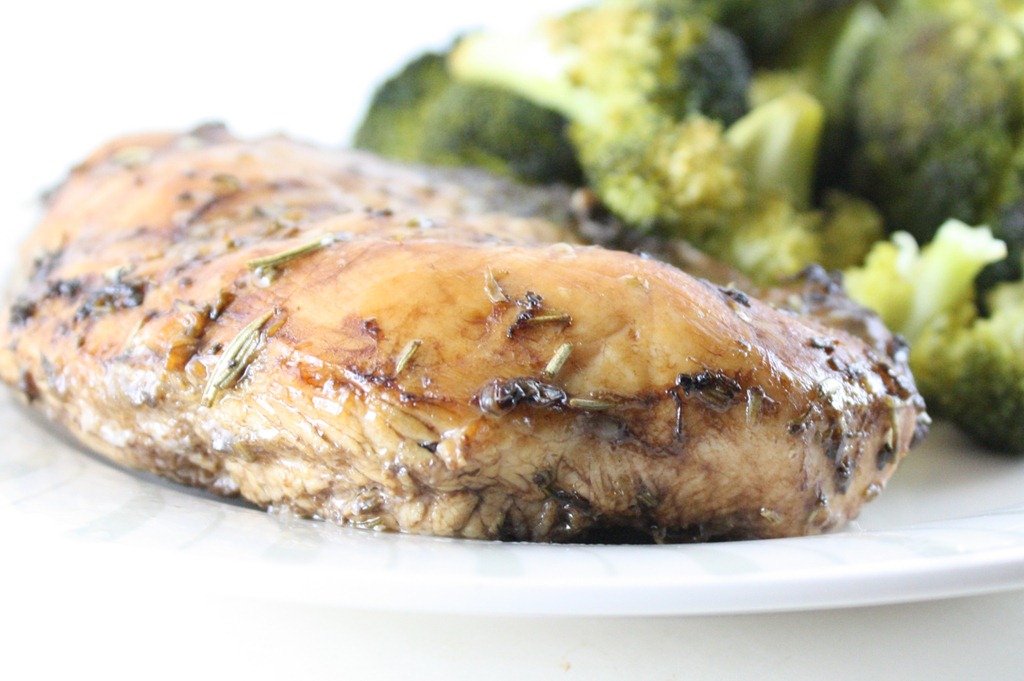
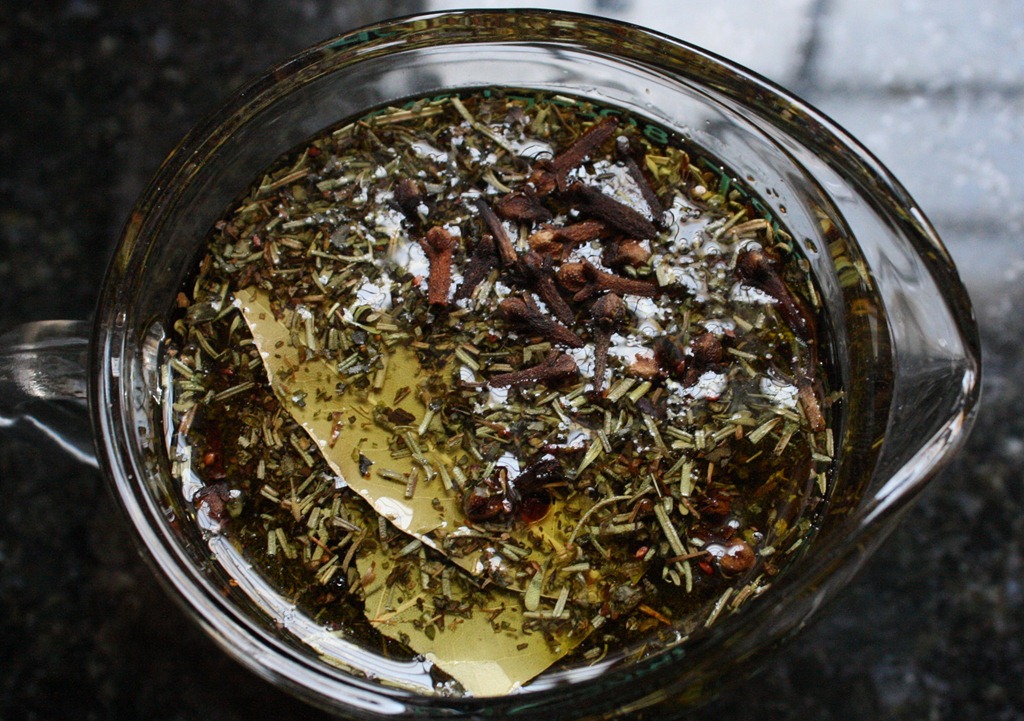
One of my favorite trips for eating I’ve ever been on was to France, particularly Provence. Everything just tasted better there. The market was full of fresh fruits and vegetables, meat and sausages. They used herbs and oils pretty liberally and the flavor shined through. One of the souvenirs I brought back was a bag of herbes de Provence. Little did I realize you can get this at most grocery stores in America. This marinade uses the oils, vinegar, and herbs for a flavorful outcome. A hint of nutmeg in the marinade brings out the earthiness of the chicken(Rachael Ray taught me that one).
Mediterranean Chicken Marinade
Ingredients:
- 1lb boneless, skinless chicken
- 3 tablespoons balsamic vinegar
- 2 tablespoons olive oil
- 1/4 cup water
- 1 bay leaf
- 2 tablespoons herbes de Provence(or any Italian herb blend)
- 3/4 teaspoon salt
- 1 tablespoon sugar
- 1/4 teaspoon ground nutmeg, or 1 1/2 Tablespoon whole cloves
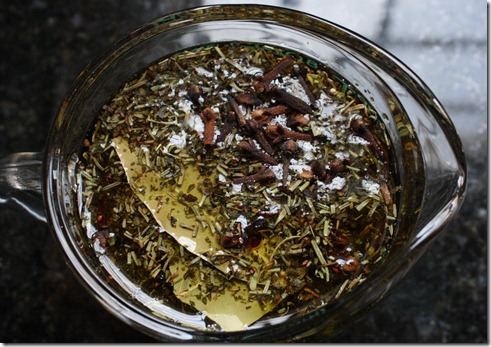
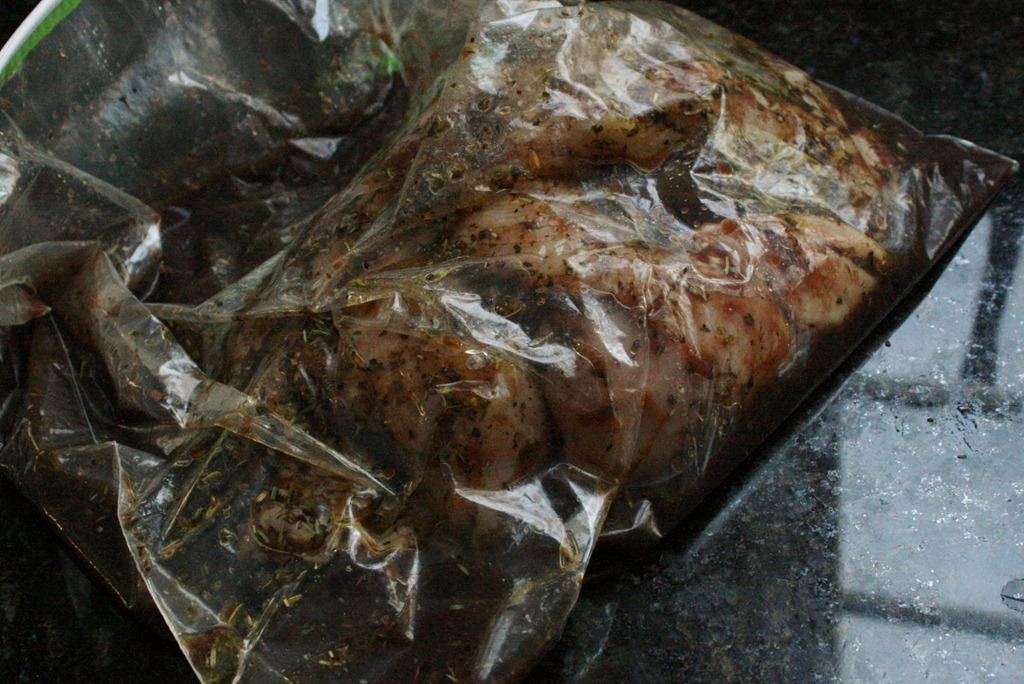
Mix together all of the ingredients except the chicken to make the marinade. Pour it into a Ziploc bag and add the chicken. Leave the chicken in the refrigerator for 8 hours or overnight to marinate.
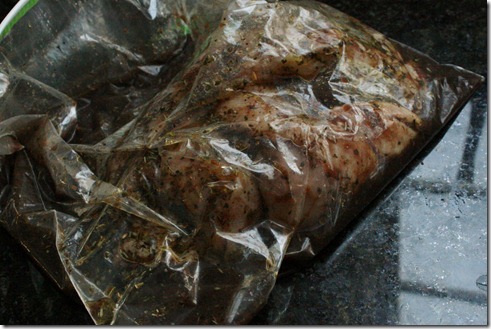
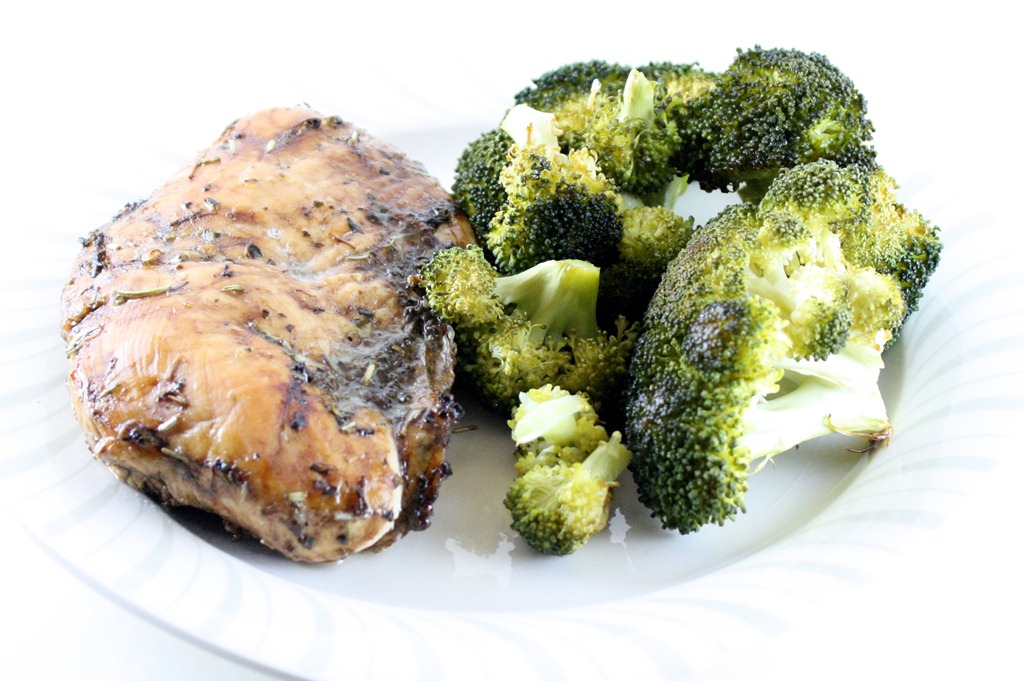
Once ready, preheat an oven to 350 degrees. Bake the chicken in its sauce for 45 minutes or until done if you’re using a thick cut like the breast. Remove the bay leaf and any whole cloves of nutmeg before serving. Pour some of the excess sauce at the end on top for added flavor.
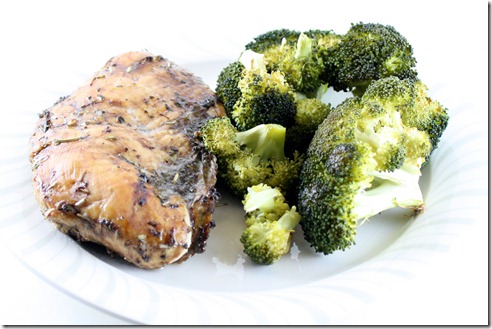
The olive oil and herbs make this taste fresh and flavorful straight from the oven. It’s excellent with some light vegetables with the extra liquid poured over them to join the flavors. This is one of my new favorite recipes to throw together in the morning and cook at night.
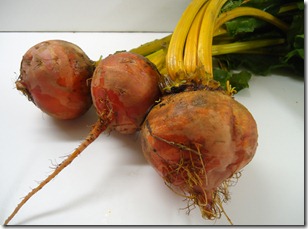
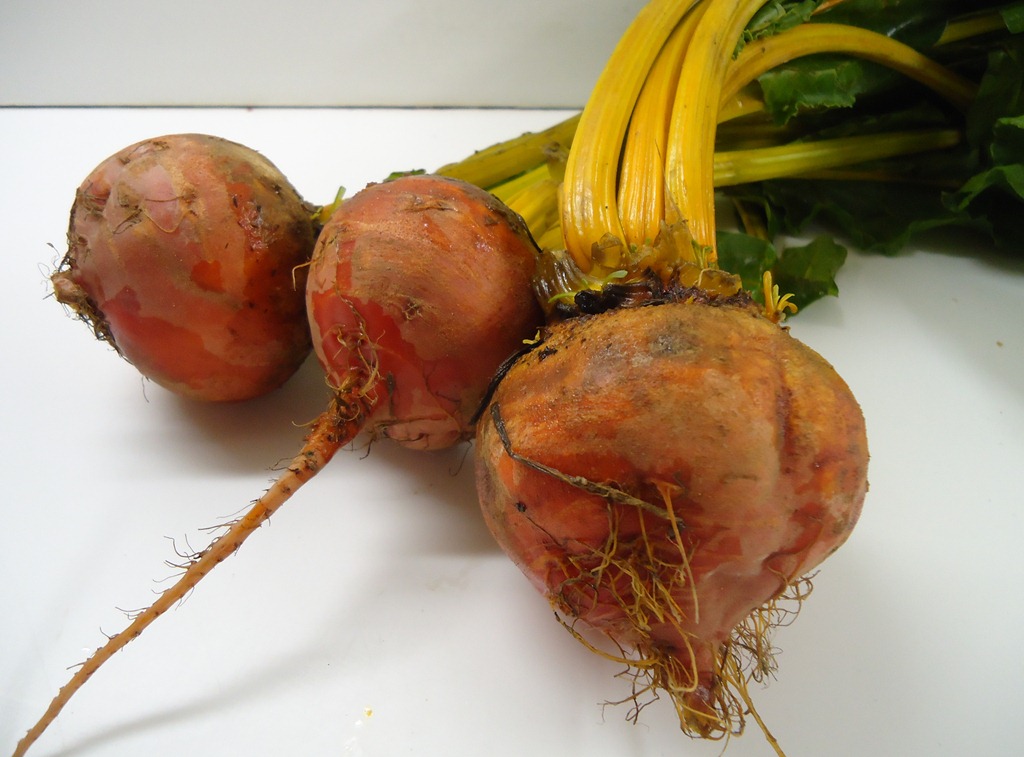
Let me tell you a little story. Nowadays I love beets because of their sweet flavor. Doug was speaking the truth when he called them nature’s candy. The first time that I tried them, I really fell in love with them and ate them as often as I could. But, you see, no one told me of their nasty side effect where everything comes out the same color it went in. And so for 2 weeks I thought I was dying, unknowing that my “grave condition” was—in fact—beet juice, until I confessed my problem and asked to be taken to the hospital.
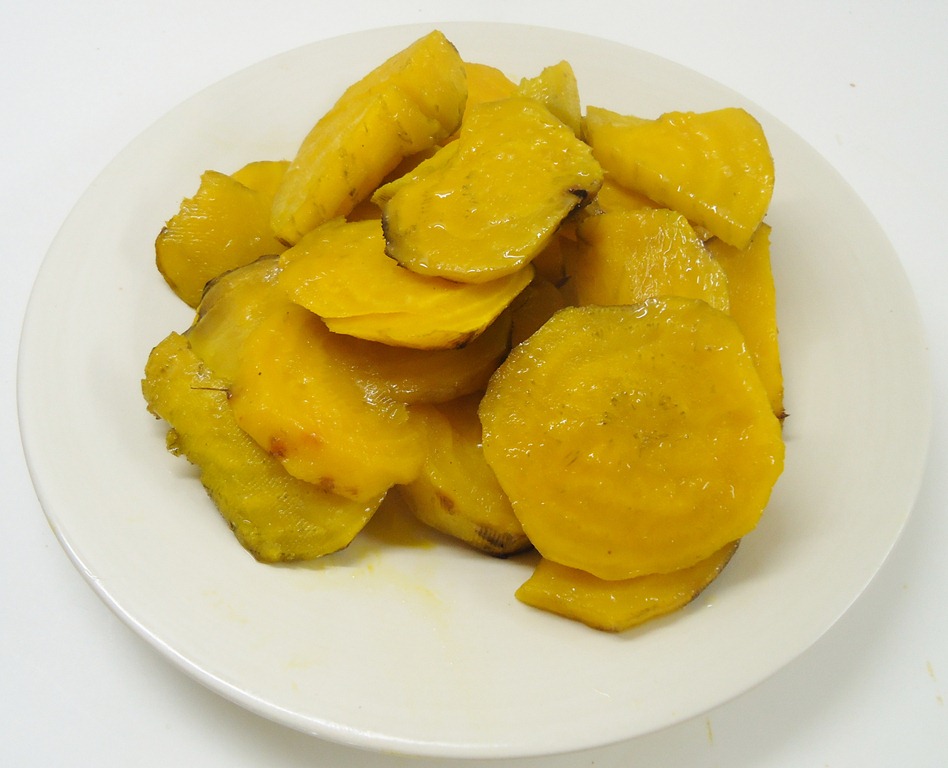
The lesson of the story? Eat golden beets. Because no one gets worried when their pee is a little too yellow. They also taste like candy from their natural sweetness, and when mixed with a little salt and vinegar become the perfect side dish for any meal.
Roasted Golden Beets
Ingredients:
- 1 bunch golden beets
- 2-3 tablespoons olive oil
- 1/4 teaspoon salt
- a splash of white vinegar
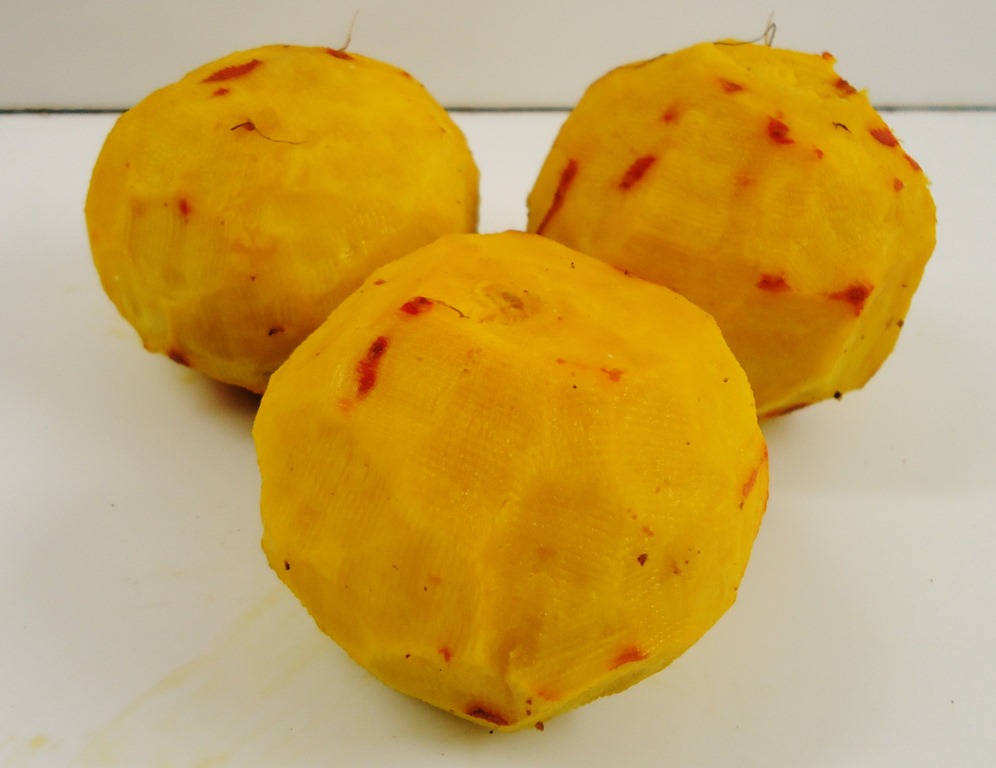
To start, trim the stems from the beets and peel off the outer skin with a sharp paring knife. Preheat an oven to 375 degrees.
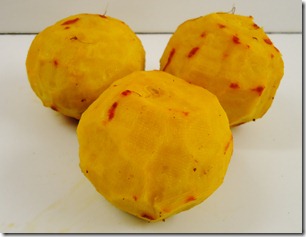
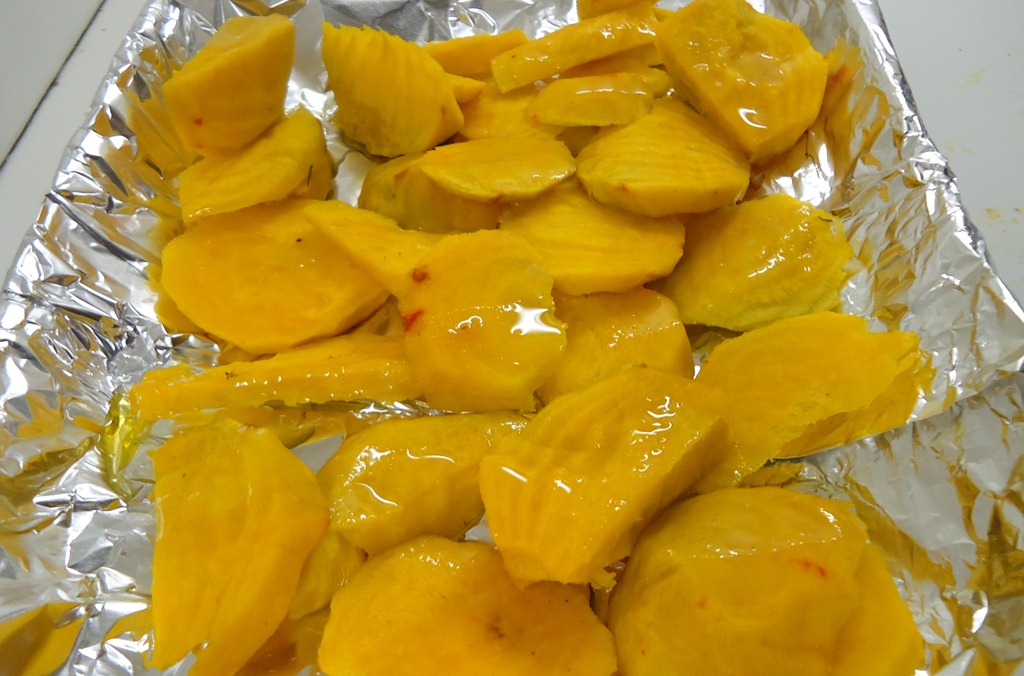
Cut the beets into vertical slices about 1/4 inch thick. Be careful not to cut yourself. Use a non-slip board and a sharpened knife for the easiest cutting.
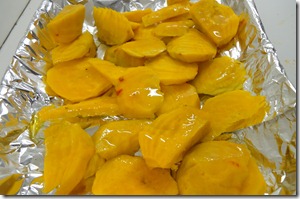
Next, lay the beets out on a single layer on a baking tray and drizzle the olive oil over them. Toss to coat. Roast the beets for 30-35 minutes, or until a fork goes in tender.
Lastly, drain off any excess oil and toss the cooked beats with salt and a splash of white vinegar. Serve hot.
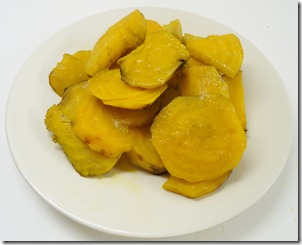
Now we can just ignore that embarrassing story I told you and eat golden beets, right?
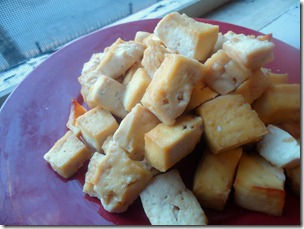
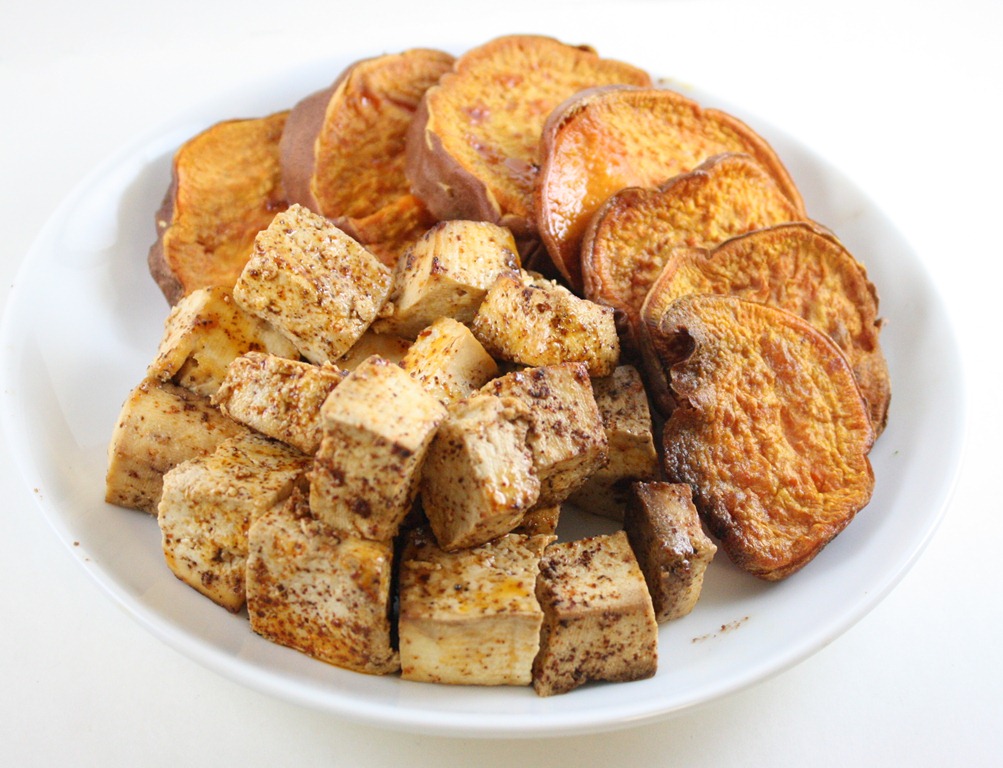
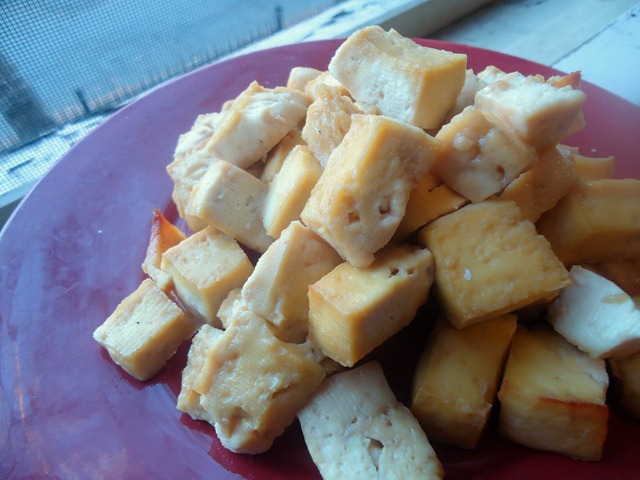
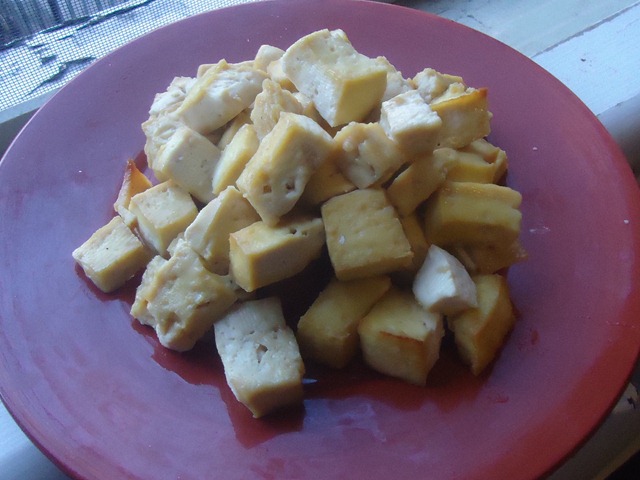
I love when people ask me what to do with tofu. I could go on and on and on because there are so many different ways to cook and flavor it; it’s really really versatile! But more often than not I’ll give them this recipe. Why? Because it’s 3 ingredients and so so simple. Best of all—It doesn’t taste “tofu-y”. If you or anyone you know have been intimidated by tofu, give this recipe a try.
Maple Baked Tofu
Ingredients:
- 1 firm block of tofu, pressed
- 1/4 cup maple syrup
- 1/2 teaspoon salt
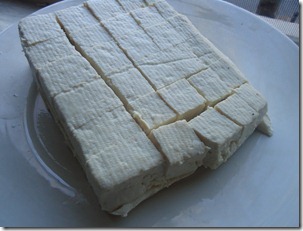
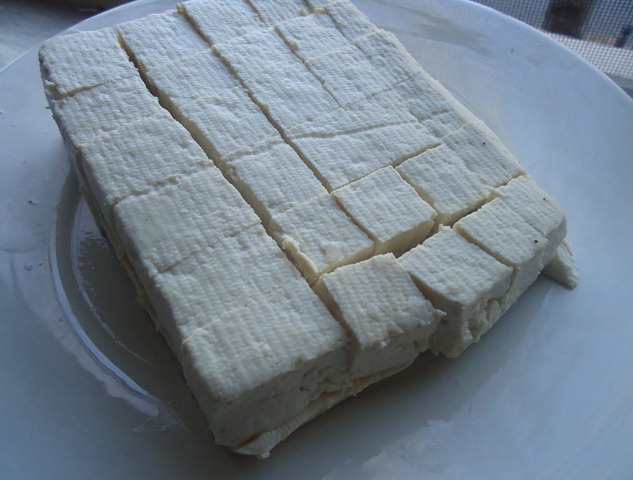
Preheat your oven to 350 degrees. Press the tofu to remove excess moisture by wrapping a towel around the tofu and placing a heavy weight on top of it. Cut it into bite-sized cubes.
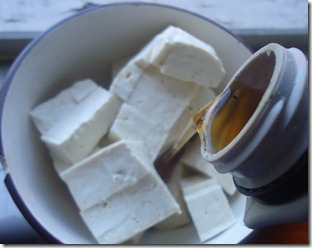
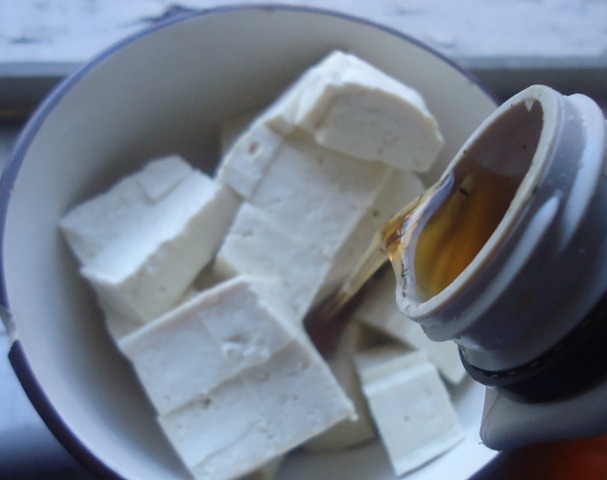
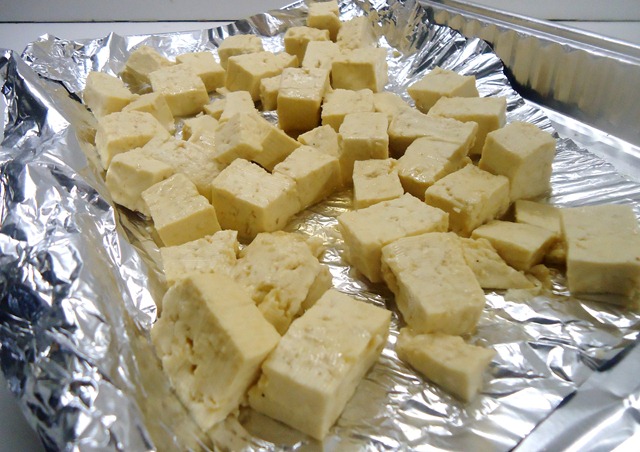
Toss together all the ingredients in a bowl to coat evenly. Line a baking tray with aluminum foil and spread the tofu out as a single layer.
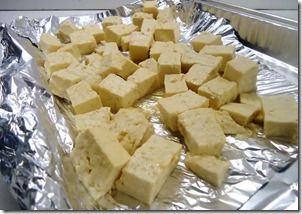
Bake for 50 minutes or until firm and golden.
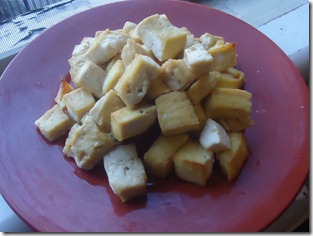
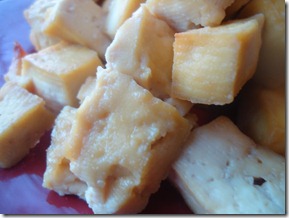
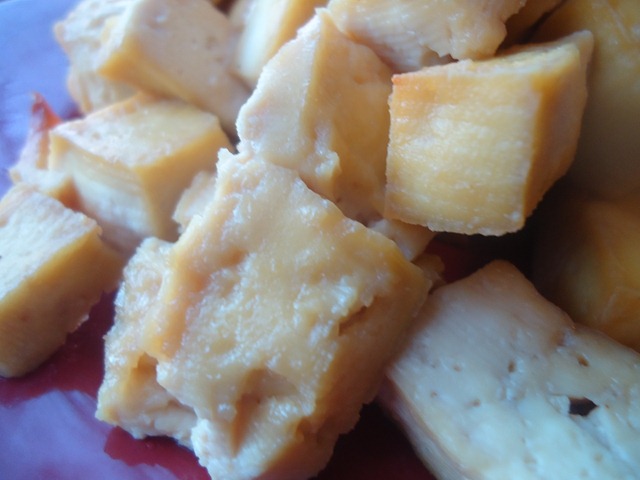
This tastes sweet, salty, savory, and golden. It’s so simple to make and yet has such flavor. The texture is meaty, sort of like chicken breast. And it goes perfect with roasted vegetables in the Fall, too! Even if you’re scared of tofu, try it! You won’t be sorry.