Is it too soon to start dreaming about Thanksgiving side dishes? We only have a little more than a month to go so I’m going to say not.
The truth is, warm, comforting Holiday dishes are so good there’s no reason not to eat them all season long, except that they might fill you out a little too fast. Mashed squash is a great healthy substitution for mashed potatoes when it’s not loaded with too many sticks of butter(I’m looking at you, Pioneer Woman).
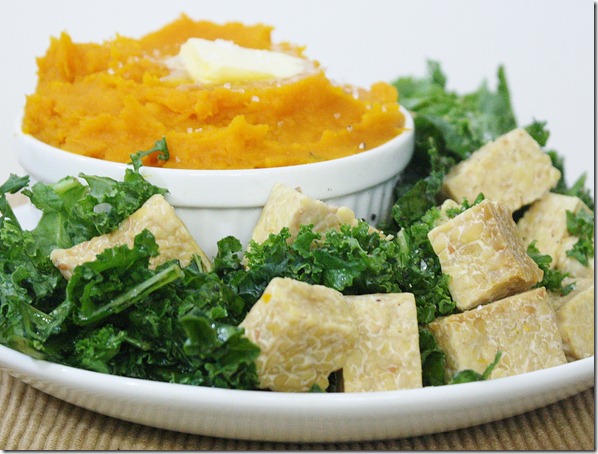
This recipe calls for a very specific type of squash: Buttercup squash, otherwise known as kabocha squash or Japanese pumpkin. This variety cooks softer and starchier than most other varieties so that it mashes more like a sweet potato but still has that distinct squash flavor to it. You can find buttercup squash at most grocery stores; I find mine at the farmers’ market where it’s probably cheapest at $4 a squash.
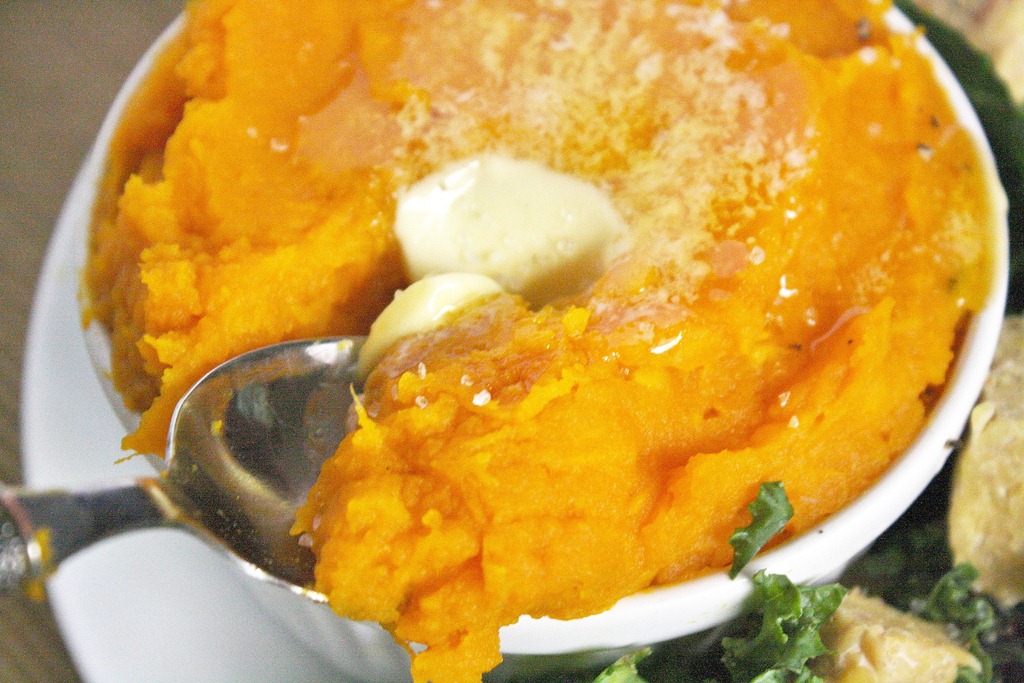
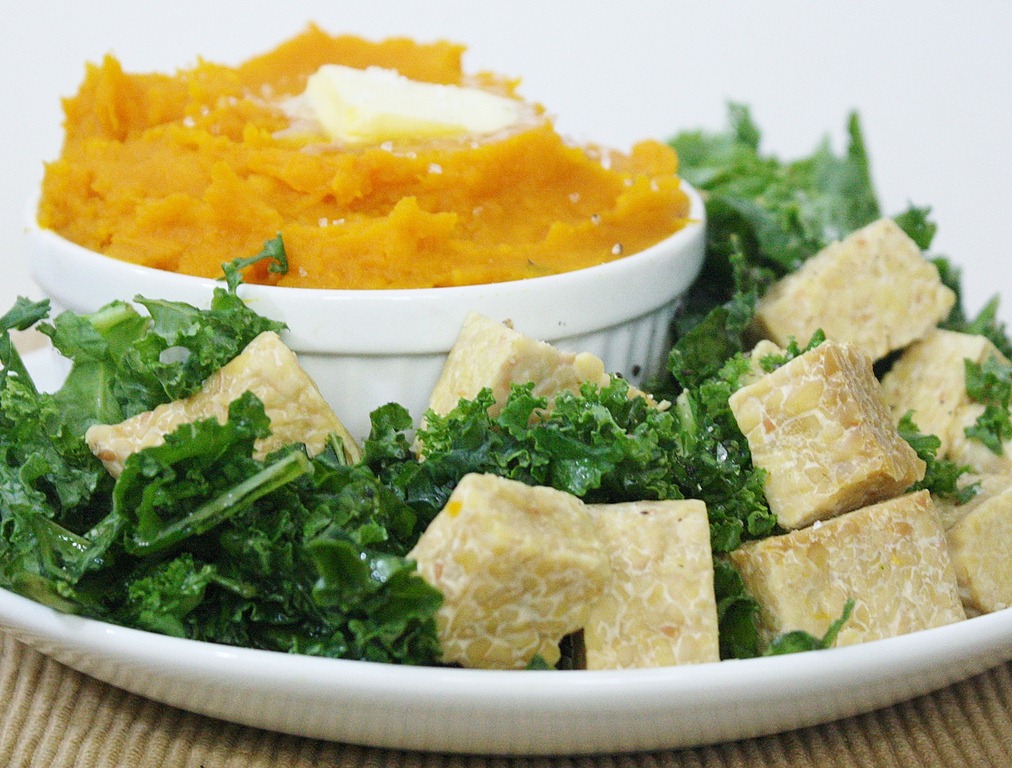
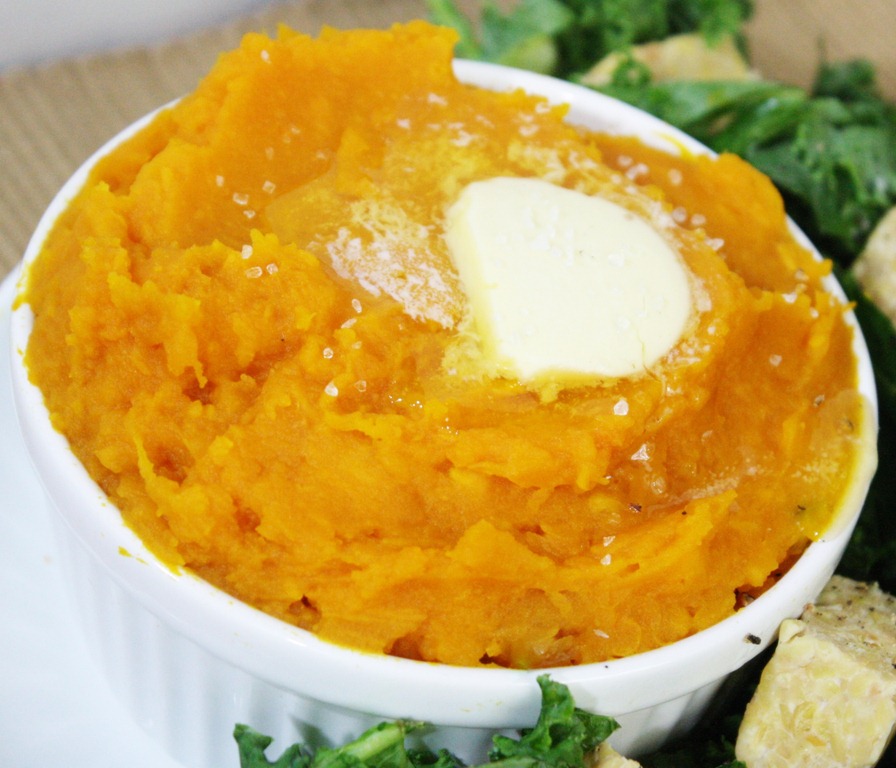
Creamy Mashed Squash
Prep time: 20 minutes
Cook time: 1 hour
Ingredients(Makes 4-6 servings):
- 1 medium-sized buttercup squash
- 6 Tablespoons butter*
- 2 Tablespoons cream or milk*
- 1 teaspoon salt
- Pinch of nutmeg
*You can also use dairy-free alternatives in place of both of these and make the dish vegan.
Method:
- Preheat your oven to 375 degrees.
- Cut the squash in half and remove the filling and the seeds.
- Roast the flesh of the squash skin-on until it’s soft and scoopable—about an hour.
- Remove the halves from the oven and wait until they’re cool enough to handle.
- Carefully scoop the flesh away from the skin and combine it in a mixing bowl. Discard the remaining skin.
- Add the butter, cream, salt, and nutmeg to the squash and mash it with a potato masher until smooth. For an even quicker and smoother method, put all of the ingredients into a food processor and blend until smooth.
- Transfer the squash to a serving bowl and serve hot.
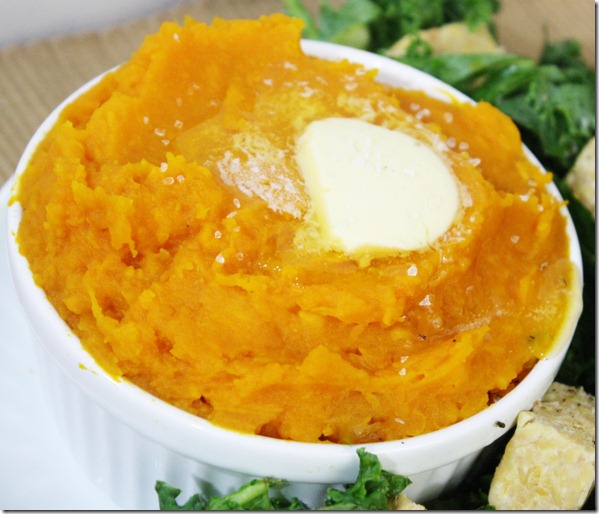
My favorite part is the pat of butter on top. It reminds me when growing up I would steal the cold foil-wrapped slices of butter from the bread basket at restaurants and eat them plain. This recipe—I hope–is a little more appetizing than that, though.
Even after almost 2 years of eating gluten-free, I’m still learning about places it can be that trip me up. Recently on Ashley’s blog I read that most restaurant fries aren’t gluten-free. Puzzled, I looked it up online and sure enough found a host of explanations why most restaurant french fries aren’t gluten-free, basically summed up by this:
- Some restaurants preserve the fries in between cutting and cooking by adding a coating including flour to soak up moisture and keep them from sticking together.
- If fries are fried in the same oil as battered foods like chicken nuggets, the oil can contaminate the fries with gluten.
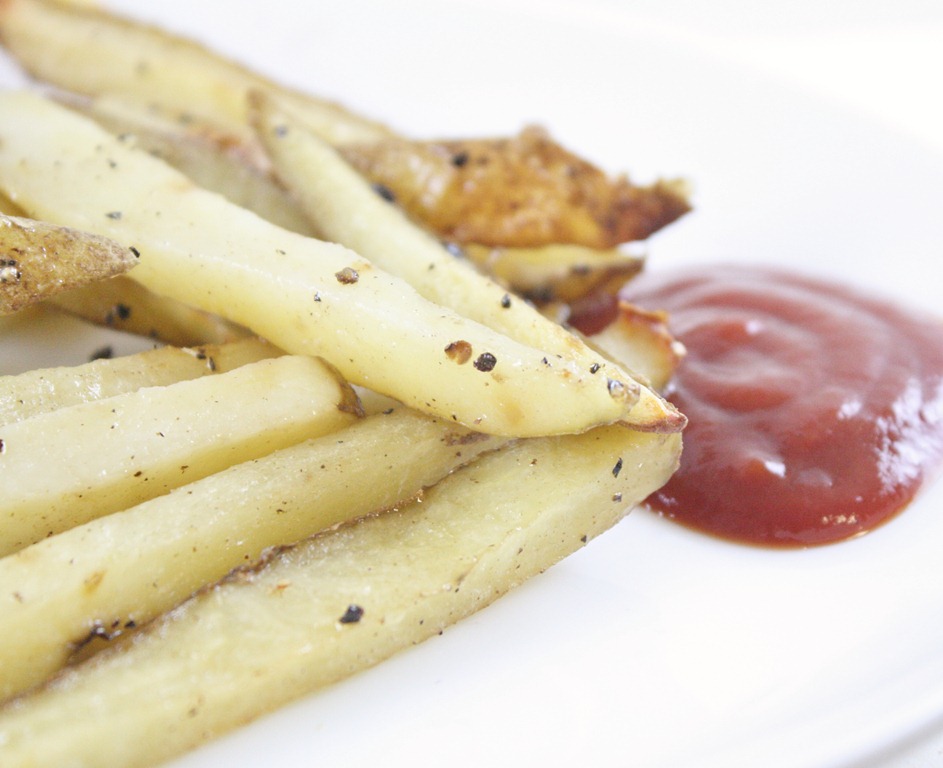
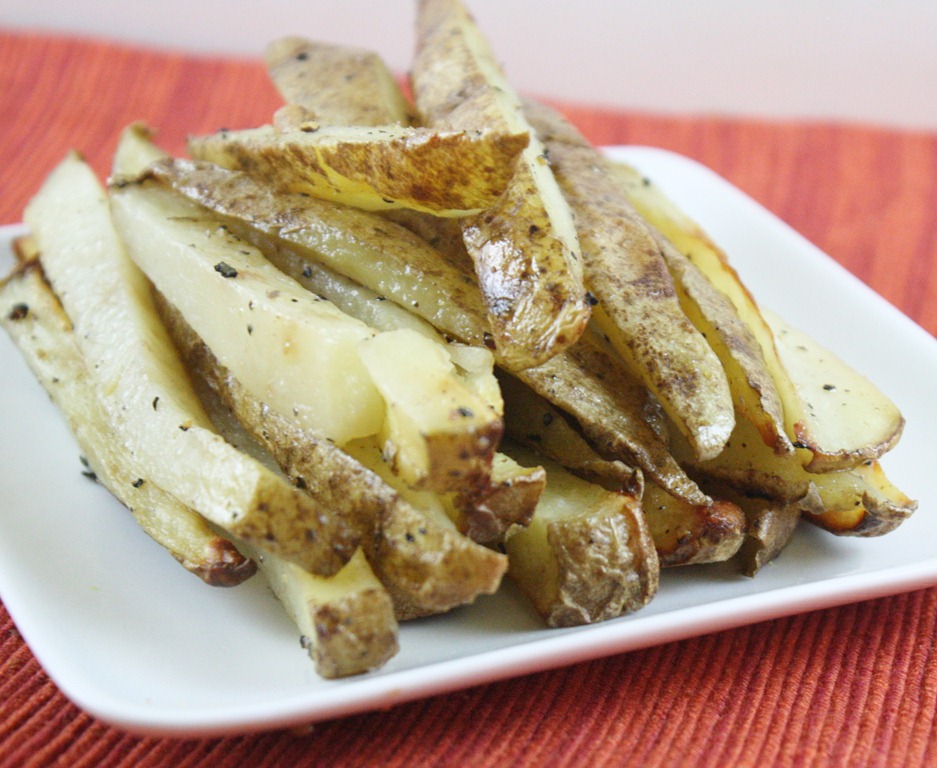
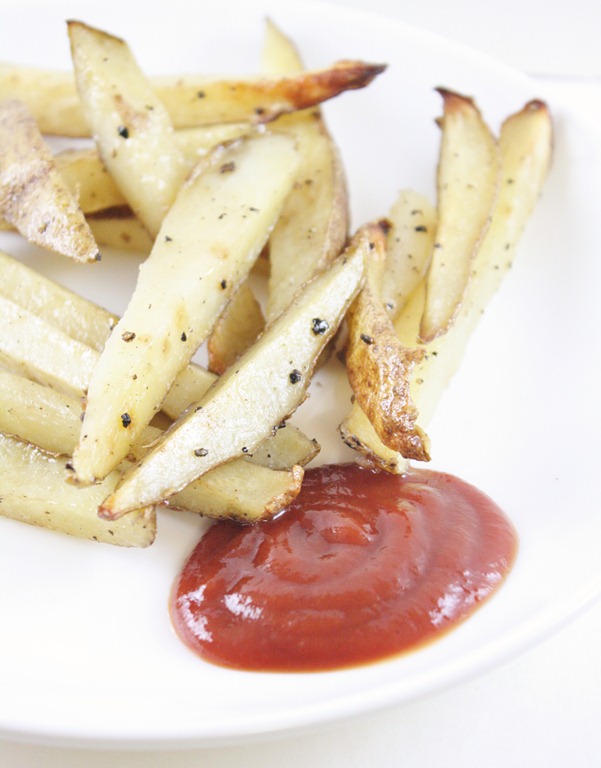
Luckily in the few instances I can think of that I’ve eaten french fries I don’t remember feeling sick afterwards. But I don’t need to be told twice to avoid something potentially harmful, especially when they’re so easy to make at home.
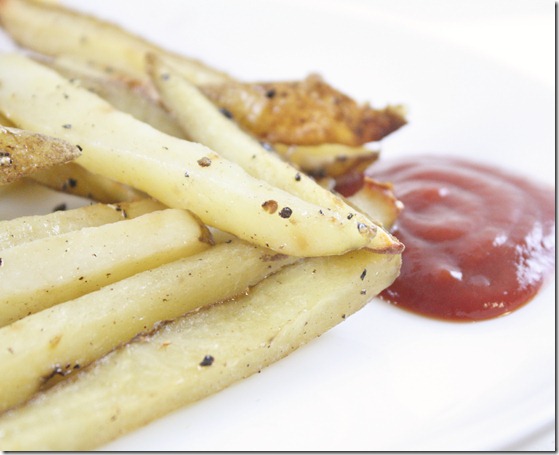
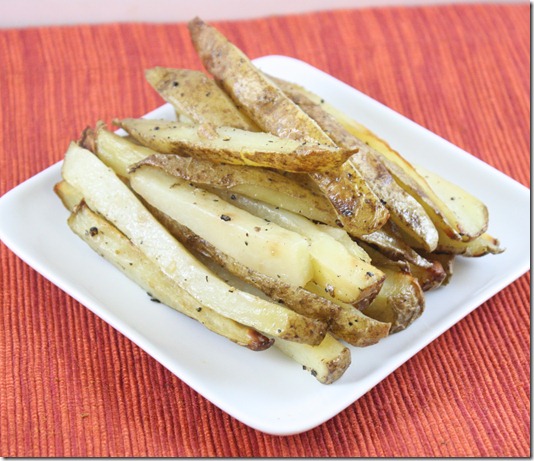
This recipe is very simple, with just what I would call the bare-bone ingredients. You can make more flavorful fries by switching up the seasoning. The vinegar in the recipe helps to give the fries a more authentic flavor without overpowering the seasoning. Definitely don’t leave it out, and don’t worry about the fries having a strong salt and vinegar taste because they most certainly don’t.
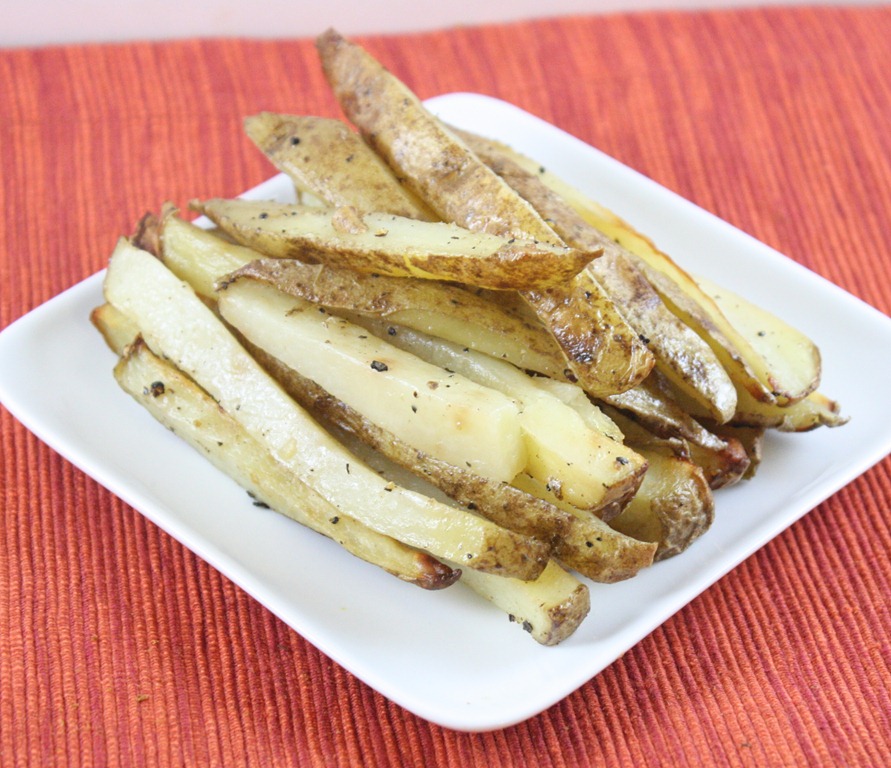
Oven Fries
Prep time: 10 minutes
Cook time: 50 minutes
Ingredients(Makes 2 servings):
- 2 medium-sized russet potatoes
- 2 Tablespoons oil
- Splash(about 1/2 Tablespoon) vinegar
- 1/2 teaspoon salt plus more for finishing
- 1/4 teaspoon black pepper
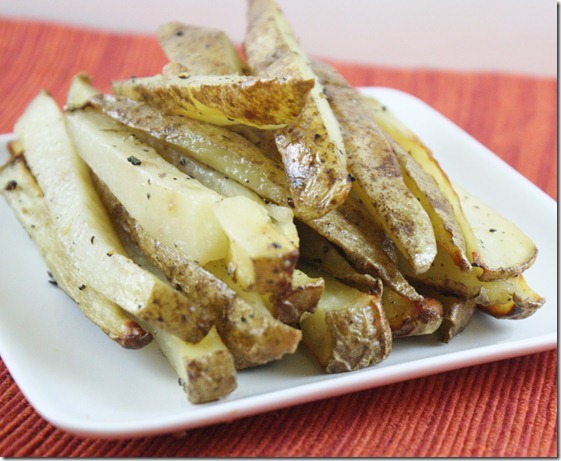
Method:
- Preheat your oven to 375 degrees.
- With a sharp knife, cut the potatoes horizontally and then lengthwise into long, thin fry shapes.
- Toss the fries with the oil, vinegar, salt, and pepper until completely coated.
- Line the fries out on a baking tray in a single layer. Bake for 50 minutes or until the ends are crisp, flipping occasionally to cook on all sides. Sprinkle with extra salt and serve immediately.
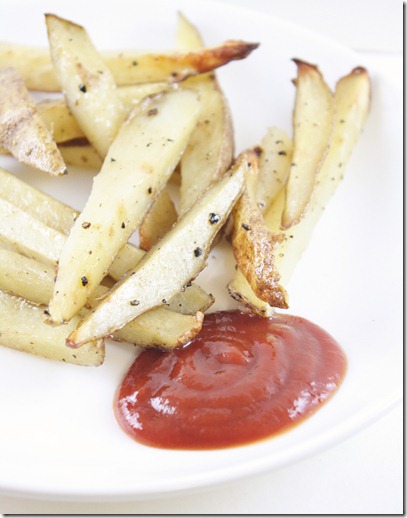
Serve with ketchup, obviously. I like Trader Joe’s ketchup because it’s more tart than most others but since I don’t live near one I use Whole Foods brand organic ketchup. Did you know organic ketchup has up to 8 times the lycopene of non-organic brands? Add that to the list of useless facts you’ll never need.
I’m a very brand-loyal person, whether it be the shoes on my feet or the food on my plate. One brand I absolutely love is Attune Foods. I met their representative Annelies at the Chicago Healthy Living Summit; her passion for Attune’s healthy line of cereals and chocolate was immediately apparent and impressed me and I’ve been a fan ever since.
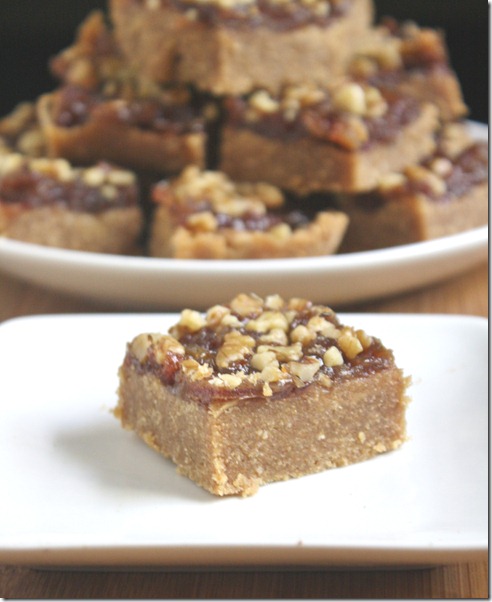
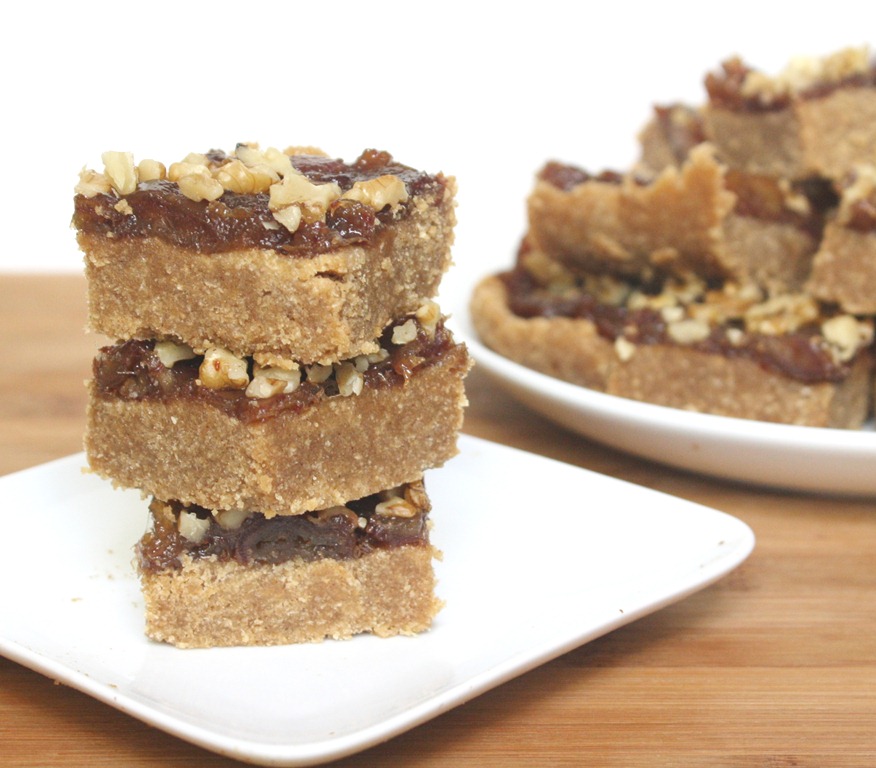
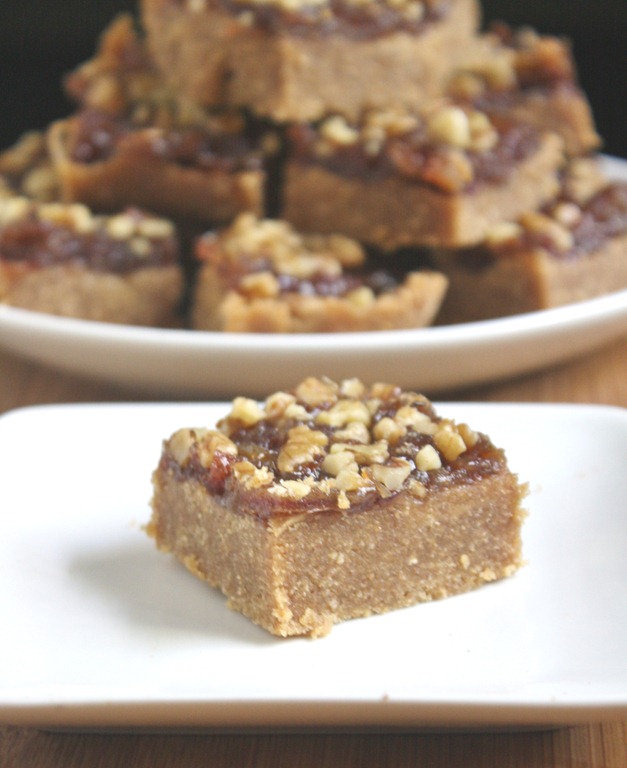
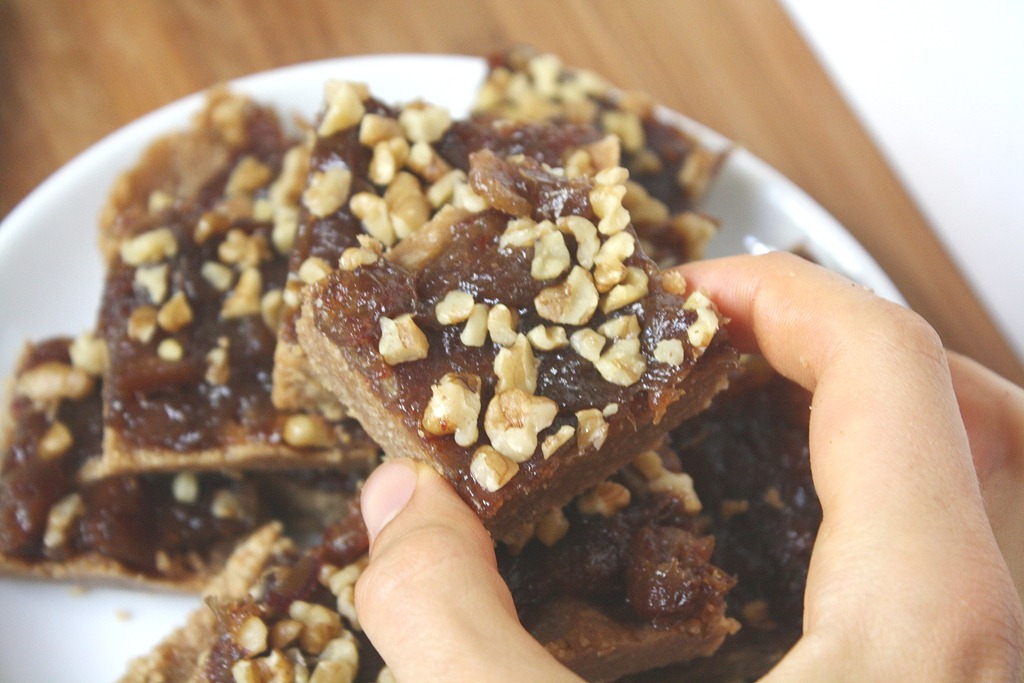
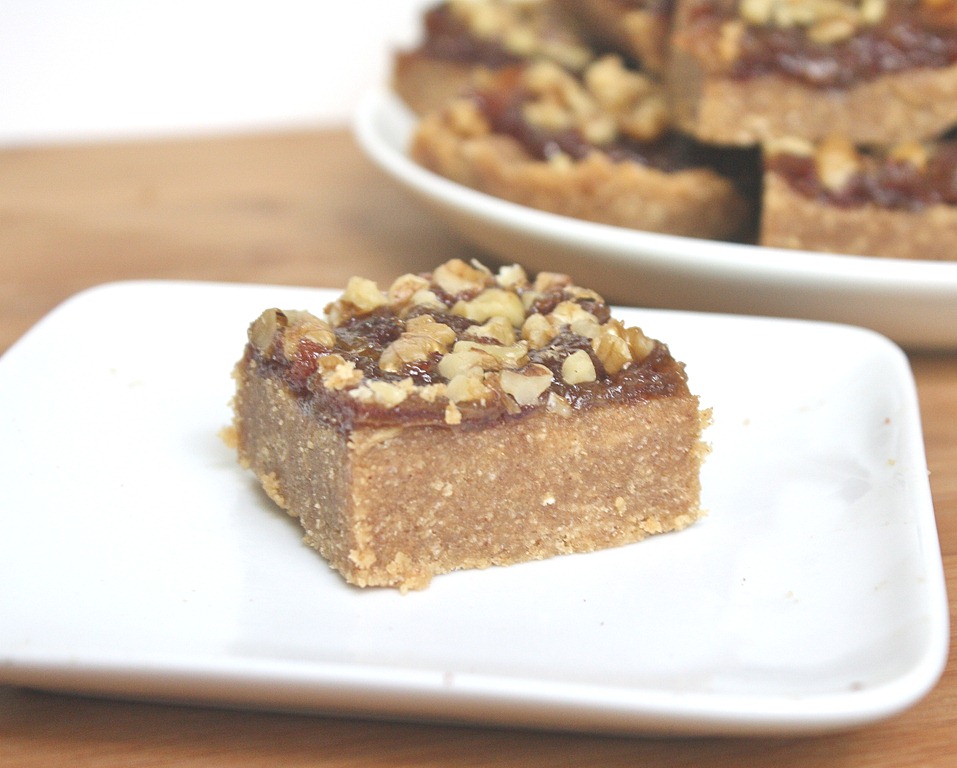
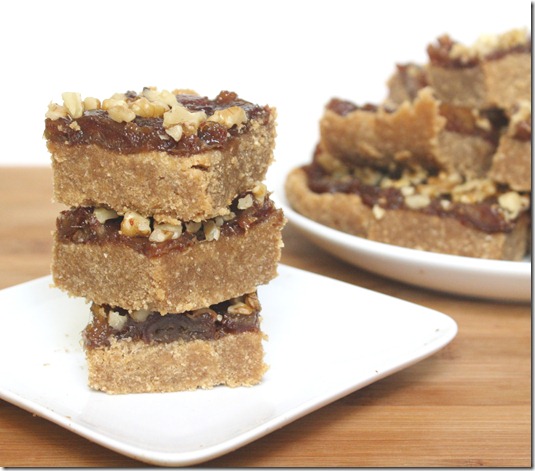
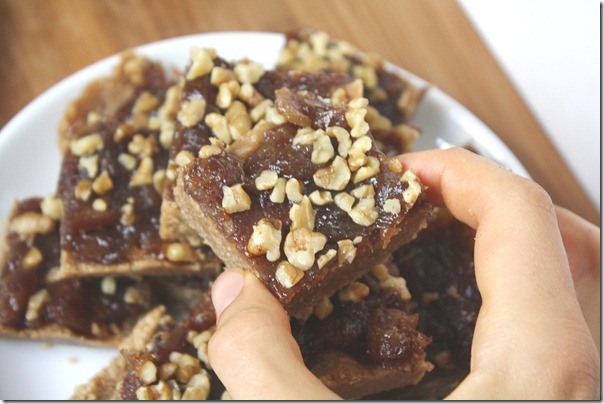
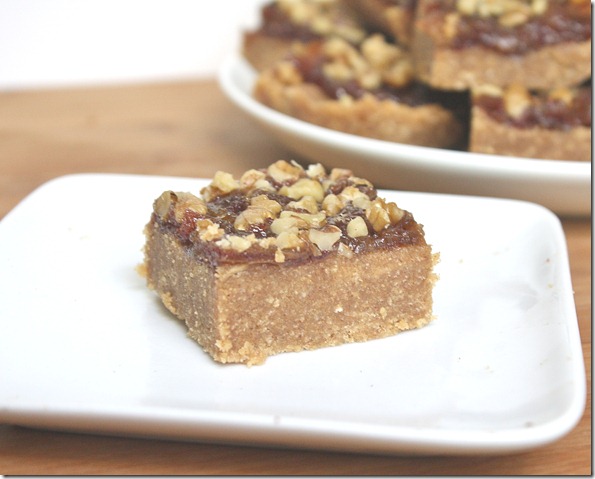
Their Erewhon line of cereals make terrific certified gluten-free alternatives to mainstream rice and corn-based cereals and have been doing so for decades. While I’m not a fan of cereal for breakfast, I do like baking with it, especially for no-bake desserts like this one. These bars have the same flavors as my other date bar recipe but are so much simpler to make. The bottom layer is only slightly sweet with a nutty and spicy rice flavor to it, while the topping adds a good punch of flavor and texture difference. It’s a quick and easy crowd-pleaser.
No-Bake Gluten-Free Date Bars
Prep time: 10 minutes
Cook time: 15 minutes
Ingredients(Makes 16 squares):
- 1 box Erewhon Rice Twice cereal
- 1/2 cup butter, melted
- 1/2 cup almond butter
- 1/2 cup powdered sugar
- 1/2 teaspoon cinnamon
- 2-3 Tablespoons water
- 1 cup dates, diced
- 1/4 cup brown sugar
- 3/4 cup water
- 1/4 cup crushed walnuts
- 1/2 teaspoon course sea salt(optional)
Method:
- In a food processor, blend the cereal until it makes a fine flour.
- Add the melted butter, powdered sugar, almond butter, and cinnamon and continue blending until mixed.
- Slowly add the water until the cereal mix starts sticking to itself. Shut off the processor and move it into an 8 by 8 baking pan and press into an even layer. Refrigerate for the time being.
- In a small pot, bring the dates, brown sugar, and water to a boil. Continue boiling until the dates are soft and mushy and the water has evaporated. Remove from the heat and mash together into a somewhat smooth puree.
- Spread the date mixture over the crust in an even layer. Top with walnuts and sea salt if using. Chill for at least one hour before cutting into squares.
The Attune Foods October recipe challenge is open until October 20th. They will also be holding a November and December recipe challenge so don’t worry if you can’t think of anything to submit for this contest period. In fact, just don’t enter so that I have a better chance of winning. Kidding. Sort of.
One of my favorite things is when readers make recipes from really old posts on this site. A lot of the time they’re recipes I’ve forgotten about. More importantly, I’ve forgotten how good some of the recipes are, too.
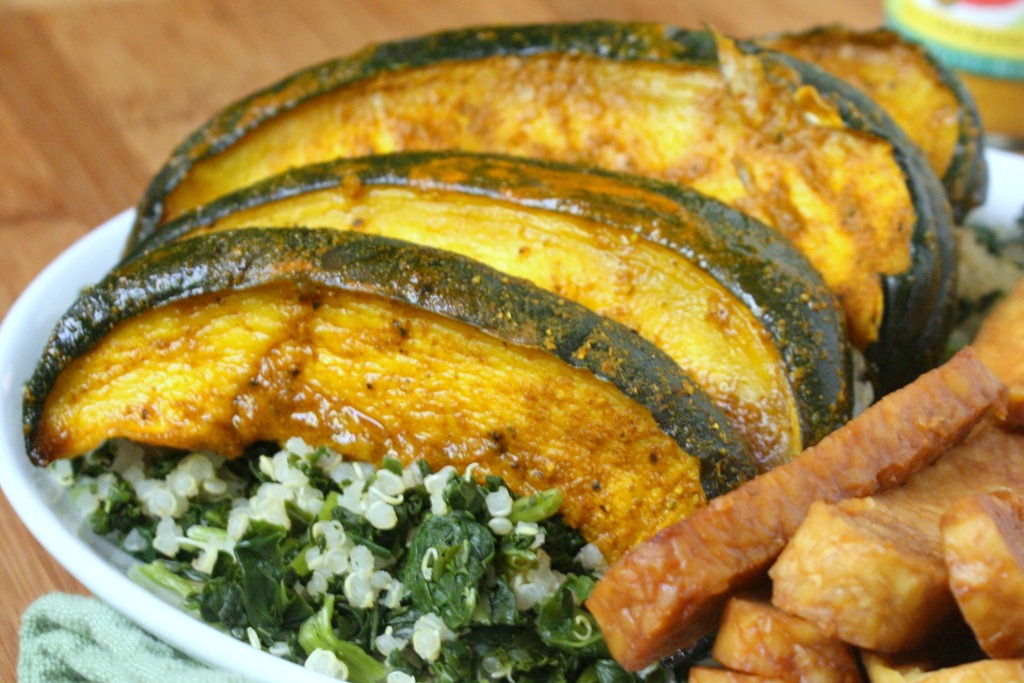
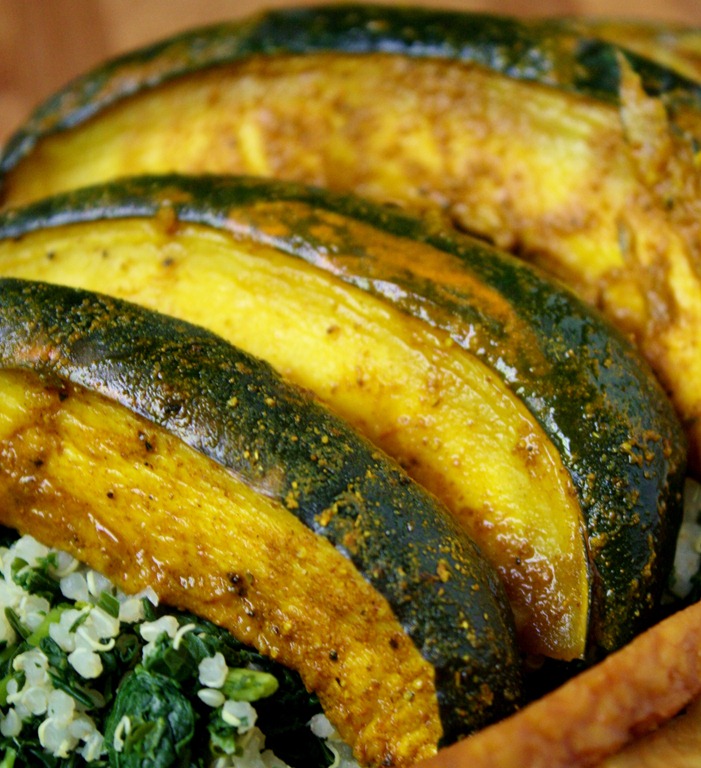
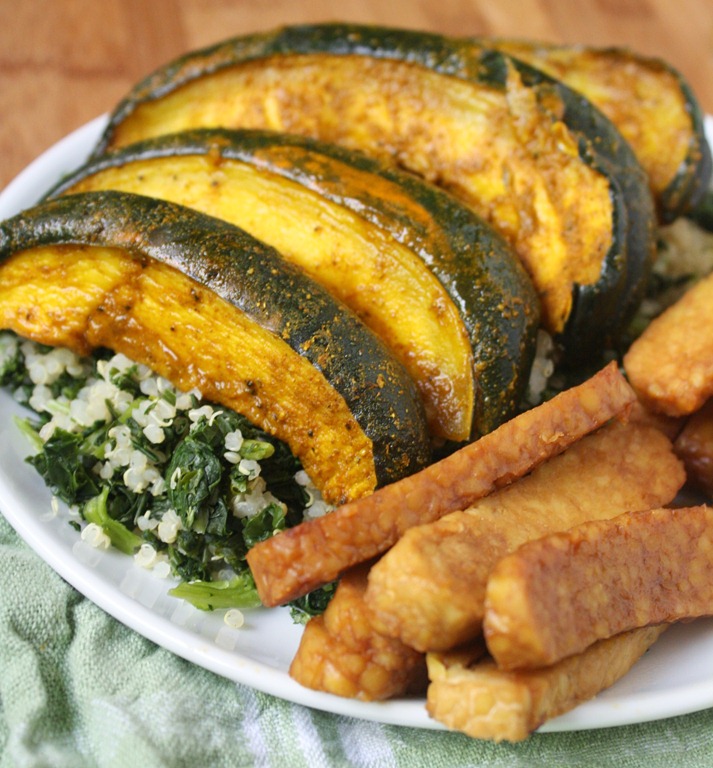
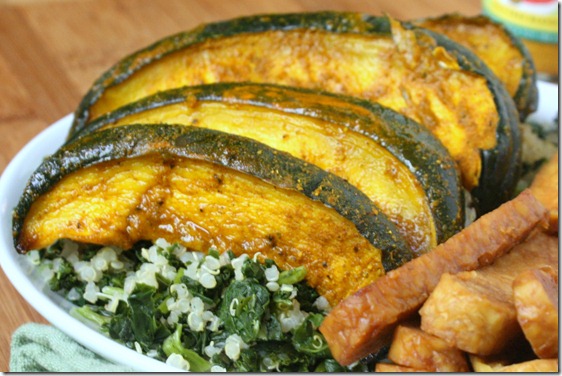
When Danielle made my maple-curry squash recipe I immediately added it to the list of foods to make. The unexpected combination of maple and curry powder work surprisingly well together for a squash that’s spicy and earthy.
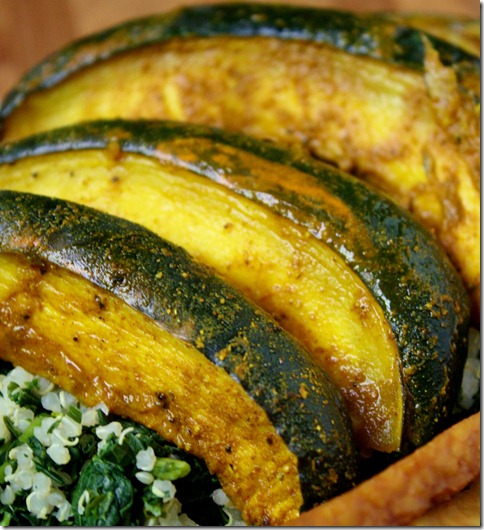
Another reason I like remaking old recipes is it gives me a chance to take better pictures. Over the past year, I’ve learned a lot about what goes into a good food photo. While I still have a lot to learn in terms of lighting and styling, I can look at these and not cringe like I do some of the photos I published when I first started writing this blog.
Maple-Curry Acorn Squash
Prep time: 5 minutes
Cook time: 45 minutes
Ingredients(Makes 3 servings):
*omit if your curry powder is already salted.
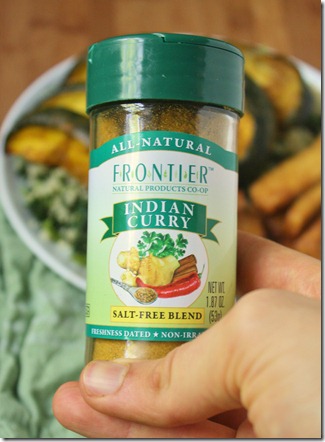
Method:
-
Preheat your oven to 375 degrees and line a baking tray
-
Cut the squash in half to remove all the seeds. Once de-seeded, cut along the ridges into thin wedges.
-
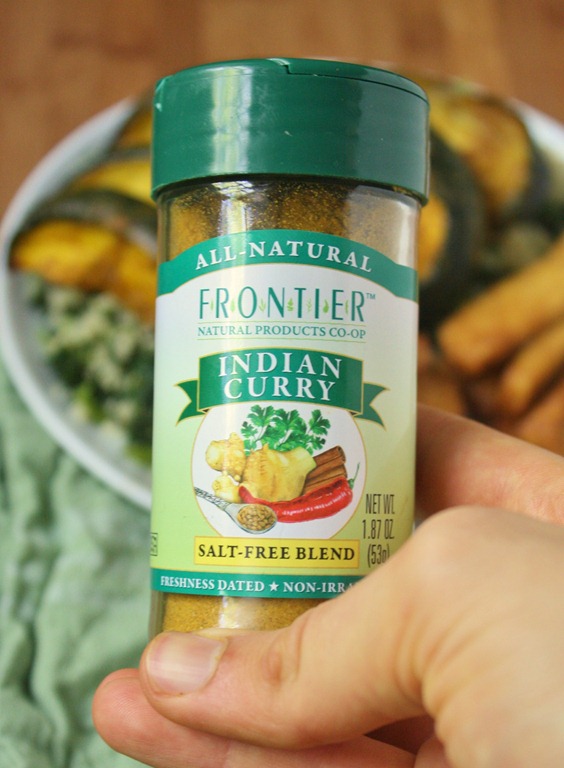
In a large bowl, toss the wedges with the maple syrup, curry powder, and salt.
-
Lay the squash out on the baking tray and roast for 45 minutes or until fork tender.
-
Remove from the oven and serve hot.
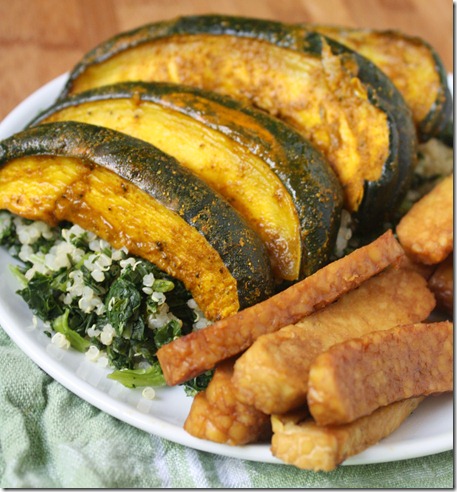
Maple syrup and curry powder—who would’ve thunk it?
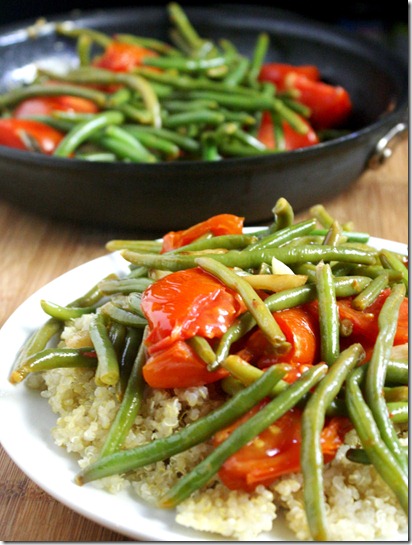
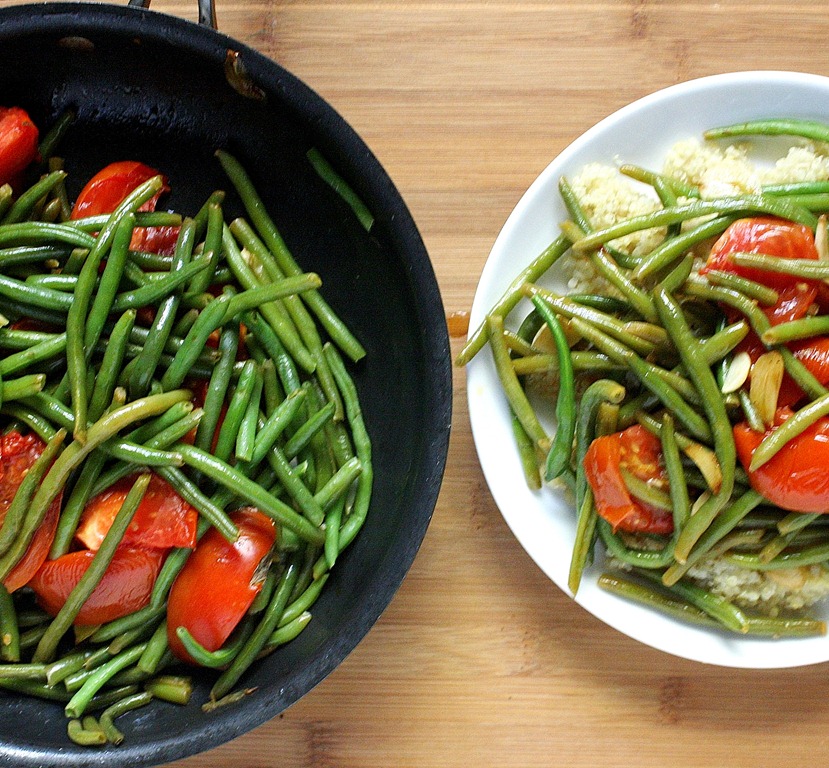
When you’re around Italian cooking a lot, you start to pick up the unspoken rules of Italian cooking. These are the rules that tell you how to pair sauce with a specific shape of pasta, not to pair cheese with a fish dish, and to never put a red sauce over green vegetables.
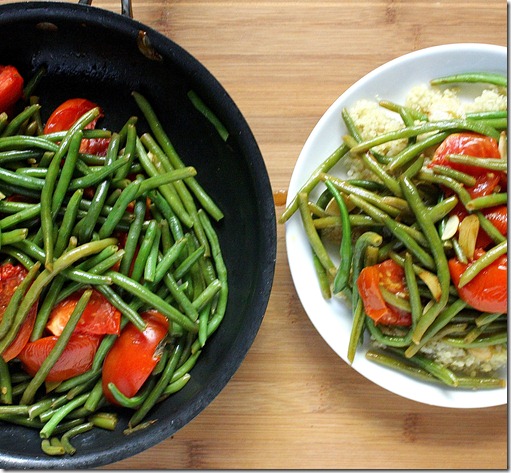
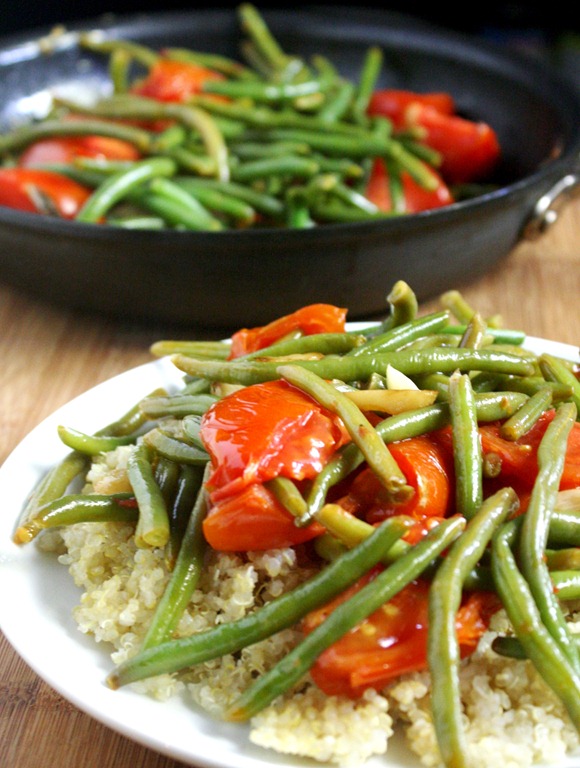
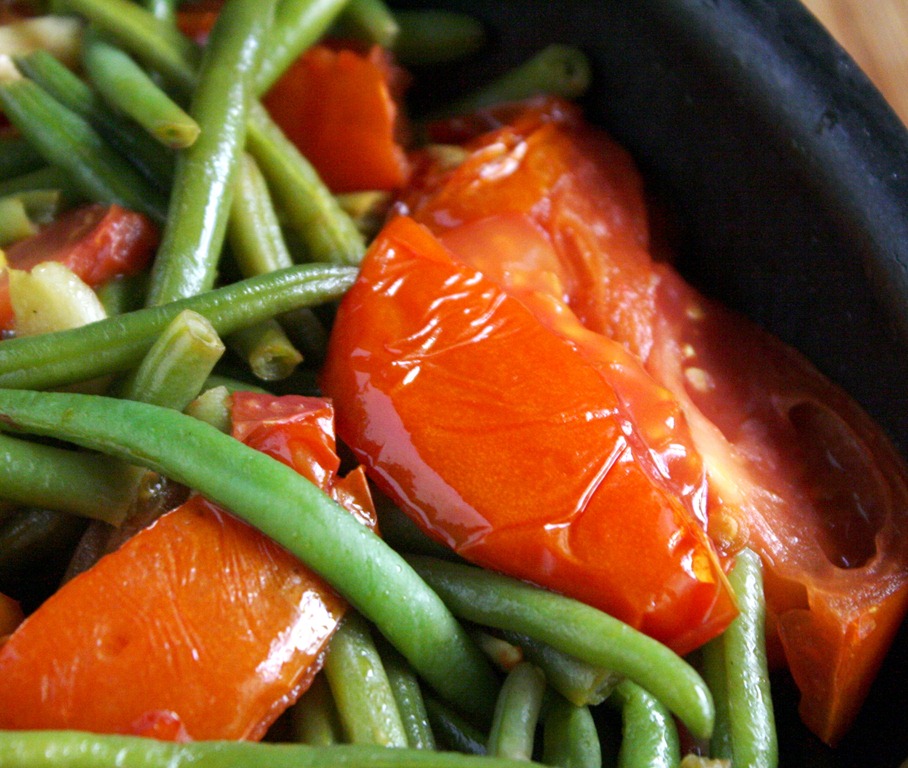
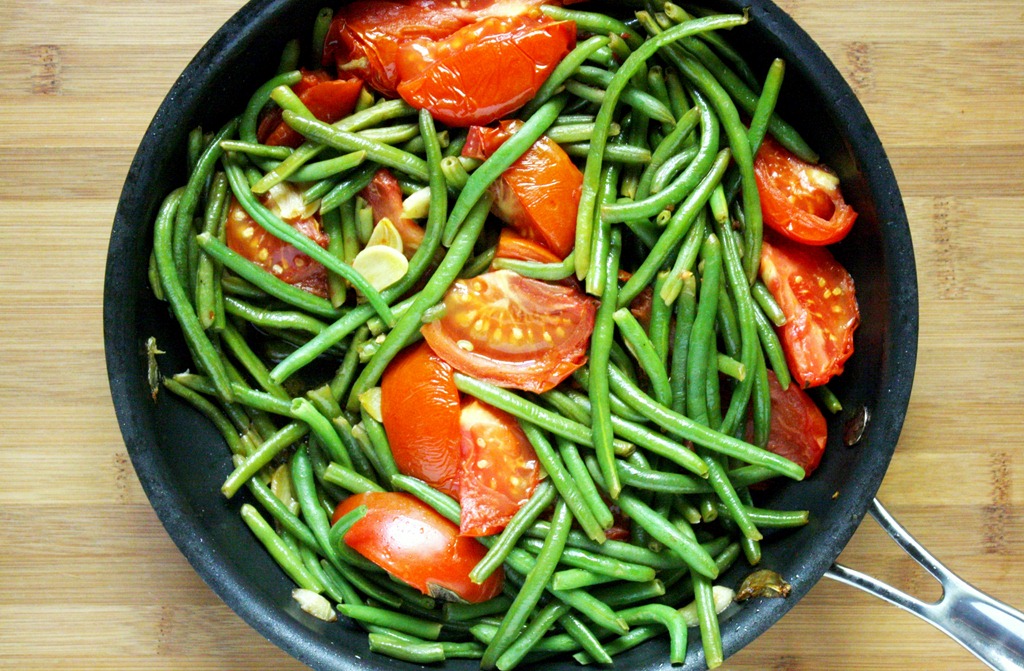
Lucky for me this isn’t Italian, it’s French. There’s also no red sauce, just whole tomatoes. But I’m not sure that exception would fly in Italy. But what no Italian can deny is that when tomatoes combine with garlic and olive oil magic happens and whatever comes out of the pot will undoubtedly be good.
Green Beans Provencal
Prep time: 10 minutes
Cook time: 15 minutes
Ingredients(Makes 4 servings):
- 1lb green beans, trimmed
- 3 medium tomatoes
- 5 cloves of garlic
- 3 Tablespoons olive oil, divided
- Salt and pepper to taste
Method:
- Heat 2 Tablespoons of oil in a large pan over medium heat.
- Slice the garlic cloves thinly lengthwise. Add the slices into the hot oil and sauté just until the edges begin to brown.
- Add the green beans into the pan and toss with the oil. Continue cooking until the green beans cook and darken their color.
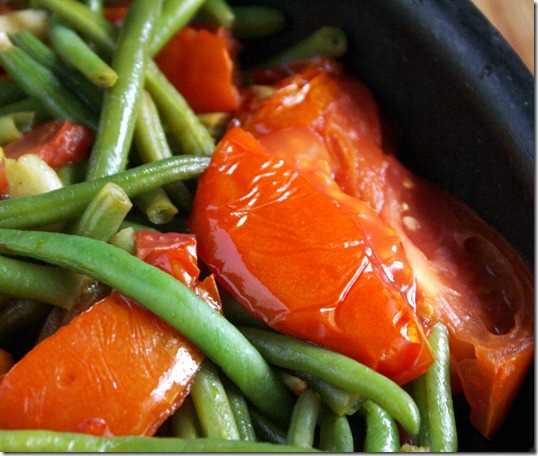
- Slice the tomato into halves and then quarters so that each tomato yields 8 slices. Add those to the pan and toss with the green beans.
- Continue cooking until the tomatoes blister. Remove the pan from the heat and drain off any water that’s cooked out. Add in the remaining tablespoon of oil, salt and pepper and toss one last time. Move to a serving dish and serve hot.
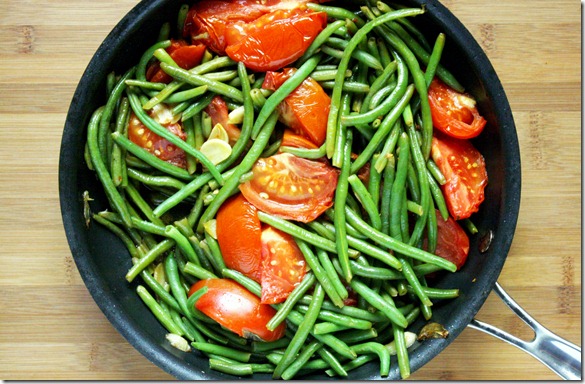
My original plan was to serve this with spaghetti squash. By the time I finally cooked it, I had eaten all the spaghetti squash and had it with quinoa instead, which is a grain that always reminds me of quinoa. I guess what I’m getting at is that this makes a great dish with any pasta.
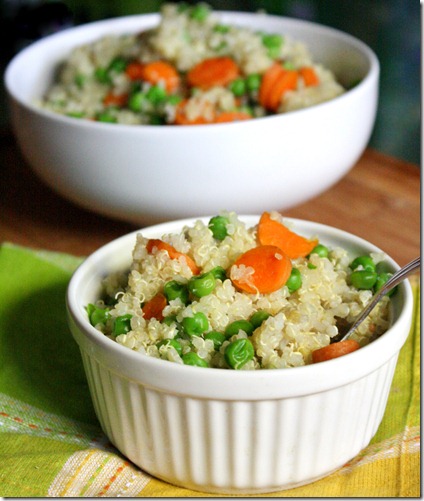
I’ve never understood why there are so many pea blogs out there, and then it hit me: I can’t remember ever trying peas before. I’ve had snap peas, but never peas out of their pod—at least not ever since I’ve been old enough to remember. I used to ice my legs with frozen peas I stole from a common room refrigerator, but that doesn’t count I don’t think. I even went to London where I was promised there would be mushy peas and I never saw any. What a disappointment. So when I went to Trader Joe’s and saw a bag of frozen peas for fairly cheap I thought I’d try them out.
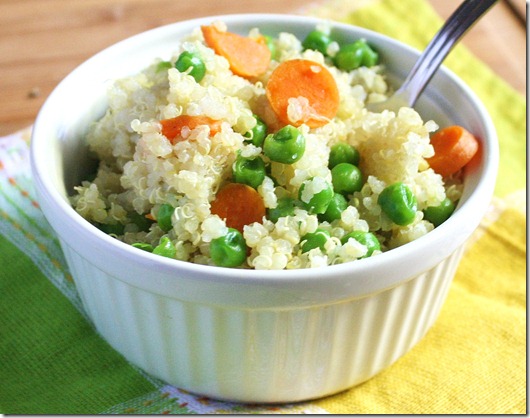
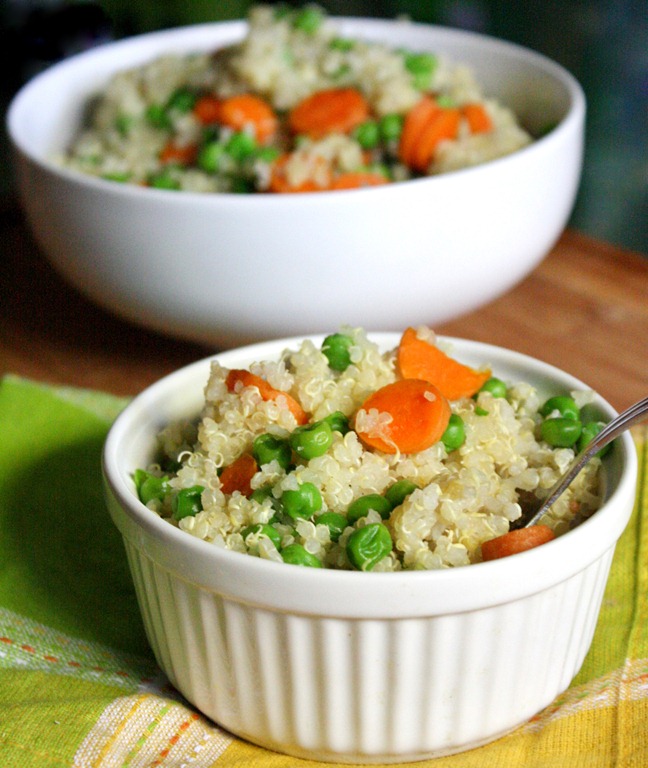
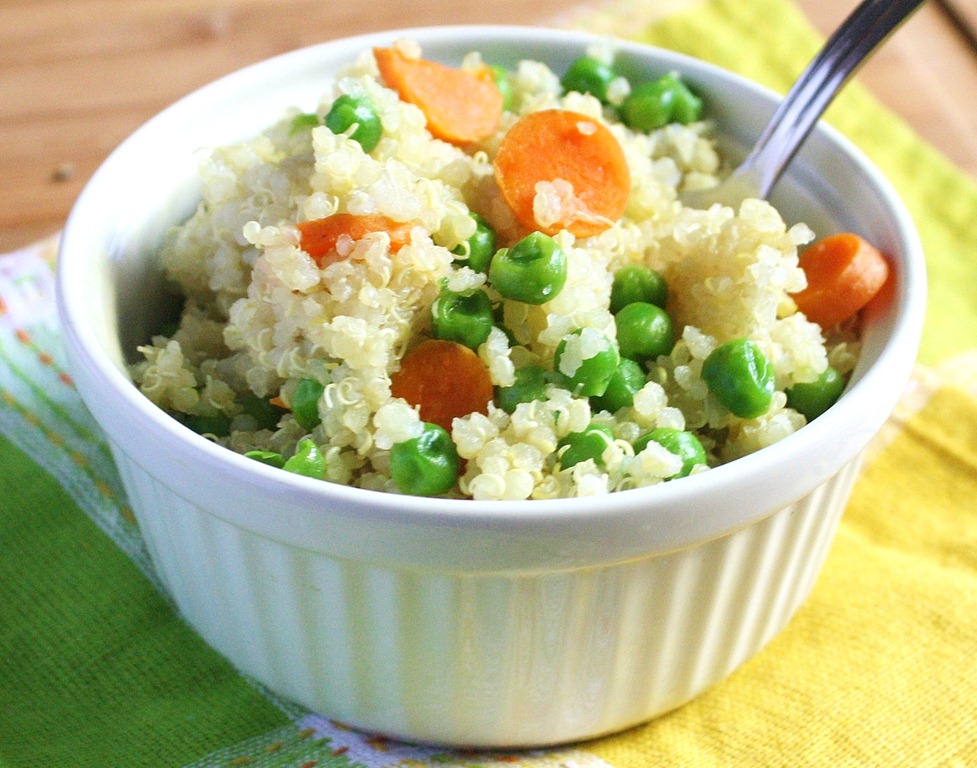
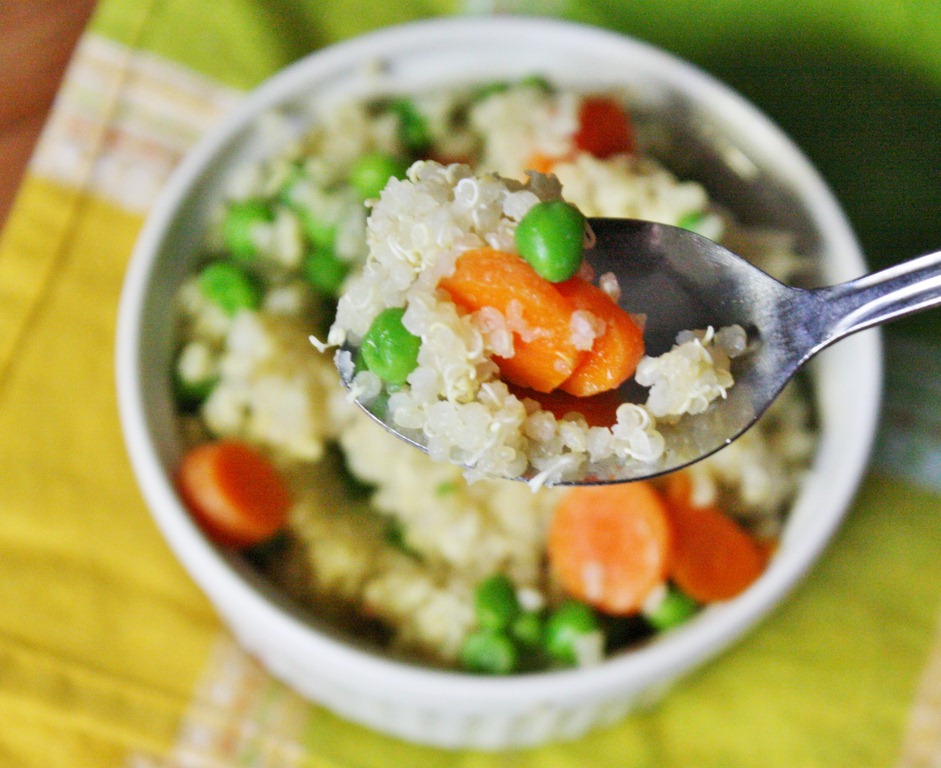
Peas and carrots seem to be the quintessential baby food. I’m not sure why; they’re two vegetables that just about anyone can enjoy. Dressed up with quinoa, they’re perfectly good for adults, too. And these were good. Now I see why all the fuss over peas. I can’t believe I’ve gone so long without trying them! Never again. I find their sweet, earthy pop of flavor addicting. I absolutely couldn’t get enough of this when I made it, and you won’t be able to either.
Peas And Carrots Quinoa
Prep time: 5 minutes
Cook time: 15 minutes
Ingredients(Makes 4 servings):
- 1 cup uncooked quinoa, washed and drained
- 1/2 cup cooked peas
- 1 carrots, sliced thinly
- 1/2 teaspoon salt
- 1 Tablespoon honey(optional)

Method:
- Bring the quinoa and 2 cups of water to a boil over the stove.
- Add in the carrots and cook until the quinoa has soaked up all of the water.
- Add in the peas, salt, and honey. Mix and fluff the quinoa. Move to a serving bowl and serve hot.
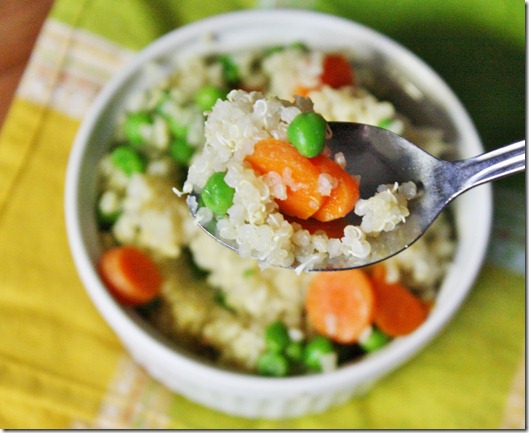
More peas, please.
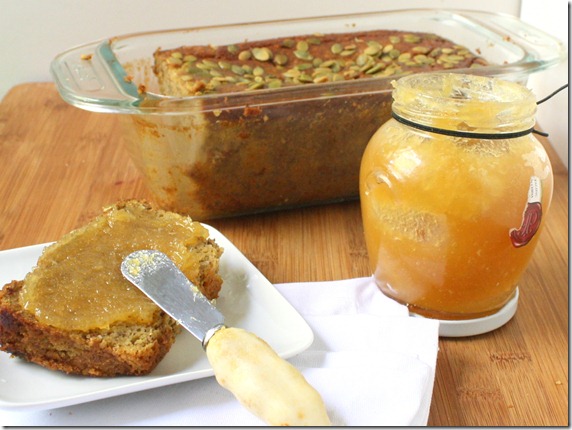
Christopher Columbus discovered America.
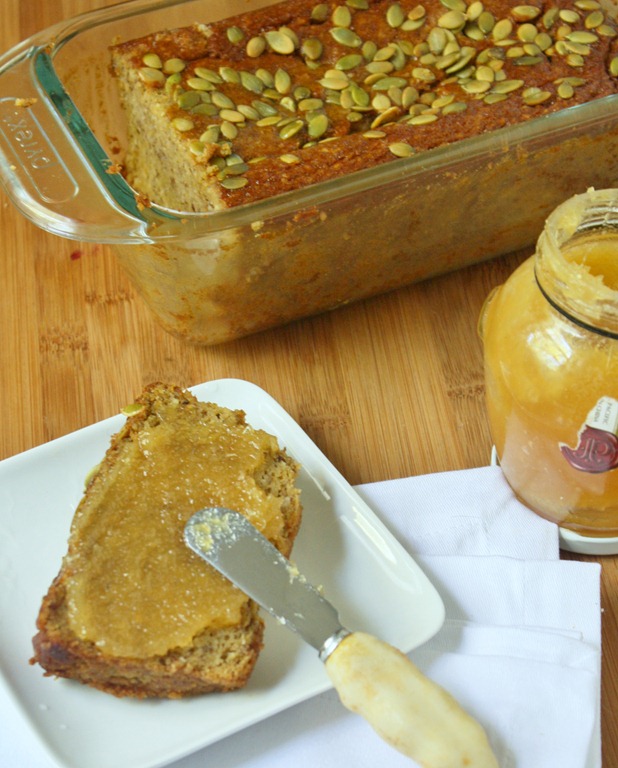
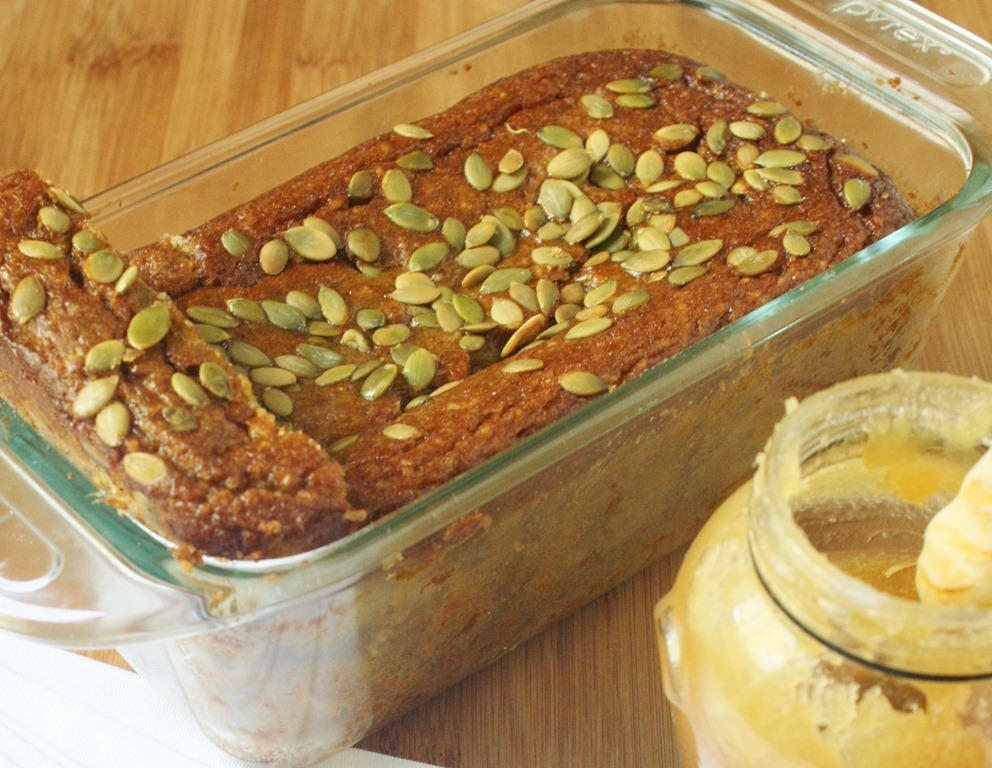
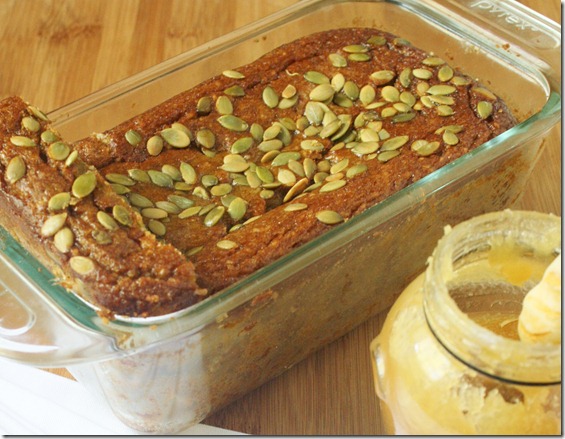
I discovered that you can make a moist and delicious pumpkin bread that’s gluten and grain-free. Not to belittle Mr. Columbus’ achievement, but I think that’s pretty damn good.
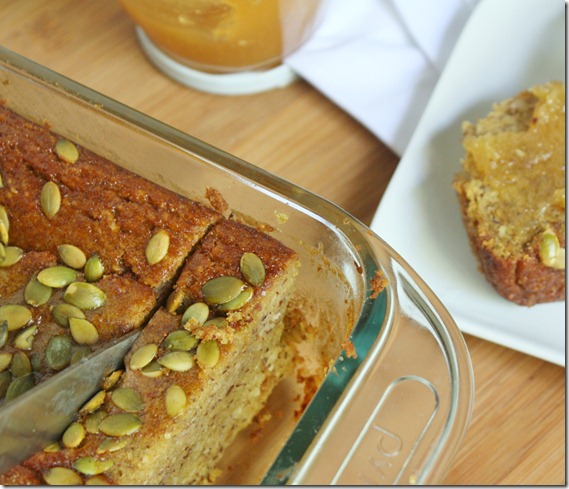
Maybe I’m just a little too excited because I wasn’t sure this could be done. A few hours before I pulled this loaf out of the oven, it was literally just a bunch of almonds and a whole pumpkin. Not pumpkin puree. Not almond meal. Just the raw ingredients.
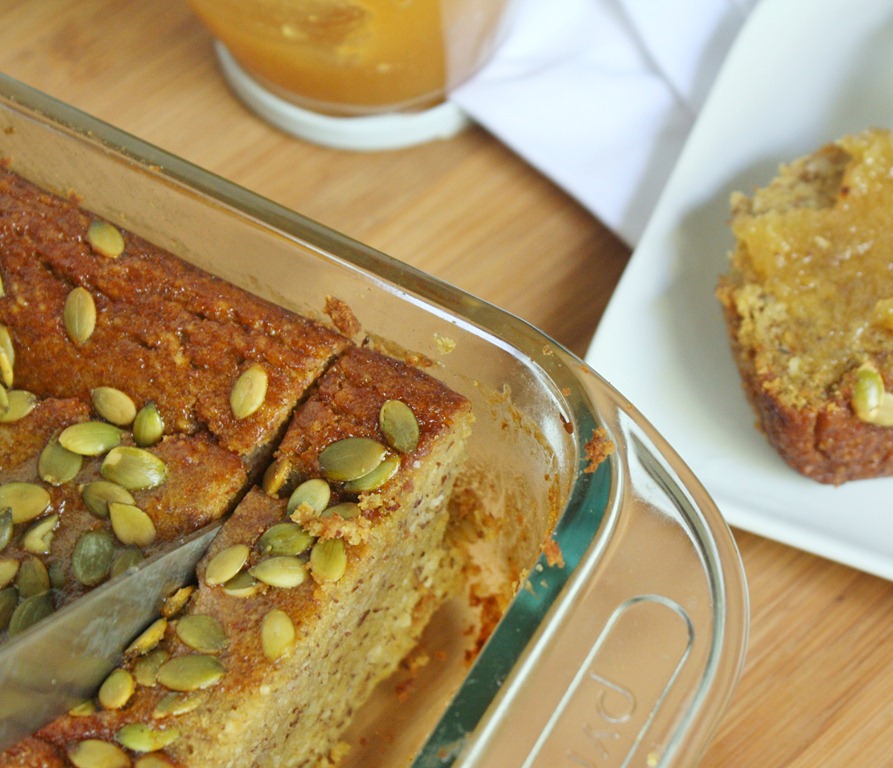
After roasting + pureeing the pumpkin and grinding the almonds, I threw these ingredients together and hoped for the best. Luckily, the best is what I got. This pumpkin bread is sweet, soft, moist(I hate that word but it really is) and spicy. It’s one of the best pumpkin breads I’ve had ever; it just happens to be gluten-free.
Almond Flour Pumpkin Bread
Prep time: 10 minutes
Cook time: 75 minutes
Ingredients(Makes 1 loaf):
- 2 cups almond flour
- 3/4 cup brown sugar
- 3/4 cup pumpkin puree
- 4 eggs
- 6 Tablespoons oil
- 1/4 cup tapioca starch(or corn starch)
- 1/4 cup water
- 1/2 teaspoon baking powder
- 1/2 teaspoon cinnamon
- 1/4 teaspoon nutmeg
- 1/4 teaspoon cloves
- 1/4 teaspoon ginger
- pepitas to garnish(optional)
Method:
- Preheat your oven to 350 degrees.
- Add all of the ingredients except for the pepitas into a large bowl and mix until fully combined. Stir extra well to ensure there aren’t any clumps.
- Grease a medium-sized loaf pan and pour the batter in.
- Bake for 75 minutes or until the center is cooked through.
- Remove and let cool for an hour before removing from the pan.
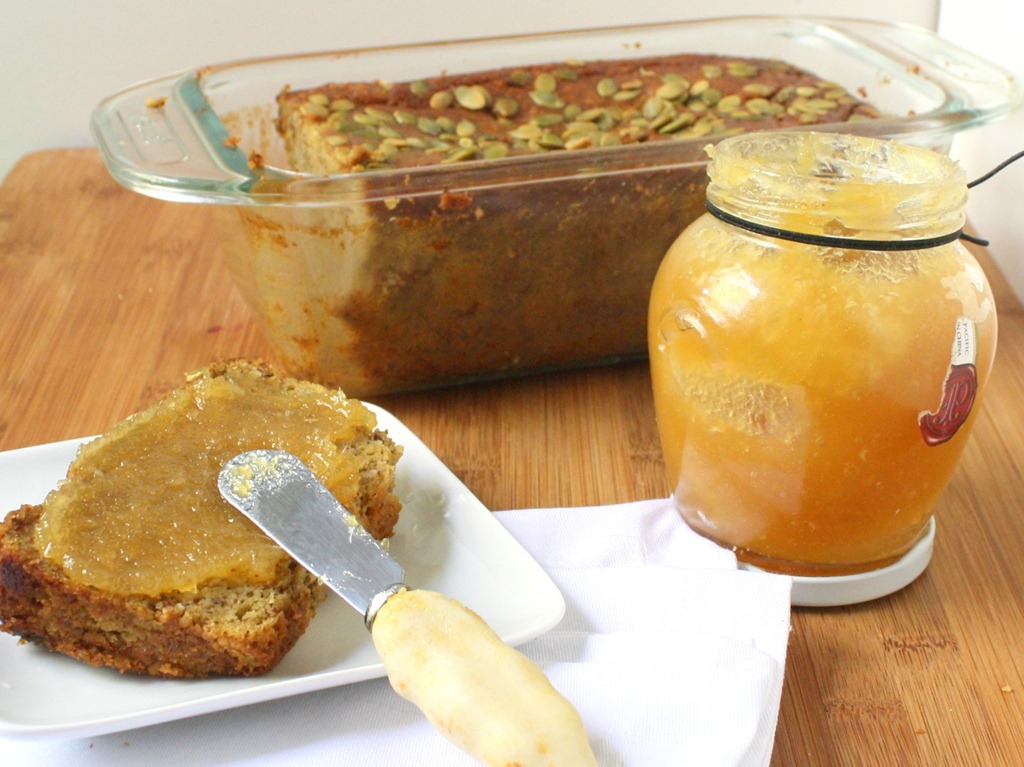
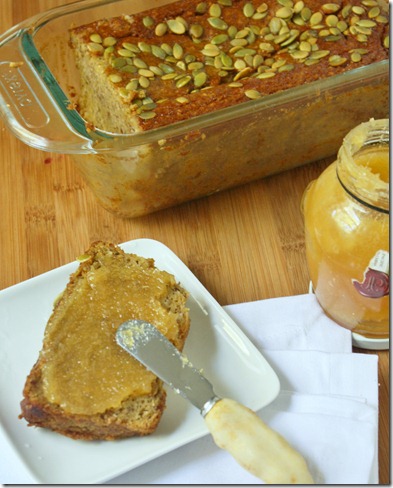
On top I spread a little(or a lottle) ginger jam. Have you seen this stuff? It’s made by Ginger People; it’s basically crystallized ginger made into a jam, and it’s heaven. A little goes a long way, though, which is why that jar has lasted me almost 2 years. This would also be good with pumpkin butter, cream cheese, peanut butter, or plenty of other spreads.
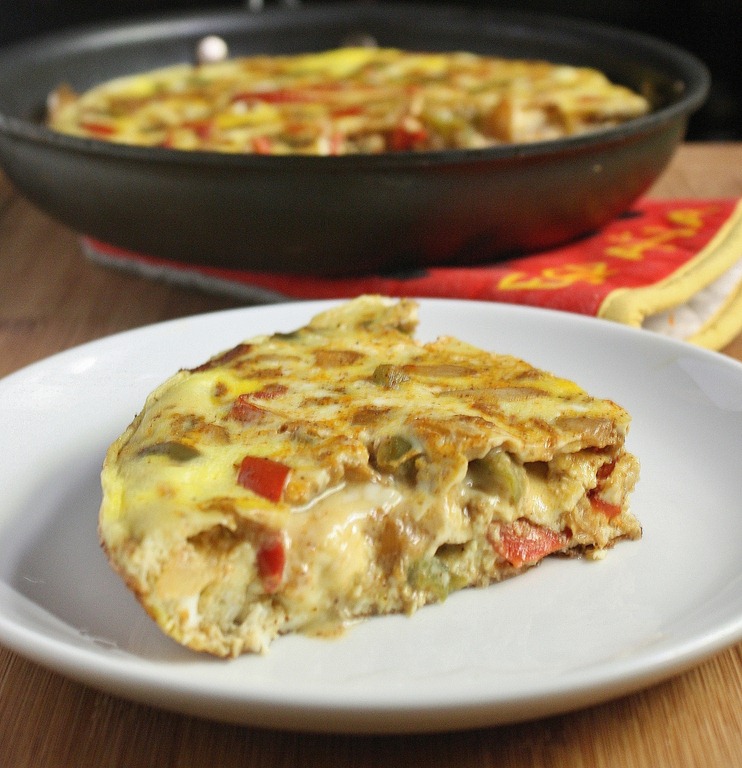
My weekly schedule is a little funny. Tuesday and Thursday are always go-go-go and I hardly have time to sit down and eat let alone cook. But on Wednesday I have all the time in the world if I work enough over the weekend to take my time and lounge around. This Wednesday I realized I didn’t have very much food to get me through the next couple of days, so what did I do? Cook. A lot.
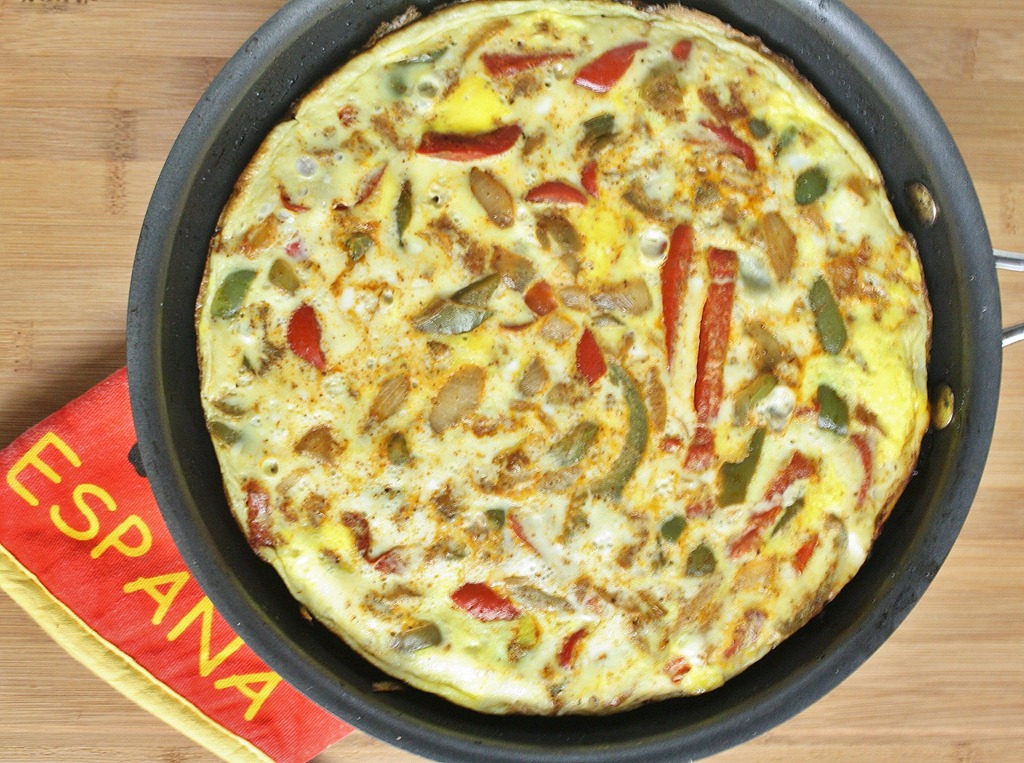
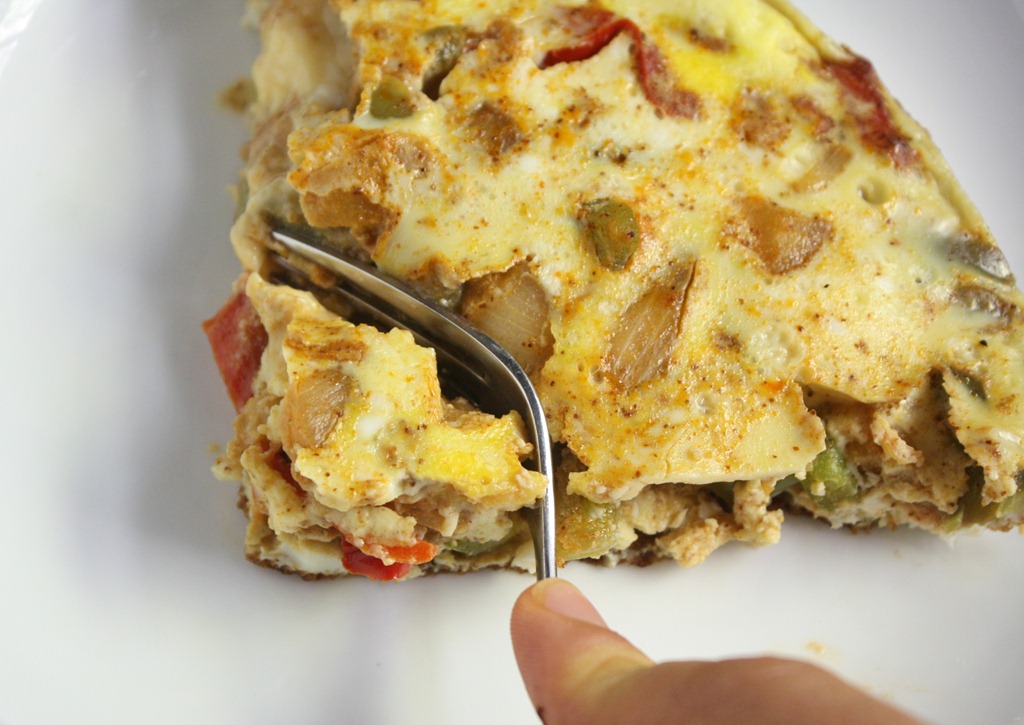
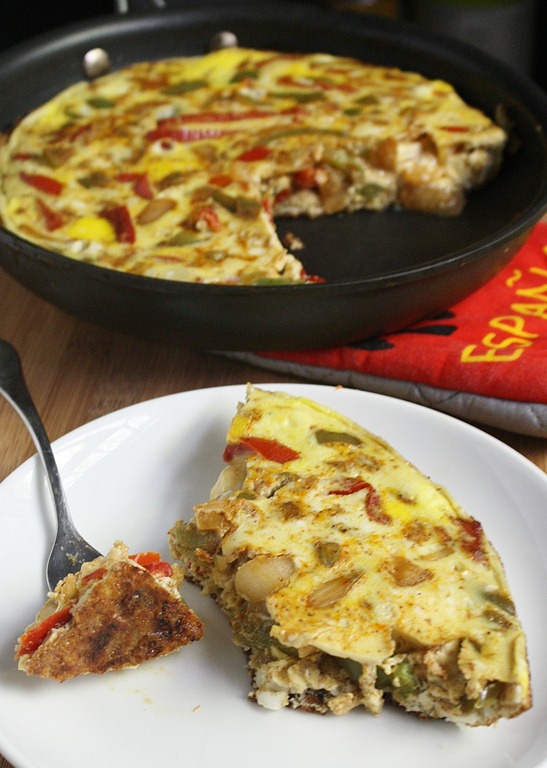
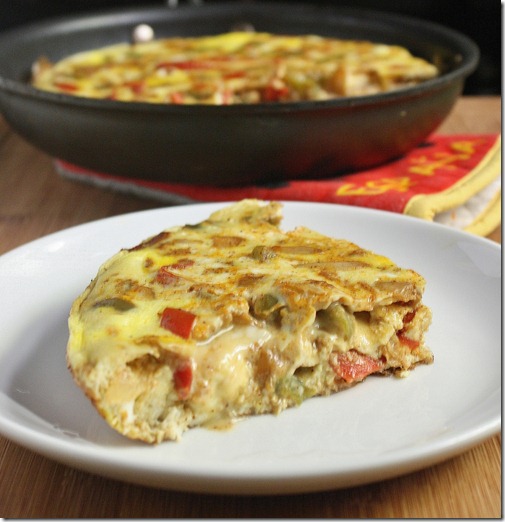
On top of lunch and dinner, I roasted a spaghetti squash, acorn squash, and used up a dozen eggs in this frittata. My 3-foot fridge might have been bursting open with squash that night, but it’s made my next couple days a breeze. I ate 3 servings of this frittata yesterday and still wanted more after dinner. I can tell I’ll be making another again soon.
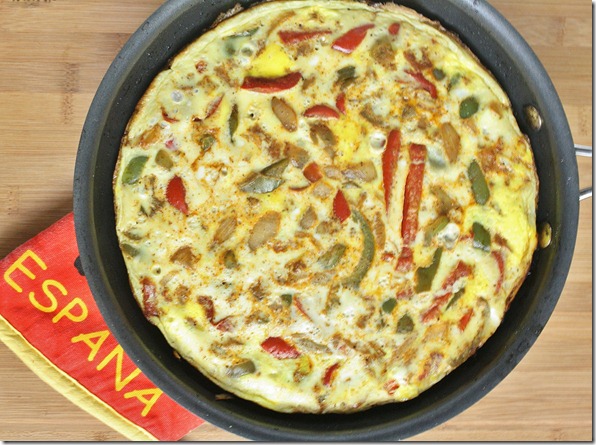
If you don’t feel like cutting the peppers and onion yourself, check in the frozen section of your grocery store for something called a “southwestern vegetable blend” and substitute the vegetables here for 1 cup of the vegetable blend.
Southwestern Stovetop Frittata
Prep time: 15 minutes
Cook time: 10 minutes
Ingredients(Makes 4 servings):
-
12 medium eggs
-
1 red bell pepper, julienned
-
1 green bell pepper, julienned
-
1 yellow onion, diced
-
1 Tablespoon oil
-
1/4 teaspoon chili powder
-
1/4 teaspoon cayenne pepper
-
1/4 teaspoon cumin
-
1/4 teaspoon garlic powder
-
1/2 teaspoon salt
-
1/2 cup shredded Mexican blend or cheddar cheese(optional)
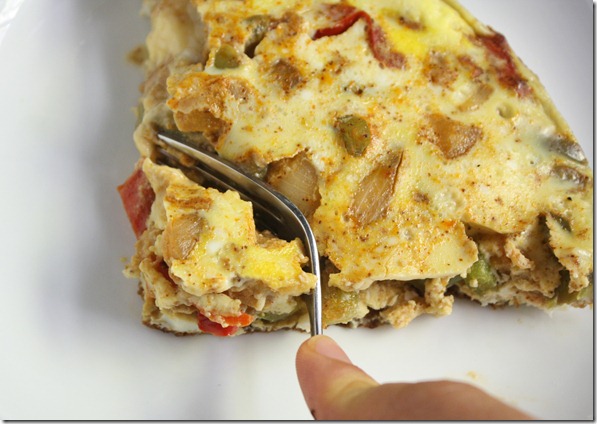
Method:
- Heat the oil in an 8’ non-stick pan with a fitting lid over medium heat.
- Add in the peppers, onion, spices and salt and sauté until the onion is translucent. Make sure to mix the ingredients to evenly distribute the spices.
- In a large bowl, crack and beat all of the eggs.
- Remove the onion and peppers from the pan and pour in the beaten eggs(if you’re using a pan that’s not non-stick, it’s a good idea to add a little oil to the bottom before doing this).
- Wait 10 seconds and then distribute the onion and peppers and cheese if using into the egg batter.
- Put a lid on the pan and leave untouched for 10 minutes until the egg has cooked through. You’ll be able to tell it’s done when the egg in the center has set.
- Remove from the pan and cut into quarters. Serve hot.
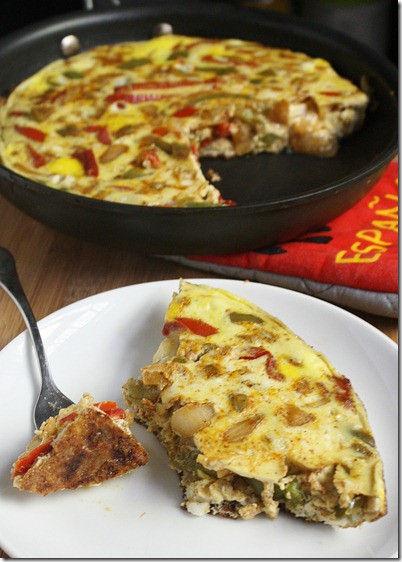
Next time I try this I think I’ll add some cheddar-style Daiya, because if it’s that good without cheese it can only be better with.
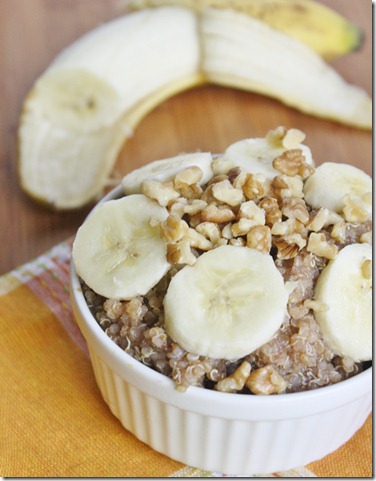
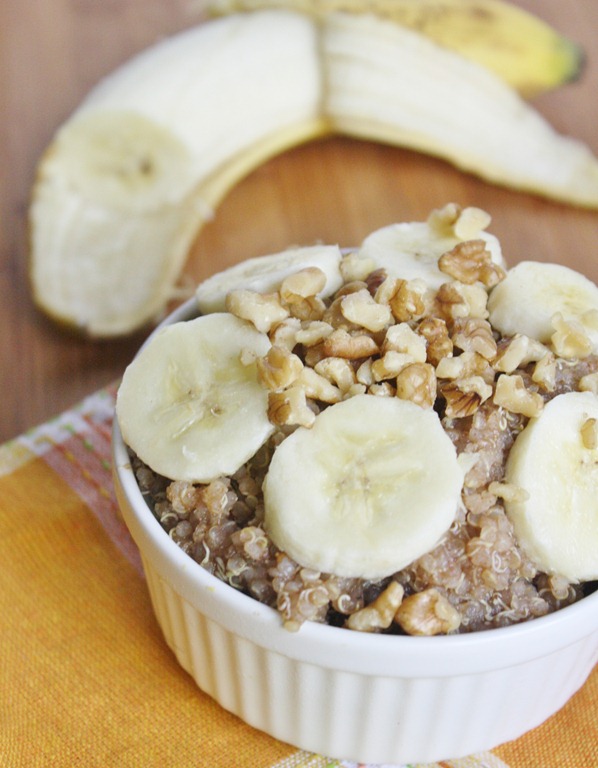
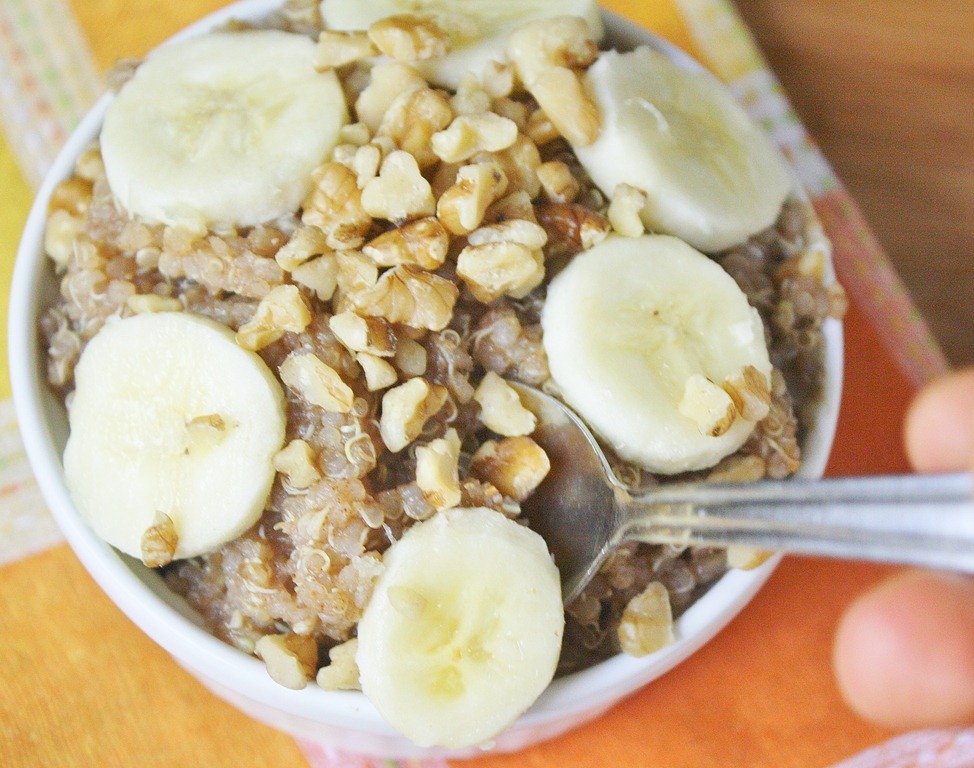
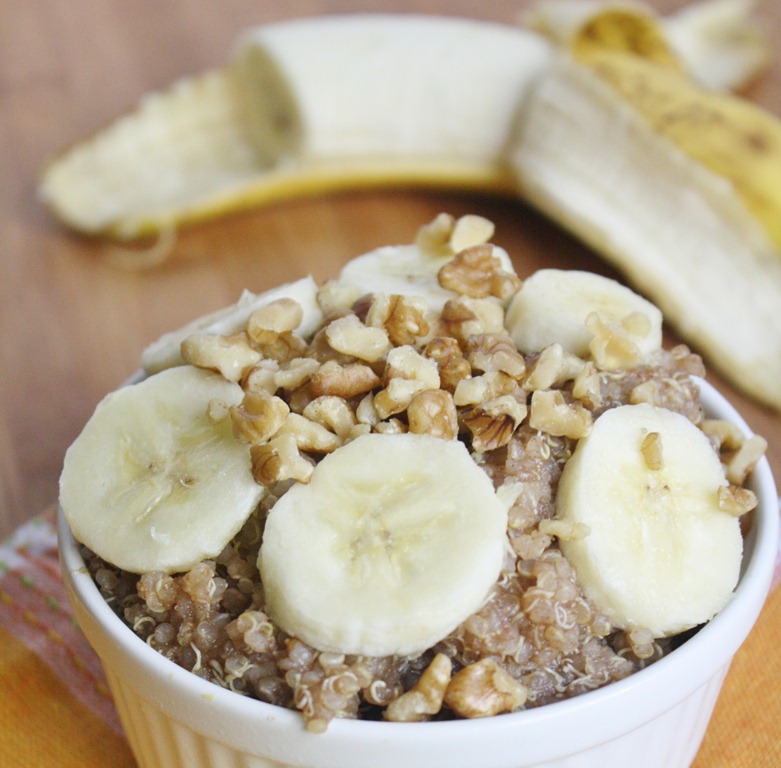
Breakfast is almost never a planned meal around here. I’ll wake up and see what I can cook in the microwave and have ready to eat in less than 5 minutes. That works most of the time, but once and a while it’s nice to change things up and eat something that actually has some thought put into it, like this breakfast quinoa.

There’s no reason to just eat quinoa for lunch or dinner. It has a fairly plain taste on its own and can easily be made savory or sweet. It’s especially good as an oatmeal replacement for gluten-free people because you don’t need to worry about buying gluten-free quinoa the way you do rolled oats. For as good as it tastes, this bowl is really easy to whip up, too, using leftover quinoa from your last meal.
If you don’t have leftover quinoa for this but still want to make it, cooking a batch only takes 15 minutes. For each 1/2 cup cooked quinoa you’ll need 1/4 cup uncooked quinoa and 1/2 cup water brought to a boil and covered until all the water’s been absorbed.
Banana Breakfast Quinoa
Prep time: 5 minutes
Cook time: 0 minutes
Ingredients(Makes 1 serving):
- 1/2 cup cooked quinoa
- 1 banana, plus more for garnish
- 1/2 teaspoon cinnamon
- 1/4 teaspoon salt
- 1 Tablespoon maple syrup(optional) plus more for drizzling
- 2 Tablespoons crushed walnuts

Method:
- Using a fork, mash the banana in a bowl into a smooth puree.
- Add in the quinoa, cinnamon, and salt and mix together. If the quinoa’s not sweet enough, add the maple syrup to enhance the flavor.
- Move into a serving bowl and add on top the walnuts and more banana and maple syrup if desired. Serve as a cold breakfast or—if you prefer—heat it up in the microwave or oven like a hot cereal.
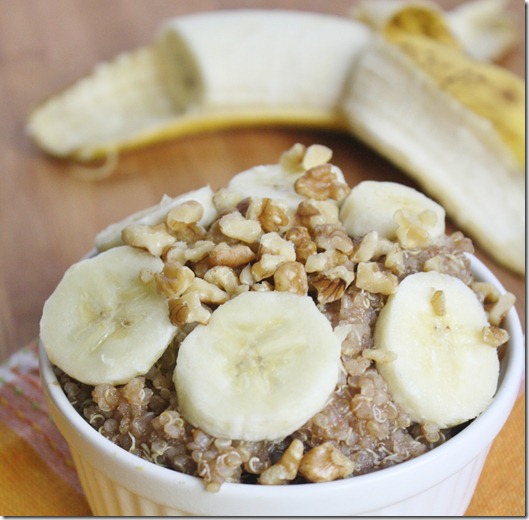
You can really top this with anything. It’s especially good served hot with a melting dollop of PB&Co.’s Mighty Maple on top.
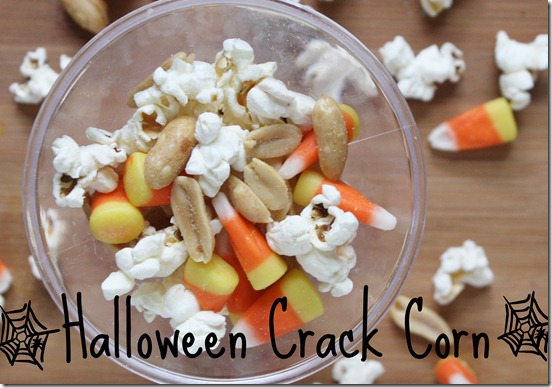
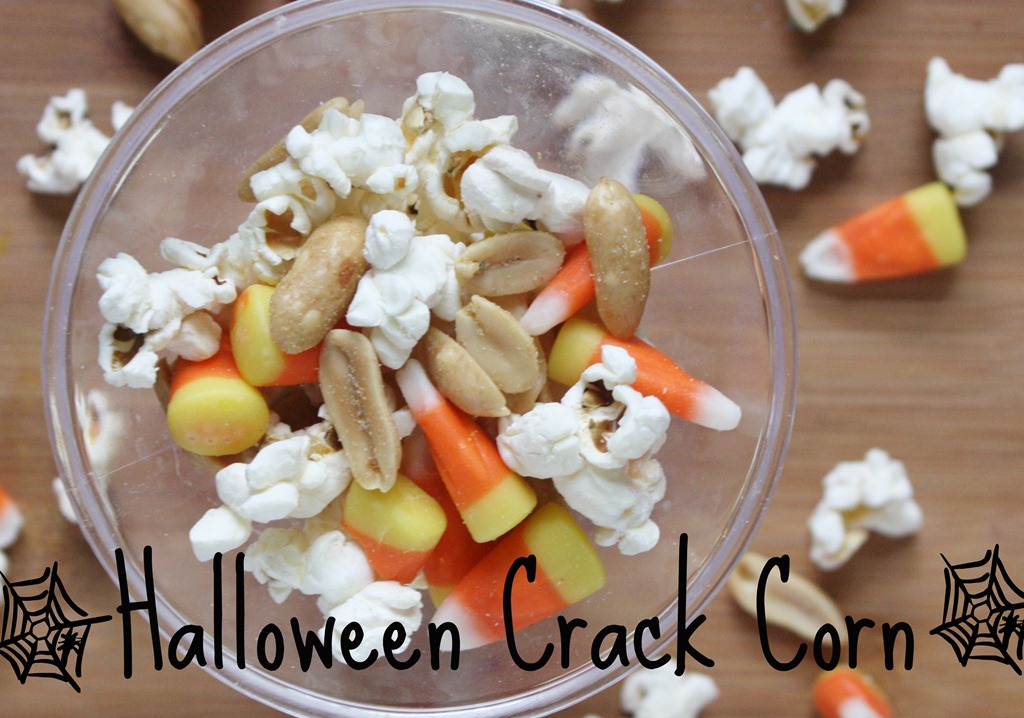
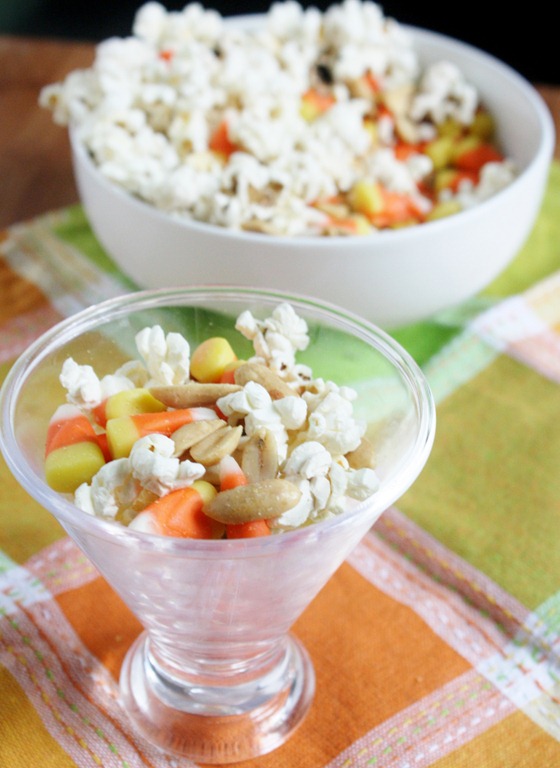
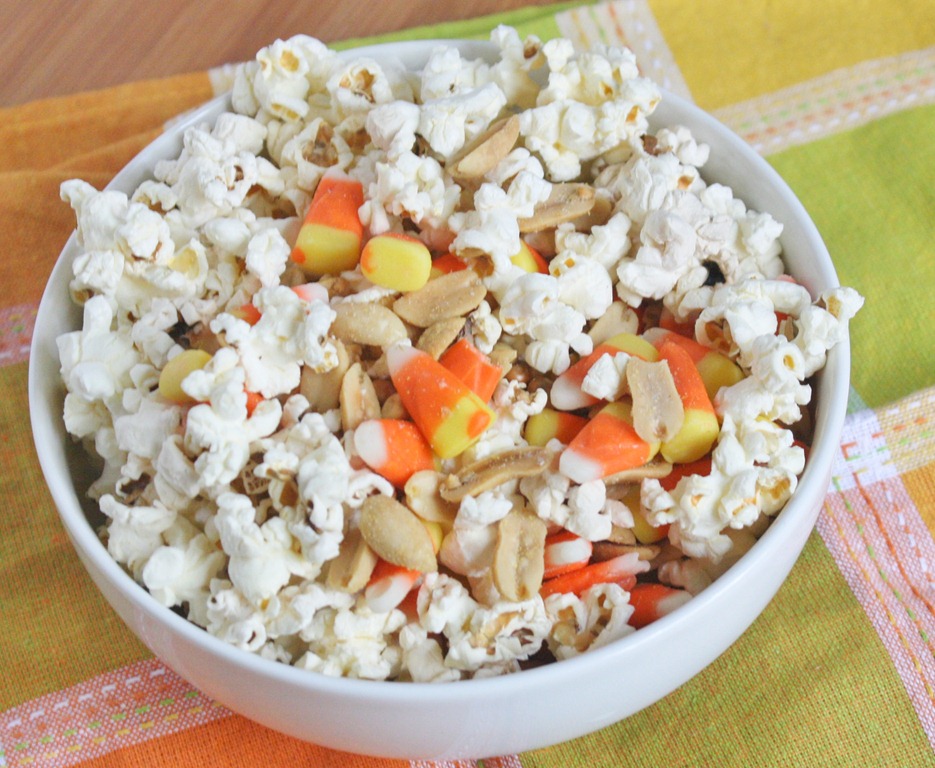
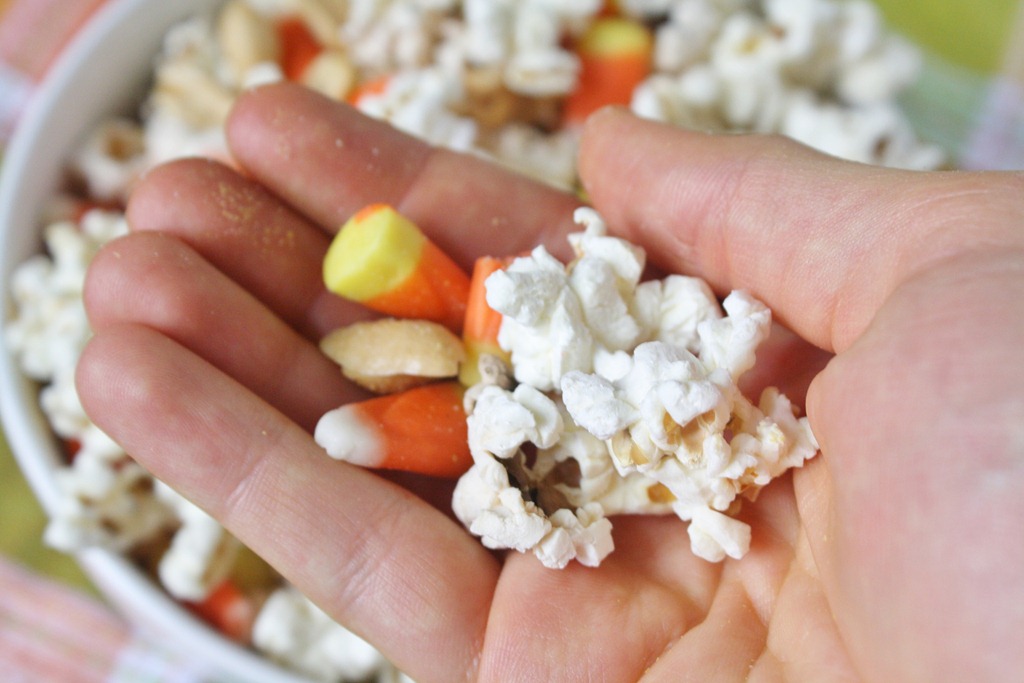
I must have been living under a rock or sheltered as a child because I never knew the amazing combination of candy corn and peanuts until Holly posted about it. I really should have guessed that two of my favorite food groups(because they definitely deserve their own food groups) would only be even better put together. And combined with popcorn it’s a crunchy, crackly, filling snack that tastes eerily like kettle corn.
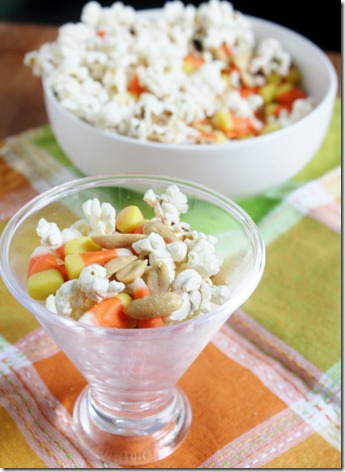
The truth is I don’t see a time when this wouldn’t be good. You can make it as an afternoon snack or a dessert late at night, put it in a bowl and serve it at a Halloween party or put it into goodie bags to give out at a kid’s party. There’s no one who wouldn’t like this.
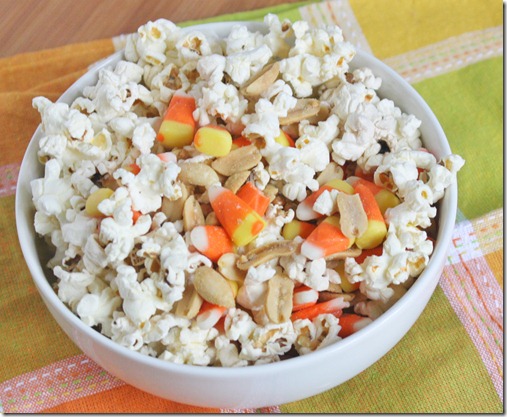
Halloween Crack Corn(inspired by Holly’s post)
Prep time: 5 minutes
Cook time: 0 minutes
Ingredients(for 2 servings):
- 3 cups of popcorn(click here to see how to DIY)
- 1/2 cup candy corn
- 1/2 cup peanuts
Method:
- Combine all of the ingredients together and toss until evenly mixed. Pour into a serving bowl and eat up immediately.
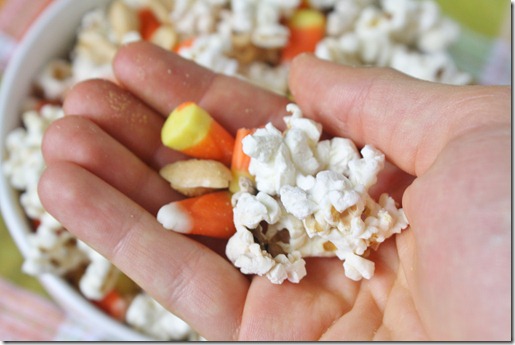
This makes for a very filling afternoon snack when you eat the whole thing yourself. That is until you remember you have all the ingredients to make more.