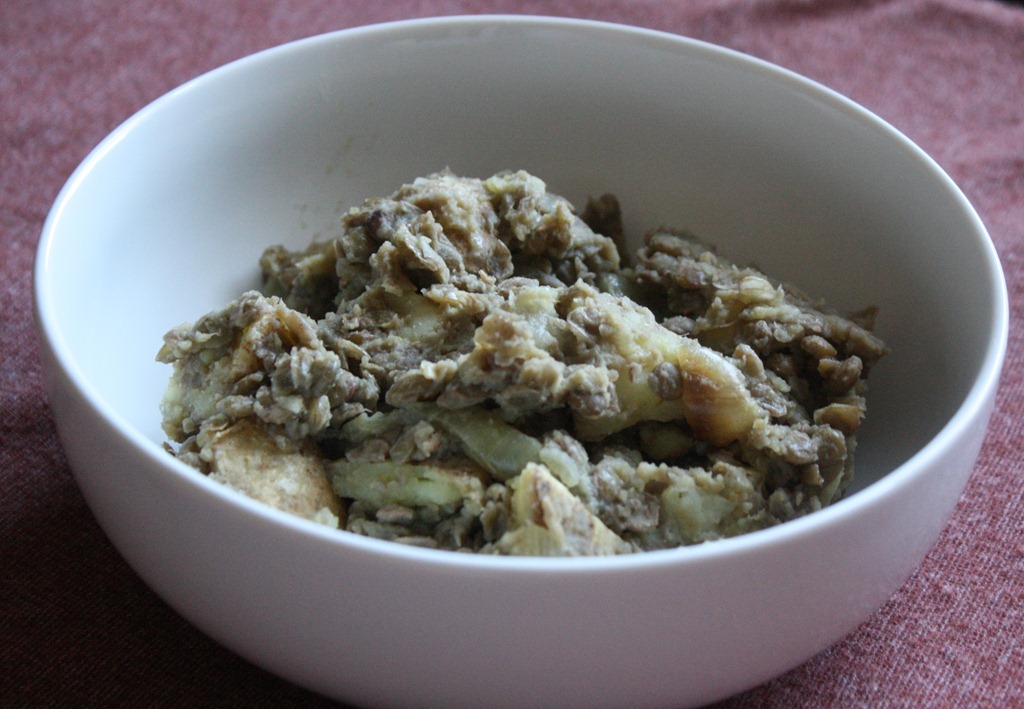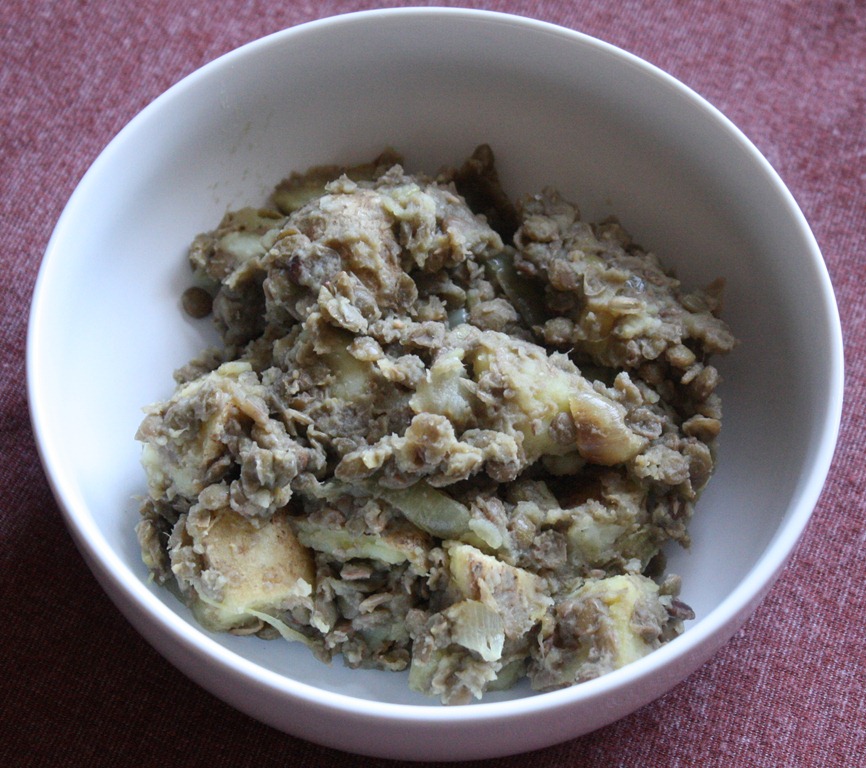
Comfort food rarely looks appealing, and yet there’s nothing we want more. It’s warm, thick, and often rich with flavor; who cares what it looks like? This has been my favorite comfort food lately. It’s not really a stew because there’s no liquid. Instead, it’s a thick, creamy bowl of flavorful carbs. And that is the most comforting thing in my eyes.
Lentils With Potatoes And Caramelized Onions
Ingredients:
- 1 cup dry lentils
- 1 bay leaf
- 1 teaspoon salt
- 1/2 teaspoon black pepper
- 3-4 starchy potatoes, diced and cooked
- 1 onion, julienned
- 2 tablespoons olive oil plus more for finishing
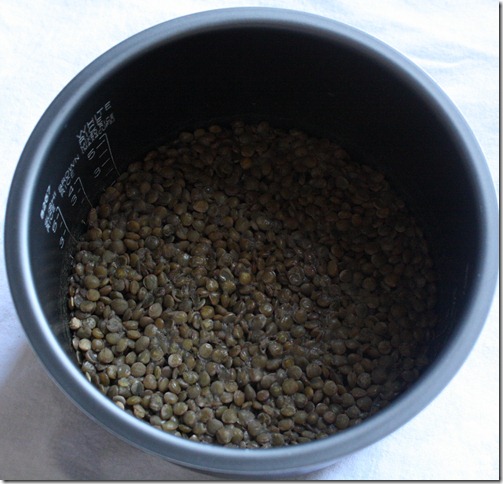
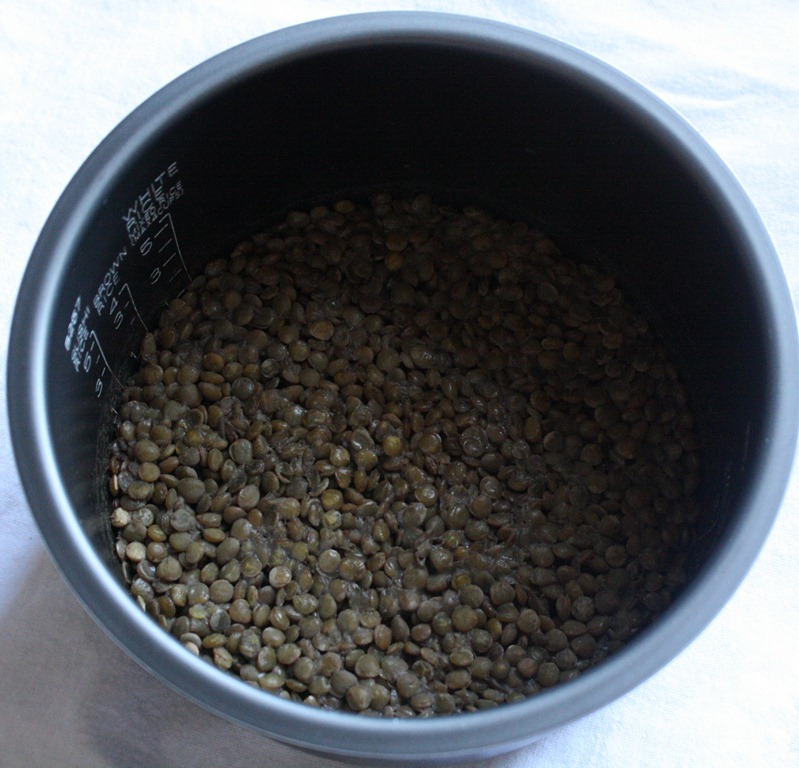
Start by cooking your lentils to completion with the bay leaf, salt, and pepper. When the lentils are done cooking, remove the bay leaf and discard.
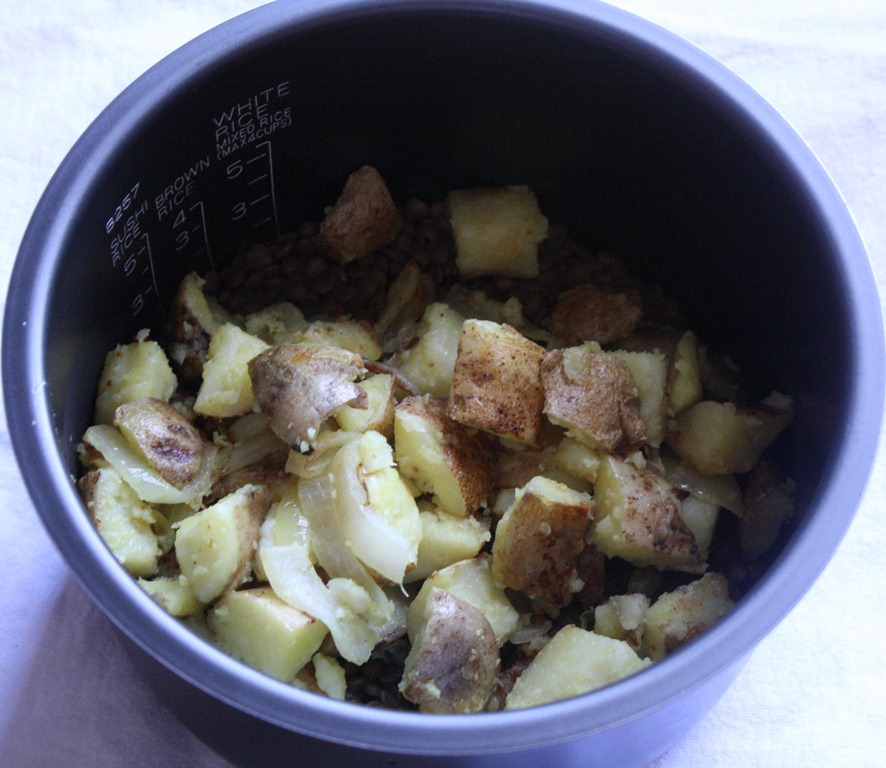
Meanwhile, caramelize onions in a large frying pan with the olive oil. Once the onions are loose and translucent, add in the potatoes as if you were making a hash and cook for 10-15 minutes until they start forming a crust.
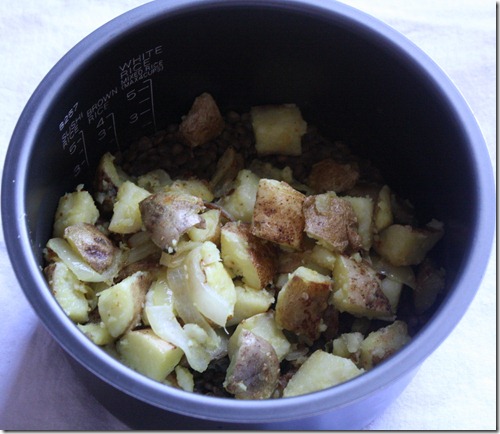
Add the onions and potatoes in with the lentils and mix the contents together well. Don’t worry if the lentils start mashing and the potatoes break apart; that just means the flavor will blend together more. Serve hot and drizzle with good extra virgin olive oil(the kind Ina’s always pushing).
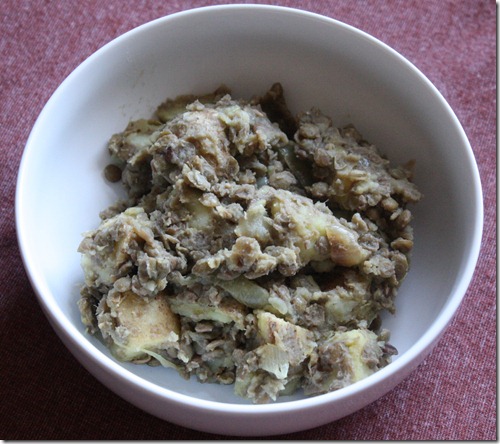
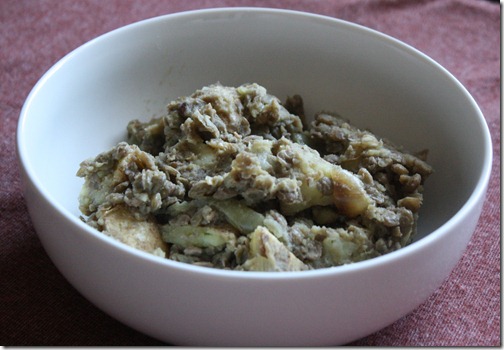
I didn’t promise a pretty bowl, but I will promise that you can’t eat this without smiling. It’s thick and hearty and can please the cravings of a meat and potato lover. I like to eat this with ketchup, which is weird because I don’t normally put ketchup on anything. I’d also suggest eating this on the couch watching trashy TV wearing old sweat pants, because it’s that kind of comfort food.
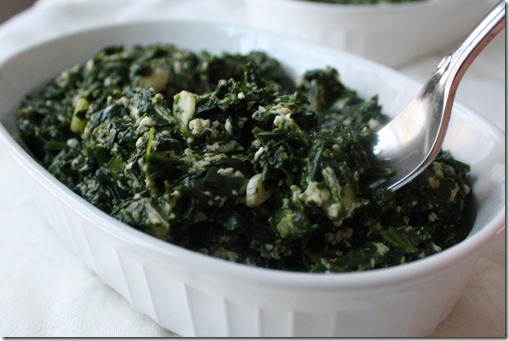
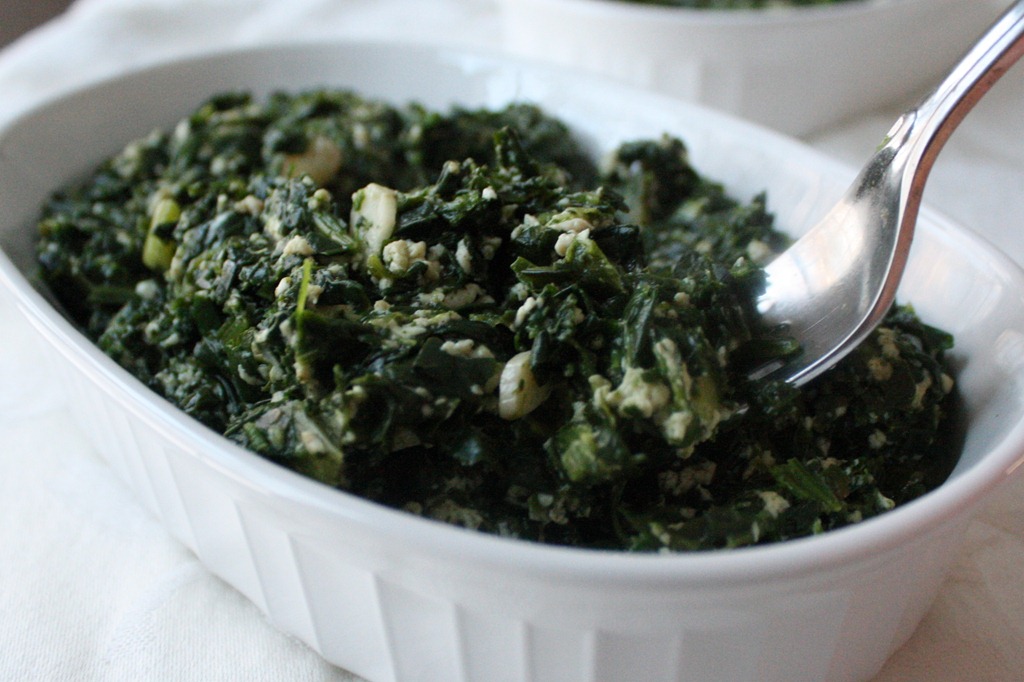
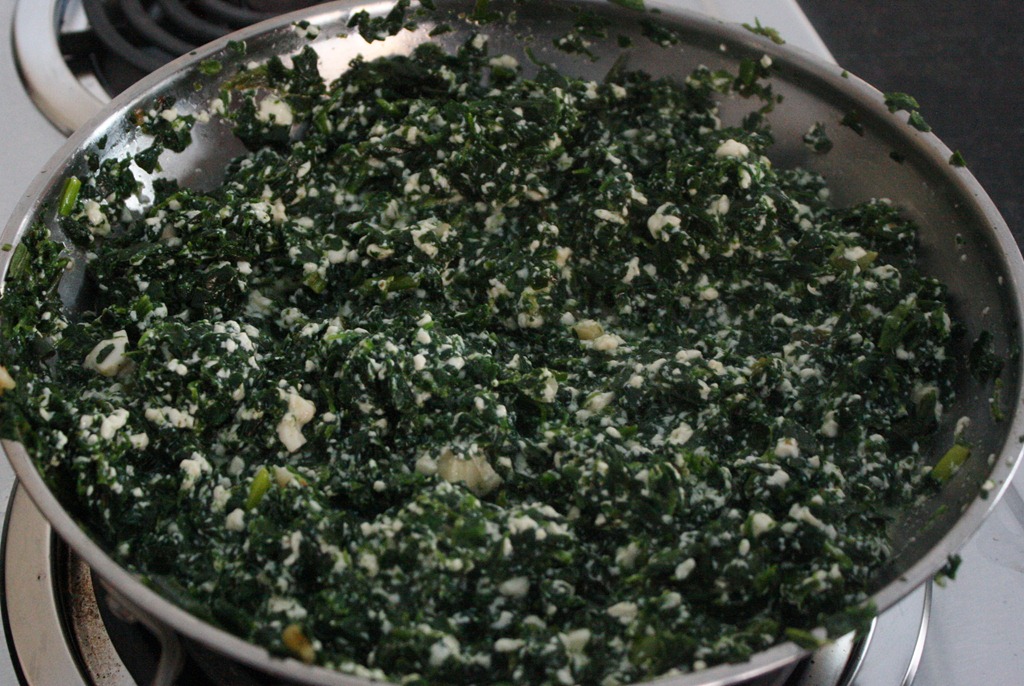
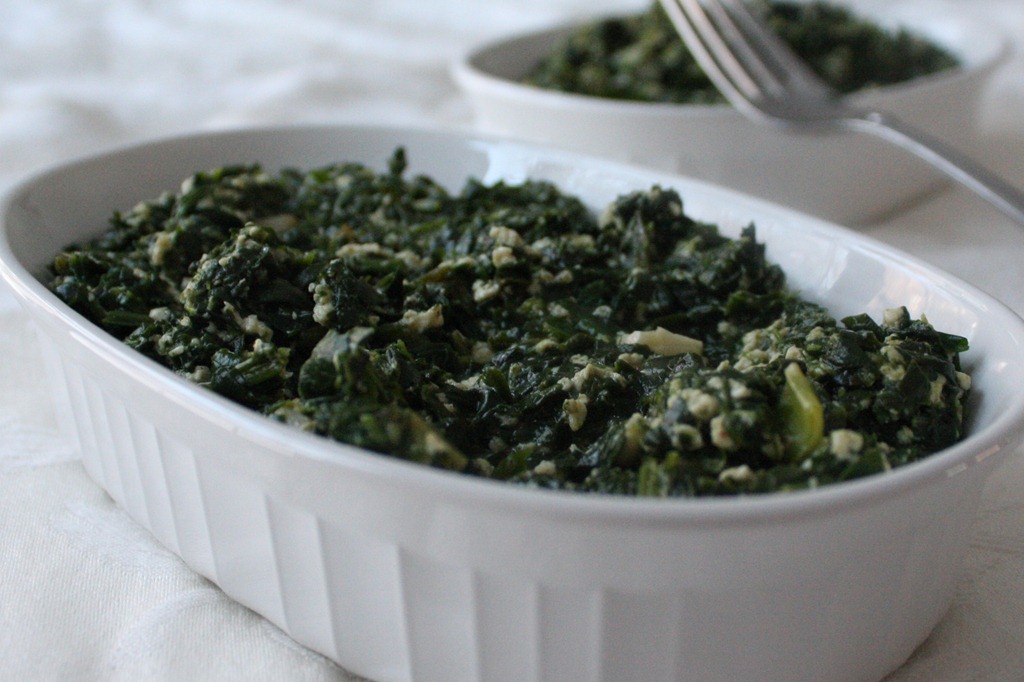
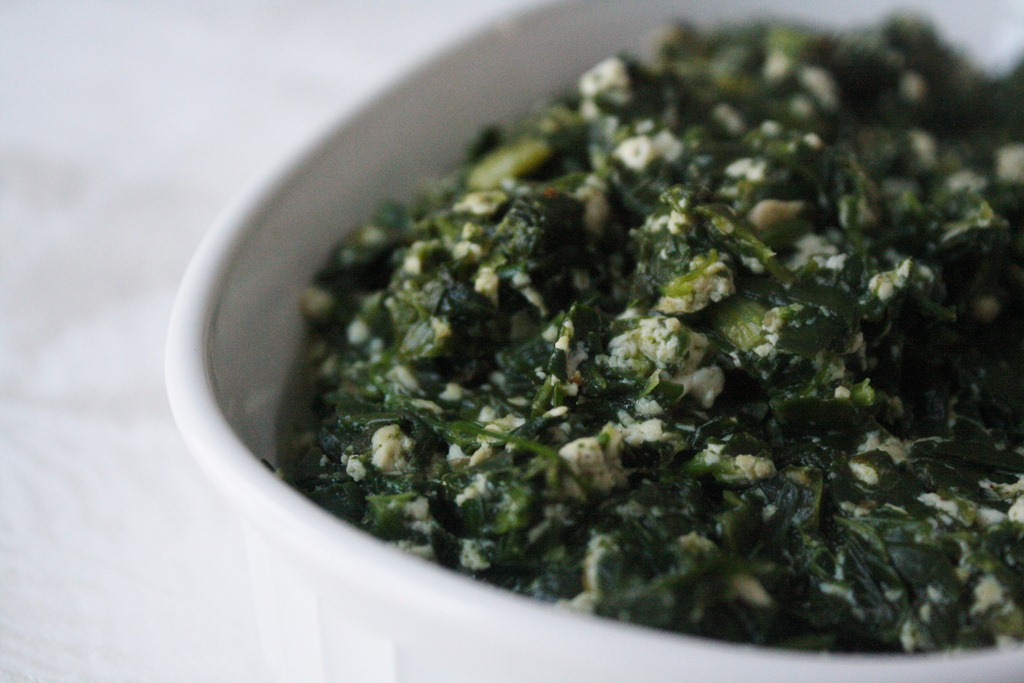
Really good food speaks with it’s flavor. It was hard to pick a name for this recipe because it’s not like anything else. At first I was tempted to call it a low-fat creamed spinach but if you were looking for creamed spinach and came upon this you’d probably be disappointed. At the same time, it’s so much more robust and filling than regular sautéed spinach.
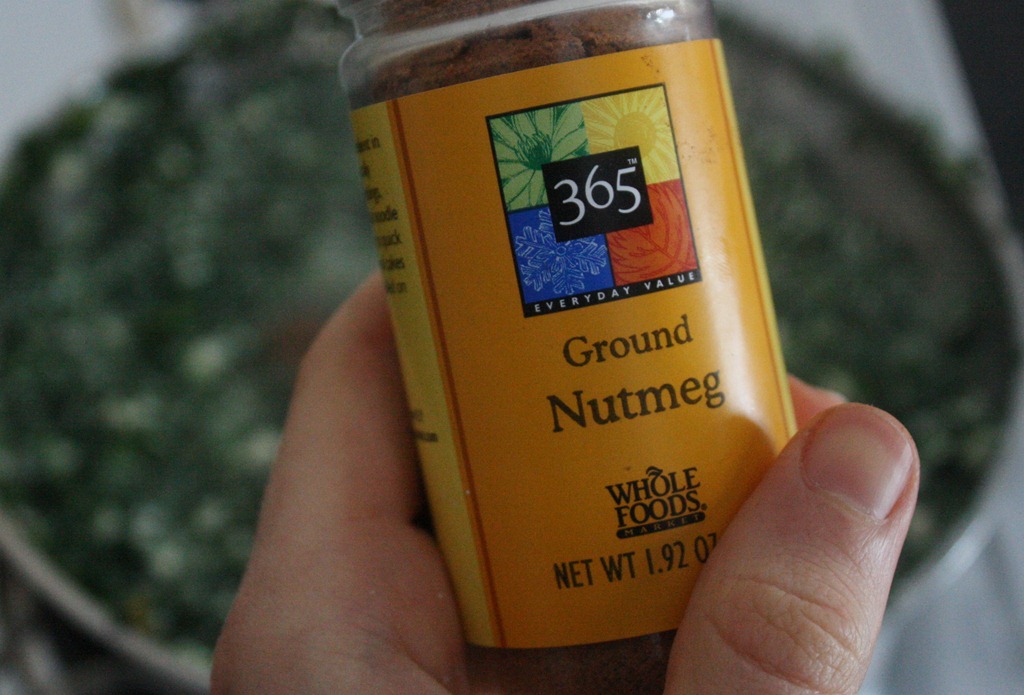
You know what I’d call this? Delicious. It’s a rich spinach dish bursting with flavors that’s good as a side to something like roasted chicken or baked seitan. The “secret ingredients” in this are cinnamon and nutmeg which enhance the earthiness of the spinach.
You don’t need to call it anything, really. Just grab a fork and dig in.
Sautéed Spinach With Silken Tofu
Ingredients:
-
2 tablespoons olive oil
-
4 cloves of garlic, diced
-
2 tablespoons green onion, diced
-
1 bag of frozen spinach, thawed and drained OR 6 cups fresh spinach
-
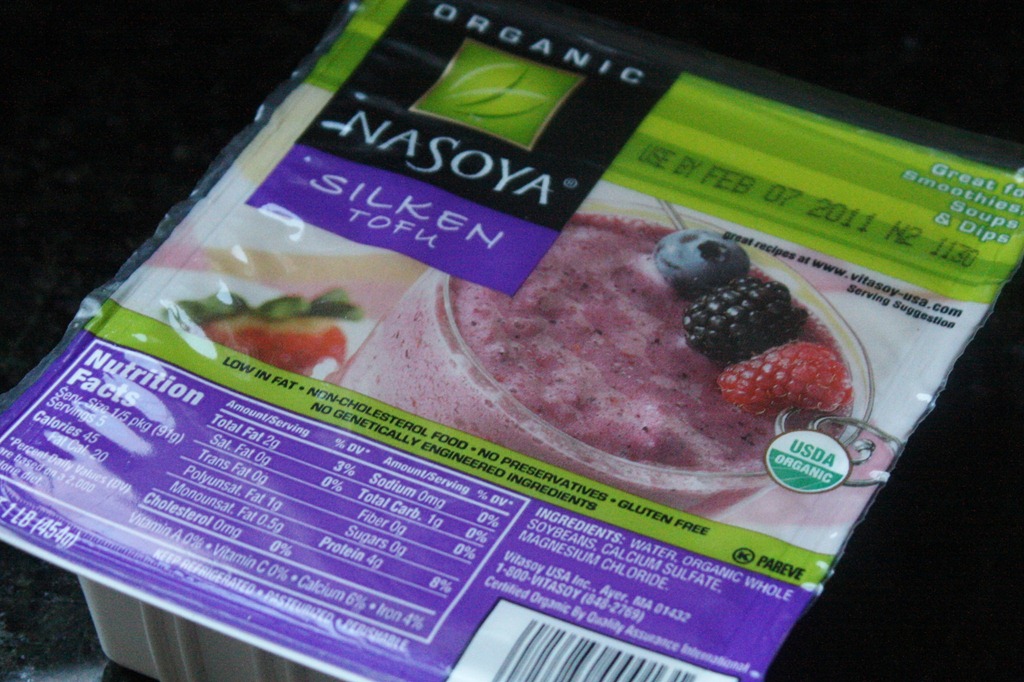
1 16oz pack silken tofu
-
2 tablespoons non-dairy cream(optional)
-
1 teaspoon salt
-
1/2 teaspoon cinnamon
-
1/4 teaspoon nutmeg
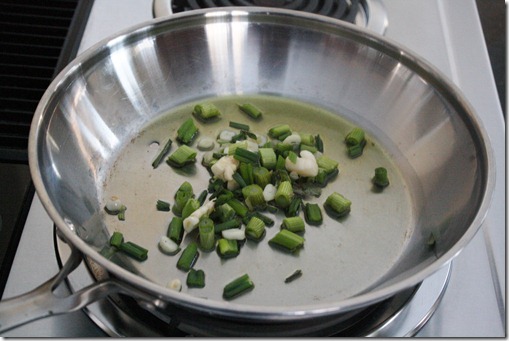
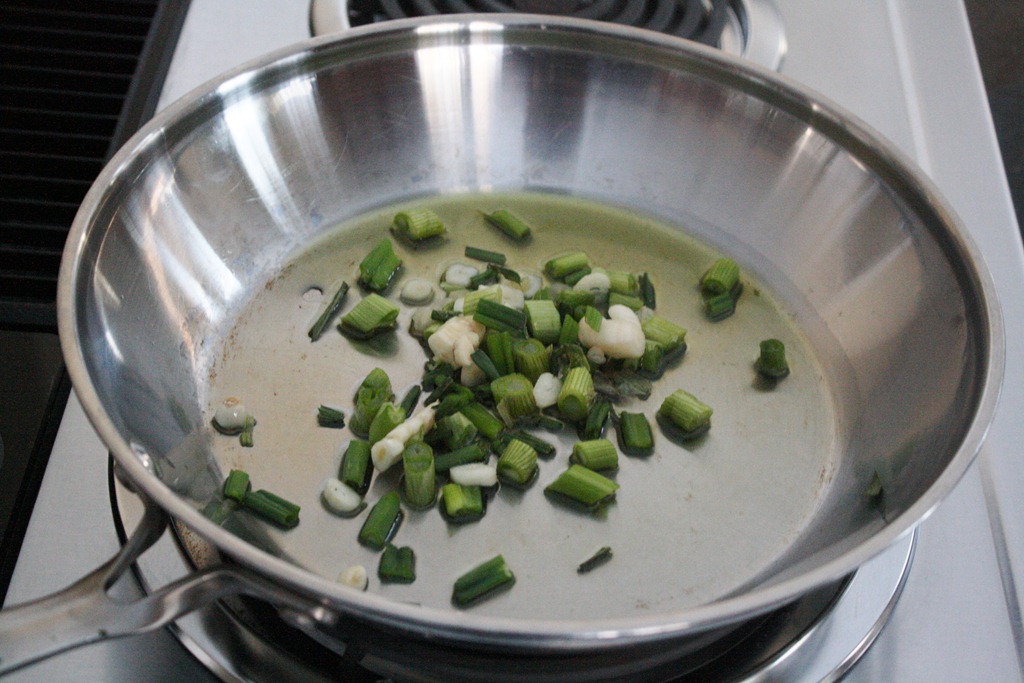
Start by heating the oil in a pan over medium heat. Once hot, add the garlic and the onion and let it toast in the pan for about 3-4 minutes.

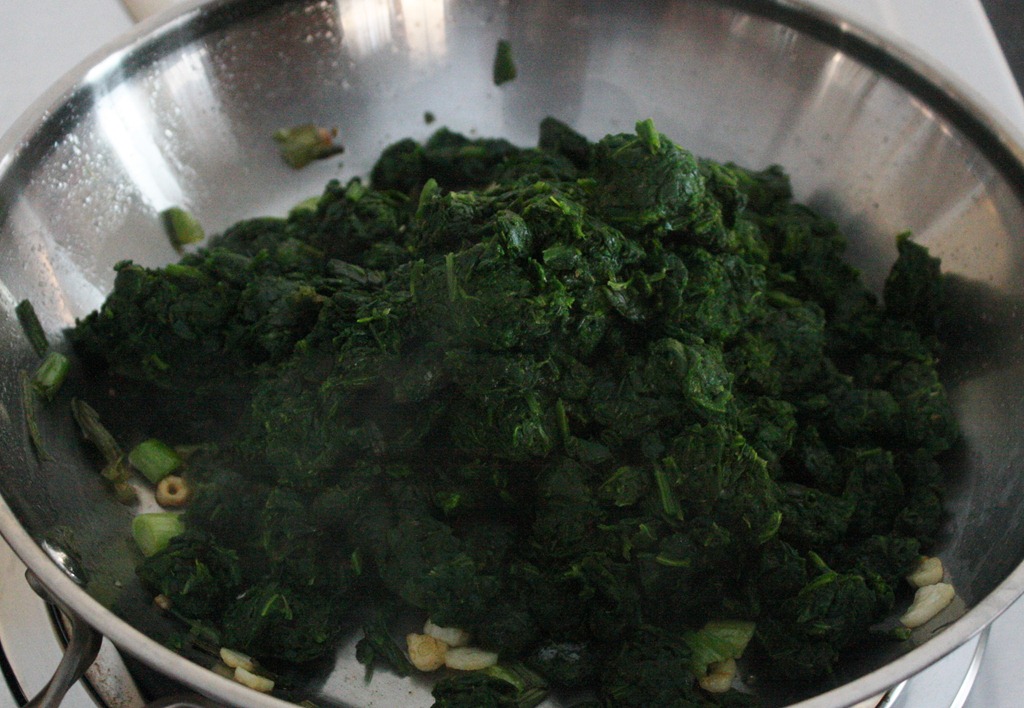
Add in the spinach and mix it with the ingredients in the pan.
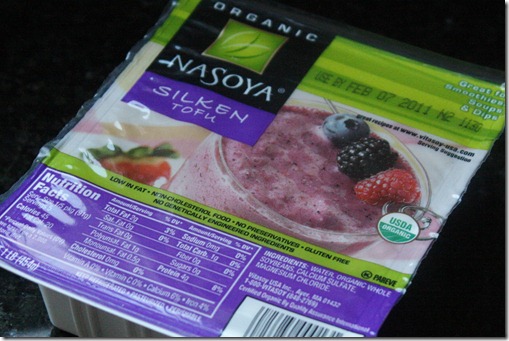
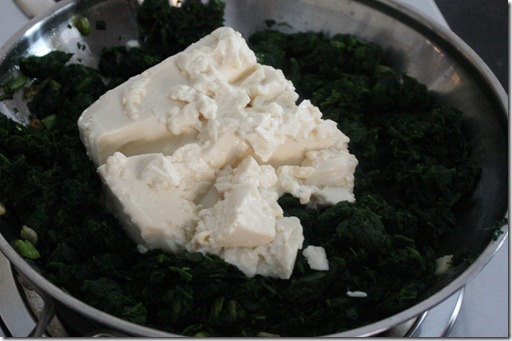
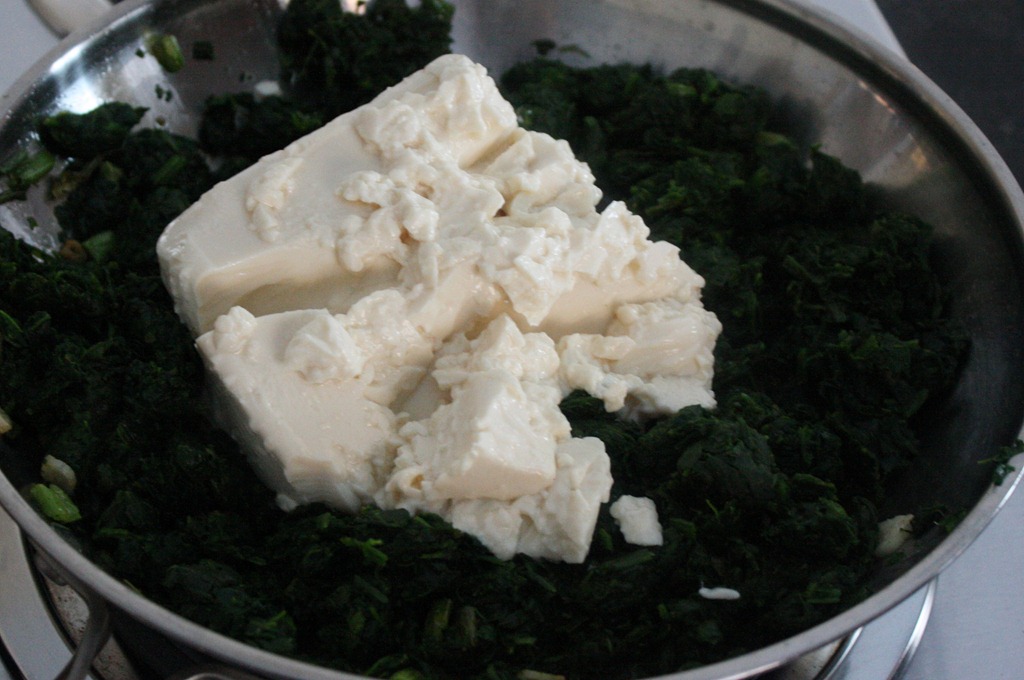
Next, open up the tofu and add it to the pan as well. Break it up with whatever tool you’re using to stir the pan and start to incorporate it as you pour in the cream.
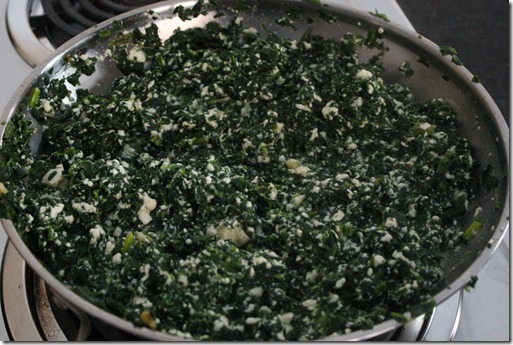
Once the pan is homogenous, let it sit and the excess water start to boil off.
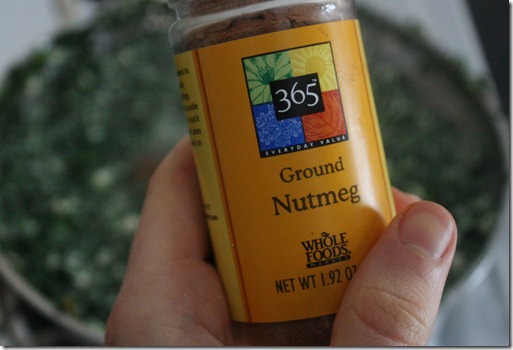
As it thickens up and gets ready to be served, season the pan with salt, cinnamon, and nutmeg and toss the ingredients again. Remove from the heat and serve hot.
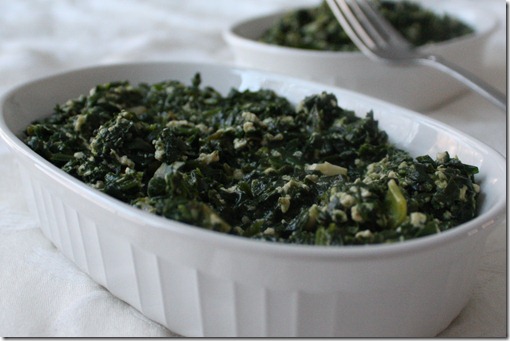
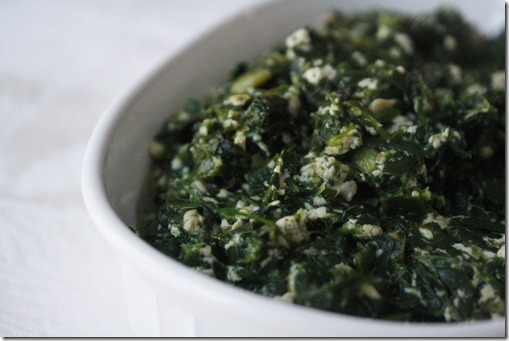
All the different flavors come together to make one cohesive, delicious dist. The nutmeg and cinnamon add an unrecognizable warmth that really enhances the spinach. And the tofu makes this rich and hearty with a slightly creamy texture. Go ahead and call it what you want; I’m too busy eating.
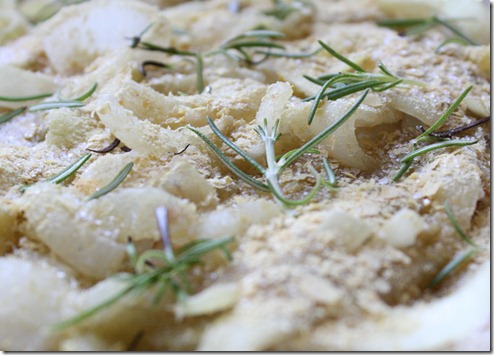
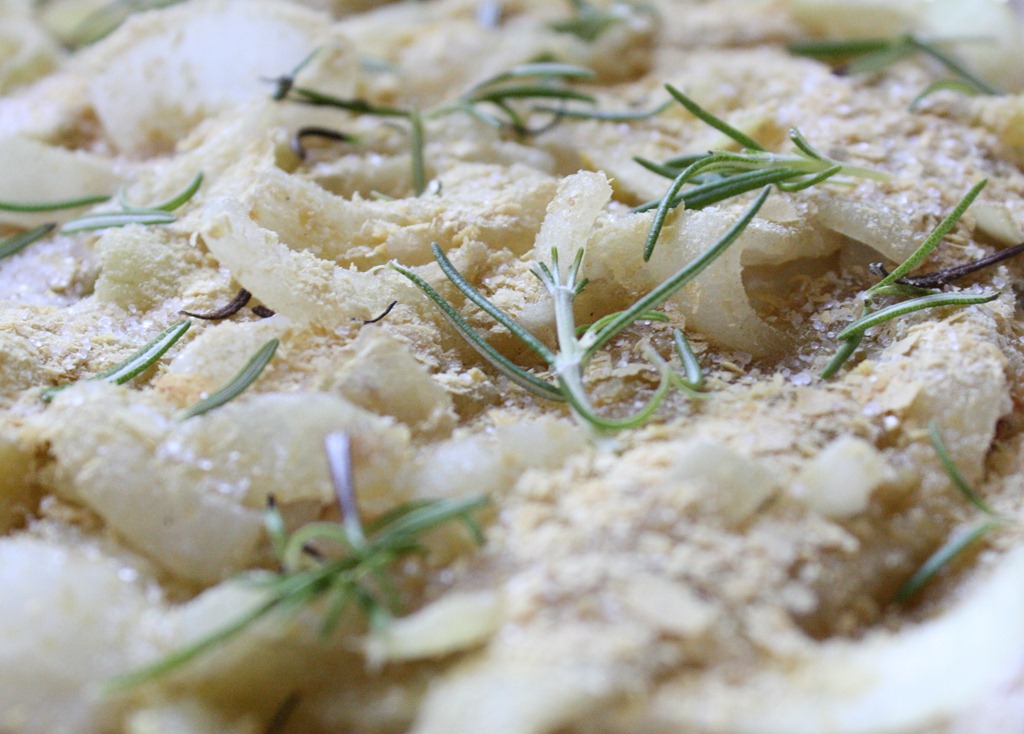
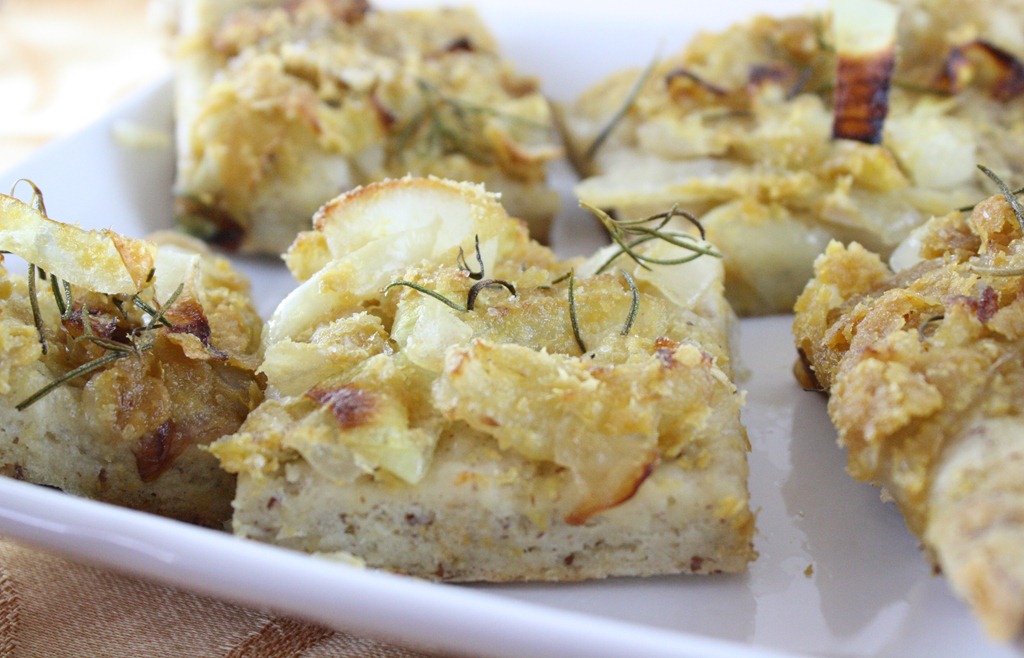
Everybody loves cheesy bread. That’s just a fact. Whether you can’t eat wheat bread or avoid dairy, this recipe still has something for you, too. The bread itself gets nice and crusty on the egg but soft and doughy in the middle. Everybody has a preference and I love the center. Be warned that if you eat too much you’ll have onion breath for a week, and you will eat too much because it’s too good to show restraint around.
Cheesy Rosemary Flatbread
Ingredients:
-
1 ball of prepared pizza dough*
-
1 yellow onion, julienned
-
1/4 cup of olive oil
-
1/4 cup parmesan, loosely packed**
-
2 tablespoons rosemary
*Make this recipe gluten-free by using a gluten-free dough such as Bob’s Red Mill.
**For a non-dairy alternative, use the same amount nutritional yeast with an added 1/2 teaspoon salt.
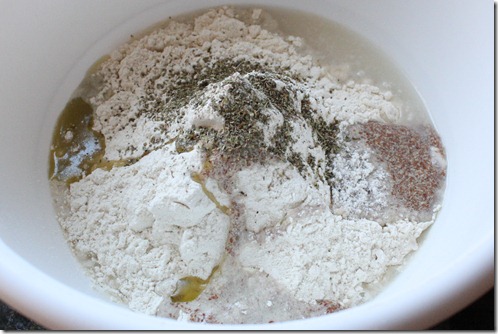
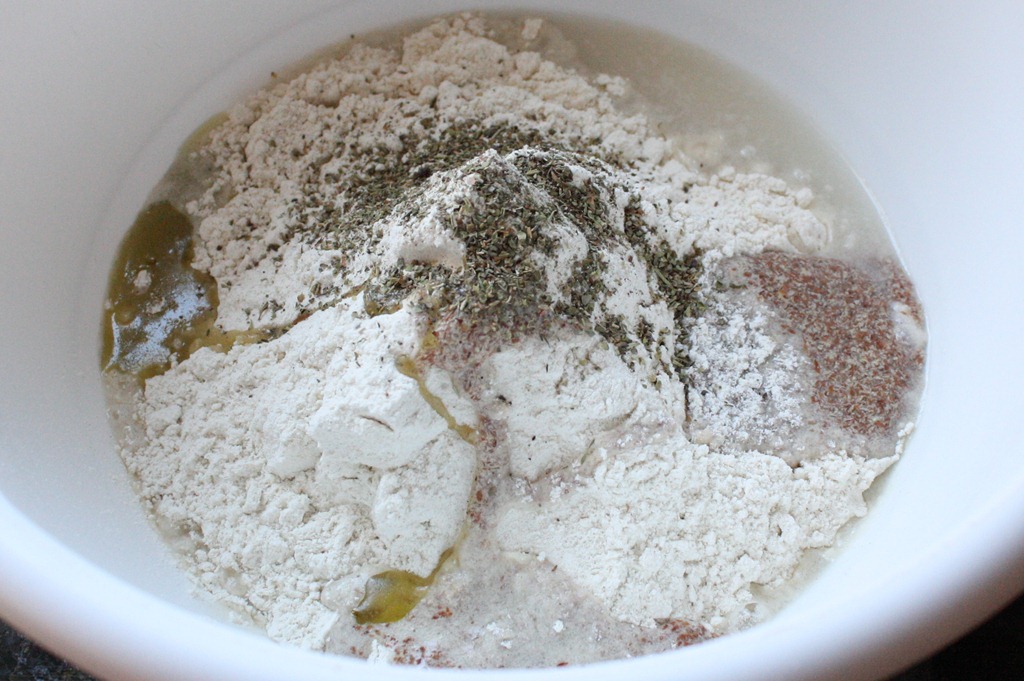
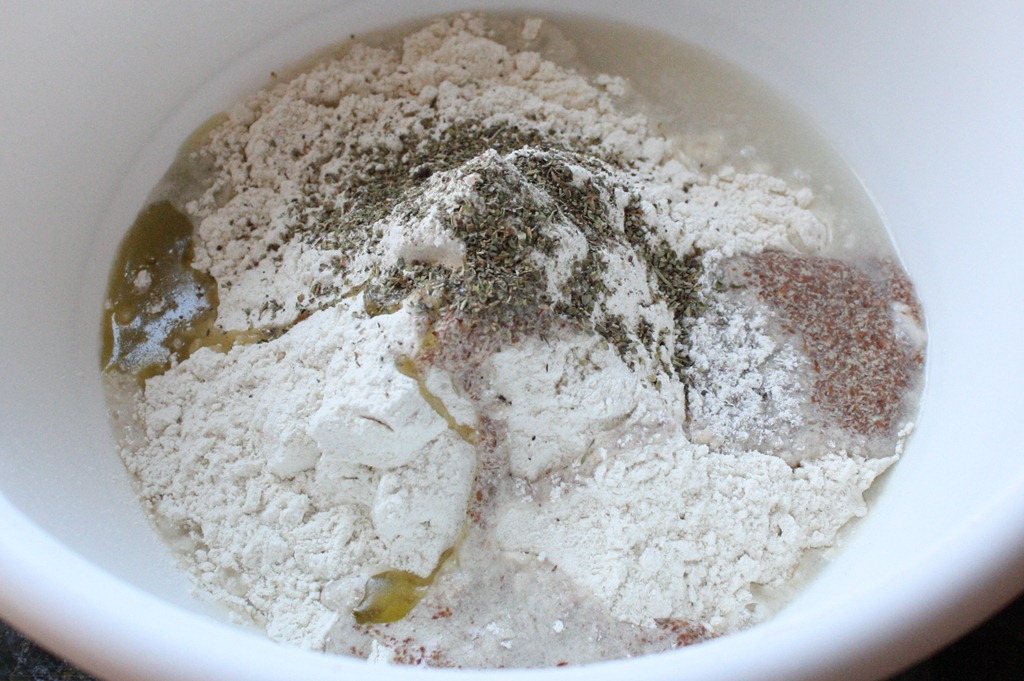
I started by making my pizza dough. I always add Italian herb seasoning even when the dough is a mix; it just adds such great flavor.
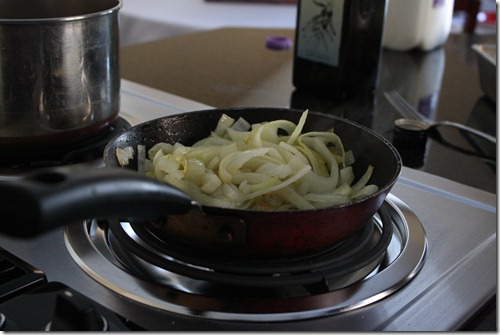
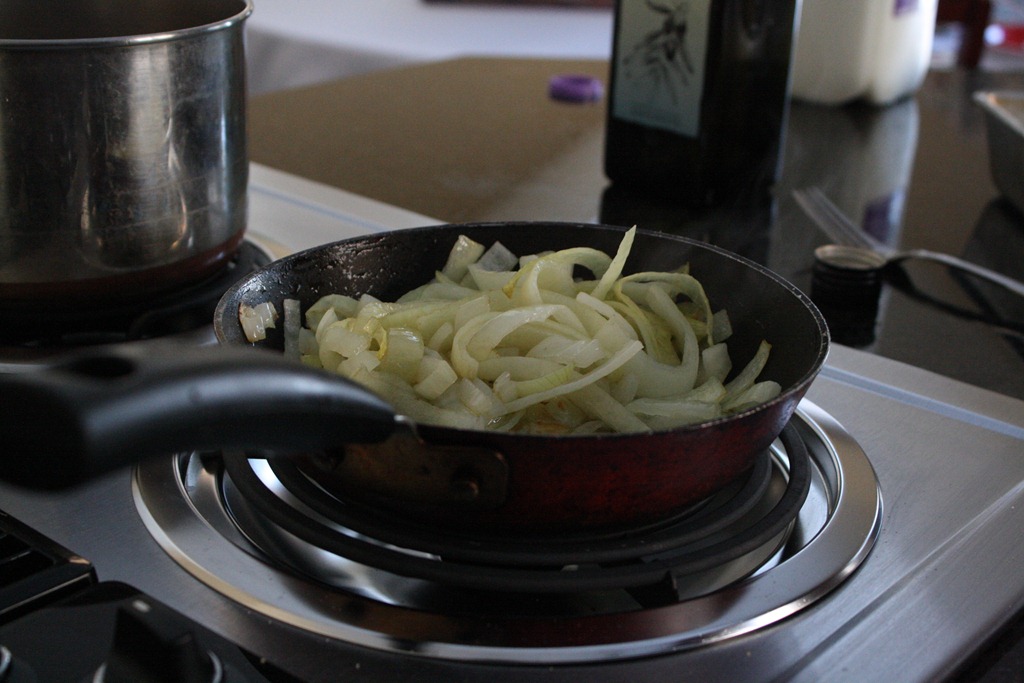
Preheat an oven to 425 degrees. To prepare the onions, heat 2 tablespoons of oil over low heat on a burner. Add in the julienned onions and cook for about 10 minutes until they’ve softened and soaked up the oil. Add in the other 2 tablespoons and continue cooking until they’re soft and translucent.
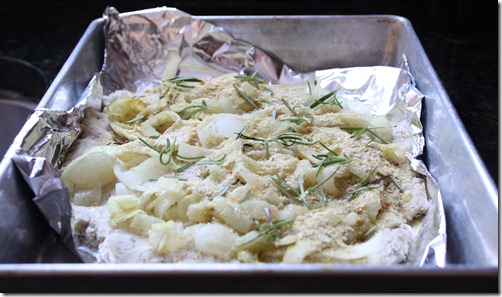
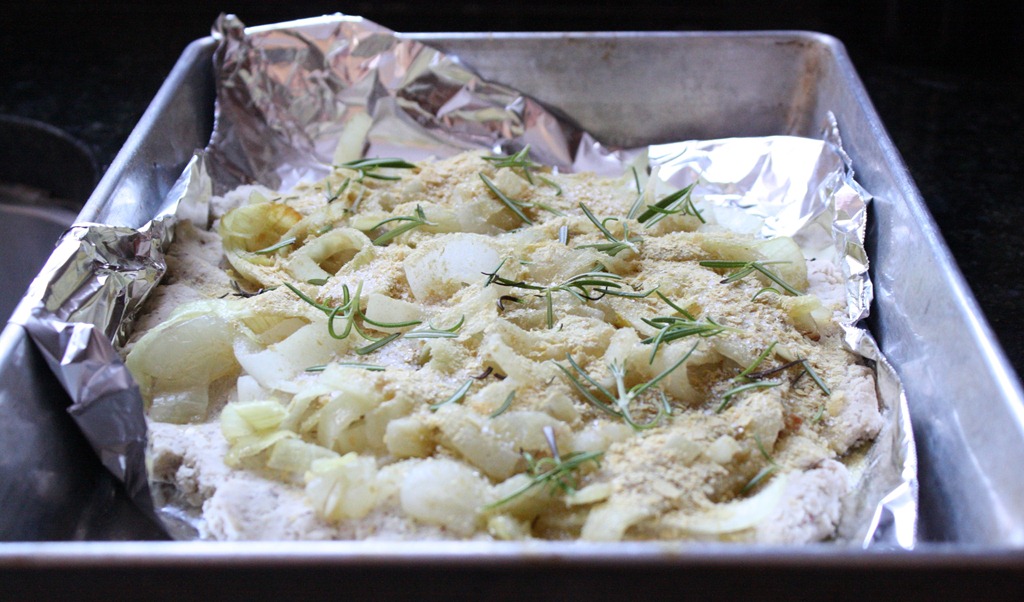
Roll out the dough on a pizza pan(a baking pan will work in a pinch). Flatten it out to about 1/4-inch thickness and poke holes in the top to let the air out when cooking. Add on the onions and any extra oil in the pan. Then sprinkle on the parmesan and rosemary and bake for 25-28 minutes until the edges crisp up.
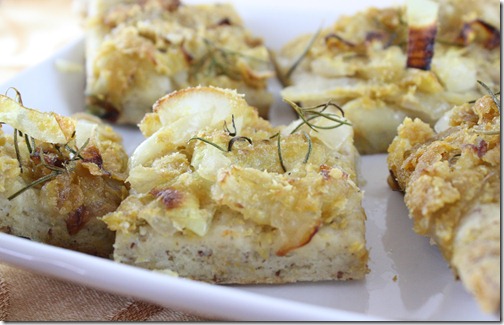
Like I said, I love the center part that’s nice and doughy, onion breath be damned. I’ve made this for guests and they had no clue it was vegan and gluten-free; it’s just a plain good recipe with tons of flavor. I’m ready to slip into my food coma.
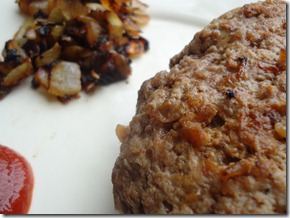
We all know the grill makes the best burgers, right? Or does it? Regardless, no one wants to grill when it’s 30 degrees and snowing. And most people living in cities or apartments don’t even have a grill. But that doesn’t mean you have to sacrifice a well-seasoned hamburger.
These are easy to make and only take about 10 minutes. And with just 4 common ingredients, they’re just as flavorful as ever. All you’ll need is a stove and a frying pan—that’s it!
Seasoned Pan Fried Hamburgers
Prep time: 10 minutes
Cook time: 10 minutes
Ingredients(Makes 4 servings):
Method:
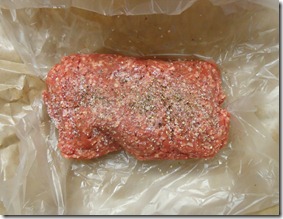
- Add the salt and pepper onto the meat and massage the seasoning in. Do not apply too much pressure ever as this can make for tough and tight hamburgers.
- Split the beef into 4 quarter-pound patties and flatten between the palms of your hands. Make a slight indent in the center for when the air in the center expands.
- Meanwhile, heat a pan over medium heat and add the diced onion to sweat. When the pan has come to temperature, add the burgers on top of the bed of onions.
- Cook for 4 minutes on both sides for rare, or until the liquid coming out starts running clear. For medium well, add about 2 minutes on both sides. Note that how many you can cook at a time depends on how large your pan is. I wouldn’t cook more than two at once as crowding will slow down the cooking.
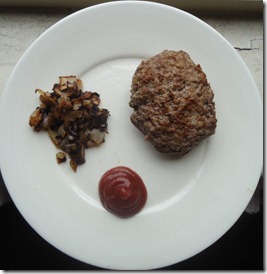
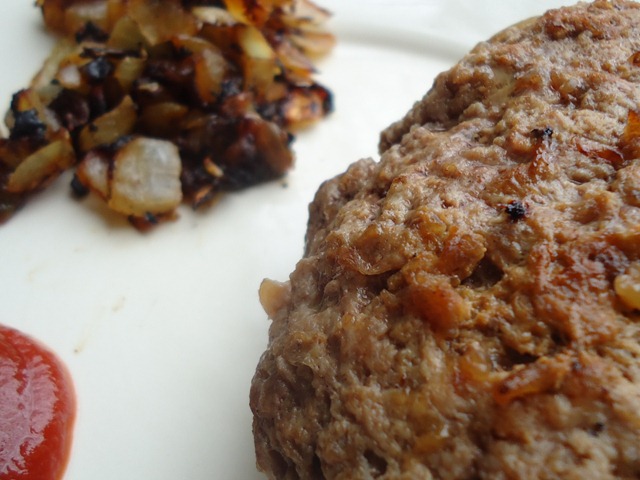
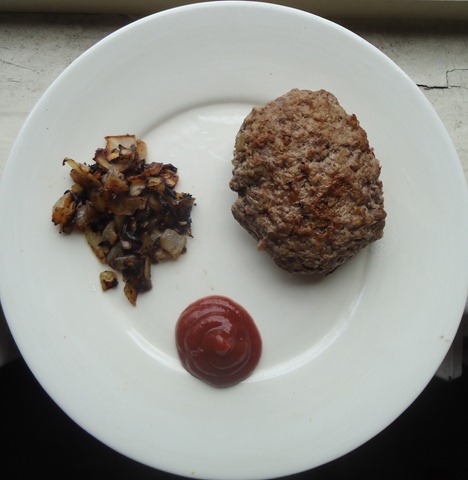
Like any meat, let the burgers sit for 5 minutes off of heat for them to retain their juices. Serve with any condiments you could desire. What I love about these is that they don’t taste salty, or peppery, or “onion”y; they just taste like a perfectly seasoned burger.
You can either discard the onions or serve them alongside. They will most likely be slightly burnt and cooked heavily in beef fat; that just sounds perfect to me, but if you’re not a fan of onions feel free to dump them.
This is the post that made me cry.
I have a love affair with onions. I think they make anything taste better. So I was naturally a little embarrassed that—up until this past Tuesday—I didn’t know how to properly dice one of them.
Sure, I could chop an onion a whole bunch of different ways, and when a few pieces weren’t cut up so evenly I would fix it afterwards. But I didn’t really know how to dice an onion. So what did I do? I youtubed it. And you know what? It’s pretty simple!
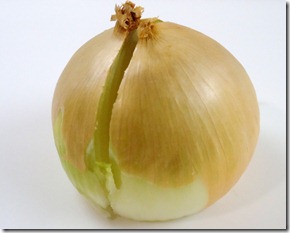
How To Dice An Onion
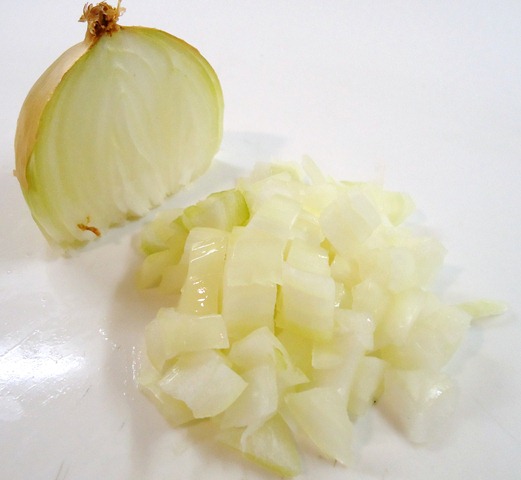
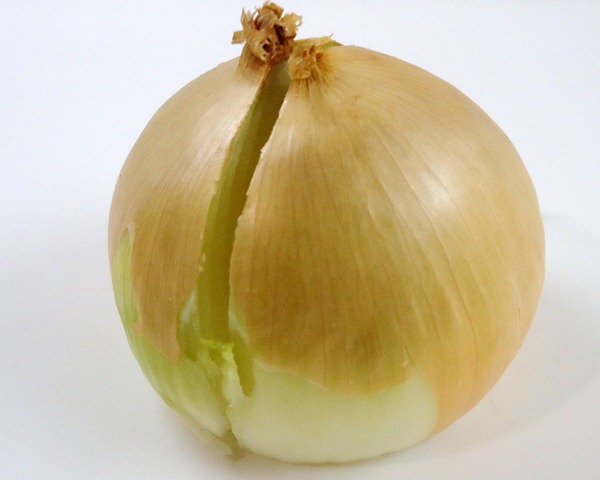
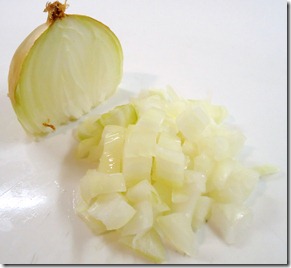
Start by chopping off the “stem” end, or the one that looks hairy. After that, cut vertically from the stem end through to the “root” end. Peel the outer skin off the onion and discard.
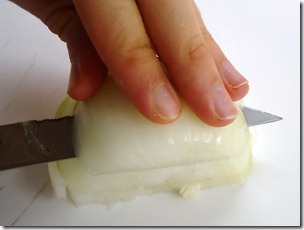
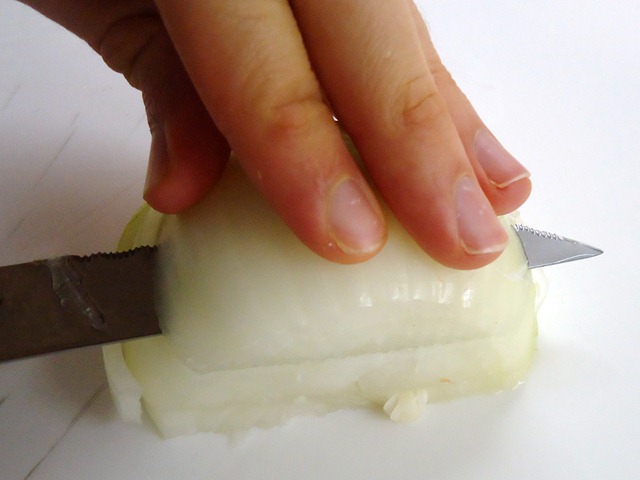
The first cuts you’ll want to make should be parallel with the surface. Push down with your fingers on top and make 2-3 slices horizontally through the onion .
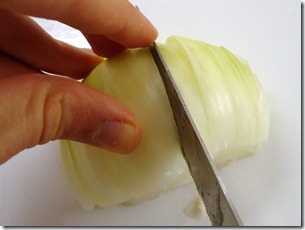
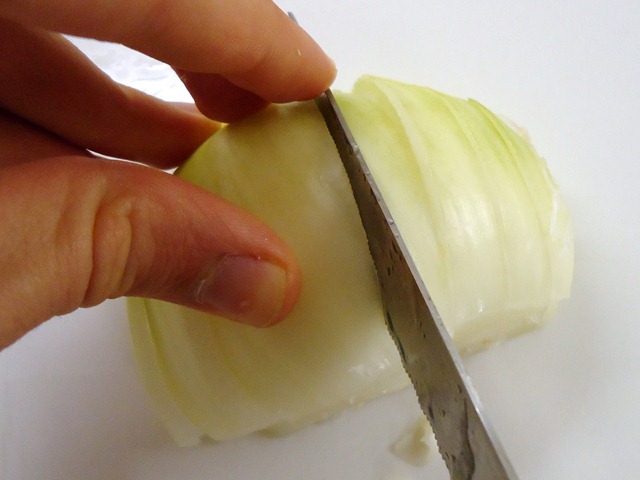
Next, readjust your hand and make cuts from the stem end to the root end about 1/4-1/2 an inch thick. You’ll want to apply pressure on both sides of the onion to make sure it moves as little as possible.
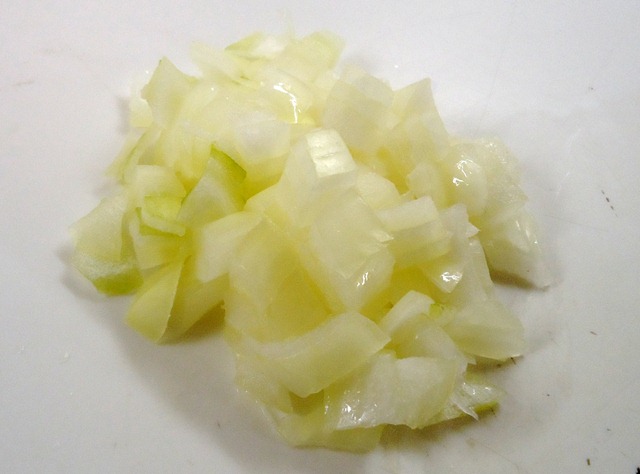
Lastly, position your hand on the root end and make cuts lengthwise, perpendicular to your last cut and parallel with the first cut you made to remove the stem. After each cut, your onion will be diced so push the onion bits away with the knife in between each slice.
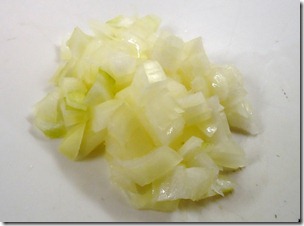
Is that not the most beautiful thing you’ve ever seen? No? Only me? OK, then. For what it’s worth, this is a great skill to learn to make evenly sized onions for soups, stews, stir-fries and sautés. It’s also bad news for your breath, but that’s a trade I’m willing to make.
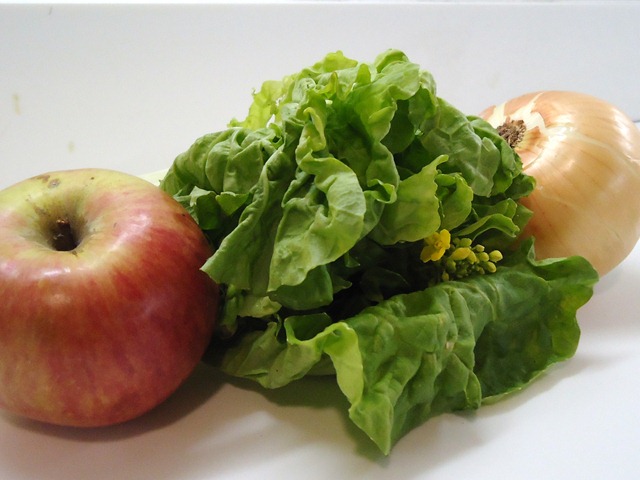
Benjamin Franklin once said “in this world nothing can be said to be certain, except death and taxes.” I would like to add apples from my CSA share to that list.
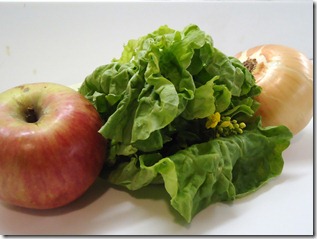
Every Wednesday, I get a great haul of fresh, local produce from my farmers’ market. And every Wednesday I keep getting more and more apples. I love apple crisp as much as the next person, but if I kept making that I’d be 10lbs heavier from butter.
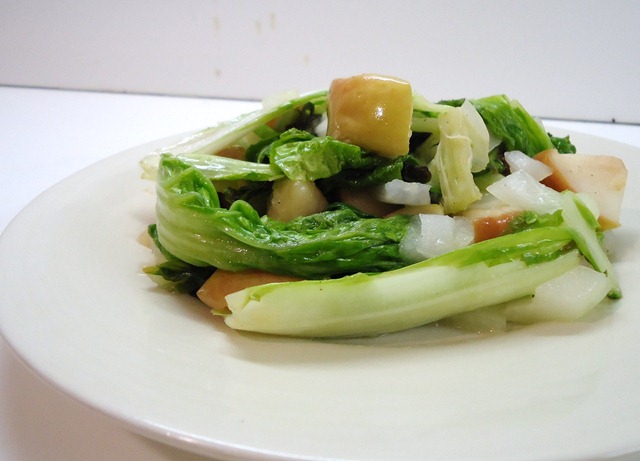
Instead, I’ve been finding other ways to eat apples. I’ve been loving having them with bok choy since that’s another produce I’ve been getting a lot of lately with no previous experience of. It’s simple, sweet, and a perfect side dish to use up extra apples. Because who hasn’t gone apple picking and came home with 10lbs of apples only to realize that’s a lot of pie crust to make and eat?
Sautéed Bok Choy With Apples And Onions
Ingredients(for 2 servings):
- 2 tablespoons oil
- 1 head bok choy
- 2 sweet apples
- 1/2 an onion, diced
- 1/4 teaspoon salt
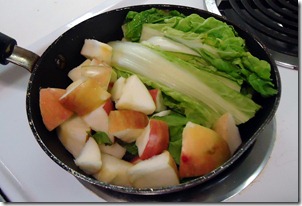
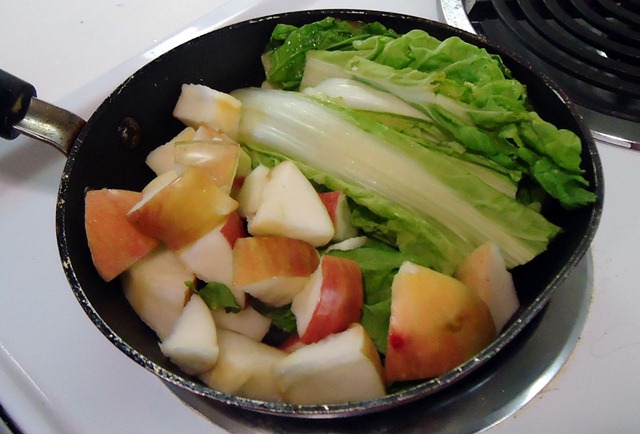
Heat a pan and the oil over medium-low heat until it comes to temperature. Cut the bok choy in half to make the stalks bite sized and dice the apple. Add the bok choy and apple pieces into the pan and toss for about 5 minutes, until the bok choy begins to loosen up.
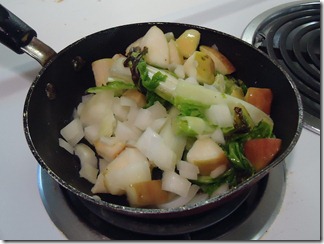
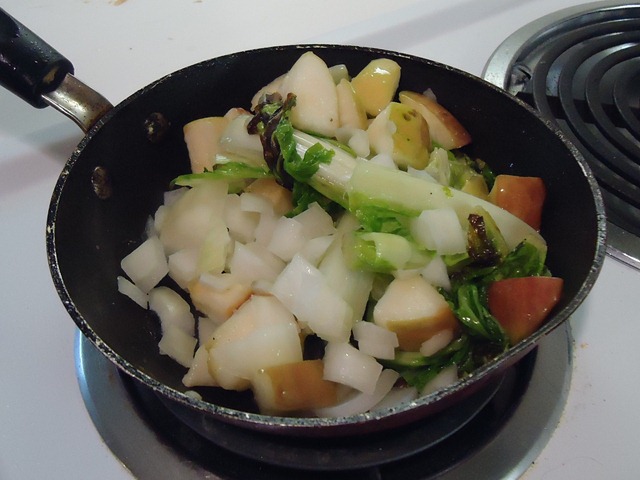
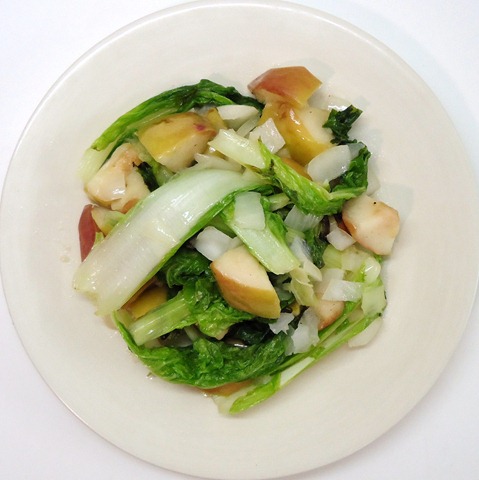
Add in the diced onion and toss for another minute, but not so much that the onions turn translucent. Sprinkle with salt and serve warm.
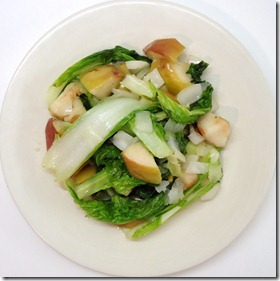
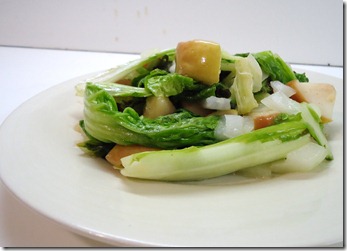
This is a delightfully simple way to get in both fruits and greens and all in under 10 minutes! I’d be lying if I said I couldn’t go for a slice of pie after this, though…