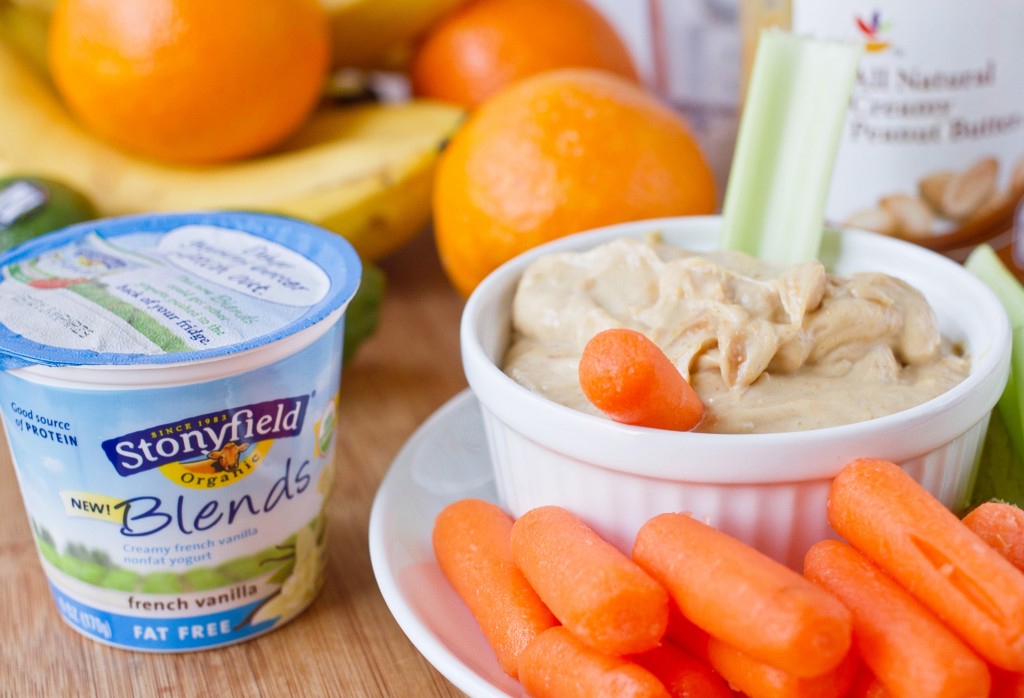
Tag Archive: Yogurt

Low-Fat Garlic & Herb Mashed Potatoes

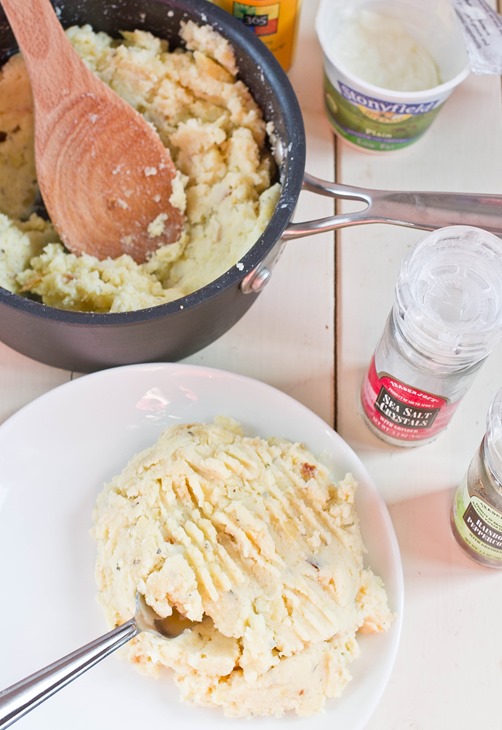
Yogurt Mashed Potatoes

There are two things that you can expect with every new year: A host of people looking for healthy recipes online and about triple the normal crowd at the gym.

When Stonyfield asked their Clean Plate Club members to lighten their favorite comfort food with yogurt, I knew exactly what I wanted to make. Few things are as comforting as mashed potatoes and they’re perfect for lightening up.

Yogurt instead of butter makes these potatoes soft and creamy while garlic and herbs adds a ton of flavor without adding any fat. You’d never guess that they were better for you.

Yogurt Mashed Potatoes Potatoes

Like most cooking, you should work with the ingredients to however you taste the finish dish best. Use 1 garlic clove for a subtle flavor or 3 for a garlic-lover’s helping of potatoes.

Low-Fat Garlic & Herb Mashed Potatoes

Prep time: 10 minutes

Cook time: 60 minutes

Ingredients(Makes 4-6 servings):

  • 1lb yukon gold potatoes
  • 4oz Stonyfield low-fat plain yogurt
  • 1-3 garlic cloves, roasted and grated
  • 1/2 Tablespoon dried herbes de Provence
  • 3/4 teaspoon salt
  • 1/4 teaspoon pepper
  • 1-2 Tablespoons milk

Yogurt Mashed Potatoes Yogurt

Method:

  1. Preheat your oven to 375 degrees.
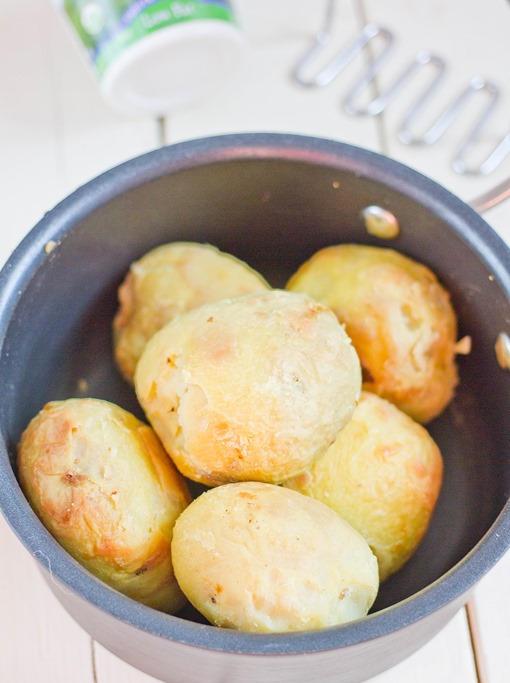
  2. Roast the potatoes for an hour until the insides are tender. Remove the potatoes from the oven and let them cool until they’re cold enough to handle.
  3. Peel off the skins and collect the rest of the potato in a pot or bowl.
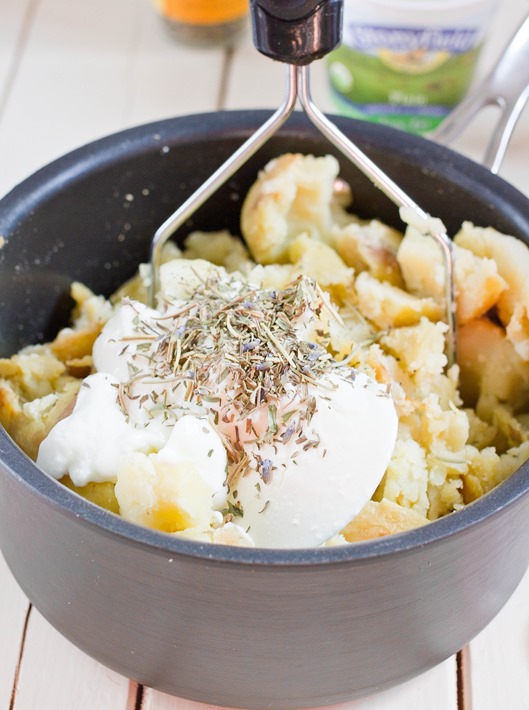
  4. Mash the potatoes along with the yogurt, garlic, herbs, salt, and pepper until smooth. Add a touch of milk depending on how starchy the potatoes are until they’re the right consistency.
  5. Serve hot.
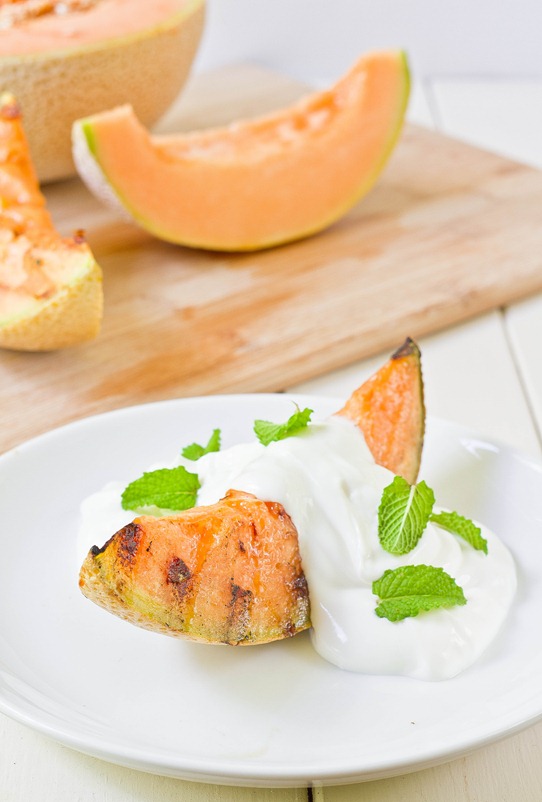
Stonyfield Blends & Blendtec Giveaway

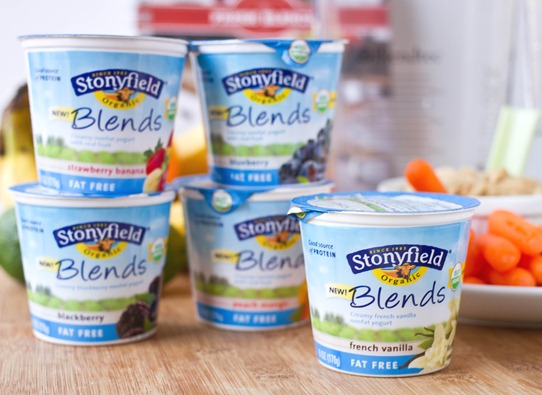
Stonyfield Blends

This is by far my favorite opportunity of 2013 so far.

As a recipe developer for the Clean Plate Club, I had the opportunity to try Stonyfield’s newest yogurt Blends as well as a Blendtec to play around in the kitchen with. Since I’ve got it I’ve been bookmarking smoothie, juices, and soup recipes left and right. The best part is that I have an identical pack to giveaway to a reader–more on that at the end of the post!
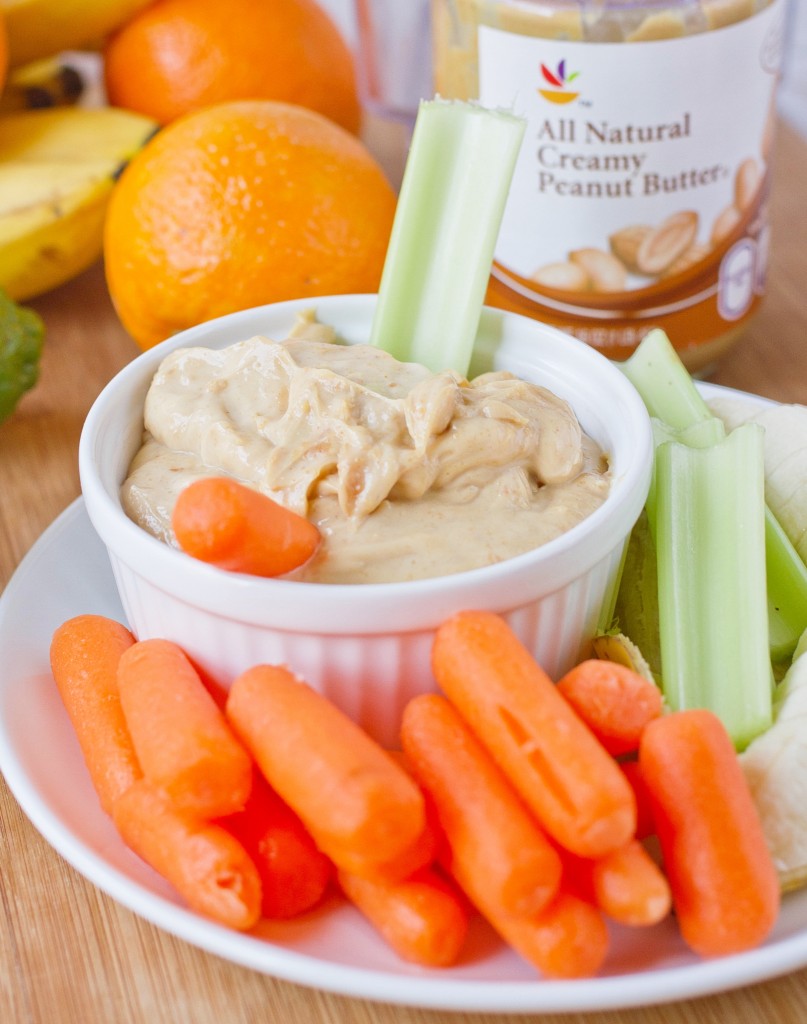
Stonyfield Peanut Butter Dip

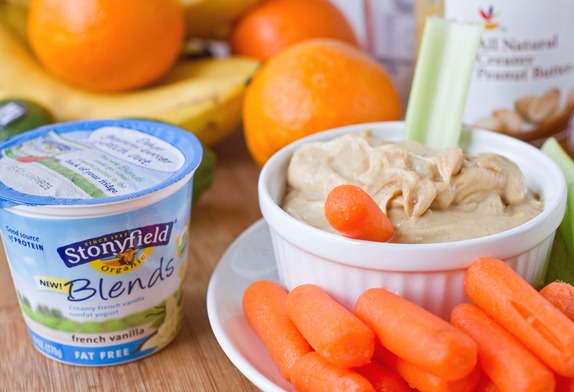
The first thing I blended up was fruity peanut butter yogurt dip made with french vanilla Stonyfield Blends. After almost 2 years that recipe needed a facelift. With the vanilla yogurt, it tasted more like a peanut butter frosting than a dip and was deliciously smooth.

I’ve found I like the Blends better than the regular variety of Stonyfield yogurt. The texture seems a little creamier even though the flavors I received were non-fat, and I’ve never been a fan of having the fruit on the bottom of the yogurt anyway. And because it’s Stonyfield they’re all entirely organic. I would say the Blends are a win-win.

Blendtec Giveaway

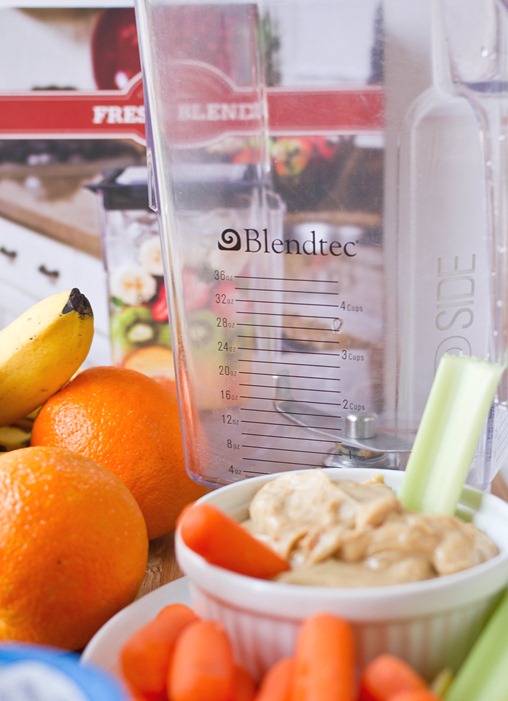
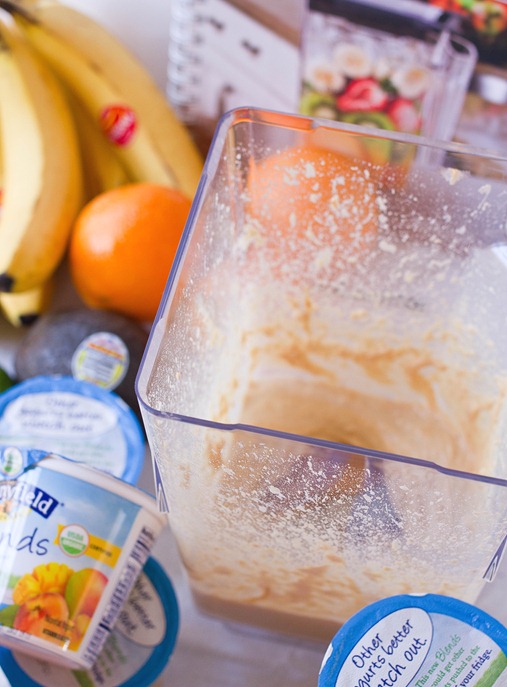
My favorite thing about the Blendtec so far has been how easy it is to use. I’ve been working with a Black & Decker food processor for years now and the Blendtec is lighter, sturdier, has less pieces to it, can handle heavier loads, and is much easier to clean. It’s blown my old processor away in just about every aspect. It can be hard to clean under the blade after processing something sticky like peanut butter; that’s been my only trouble so far.

Dirty Blender

Giveaway

Here’s my favorite part: I get to giveaway an identical prize pack to one of you, which includes a Blendtec and package of the new Stonyfield Blends. There are 7 ways to win!

Mandatory entry: What would your favorite flavor of blended yogurt be? It can be one of the new ones or one you just made up!

Other entries:

I’ll leave this contest going for 2 weeks, ending on February 1st. Good luck!

Edit: This giveaway has closed and the winner has been contacted.

Low-Fat Cake Balls

Low-Fat Cake Balls Serving

Cake pops are one of my favorite recent food trends, not because I think they taste all that much better than regular old cake, but because once and a while we all make that cake that doesn’t rise or come out just how we planned and won’t serve to people but can’t bear to throw away.

That’s the beauty of cake pops: They’re very forgiving. You can start out with dry or crumbly cake and still come out with something delicious.

Low-Fat Cake Balls Chobani

Chobani sent me a few of their 32oz yogurt containers for their Just Add Good cooking campaign. They’ve added a new Kitchen page to their website full of yogurt recipes and beautiful photos to get your gears turning.

When I made these cake balls, I swapped out the oil in the cake recipe for an equal amount vanilla Greek yogurt. For the frosting I mixed the cake with, I swapped out the butter for 1/2 the amount called for of plain 2% greek yogurt. The result was just as moist and delicious as any cake ball I’ve made before.

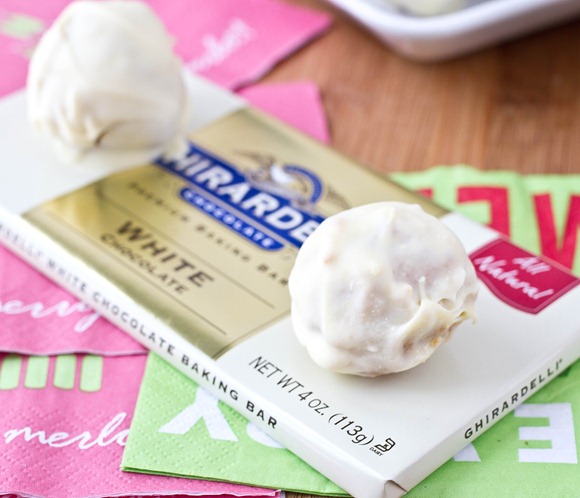
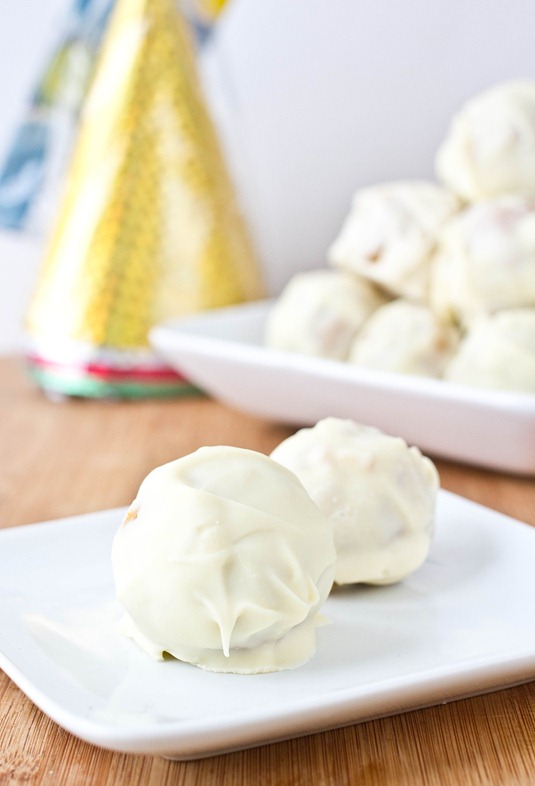
Low-Fat Cake Balls White Chocolate

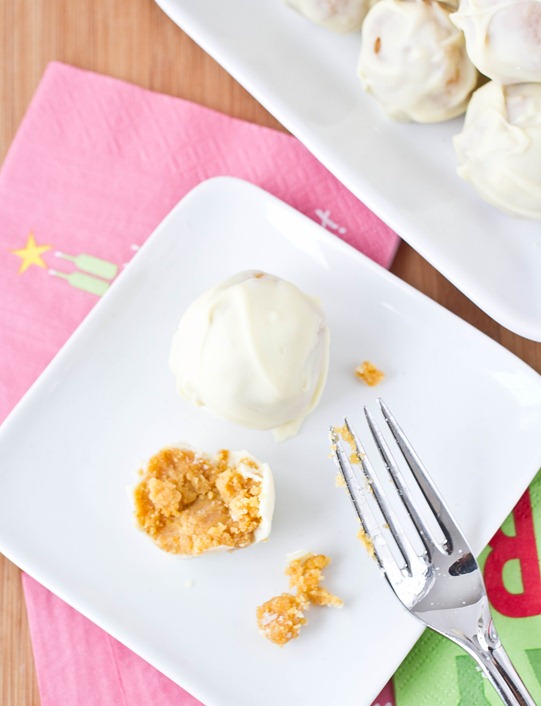
Since you lose richness when you cut the fat out of a recipe, this works better with bitter or spicy cake flavors like chocolate, pumpkin, or carrot cake. I used a gluten-free pumpkin spice cake with a white chocolate coating. 

Low-Fat Cake Balls

Don’t forget when melting chocolate to look for baking chocolate instead of chocolate chips. Baking chocolate melts smoother and makes a better coating for the cake pops.

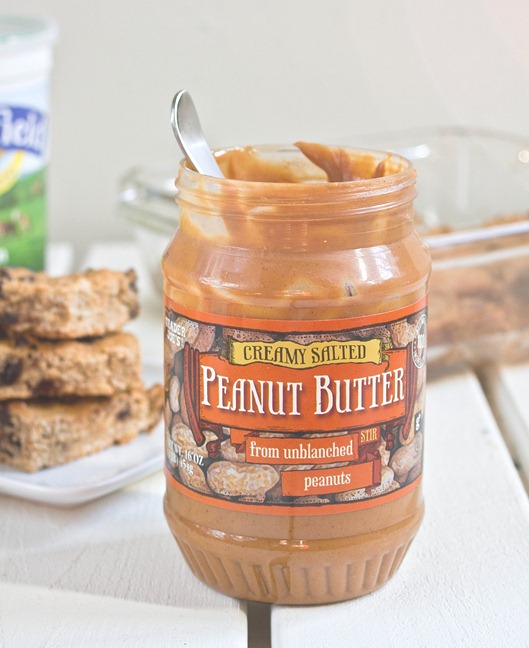
Peanut Butter Snack Squares

Peanut Butter Snack Bars

Every afternoon around 3pm I run into the problem of something healthy to snack on. I’d usually just prefer a bag of M&Ms and some Reese’s peanut butter cups and call it a day, but apparently that’s not good for you(who knew?). I went ahead and tried to make a healthy snack since it’s a lot easier and cheaper than finding tasty ones in the grocery store. And wouldn’t you know you can still have your peanut butter and chocolate and eat well, too?

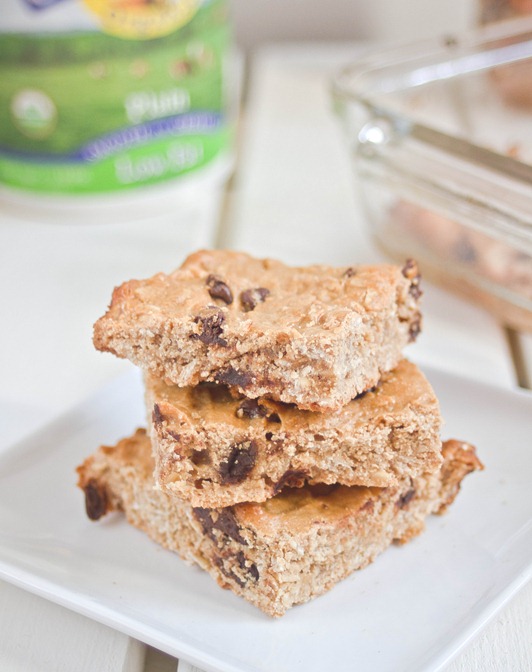
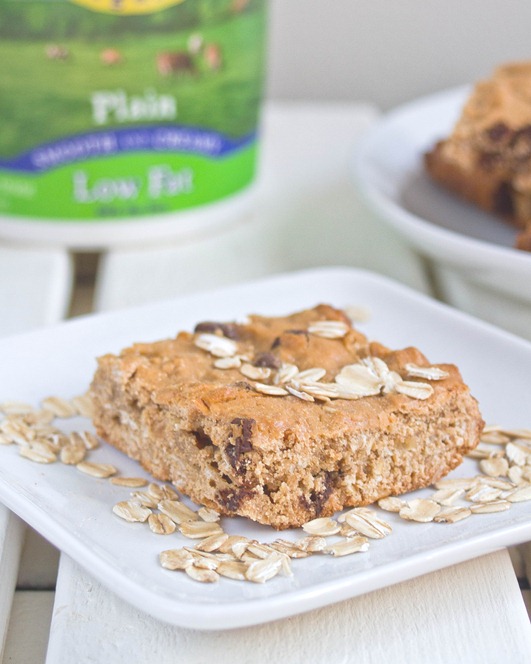
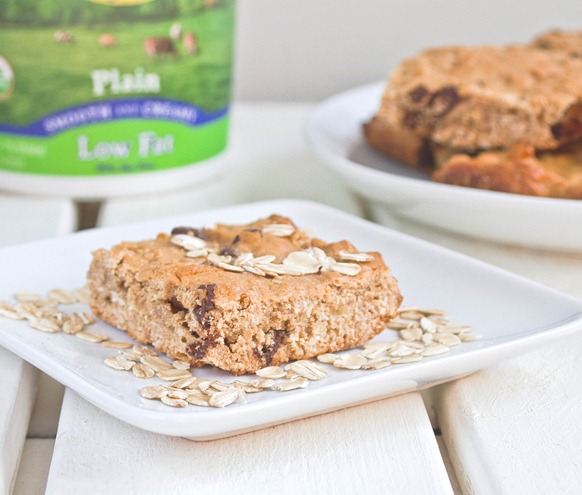
These definitely aren’t fudgy enough to be blondies or airy enough to be cake; that’s why I’d call them “squares” and say they’re the perfect afternoon pick-me-up when you’re not sure what to have. They’re filled with whole grains, peanut butter, and low-fat yogurt so they must be a better choice than anything from the vending machine.

Peanut Butter Snack Bars Healthy

If you want to make these really healthy, swap out the chocolate chips for raisins. Then again if you want to use both I won’t tell anyone.

Peanut Butter Snack Squares

Prep time: 15 minutes

Cook time: 25 minutes

Ingredients(Makes 9 squares):

  • 1 cup all-purpose gluten-free flour(or regular flour)
  • 3/4 cup gluten-free rolled oats
  • 1/2 cup + 2 Tablespoons sugar
  • 1/2 cup peanut butter
  • 1/2 cup plain low-fat yogurt
  • 1 egg
  • 2-4 Tablespoons water
  • 1/3 cup chocolate chips

Peanut Butter Snack Bars Peanut Butter

Method:

  1. Preheat your oven to 350 degrees and grease an 8×8 baking pan.
  2. In a large bowl, mix together the flour, oats, and sugar.
  3. Add in the peanut butter, yogurt, and egg and beat well.
  4. Slowly add in water just until the batter is wet enough for you to stir with a whisk or spatula to mix it.
  5. Lastly fold in the chocolate chips.
  6. Pour the batter into the greased baking tray. Bake for about 25 minutes until the edges start to brown.
  7. Let the pan cool before cutting it into 9 squares. Store sealed in the refrigerator until ready to eat. 

Peanut Butter Snack Bars Serving

After a few days these start to stiffen up. Just pop them in the microwave for 30 seconds on a low setting and it’ll be just like they came out of the oven again!

Chobani Frozen Yogurt

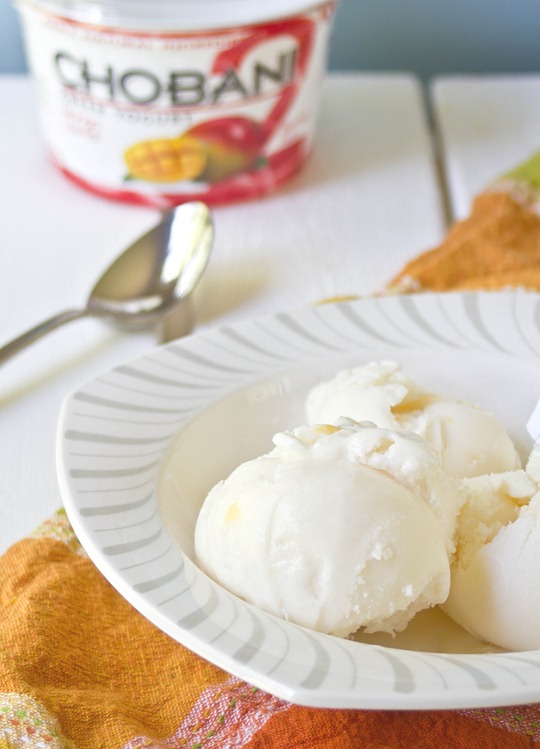
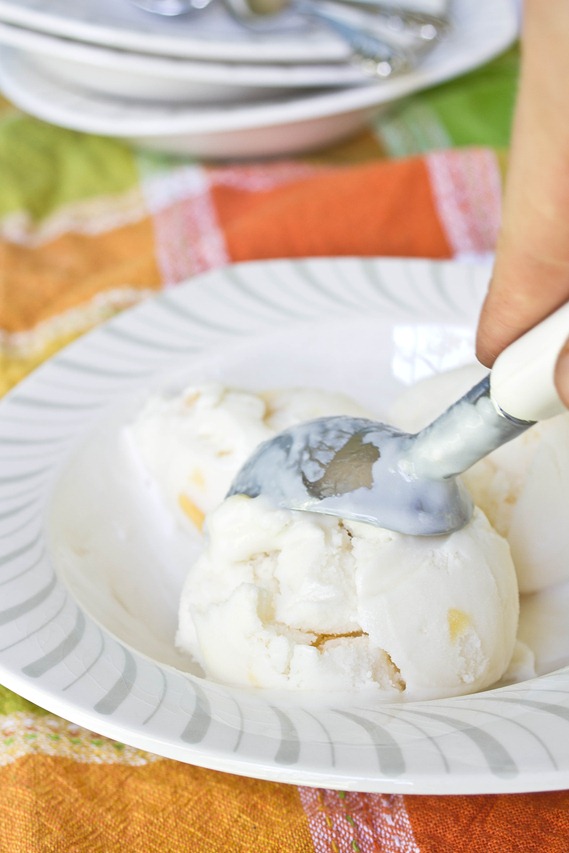
Chobani Frozen Yogurt

You’ve probably heard of Chobani, if not from their delicious yogurt then from their recent position as sponsor of the 2012 Olympic games. I hardly managed to do anything but watch TV for those two weeks—well, watch TV and eat yogurt.

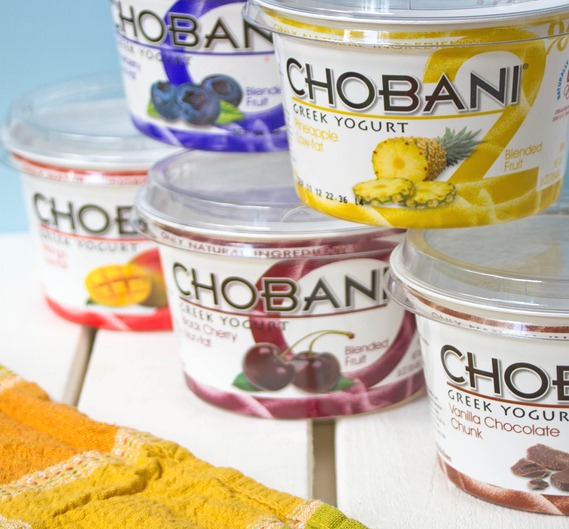
Chobani recently introduced 6 of their most popular flavors in 16oz tub container form including a 2% vanilla chocolate chip variety which easily takes the gold medal for me. Chobani has always been one of my favorite Greek yogurts because of the simple ingredients and consistently low price at my grocery store and I was happy to try them when they sent me a variety pack.

Chobani Frozen YogurtFlavors

I had to resist eating all of the flavors simply with granola and fruit and actually make something with them. I settled on frozen yogurt because few things are as tasty(and easy!) as homemade frozen yogurt. If you don’t have an ice cream maker, put it on your Christmas list; even though it only has one function it’s easily my favorite kitchen gadget I’ve bought over the past few years.

This recipe is as easy as 3 ingredients and is entirely customizable! You can use any flavor of Chobani and add any mix-ins your heart desires. Have fun with it and pretend you’re at a fancy frozen yogurt chain by adding things like chocolate chips, fruity cereal, and chopped fruit on top.

Chobani Frozen Yogurt

Prep time: 5 minutes

Freeze time: 2 hours

Ingredients(Makes about 6 servings):

  • 1 16oz Chobani yogurt container*
  • 1 cup skim or 2% milk
  • 3/4 cup powdered sugar, sifted

*I’ve only tried this with the fruit flavors. If you’re starting with Plain Chobani, you might want to adjust the sweetness by adding more powdered sugar.

Chobani Frozen Yogurt Scoop

Method:

  1. In a large bowl whisk together all of the ingredients.
  2. Pour the base into an ice cream maker and freeze according to the manufacturer’s directions.
  3. After the ice cream has churned, scoop it into a solid container and freeze for at least two hours.
  4. Before serving, let the yogurt soften at room temperature for 5 minutes.

Chobani Frozen Yogurt Bowl

Mango admittedly is not one of my favorite flavor of yogurt. Somehow, turning it into frozen yogurt makes it much more irresistible. It reminded me of something I’d order from Pinkberry. And since this is made with low-fat ingredients and greek yogurt, it’s packed with protein, so feel good about having an extra scoop.

Dark Chocolate Cherry Zucchini Bread

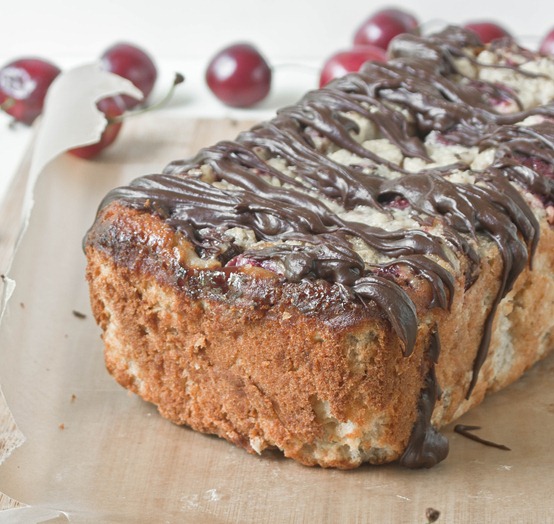
Dark Chocolate Cherry Zucchini Bread

I love fresh cherries. They’ve been on sale the past few weeks and I’ve been eating them by the pound. As good as cherries are on their own, with chocolate they’re out of this world.

I’d never made zucchini bread before this loaf. Something about a vegetable in a bread doesn’t scream “delicious”. But then again, when you add cherries, chocolate chips, and ganache, what wouldn’t be delicious. I threw a banana into the mix, too, because I thought the fruity flavor would help to mask any taste the zucchini might bring.

Dark Chocolate Cherry Zucchini Bread Loaf

Normally sweet breads are loaded with oil. To reduce the oil and pump up the nutrition I swapped in Greek yogurt to keep it most and also full of protein.

If you have a picky eater in the family who might be turned off by specks of green in their bread, just peel the zucchini with a vegetable peeler before shredding it. 2 medium sized zucchinis should yield about 1 cup.

Dark Chocolate Cherry Zucchini Bread

Prep time: 15 minutes

Cook time: 1 hour 20 minutes

Ingredients(Makes 1 loaf):

  • 1 cup shredded zucchini
  • 1 6oz container plain greek yogurt
  • 3 eggs
  • 2 egg whites
  • 1 banana, mashed
  • 2 Tablespoons oil
  • 1 1/3 cups gluten-free all purpose flour(or regular flour)
  • 3/4 cup light brown sugar
  • 1/2 teaspoon cinnamon
  • 1/4 teaspoon salt
  • 1/2 teaspoon baking soda
  • 1/4 cup chocolate chips
  • 1/2 cup pitted and halved cherries

Dark Chocolate Cherry Zucchini Bread Overhead

Method:

  1. Preheat your oven to 350 degrees.
  2. In a large bowl, mix together the zucchini, yogurt, eggs, egg whites, banana, and oil.
  3. Add in the flour, sugar, cinnamon, salt, and baking soda and mix again.
  4. Lastly, gently fold in the chocolate chips and cherry halves.
  5. Grease a 9-inch loaf pan and pour in the batter.
  6. Bake until the center of the bread has set and the edges begin to brown—about an hour and 20 minutes.
  7. Wait for the bread to cool before cutting. Garnish with melted chocolate or powdered sugar.

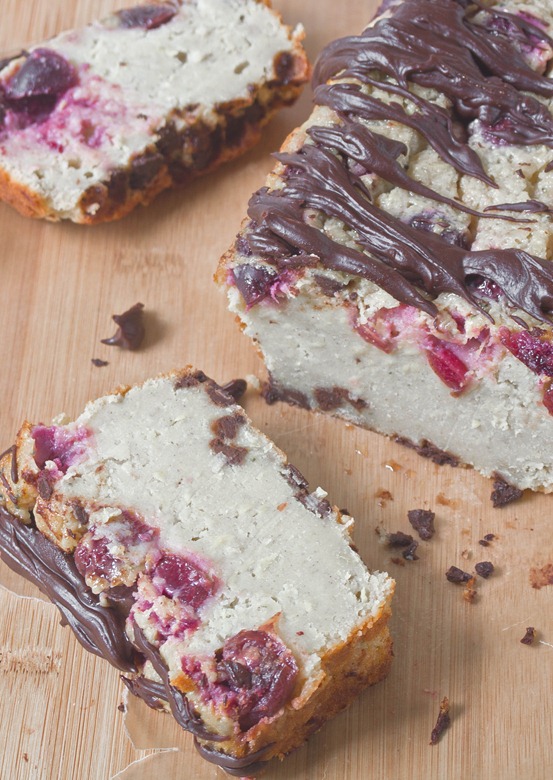
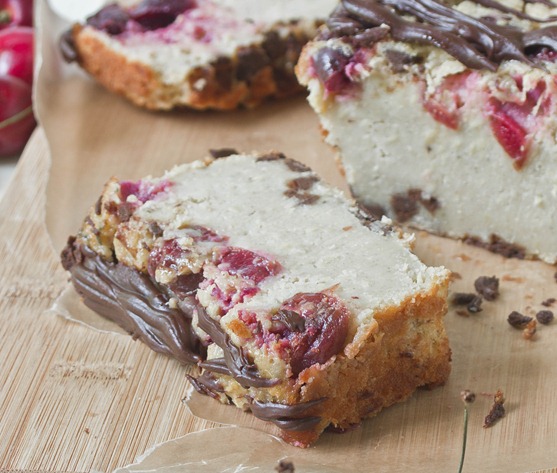
Dark Chocolate Cherry Zucchini Bread Slice

This came out a lot more dense than I anticipated, almost like pound cake(not that that’s a bad thing at all). Like any low-fat bread, I’d recommend eating this within 2-3 days before it turns stale.

Grilled Cantaloupe with Yogurt and Mint

Grilled Cantaloupe With Yogurt And Mint

To be honest, grilling in the Summer is slightly less fun when you’re a vegetarian. I don’t do it nearly as much anymore. That doesn’t mean vegetarian grilling isn’t delicious; sometimes I just need to be reminded of that.

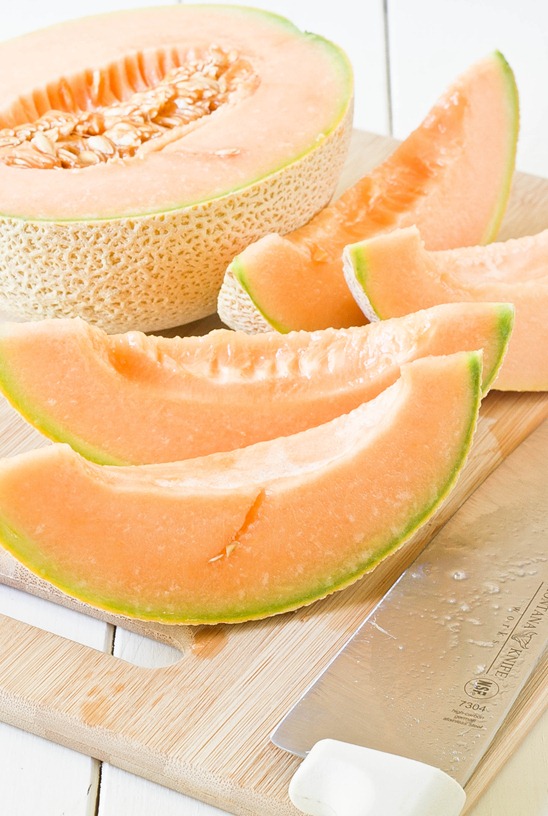
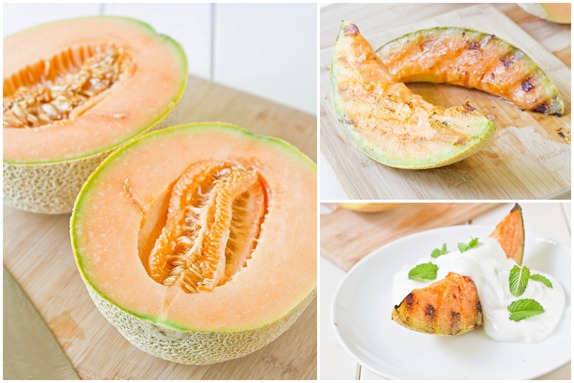
Just like you can grill any kind of meat, you can grill all different sorts of fruit and vegetables. The heat from the fire makes the fruit taste even sweeter and pairs perfectly with something cool and creamy. Most recipes use a soft cheese or ice cream; this one uses Greek yogurt for a similar taste and texture only a  little bit healthier.

Grilled Cantaloupe With Yogurt And Mint Cut

Peaches are a great substitute for when cantaloupe isn’t available; you won’t have to change anything else in the recipe. Make sure to use full fat or 2% yogurt; non-fat yogurt won’t have the same depth of flavor or creaminess to really make this satisfying.

Grilled Cantaloupe with Yogurt and Mint

Prep time: 5 minutes

Cook time: 6 minutes

Ingredients(Makes 4 servings):

  • 1/2 cantaloupe, cut into quarters
  • Olive oil
  • 1 16oz container full fat or 2% Greek yogurt
  • Small handful of mint leaves
  • Honey(optional)

Grilled Cantaloupe With Yogurt And Mint Collage

Method:

  1. Heat up your grill to roughly 400 degrees.
  2. Brush both sides of each cantaloupe wedge with enough olive oil to cover.
  3. Once the grill is hot, lay the cantaloupe down and let it cook undisturbed for roughly 3 minutes until grill marks have formed.
  4. Flip the wedges once and repeat with the other side.
  5. When the cantaloupe is done cooking, plate it with the skin touching the plate. Scoop about half a cup of yogurt over each wedge. Garnish with mint leaves and honey if desired.
  6. Serve immediately.

Grilled Cantaloupe With Yogurt And Mint Serving

Elvis Granola

Elvis Granola

First granola bars, now granola; I’m on an oaty roll. 

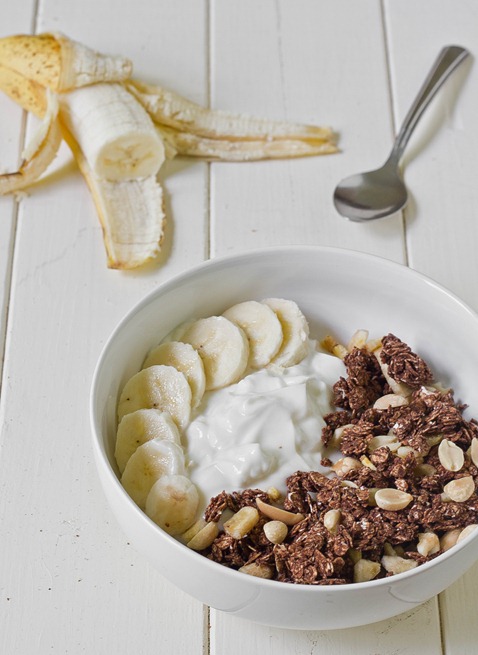
I’ve never been particularly fond of granola until I had Love Grown Foods’ cocoa granola last Summer. I didn’t realize something could be so chocolaty and also healthy. Every time I’ve made granola myself in the past it never clumped; this recipe clumps. The banana chips and peanut butter naturally pair with the chocolate. It’s really a winner. 

Elvis Granola Collage

Want to make it a little more delicious? Add in 1/3 cup of chocolate chips after the granola has cooled. This recipe is also vegan as is but I didn’t want to call it that because I ate mine with a big bowl of cow’s milk yogurt.

Elvis Granola

Prep time: 5 minutes

Cook time: 25 minutes

Ingredients(Makes about 3 1/2 cups):

  • 2 1/2 cups quick-cooking oats*
  • 1/3 cup maple syrup
  • 2 Tablespoons oil
  • 1/4 cup cocoa powder
  • 2 teaspoons vanilla extract
  • 1/4 teaspoon salt
  • 1/2 cup roasted peanuts
  • 1/2 cup banana chips, crushed

*To make this gluten-free make sure to use gluten-free oats.

Method:

  1. Preheat your oven to 350 degrees
  2. In a bowl, mix together the oats, maple syrup, oil, cocoa powder, vanilla extract, and salt thoroughly.
  3. Lay the oats out on baking tray and press down until the oats are about 1/2 an inch thick.
  4. Bake for 25 minutes, gently shaking the tray every 5 minutes or so.
  5. Remove from the oven and let the granola cool.
  6. Once cool, break the granola up and mix with the peanuts and banana chips. Store in a sealed container for up to a week.

Elvis Granola Long

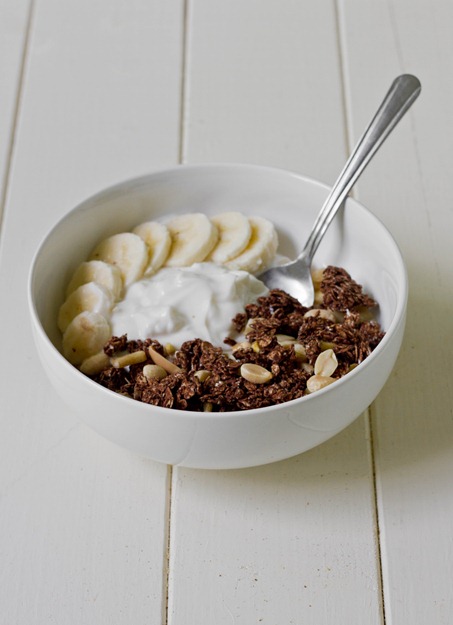
I can’t understand people who eat granola with milk. Yogurt is granola’s best friend; you can’t break them up.

Nutty About Yogurt Contest

IMG_9224

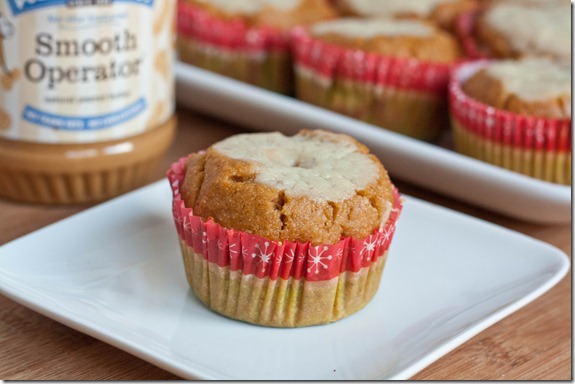
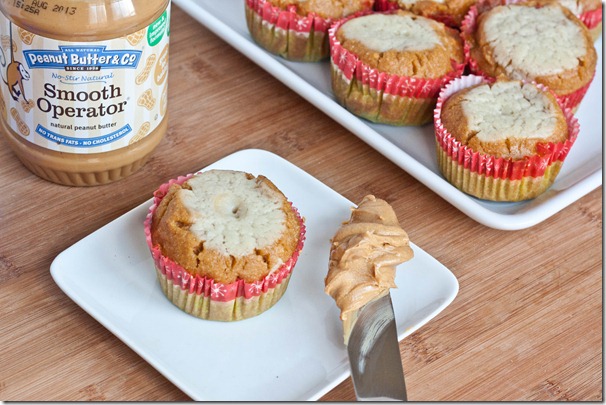
Last month Stonyfield and Peanut Butter & Co. asked me if I’d like to participate in their Nutty About Yogurt recipe contest. I jumped at the opportunity since I love both companies and all that they do with their brands. The contest was to create a healthy breakfast option with Peanut Butter & Co. peanut butter and Stonyfield yogurt. My submission was Gluten-Free Pumpkin Peanut Butter Muffins with yogurt filling.

I chose to make muffins because they’re one of those breakfasts you can just grab and go. Sure, you can buy muffins at any Starbucks, but why do that when it’s cheaper to make your own? Plus, you probably can’t get something as delicious as pumpkin peanut butter or gluten-free.

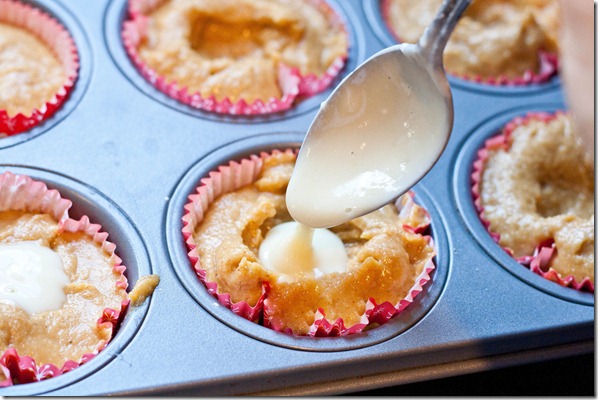
IMG_9167

The yogurt filling was inspired by those pastries with cream cheese filling except made lighter and healthier with Stonyfield yogurt. Because the muffins substitute fat-free yogurt, too, most of the fat in the muffins are the healthy fats found in peanut butter.

IMG_9211

Please check out the Nutty About Yogurt Sweepstakes contest page and look through all six entries. As an incentive to vote, Stonyfield and Peanut Butter & Co. are offering $1.00 coupons to the first 20,000 voters and 5 random voters will win a prize pack. The contest is open from now until February 13th. Every vote is highly appreciated; thanks for reading and hopefully I’ve convinced you to vote for me!

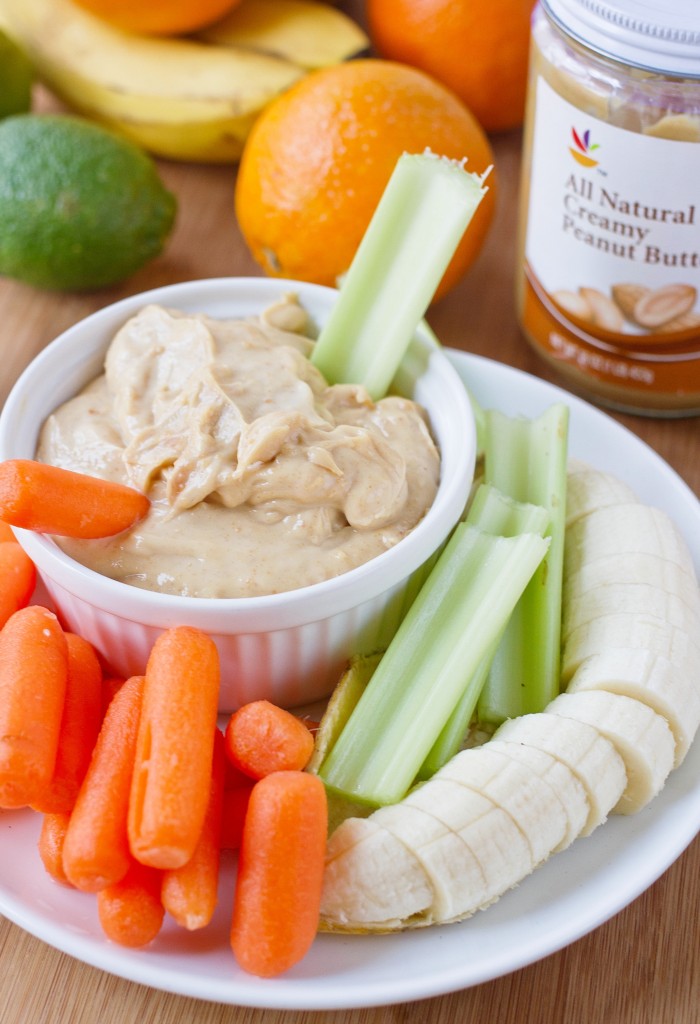
Fruity Peanut Butter Yogurt Dip

Fruity Peanut Butter Yogurt Dip

As good as peanut butter, fruit, and chocolate are, peanut butter and fruit can be damn good on their own, too. With fruit and yogurt, this is a great snack for a toddler. Or yourself if you don’t want to share; I didn’t. I used a strawberry yogurt and the dip tasted just like a PB&J but the recipe is totally customizable. It keeps in the refrigerator for a few days, too—not that they’ll be any extra.

Fruity Peanut Butter Yogurt Dip

Prep time: 5 minutes

Cook time: 0 minutes

Ingredients(Makes 6-8 servings):

  • 1/2 cup fruit-flavored yogurt*
  • 1/2 cup natural runny peanut butter
  • 1/4 cup powdered sugar
  • Fruit/veggies for dipping

*To customize the flavor, use 6 tablespoons of yogurt and 2 tablespoons of any fruit jam.

Fruity Peanut Butter Yogurt Dip Yogurt

Method:

  1. Mix together all of the ingredients completely making sure there aren’t any clumps.
  2. Move to a serving dish.
  3. Serve with chopped fruit and vegetables.

Fruity Peanut Butter Yogurt Dip Yield