Tag Archive: Sugar

Pumpkin Spice Caramel Sauce

Homemade Pumpkin Spice Syrup

We’re really spoiled at my office. We have a Keurig machine and 2 Nespressos with a built-in milk foamer; there’s no excuse to go to Starbucks ever.

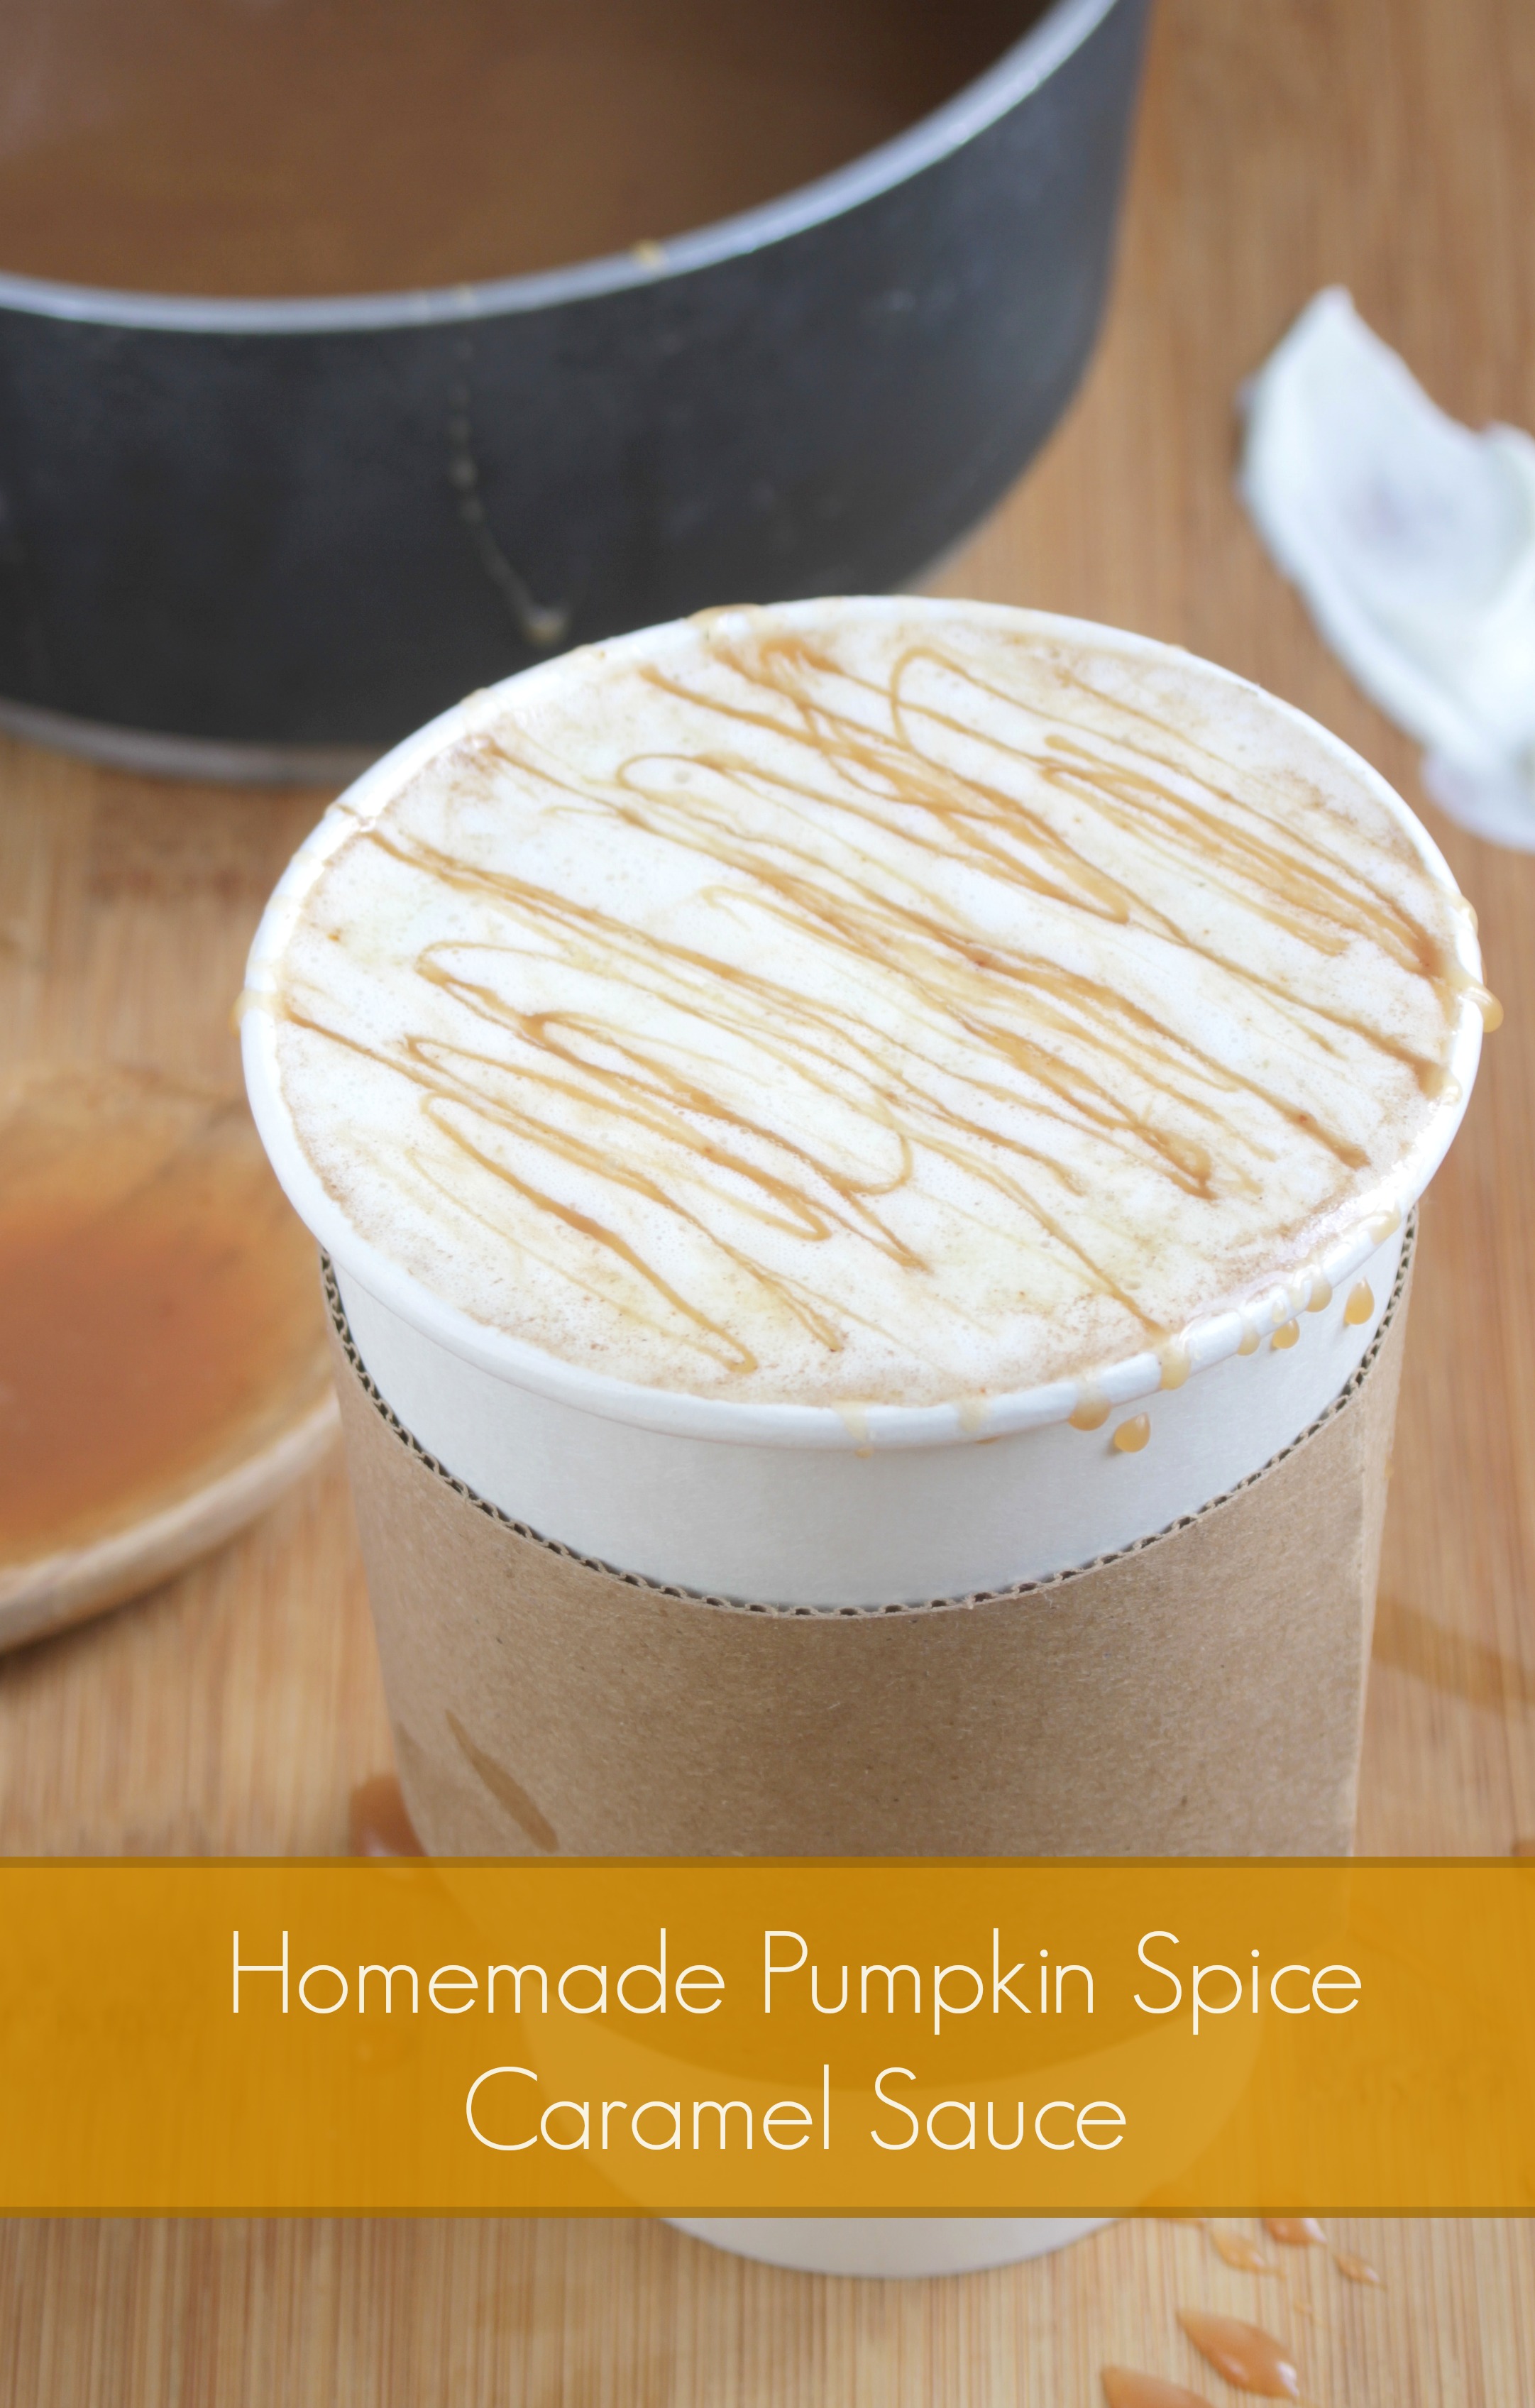
That being said, there are certain drinks I always crave, like sweet lattes with rich caramel sauce swirls. Even if it’s not worth standing in line 20 minutes and shelling out $5, it’s certainly worth taking the time to make it at home for pennies and an infinite supply.

I’m not a pumpkin-spice fanatic, but I do love the earthy flavors in coffee, especially mixed with rich, buttery caramel. I tried Ina Garten’s caramel sauce last year, loved it, and vowed to make it again and again. This was the first time I made it since then(oops). It’s amazing that a little salt and spice changes the flavors completely. This could go in anything from coffee to oatmeal to even squash. 

Pumpkin Spice Caramel Sauce

I don’t recommend using a candy thermometer for this because by the time you have it calibrated right the caramel will burn. It’s best to just watch it closely, use your judgement, and buy an extra set of ingredients because it’s the easiest thing in the world to mess up the first time(but worth giving it a second try!).

Pumpkin Spice Caramel Sauce(Adapted from this recipe)

Prep time: 5 minutes

Cook time: 15 minutes

Ingredients(Makes about 1 1/2 cups):

  • 1 1/2 cups white sugar
  • 1/3 cup water
  • 1 1/4 cup heavy cream, room temperature
  • 1 teaspoon vanilla extract
  • 1 teaspoon pumpkin spice
  • 1/4 teaspoon salt

Method:

  1. Combine and mix the sugar and water in a medium-sized pot.
  2. Bring the sugar water to a rolling boil and maintain. Once the water is boiling make sure not to touch it with a utensil.
  3. While the water is boiling, mix the vanilla and cream in a cup.
  4. Watch the sugar water carefully as it changes from white to a soft green to a hazelnut. When it turns a reddish-brown, remove quickly from the heat. Don’t let it get to a solid brown or the sugar is too burnt.
  5. Off the heat pour in the cream and vanilla extract. Stand back as it sizzles and may splatter.
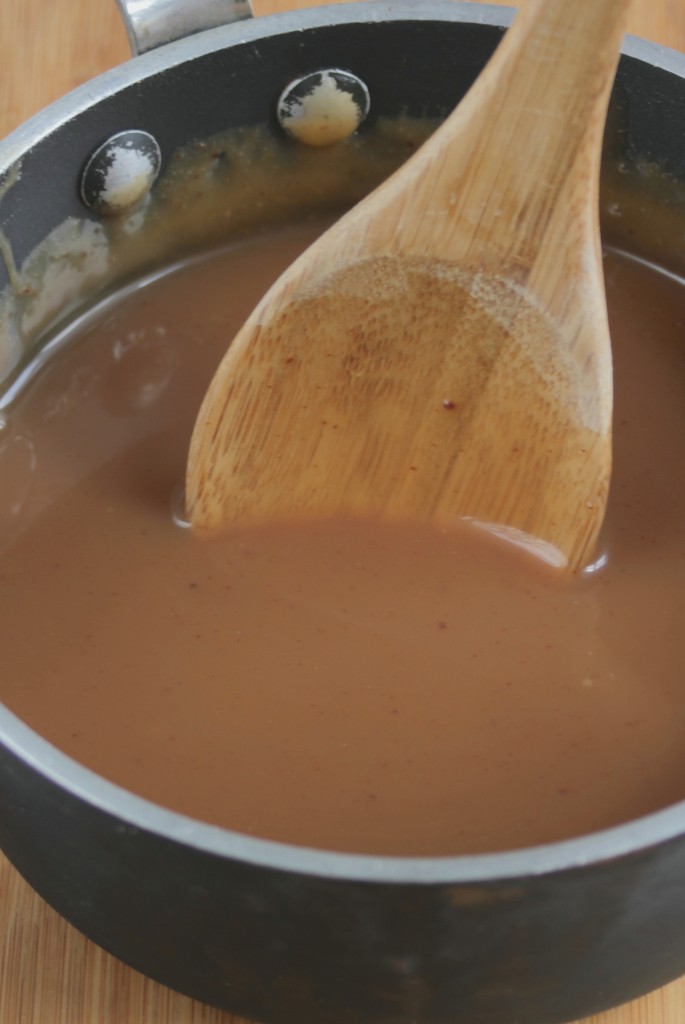
  6. Once the caramel’s calmed, return it to the heat and start stirring as it’s just below boiling point. The caramel will have clumped and hardened.
  7. Continue stirring until the clumps have dissolved into the cream and it’s an even color and consistency.
  8. Remove from the heat and add in the spice and salt. Continue mixing as it cools to get the clumps of spice out.
  9. Once cooled, store in an air-tight container in the refrigerator for up to 2 weeks. 

Peanut Butter Buttercream

Peanut Butter Buttercream

These are not the best cupcakes I had for my birthday. In fact, the cake part didn’t come out all that well since I made them on the fly without measuring anything(only to be surprised Saturday night with a batch of homemade banana cupcakes with Nutella frosting). But they were entirely edible if only because of the frosting.

This frosting though was just right. It’s sweet and vanilla at first with a nutty peanut butter finish. It’d be great on just about any cake or cupcake, and it’s easy to decorate with chocolate chips or Reese’s Puffs.

For this recipe, look for natural peanut butter without any added oils or stabilizers. It’ll mix in with the other ingredients the easiest and have a better, stronger flavor.

Peanut Butter Buttercream Unfrosted

Peanut Butter Buttercream

Prep time: 10 minutes

Cook time: 0 minutes

Ingredients:

  • 6 Tablespoons butter, room temperature
  • 2 1/4 cups powdered sugar, sifted
  • 2 Tablespoons all natural no oil peanut butter
  • 1/4 teaspoon vanilla
  • 1-2 Tablespoons cream or whole milk

Method:

  1. In a large bowl, mix together the butter, sugar, peanut butter, and vanilla with an electric beater.
  2. Slowly add just enough milk until the ingredients make a thick but smooth buttercream.
  3. Scoop into a pastry bag and use immediately.

Homemade Sweet & Sour Mix

Homemade Sweet & Sour Mix

The drink I always go through the fastest is sweet & sour mix. I’m a sucker for sours and my roommate loves margaritas so it’s a hot ticket in our refrigerator. We used to buy our mix from the liquor store until I realized how easy it is to make. With this recipe, you’ll never have to overpay for sweet & sour mix again.

At the heart of it, sweet & sour mix is just lemon juice, lime juice, water, and sugar. The basic ration is equal parts sugar water and citrus juice. You can always make it sweeter or more tart to fix your preference.

Homemade Sweet & Sour Mix Unstrained

This keeps for a while so it’s a great thing to make ahead of time and leave in your refrigerator for the right occasion. If you’re using this to make margaritas or a tropical drink, consider swapping in orange juice in place of the lemon juice.

Homemade Sweet & Sour Mix

Prep time: 5 minutes

Cook time: 5 minutes

Ingredients(Makes 2 cups):

  • 1 cup sugar
  • 1 cup water
  • 1/2 cup lime juice(from about 2 limes)
  • 1/2 cup lemon juice(from about 2 lemons)

Method:

  1. Combine the sugar and water in a pot and boil the water until the sugar has dissolved.
  2. Take the sugar water off the heat. Add in the lemon juice and lime juice.
  3. If you’re fresh-squeezing the lemons and limes, remove the pulp and seeds from the mix with a strainer.
  4. Store the sweet & sour mix in the refrigerator when not using. It will last for a couple weeks.

Homemade Sweet & Sour Mix Strain

Who knew it was that simple?

How To Make Brown & Powdered Sugar

May 29th 028

I’m not the best at planning ahead for what I want to bake. Not by a long shot. Sometimes that means “interesting” substitutions like strawberries for blueberries or carob for chocolate; other times it’s just a pain.

The kind of sugar you use in recipes is very important. Besides being sweet, each type offers its own flavor and texture. You use powdered sugar in frosting recipes so that the result is smooth and not grainy while you use brown sugar in cookie recipes to get a rich, dark buttery flavor.

If you’re in a pinch and only have white sugar on hand, you’re in luck. With standard cane sugar you can make both brown and powdered sugar.

How To Make Brown Sugar

How to make brown sugar

Prep time: 5 minutes

Ingredients:

  • 1/2 cup white sugar
  • 2 Tablespoons molasses

Method:

  1. Mix both of the ingredients thoroughly.
  2. Store in an airtight container in the refrigerator for up to a month

You can also use this process to make maple sugar by substituting maple syrup in for the molasses. While the nutritional benefits of maple sugar can’t be imitated, the light, amber flavor comes through.

How To Make Powdered Sugar

How to make powdered sugar

Prep time: 5-10 minutes

Ingredients:

  • 1/2 cup white sugar
  • 1 teaspoon corn or tapioca starch

Method:

  1. Combine the sugar and starch in a food processor or high-powered blender.
  2. Mix on high for 5-10 minutes until the sugar is pulverized to the consistency of powdered sugar.
  3. Store at room temperature in an airtight container.

If you have the option, buy and stock up on these types of sugar at the store; while these homemade ones are good last minute substitutions, they aren’t exactly the same quality you can buy. Also make sure that you’re starting out with white sugar and not something with color like turbinado sugar which has too much moisture in it. 

Hope you found this post helpful. Now that Summer’s here and backyard barbeques are back, I for one will be going through bags of sugar like crazy.

Easter Egg Peppermint Patties

easter-egg-peppermint-patties

If there’s one candy that can rival my love of chocolate and peanut butter, it’s peppermint patties. As soon as I made my egg-shaped Reese’s cups, I wondered why no one ever does the same with peppermint patties?

The ratio of filling to chocolate coating is a little ridiculous here; if you’re not a fan of super sweet desserts, this probably isn’t for you. I am, however, so I thought these were great. The chocolate coating certainly could have been prettier but it’s mostly my fault for hastening the process; this works best if you let the patties freeze well before being coated.

Easter Egg Peppermint Patties

Prep time: 30 minutes

Cook time: 0 minutes

Ingredients(Makes a dozen):

  • 2 1/4 cup powdered sugar, sifted
  • 1 1/2 Tablespoons agave nectar(or any liquid sweetener)
  • 1 1/2 Tablespoons water
  • 1 Tablespoon coconut oil, softened or melted
  • 1 teaspoon peppermint extract
  • 8oz bittersweet or semisweet chocolate chips

easter-egg-peppermint-patties-stack

Method:

  1. In a large bowl, mix together the powdered sugar, sweetener, water, coconut oil and extract completely until it forms a dough-like consistency.
  2. Break off pieces of the filling and roll it into a log in your hands. Gently press down until the shape resembles an egg. Lay this on a non-stick surface and repeat with the rest of the filling.
  3. Refrigerate the filling until it’s cold and hard—about 30 minutes.
  4. Meanwhile, melt the chocolate in a microwave or over a double-boiler.
  5. Cover the filling eggs on both sides and all around in the chocolate. Try to work quickly since the filling will soften the longer it’s out and near the chocolate. Lay the eggs on a non-stick surface one by one.
  6. Once you’ve used all the chocolate and filling, refrigerate the eggs until the coating hardens. These will last up to 2 weeks in the refrigerator.

easter-egg-peppermint-patties-triple

These are like after dinner mints on steroids. I could never choose between these and Reese’s cups. Thankfully, we live in a world where no one ever has to.

Homemade Peppermint Patties

homemade-peppermint-patties

While I definitely have a sweet tooth, you could count the different candies I like with one hand: peanut butter cups, Snickers, Swedish fish, and Peppermint Patties. Oh, and candied ginger, but that doesn’t really count; I mean, it has ginger in it so that practically makes it a medicine.

homemade-peppermint-patties-plate

I might be jumping the gun with Halloween still over a month away, but I’ve been really excited to make my own candy for a while. The last time I made these peppermint patties was for a New Years Eve party, so almost 9 months ago. That’s way too long for something this good. The filling is soft, smooth, and refreshing while the outside is dark and crunchy. Well I don’t need to tell you—you’ve probably had a Peppermint Patty before, and these taste just like the real deal!

Homemade Peppermint Patties(gluten-free/vegan) recipe here.

Recipe notes:

  • I had to use more than the amount of powdered sugar listed in the ingredients. My best guess is that the temperature affected the dough since the last time I made them was the dead of Winter. Just keep adding powdered sugar by the 1/4 cup until you can break off a piece and roll it into a ball without the sugar sticking to your hand.
  • I froze completely the filling part before dipping it in chocolate, which I think made the process easier.
  • I used chocolate chips again, but I think real bakers chocolate would be better since the coating had some trouble staying hard after being melted.
  • I froze the filling and finished patties on aluminum foil and it didn’t stick like I thought it might.

homemade-peppermint-patties-cross-section

I was debating covering the tops with white non-perils but the chocolate hardened before I got a chance so I didn’t bother. You could spend the extra time to make sure all the sides are covered evenly and the coating is smooth; I, however, like when not every dessert is identical or perfect. It shows that it’s homemade and unique.

homemade-peppermint-patties-bowl

Almond Flour Brownies

This week I made brownies for the first time in months. MONTHS. Who am I? The thing is these aren’t even for me; I’m still trying to get in better shape for marathon training. The last thing I need on my plate(literally) is brownies.

I’m not saying I didn’t steal a taste, but as soon as these were cooled, cut, and photographed I sealed them up to bring to the Healthy Living Summit to share with friends and this girl for hosting me for a night. If you’re going, too, please find me and say hi. I’ll be the one trying to buy friends with brownies.

 I made these by modifying my outrageous triple chocolate brownies recipe and—dare I say?—I like these better. Cooked they taste the same but the raw batter is much more delicious since it doesn’t have that funky gluten-free flavor to it. And it requires no special flour/starch blend, just plain old almond flour. Since I always keep these ingredients on hand, I can tell this will be my new go-to brownie recipe. 

Almond Flour Brownies

Prep time: 15 minutes

Cook time: 30 minutes

Ingredients(Makes 1 8 x 8 pan):

  • 3/4 cup almond flour
  • 1/4 teaspoon salt
  • 2 tablespoons unsweetened cocoa powder
  • 1/2 teaspoon baking powder
  • 3/4 cup sugar*
  • 3 large eggs
  • 1 teaspoon vanilla
  • 1 teaspoon instant coffee granules(optional)
  • 1/2 cup butter
  • 7oz semisweet or bittersweet baking chocolate, divided OR 3/4 cup chocolate chips

*You can replace the cane sugar in this recipe with 1/2 cup + 2 Tablespoons of liquid sweetener like maple syrup, honey, agave, or corn syrup. 

Method:

  1. Preheat your oven to 350 degrees.
  2. Mix together the almond flour, salt, cocoa powder, and baking powder and set aside.
  3. In a separate bowl, melt together 4 ounces of chocolate or a scant 1/2 cup chocolate chips with the butter.
  4. While the chocolate is melting, beat together the eggs, sugar, vanilla and coffee granules if using.
  5. Slowly pour the melted chocolate and butter into the egg/sugar mixture while whisking until fully incorporated. Don’t go too fast so that the raw eggs don’t cook upon contact.
  6. Add the chocolate mixture in with the dry ingredients and mix completely.
  7. Pour the batter in an 8 x 8 pan.
  8. Sprinkle the top with the remaining chocolate and gently press it into the batter.
  9. Bake for 30 minutes or until a toothpick poked into the center comes out clean. Let these cool completely before cutting in.

The first time I made these I took them out of the oven after only 25 minutes. 2 hours later I cut in to a gooey and basically raw center. Oops. I stuck them back into the oven and—of course—got distracted, baking them a little too long and burning the tops of the ones towards the back. The lesson is bake as I say, not as I do.

How To Make Mint Simple Syrup

How-to-make-mint-simple-syrup

One thing I’ve had to get used to working in a restaurant this Summer is never having a recipe. Chef’s don’t use recipes, don’t you know; so when I’m doing something for the first time, it’s usually with one or two of the chefs giving me directions one step at a time, not always agreeing with each other on their methods. It’s definitely a “dive in” approach to learning that usually leaves me wanting to sit down, read a recipe through, and then start cooking.

All of that is a roundabout way of saying that I learned how to make simple syrup and now I’m obsessed with the idea. The first one I wanted to make was a mint flavor, because mint makes everything better. With it you can make mint drinks, mint soda,—mint anything. I’m more interested in making frozen desserts with it.

How To Make Mint Simple Syrup

For 1 cup of simple syrup, you’ll need:

  • 1 cup sugar
  • 1 cup water
  • 10 mint leaves

how-to-make-mint-simple-syrup-syrup

Method:

  • Combine all of the ingredients together in a small sauce pan
  • Over a burner, bring the mixture up to a rolling boil keeping an eye that the mixture doesn’t boil over.
  • Once the consistency of the mixture turns from a free-flowing liquid to a syrup(about 10 minutes), turn off the burner and remove the sauce pan from the heat.
  • With a mesh strainer, strain the mint leaves from the syrup while pouring it into a container.
  • Let the syrup cool and store in the refrigerator when not using.

how-to-make-mint-simple-syrup-jar

If you’re curious about the color of the syrup, it comes from the sugar granules. For a clear white syrup, use sugar that’s completely white. I used cane sugar that had a slight beige tint from trace B vitamins which created a darker, amber syrup.

4-Ingredient Chocolate Mousse With Kahlua

June 20th 040

How can you have thick and creamy chocolate mousse with just chocolate and water? It seems impossible. But as soon as I stumbled on this blog post making exactly that I had a hunch I would make it and love it. It’s a little difficult technically but completely worth the end result. Following through with all of the prep work makes the active part easier.

This is one of those recipes where you’ll want to use good chocolate. You know, the Ina-Garten-only-uses-good chocolate. Since the recipe is primarily chocolate and water, all the flavor comes from the chocolate. You certainly don’t want to make this with chocolate chips. I used Callebaut baking chocolate and it came out fine. If I were making this to really impress someone(say for a Valentine’s Day dessert) I would use Vahlrona.

Chocolate Mousse With Kahlua(a variation on this recipe)

Ingredients(Makes 3-4 servings):

  • 265 grams good quality bittersweet chocolate
  • 1 cup minus 2 Tablespoons warm water
  • 2 Tablespoons Kahlua
  • 3 Tablespoons cane sugar
  • 2 Tablespoons cocoa powder*

*I added this at the very end to help thicken the mousse up. I might have needed it because water from the ice bath slipped into the chocolate bowl. If as it’s cooled the chocolate mousse doesn’t seem thick enough, add this in. Otherwise the recipe is fine without it.

Additional notes:

  • Watch this video before starting for an actual portrayal of how the chocolate should look after each step.
  • Since the proportions are very important for this recipe, it’s best to weigh all the ingredients out on a kitchen scale before starting including the liquids.
  • Use a large plastic bowl with a wide bottom when whisking the emulsion so that the chocolate is shallow and will cool down faster.

017

Start by measuring out and mixing together the water, Kahlua, and sugar.

In a double-boiler or microwave safe bowl, melt the chocolate down completely.

Prepare an ice bath in a larger bowl for the chocolate and move the melted chocolate to a bowl in the center of the ice bath.

022

In the ice bath, whisk together the chocolate and alcohol mixture. Continue mixing softly and smoothly for 5-10 minutes as the chocolate cools to keep the mousse emulsified as it cools.

If after a while the chocolate mixture is still rather thin, add in the 2 extra tablespoons of cocoa powder and whisk them in making sure not to leave any clumps.

024

Once the mousse has come together, spoon it in to servings bowls. Refrigerate for an hour before serving.

June 20th 039

It’s hard to imagine something so creamy being made with only chocolate and water. This makes for an easy recipe to pull out and impress with on special occasions; I’ll definitely be committing it to memory.


Puppy Chow Peanuts


I think it’s safe to say most people’s favorite part about puppy chow is the peanut butter and the chocolate. Why even bother with the rest then? This recipe features the best part about puppy chow–the sweet chocolate peanut butter coating–on top of peanuts for an extra level of nuttiness and crunch. 

Puppy Chow Peanuts

Prep time: 15 minutes

Cook time: 0 minutes

Ingredients:

  • 4 cups unsalted peanuts
  • 1/2 cup chocolate chips
  • 1/4 cup no-stir peanut butter
  • 3/4 cup powdered sugar

Method:

  1. Melt the chocolate chips in a microwave or over a double boiler. 
  2. Stir the peanut butter into the melted chocolate to make a smooth and uniform coating.
  3. Pour in the peanuts. Move them around to coat them completely in the peanut butter and chocolate.
  4. Scoop the peanuts into a large sealable bag. Add in the powdered sugar and shake the bag until the peanuts are completely covered.
  5. Store in an airtight container at room temperature for up to 2 weeks.

If you like these, you might like almond puppy chow.