Tag Archive: Soy Sauce

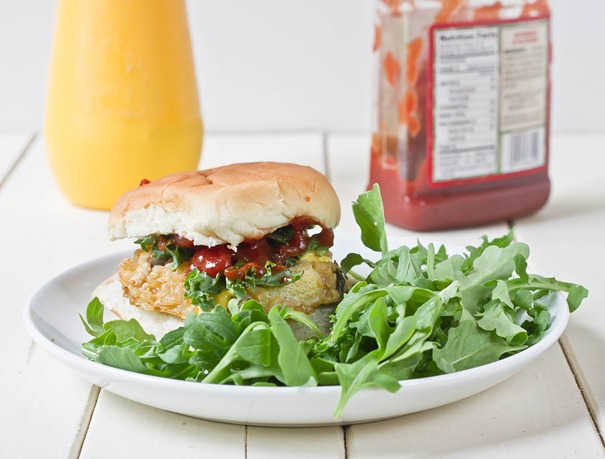
Asian Stir-Fry Rice And Veggie Burgers

Asian Stir-Fry Rice And Veggie Burgers

The term “veggie burgers” have become an oxymoron these days; veggie burgers have just about everything but vegetables in them. Soy protein, artificial flavors, and wheat gluten—yes. But veggies? Nope. They hardly live up to the health halo surrounding them.

The best thing you can do is make your own. It’s cheaper, healthier, and the possibilities for ingredients are endless. The first time I made these was a complete accident of stir-fry gone wrong. I ended up liking them so much that I made them again. The brown rice makes these filling while the vegetables add a fresh crunch—way better than anything you’ll find in the freezer aisle. 

Asian Stir-Fry Rice And Veggie Burgers Assembling

You can get fresh stir-fry vegetables in a package in the produce department, but I like getting the frozen vegetable packs which are usually cheaper and stay fresh until you use them.

Asian Stir-Fry Rice And Veggie Burgers

Prep time: 10 minutes

Cook time: 50 minutes

Ingredients(Makes 10 burgers):

  • 2 1/2 cups cooked brown rice
  • 1 cup stir-fry vegetables, steamed
  • 2-3 Tablespoons soy sauce
  • 1 Tablespoon sesame oil
  • 2 X-large or 3 medium eggs

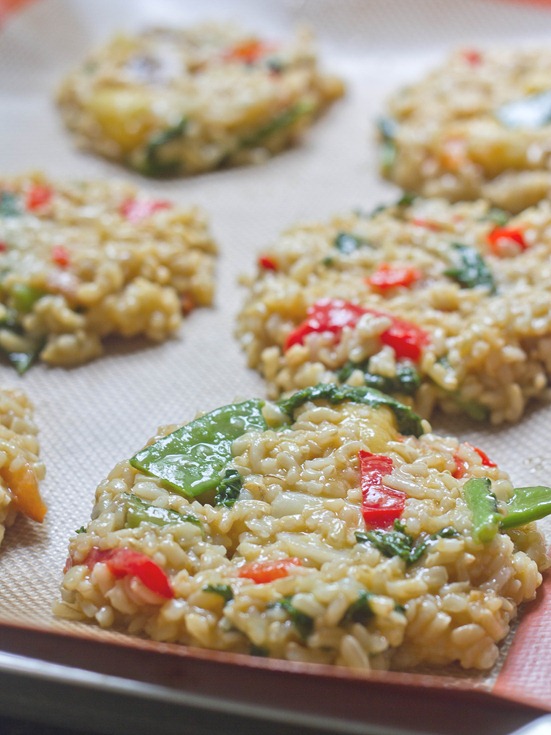
Asian Stir-Fry Rice And Veggie Burgers Prepped

Method:

  1. Preheat your oven to 350 degrees.
  2. In a large bowl, mix together all the ingredients until the eggs are well beaten and incorporated.
  3. Line or grease a baking tray. With a large utensil, make dense patties on the tray with about 1/3 cup of rice mixture roughly an inch apart from one another.
  4. Bake for 25 minutes on one side, flip, and bake for another 25 minutes. The patties should be cooked enough after 25 minutes that they hold together when you flip them to cook the other side.
  5. Remove from the oven and let the patties cool. When ready to eat, heat them up in a microwave, pan, or on a grill. You can freeze extra patties to thaw later.

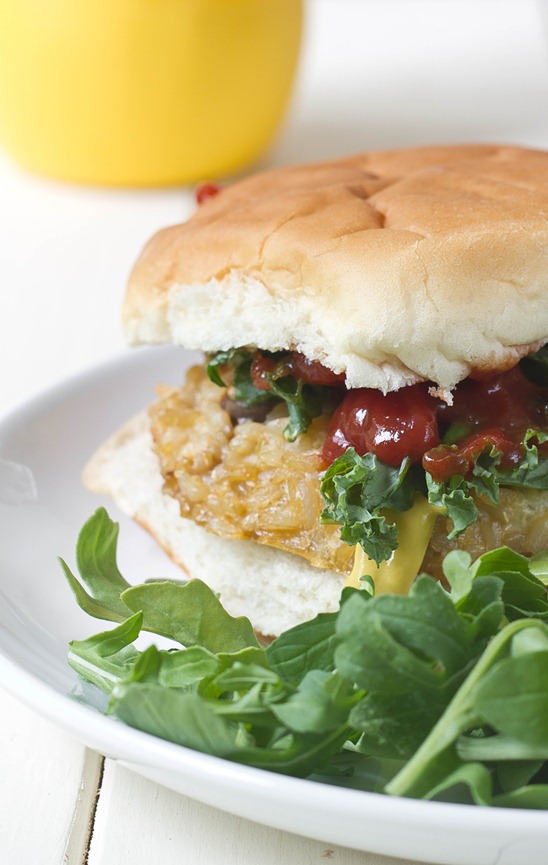
Asian Stir-Fry Rice And Veggie Burgers Serving

Since these have an untraditional flavor to begin with, I’d recommend getting untraditional with the condiments, too. Pineapple relish and kimchi, anyone?

Baked Sesame Tofu

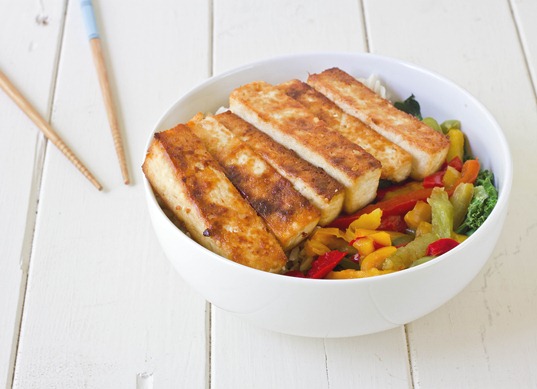
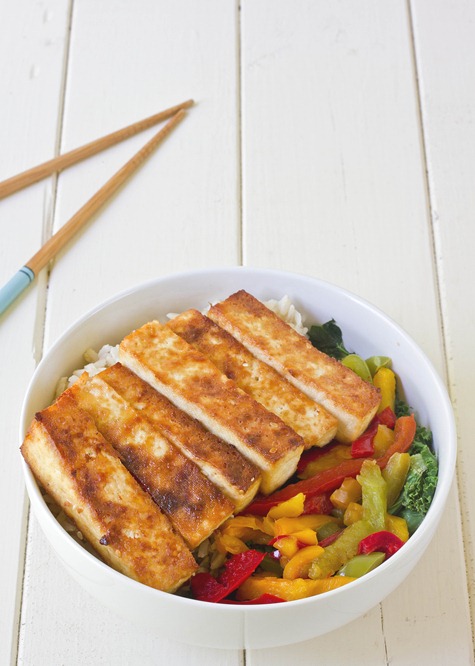
Baked Sesame Tofu

It’s really hard to get good gluten-free vegetarian food at most Asian restaurants. Whenever I do find it, it’s usually in the form of fried tofu. Don’t get me wrong—I do love getting golden and greasy tofu now and again, especially when someone else is making it. But it’s a heavy thing to eat again and again.

This tofu has a texture closure to fried tofu than any baked tofu I’ve ever had thanks to the corn starch while still not being overly salty or heavy. You can cook a big pot of brown rice and stir fry some vegetables and have your own take-out meal at home without the take-out.

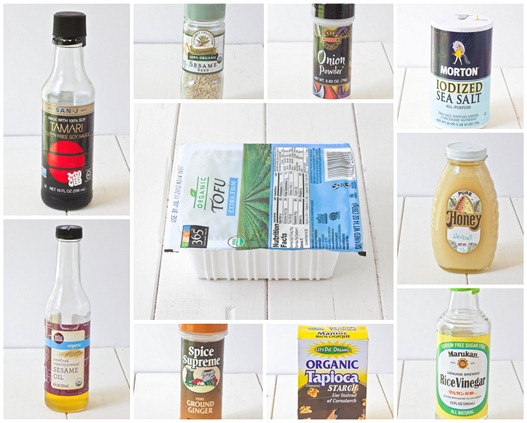
Baked Sesame Tofu Collage

To make this gluten-free, make sure to use a gluten-free tamari in place of the soy sauce. You can also substitute tapioca starch in place of the corn starch and agave for the honey.

Baked Sesame Tofu

Prep time: 10 minutes

Cook time: 40 minutes

Ingredients(Makes 2 servings):

  • 1 block extra firm tofu
  • 3 Tablespoons sesame oil
  • 1 Tablespoon soy sauce
  • 1 Tablespoon honey
  • 1 Tablespoon sesame seeds
  • 1/2 Tablespoon rice vinegar
  • 1/2 Tablespoon corn starch
  • 1/2 teaspoon salt
  • 1/4 teaspoon ground ginger
  • 1/4 teaspoon onion powder

Method:

  1. Preheat your oven to 350 degrees.
  2. Slice the tofu into even segments
  3. Mix the rest of the ingredients together in a small bowl.
  4. One at a time, dip the pieces of tofu in the sauce and lay them out on a non-stick baking surface. Pour any remaining sauce on top of the tofu.
  5. Bake for 40 minutes until the outside is golden and the edges brown. Turn once halfway through baking.
  6. Serve hot with rice and vegetables and extra soy sauce.

Baked Sesame Tofu Long

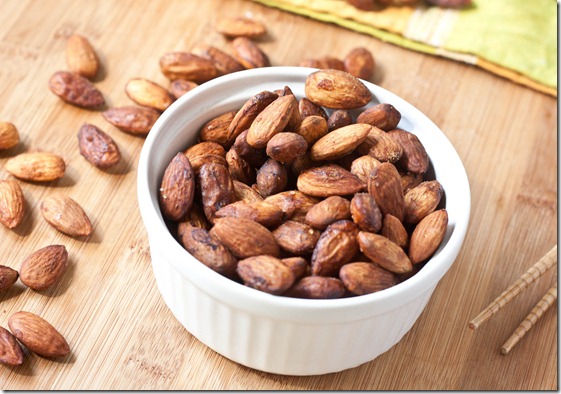
Homemade Tamari Almonds

homemade-tamari-almonds

I like to say I don’t have a sweet tooth, I have a mouth of sweet teeth. I don’t eat savory foods nearly as much as I should, especially not savory snacks when it’s so easy to pick up something sugar-laden or covered in chocolate. It’s not my best habit and I’d like to think I’m working on it.

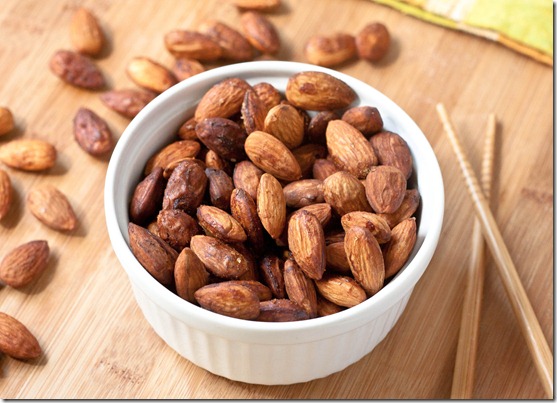
homemade-tamari-almonds-long

These almonds are delicious and you don’t have to feel bad enjoying them on the go. I’ve seen savory almonds on supermarket shelves but rarely are they ever gluten-free. Thankfully they aren’t hard to make yourself. All you need is a little time and patience.

Like whenever you’re roasting nuts, make sure to keep an eye on these to keep them from burning.

Homemade Tamari Almonds

Prep time: 5 minutes

Cook time: 20 minutes

Ingredients:

  • 2 cups raw almonds
  • 3 Tablespoons tamari(or soy sauce)
  • 1/2 teaspoon salt

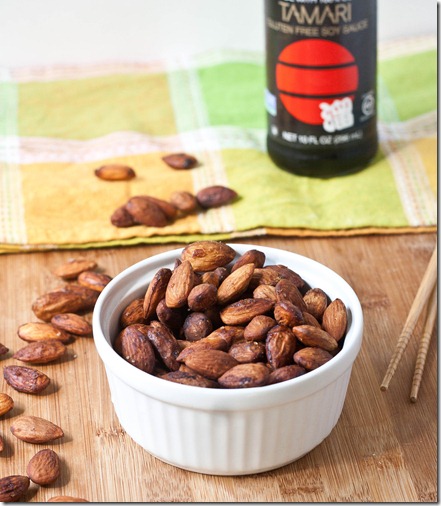
homemade-tamari-almonds-slant

Method:

  1. Preheat your oven to 350 degrees
  2. Mix the almonds, tamari, and salt thoroughly
  3. Lay the almonds out in a single layer on a baking tray.
  4. Roast for 20 minutes or until the moisture has boiled off, occasionally tossing the pan.
  5. Remove and let cool completely before snacking. Store in an airtight container at room temperature for up to 2 weeks.

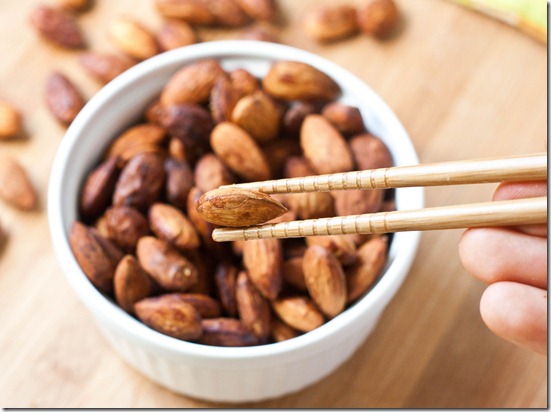
homemade-tamari-almonds-chopsticks

The chopsticks are completely unnecessary. But if you can pick up an almond with them then you’re definitely improving your abilities.

Healthy Tofu Stir-Fry

Healthy-Tofu-stir-fry

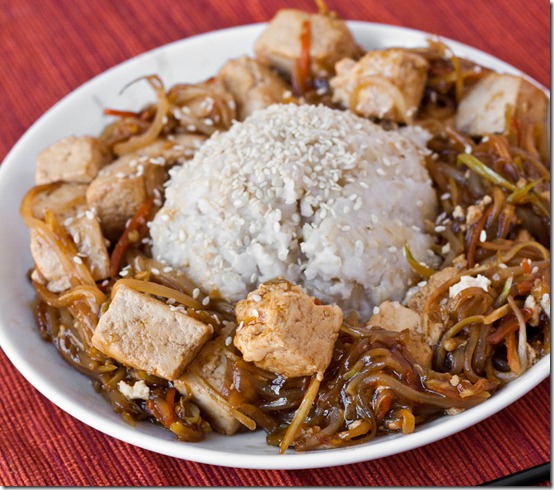
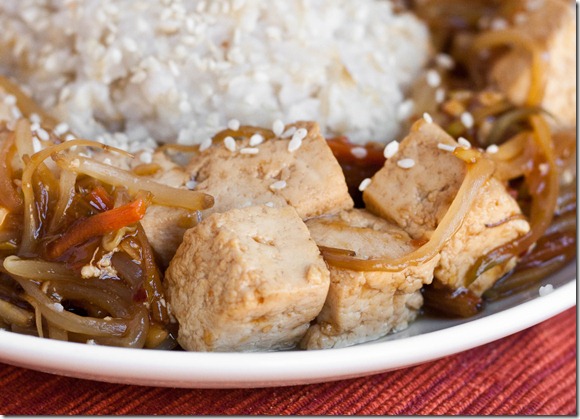
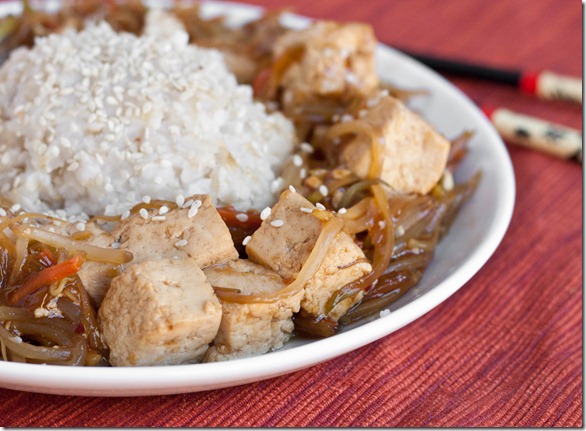
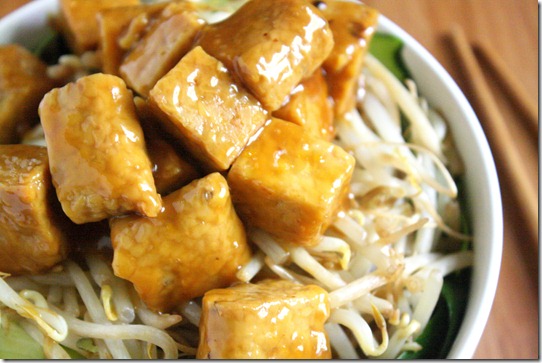
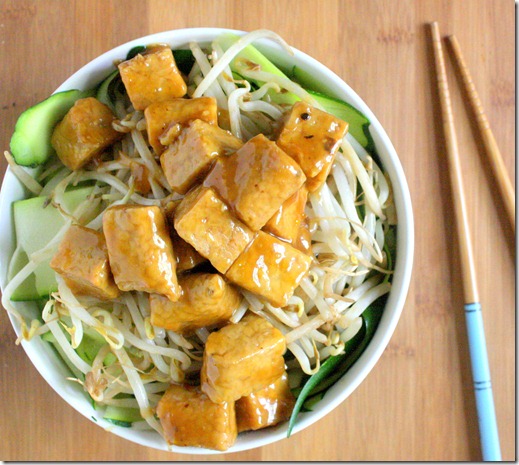
When I posted about seasoning rice, I got asked what I was eating it with. Well, here’s the recipe. It’s really hard to find gluten-free vegetarian options at Chinese restaurants. Most of the times I’ve been able to eat out, it’s been fried tofu, which is lovely the first few times but after a while starts weighing you down. Some things are just better to make yourself.

I didn’t press my tofu before making this but it would probably help the texture of the tofu. You could swap in tempeh cubes, seitan, or shredded chicken. To keep it gluten-free, make sure to use a wheat-free soy sauce.

Healthy Tofu Stir-Fry

Prep time: 5 minutes

Cook time: 15 minutes

Ingredients(Makes 2 servings)

  • 1 block firm or extra firm tofu, cubed
  • 2/3 cup bean sprouts
  • 2/3 cup broccoli slaw
  • 3 Tablespoons soy sauce
  • 1/4 cup sugar OR 3 Tablespoons liquid sweetener
  • 1 Tablespoon sriracha sauce(optional)
  • 2 Tablespoons cooking starch(arrowroot, tapioca, or corn) + 2 Tablespoons water
  • 1/2 teaspoon salt
  • 1 Tablespoon toasted sesame oil(optional)

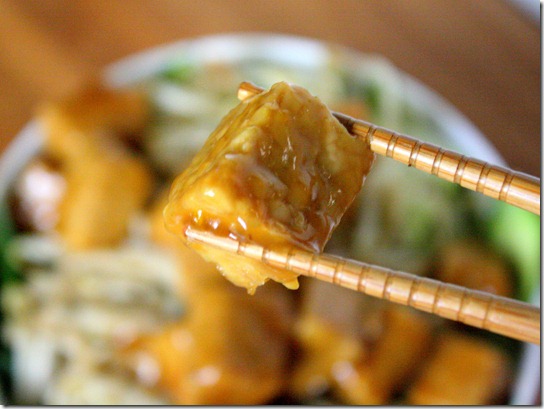
Healthy-Tofu-stir-fry-close-up

Method:

  1. Heat up a large frying pan over medium heat and toss in the tofu, bean sprouts, broccoli slaw, soy sauce, sweetener and sriracha. Mix thoroughly
  2. Cover with a lid and let the contents steam until the vegetables are tender and the tofu has taken on a brown color, about 5-10 minutes.
  3. Dissolve your cooking starch in the water and pour it into the pan. Quickly mix the contents around while the starch turns the cooking liquid into a glaze.
  4. Finish with salt and sesame oil if using. Serve hot with vegetables or rice.

Healthy-Tofu-stir-fry-plated

This goes great with seasoned rice or healthy Chinese broccoli. I wouldn’t omit the sweetener or it would taste rather bland. If you don’t use the sriracha, add about 1/2 Tablespoon of rice vinegar instead to make the flavor pop.

The Best Tempeh

the-best-tempeh

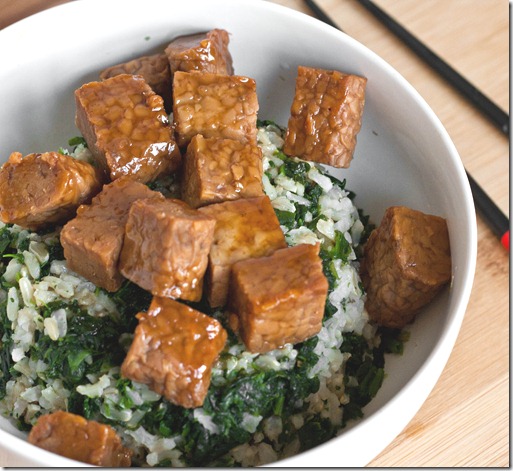
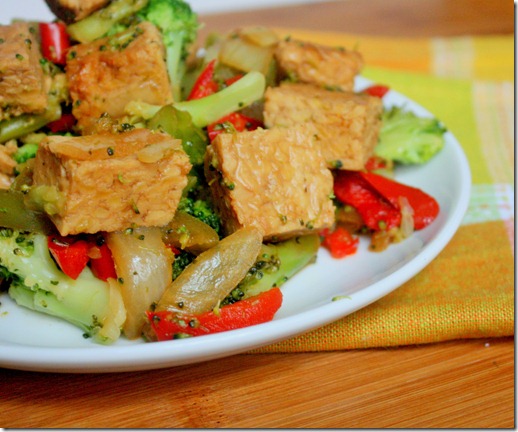
People who are vegetarian or want to eat less meat always ask me how to cook tofu to make it taste less… well, like tofu. Here’s my answer: I don’t really eat tofu all that much; tempeh has a much more natural taste and texture to it and the process for making it is a little less sketchy.

The second part to the answer is this recipe. Sometimes I eat tempeh plain because it tastes fine on its own to me, but when I do cook it I use this sauce. It’s only 2 ingredients and incredibly easy to make; it’s a great one for beginner cooks who aren’t looking to tackle long ingredient lists for flavorful food.

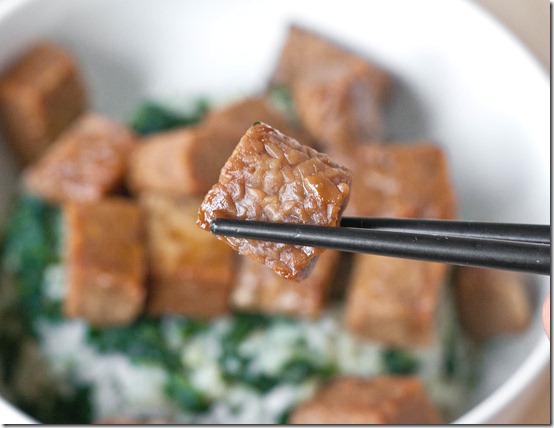
This dish is also really easy to make gluten-free. Just make sure to use wheat-free soy sauce and that the tempeh doesn’t have any grains fermented in it; the ingredients should just be soy beans, vinegar, and salt.

Maple Soy Tempeh

Prep time: 5 minutes

Cook time: 10 minutes

Ingredients(Makes 2 servings):

  • 1 block of tempeh
  • 1/4 cup soy sauce
  • 3 Tablespoons maple syrup

the-best-tempeh-piece

Method:

  1. Dice the tempeh into bite-sized pieces
  2. Heat together the tempeh, maple syrup, and soy sauce in a large pan over medium heat.
  3. Turn the tempeh occasionally as the liquid boils off into a glaze. Make sure all sides get covered in sauce.
  4. When most of the liquid has boiled off, remove the pan from the heat and scoop the tempeh out. Serve hot or cold as leftovers.

the-best-tempeh-plated

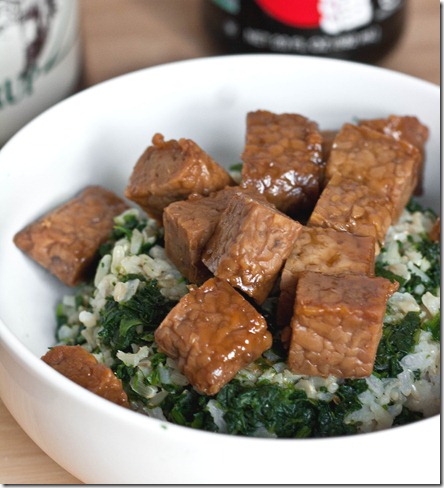
If you have trouble cleaning the pan afterwards, simply put it back on the hot burner and pour in some vinegar to loosen the glaze. Wipe the rest off with a folded paper towel or reduce it and pour over as a sauce.

Maple-Sriracha Lentils

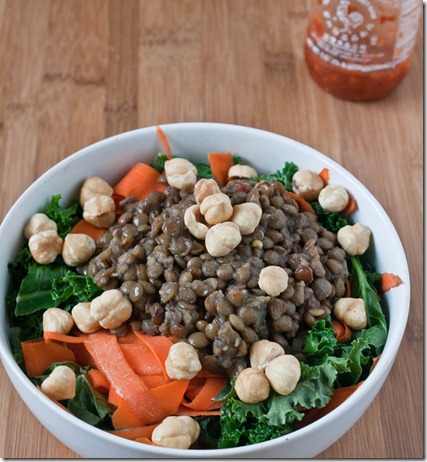
maple-siracha-lentils

Hi, again. I’m back after a short posting hiatus. I figured I needed to post something if only so that my parents don’t think I died. I’ve done plenty of writing over the past few days, but not about food; it’s mostly been commentaries on ancient elegiac and epic poetry, and I figured no one wants to read that(I don’t even really want to read that). And cooking? Oh, cooking. Well, there’s plenty of time for that now.

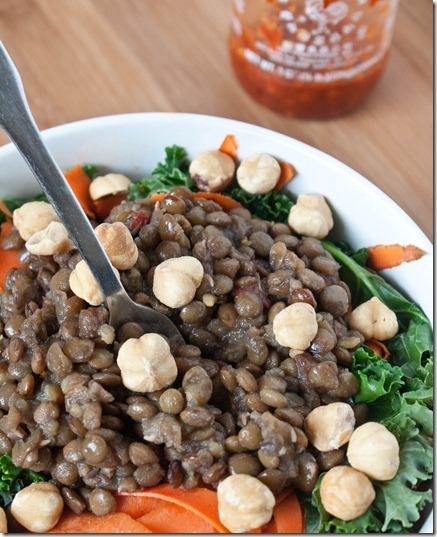
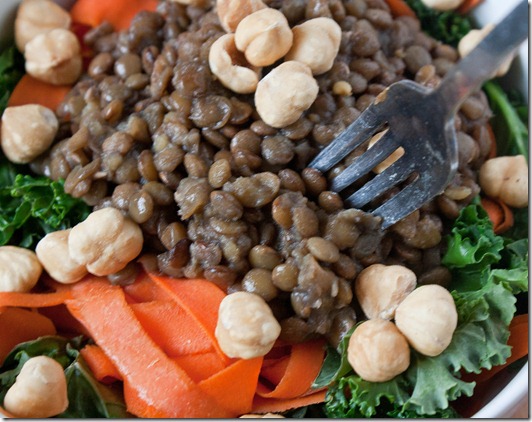
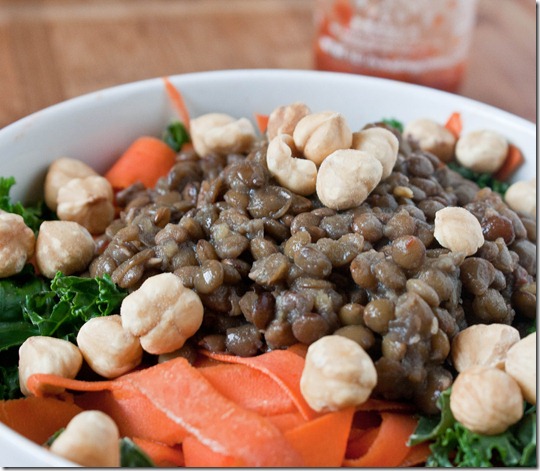
This might be an unpopular opinion, but I really don’t like sriracha sauce—at least not on its own. It’s far too spicy for me; even just thinking about pouring large amounts of it over food makes jump back. I do, however, love the flavor it adds to sauces with a little sweetness to balance the heat. I’ve made this sauce with maple syrup and soy sauce a few times lately and poured it over everything: Lentils, quinoa, eggs—there’s no bad combination.

maple-siracha-lentils-vertical

If you’re a sriracha fan, I’m sure you’ll love this. Even if you’re not a sriracha fan, give it a shot and you might just be surprised how much you like it.

Maple-Sriracha Lentils

Prep time: 5 minutes

Cook time: 40 minutes

Ingredients(Makes 4 servings):

  • 1 cup dry lentils
  • 3 cups water
  • 3 Tablespoons maple syrup
  • 3 Tablespoons soy sauce
  • 1 1/2 Tablespoons sriracha sauce

maple-siracha-lentils-fork

Method:

  1. Cook the lentils for 30-40 minutes in the boiling water until they’ve become tender and soaked up all the liquid.
  2. Turn off the heat and add in the soy sauce, maple syrup, and sriracha and mix, letting the lentils sit over the burner for a couple minutes to absorb the sauce.
  3. Serve hot or cold as leftovers.

maple-siracha-lentils-bowl

The sriracha adds a great complexity to a sauce that’s only 3 ingredients. For a little more depth of flavor you can add a Tablespoon of toasted sesame oil at the end of cooking.

And now I have 6 weeks with not much to do and a full kitchen at my exposal so expect to hear a lot more from me.

Fried Quinoa

fried-quinoa

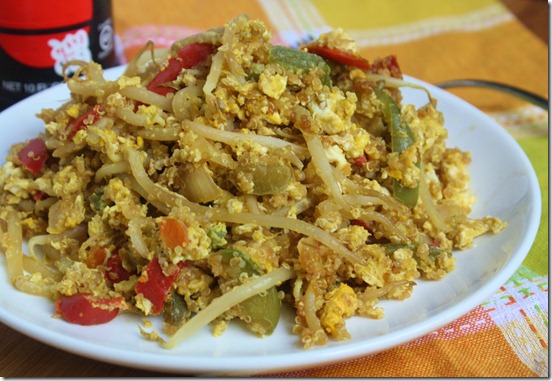
The downside(or benefit depending on how you look at it) of making things like quinoa in big batches is that you have the same old food meal after meal. Luckily, quinoa is one grain that’s easy to dress up. You can eat it in the morning in place of oatmeal, or later on in place of rice. Here I used it to make a tasty, higher protein version of fried rice.

fried-quinoa-plated

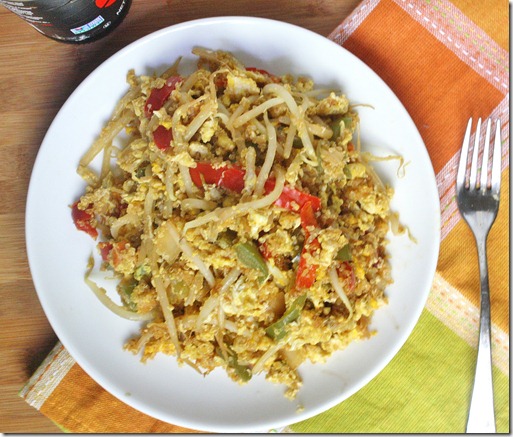
I’ve never really found rice interesting, even as fried rice from a halfway decent Chinese takeout restaurant. This, however, I could eat meal after meal. The vegetables and egg add a play of textures and the quinoa has a nice nutty flavor to it to compliment the sesame oil. Add some stir-fried tofu or chicken and you’re good to go.

Of course, if you have leftover rice you could make the same recipe subbing in rice for quinoa and have a more traditional dish.

Fried Quinoa

Prep time: 5 minutes

Cook time: 10 minutes

Ingredients(makes 2 servings)

  • 1 cup cooked quinoa
  • 2 Tablespoons toasted sesame oil
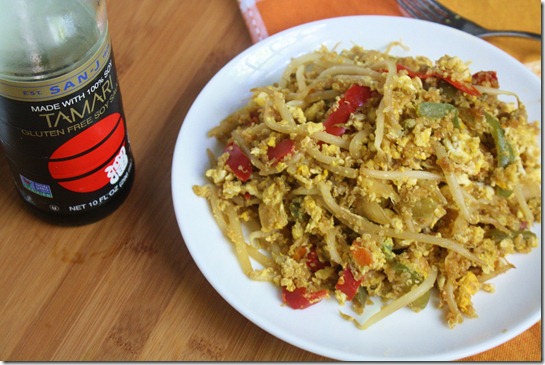
  • 3 Tablespoons soy sauce(use wheat-free tamari for a gluten-free meal)
  • 1/2 an onion, diced
  • 1 bell pepper, chopped into bite-sized chunks
  • 1/2 cup bean sprouts
  • 4 eggs

fried-quinoa-soy-sauce

Method:

  1. Heat the oil and soy sauce in a large frying pan over medium-high heat until the oil starts to bubble.
  2. Add in the onion and sauté until translucent.
  3. Add in the quinoa, pepper, and bean sprouts. Toss the pan to mix. Cook until all the liquid has been absorbed and the quinoa on the bottom of the pan begins to pop.
  4. Crack the eggs directly into the pan. Lightly mix them in with the other ingredients. Continue mixing until the all the whites and yolks have cooked through.
  5. Plate and serve hot. Can be kept in the refrigerator and reheated as leftovers for up to 3 days.

fried-quinoa-fork

I ate this as leftovers and it was most definitely better the next day, with a strong, nutty sesame flavor and crunchy bean sprouts.

Orange Tempeh

orange-tempeh

When I was in high school, we didn’t really have a traditional cafeteria; instead, we used a college campus’ union where they had tons of food options inside. Between my freshman and sophomore year, Burger King was moved out and in their place came a Panda Express. I wasn’t quite sure how to feel about that, since I loved the Burger King frozen chocolate pies so much. But one taste of Panda Express’ orange chicken and it was love at first bite.

I can’t count how many times I got that order over the next couple of years. Now I sometimes go back and get a little nostalgic just looking at the Panda Express sign. But since gluten and meat are out, Panda Express’ orange chicken is, too. So that inspired me to make my own; if I could make something half as good as their orange chicken without chicken or wheat, I’d be happy. Luckily I think I came upon with something half as good and more.

orange-tempeh-ingredient

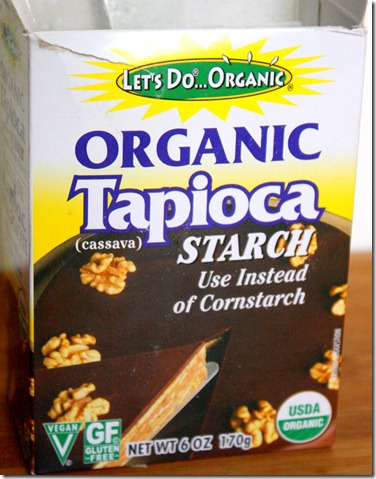
I used tapioca starch for a corn-free dish I was a little worried it wouldn’t be a good replacement, but it worked exactly the same. It’s something I now keep on hand at all times for gluten-free/grain-free baking and cooking.

Orange Tempeh

Prep time: 5 minutes

Cook time: 10 minutes

Ingredients(for 2 servings):

  • 1 block of tempeh, cubed
  • Juice of 1/2 an orange(about 2 Tablespoons)
  • 2 Tablespoons agave, or any sweetener
  • 1 Tablespoon soy sauce(or wheat-free tamari)
  • 1/2 Tablespoon sesame oil
  • 2 teaspoons rice vinegar
  • 1/4 teaspoon salt
  • 1 teaspoon siracha sauce(optional)
  • 1/2 Tablespoon tapioca or corn starch mixed with 2 Tablespoon water

orange-tempeh-bowl

Method

  1. In a small dish, mix together the orange juice, agave, soy sauce, vinegar, salt, sesame oil and siracha if using.
  2. Pour the mixture into a frying pan and heat over a burner set to medium.
  3. When the liquid is hot, add in the tempeh. Brown the tempeh on all sides in the sauce until half the liquid has boiled off, about 5 minutes.
  4. Pour the dissolved starch into the pan and mix it around with the tempeh and sauce to thicken up. If the sauce becomes too thick, add a couple tablespoons of hot water into the pan and mix it in until more of the starch has dissolved and adjust it until it forms a coating over the tempeh.
  5. Remove from the heat. Serve over vegetables or rice.

orange-tempeh-cube

This sauce is slightly less sweet and more orange-flavored than Panda Express’, which I like in terms of complexity but not quite fitting for a Chinese take-out craving. You can play with the sweetness and saltiness by adding more sugar or soy sauce and adjust to taste.

Tempeh And Broccoli

tempeh-and-broccoli

I’ve been getting a lot of questions on tempeh recently. I want to put all my thoughts into a post about it but until then you’ll only get recipes, which is pretty good considering half the time I eat tempeh it’s raw, cold from the fridge. I would not suggest eating it that way if it’s you’re first time; it would be a horrible, bland introduction to something that can be so tasty.

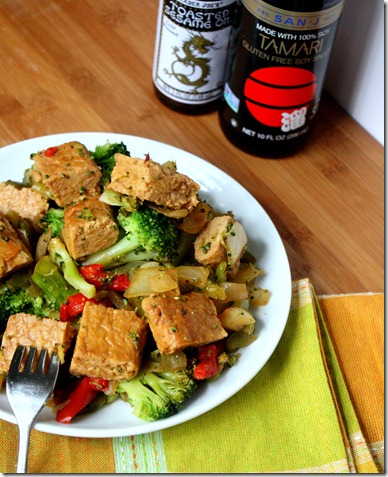
If tofu is soy chicken, tempeh is soy beef. It’s much firmer, earthier and has a chew to it. Naturally it’s a great vegetarian substitute for beef in Asian dishes, like beef and broccoli. Since broccoli was one of the three vegetables I liked growing up(the other being carrots and olives), beef and broccoli was what I always chose on Chinese take-out night. This recipe keeps all those same flavors and textures, but with whole food ingredients anyone can enjoy.

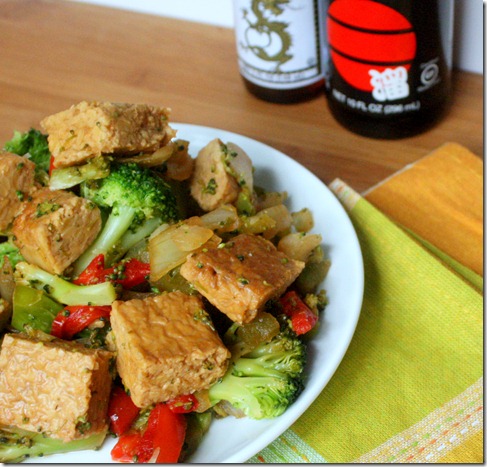
tempeh-and-broccoli-plated

You can substitute rice vinegar in place of apple cider vinegar for a more traditional ingredient list. I like apple cider vinegar here because it replicates the sweet, fruity flavor of plum sauce common in Asian cooking.

Tempeh And Broccoli(inspired by Caitlin)

Prep Time: 5 minutes

Cook Time: 10 minutes

Ingredients(makes 2 servings):

  • 1 block of tempeh, diced
  • 6 Tablespoons apple cider vinegar
  • 1/4 cup plus 1 Tablespoon soy sauce(or wheat-free tamari)
  • 2 Tablespoons agave nectar
  • 1 Tablespoon sesame oil, preferably toasted
  • 1/4 teaspoon chili powder
  • 2 cups broccoli, steamed
  • 1/2 onion, julienned
  • 1 bell pepper, julienned(optional)
  • 1/4 teaspoon garlic powder
  • 1/4 teaspoon salt

tempeh-and-broccoli-tablescape

  1. Combine the tempeh, apple cider vinegar, soy sauce, sesame oil, agave, and chili powder in a large pan and heat it on a burner set to medium-high.
  2. Cook for about 5 minutes flipping once until the liquid thickens up like a sauce.
  3. Add in the broccoli, onion, pepper, and garlic powder. Continue cooking over medium heat until the moisture has boiled off of the pan and the onions turn soft(about 5 minutes).
  4. Remove from the heat and season with salt. Plate and serve hot.

tempeh-and-broccoli-fork

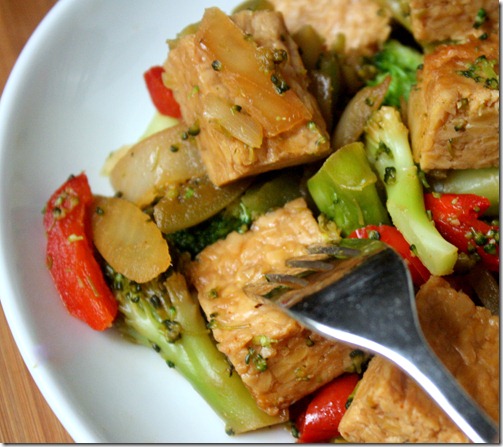
When this is cooked the tempeh should be fork-tender with a sweet, nutty flavor and fall apart in your mouth. It’s a great introduction to a food that could become your best friend.

The Best Grilled Tofu

July 10th 117

Tofu gets such a bad rap. And you know what? It kind of deserves it. Just eaten plain, tofu is bland and a little disgusting.

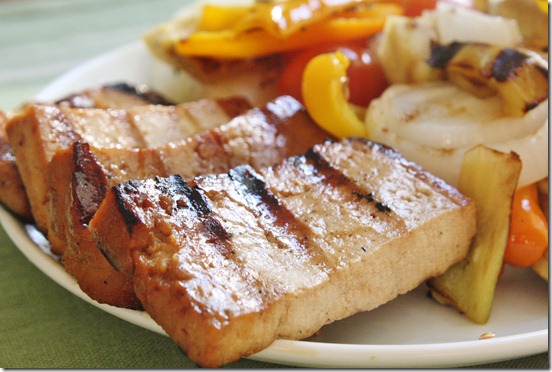
But like any girl wearing glasses and overalls in a cliché 90s movie, tofu can get dressed up and steal the show. It takes on any flavor added to it, and when cooked properly has a “meaty” texture.

July 10th 136

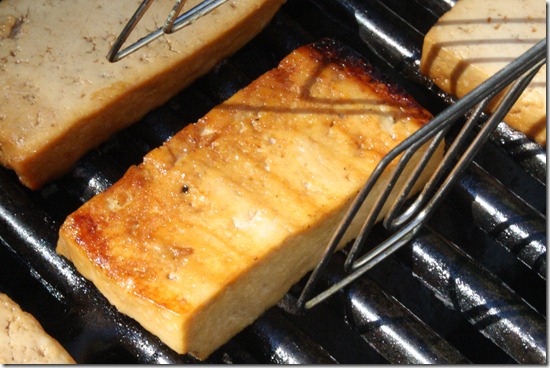
There’s no reason for tofu-eaters to be left behind during grilling season. With the right marinade tofu makes a tasty grilled entrée. And this is the best(and simplest!) marinade I’ve ever tried. All it takes is time and patience for the flavors to be absorbed. It works well baked, too, but in the Summer there’s no other way to go than grilled.

The Best Grilled Tofu

Ingredients:

  • 1 block firm tofu, sliced 3/4 inch thick
  • 1/3 cup soy sauce
  • 1/3 cup maple syrup
  • 2 Tablespoons lemon juice
  • 1 Tablespoon toasted sesame oil

July 10th 130

Combine all of the liquid ingredients and marinate the sliced tofu in the mixture for at least 3 hours, preferably overnight.

Heat a grill to high and lay the strips of tofu out. Flip after 3-5 minutes once the bottom side has grill marks and cook for another 3-5 minutes. Serve hot or refrigerate and serve cold.

July 10th 133

You can reuse the marinating liquid again and again since there’s a very low risk of spreading bacteria with tofu. Either add more tofu to the marinade immediately or freeze it until using again.

I can’t get enough of this. I could easily eat a block of tofu in one sitting. That’s what makes it the best.