Tag Archive: No-Bake

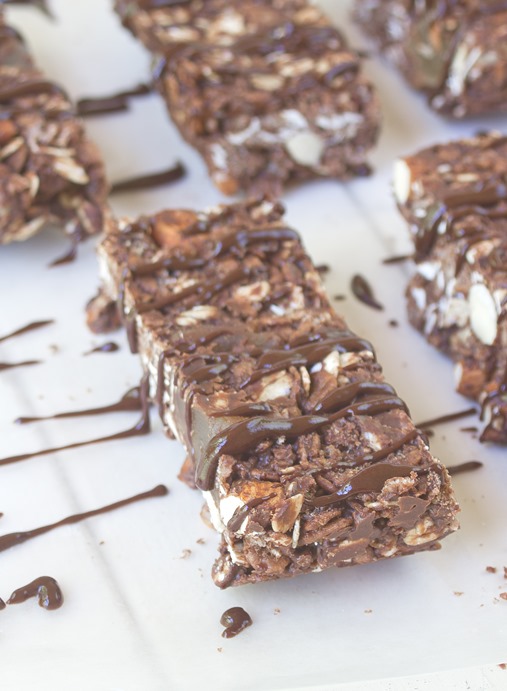
Chocolate Almond Granola Bars

Chocolate Almond Granola Bars

I’m a snacker. I can’t imagine how somebody could go from lunch all the way to dinner time without snacking on something. Seriously, how do they do it? I’m usually reaching for a candy bar or bag of popcorn at 3pm and more often than not know I should be eating something healthier.

I first made these bars last Summer and they disappeared as quickly as they set. They’re unbelievably delicious for something that takes 10 minutes to make with simple ingredients. This time around I used homemade chocolate cashew butter in place of the almond butter because it’s what I had on-hand and they tasted just as good if not better.

Chocolate Almond Granola Bars Drizzled

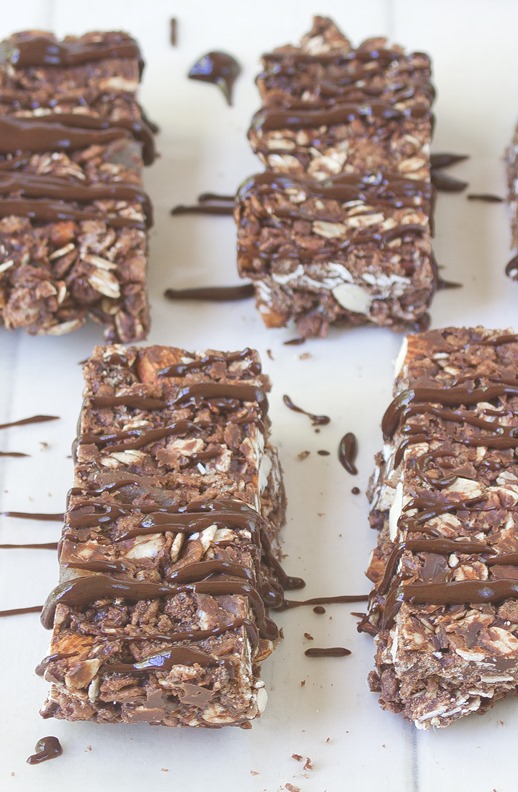
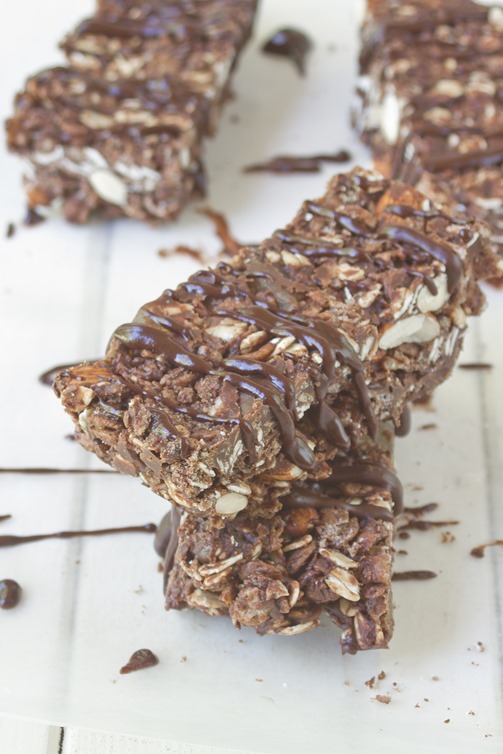
Just like the first time I made these, I used candied ginger instead of dried fruit. I love a little bit of spice with my chocolate. I’d highly recommend chopping your almonds and fruit before adding them to the batter because the larger portions will make your granola bars harder to cut in the final step.

Chocolate Almond Granola Bars

Prep time: 10 minutes

Cook time: 0 minutes

Ingredients(Makes 8 to 10 bars):

  • 1/2 cup semi-sweet chocolate chips
  • 1/2 cup almond butter
  • 1/4 cup honey**
  • 1 cup oats*
  • 1 1/2 cups chocolate rice crisps cereal*
  • 1/2 cup almonds, crushed or sliced
  • 1/2 cup dried fruit
  • 1/4 teaspoon salt

*To make these granola bars gluten-free, make sure these two ingredients are certified gluten-free.

**Use 3 Tablespoons of agave to make these vegan.
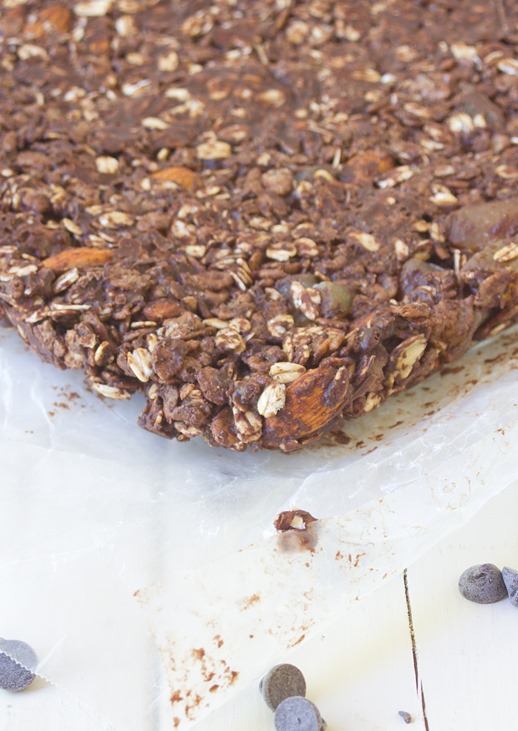
Chocolate Almond Granola Bars Uncut

Method:

  1. In a microwave or over a double boiler, melt the chocolate chips.
  2. Stir in the almond butter and honey until smooth.
  3. Add in the oats, cereal, almonds, dried fruit, and salt and mix until everything is completely covered.
  4. Line an 8 x 8 baking tray with wax paper. Dump the batter into the pan and press down into an even layer.
  5. Refrigerate the bars until they’ve hardened—about 20-30 minutes.
  6. With a sharp knife, cut the bars in half horizontally and into quarters vertically into 8 2 x 4 bars.
  7. Store in the refrigerator for up to 2 weeks.

Chocolate Almond Granola Bars Uncut Stacked

Italian White Bean Salad

Italian White Bean Salad Yield

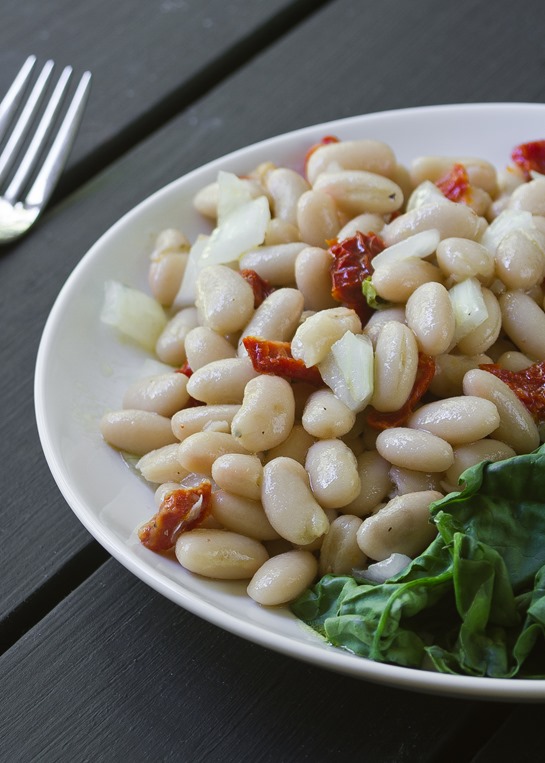
This is one of my favorite things I’ve eaten this Summer, which is saying a lot since I love sweets and it’s a savory recipe. It’s just the prefect, refreshing thing to throw together and put on a plate and enjoy without ever turning on the oven.

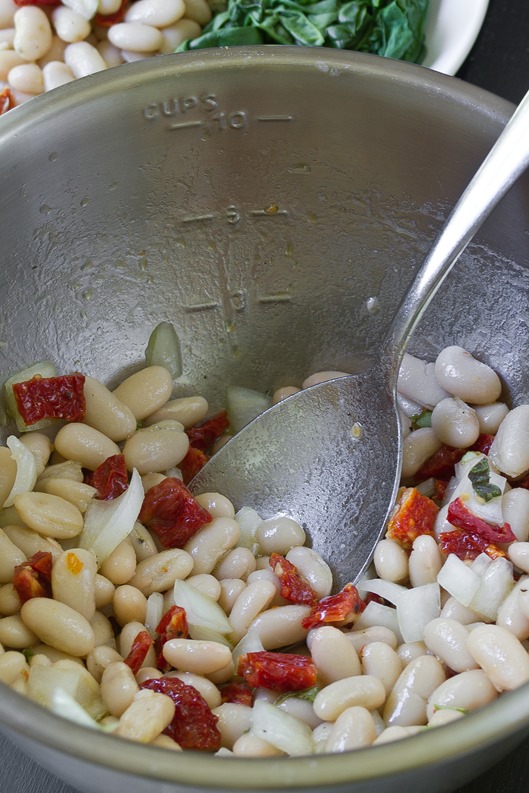
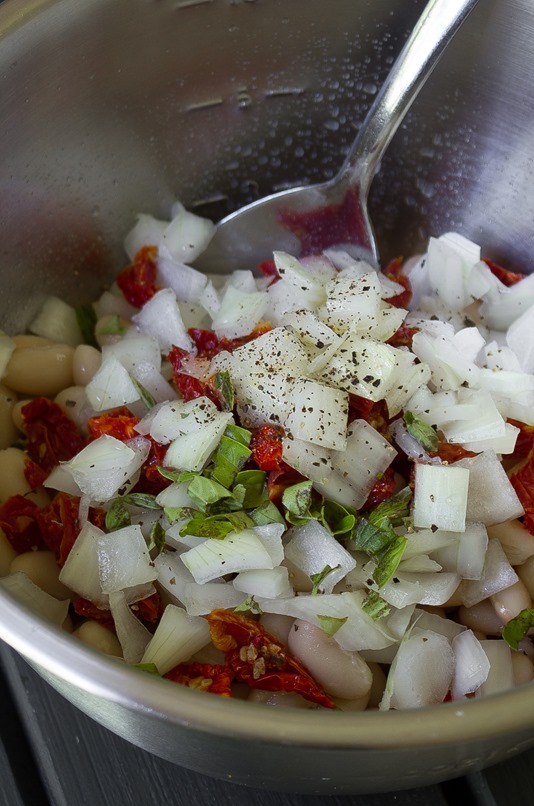
The ingredients here are really simple: White beans, sundried tomatoes, onions, basil, dressing and seasoning. That’s all you need! Don’t let the raw onions scare you; soaking them in a little cold water first takes out the bite in their flavor but leaves them cool and crunchy. You might want to freshen your breath afterwards with a homemade peppermint patty.

Italian White Bean Salad Ingredients

Like all recipes, make sure to season these to taste. If the beans you used were cooked in salt, make sure to use less to keep the flavor light and fresh.

Italian White Bean Salad

Prep time: 10 minutes

Cook time: 0 minutes

Ingredients(Makes 4 servings):

  • 2 cans white beans, drained
  • 1/4 cup chopped sundried tomatoes
  • 1/4 cup chopped onions
  • 3 Tablespoons extra virgin olive oil
  • 1 1/2 Tablespoons lemon juice
  • 2 Tablespoons fresh chopped basil
  • 1/2 teaspoon cracked black pepper
  • 1/4-1/2 teaspoon salt

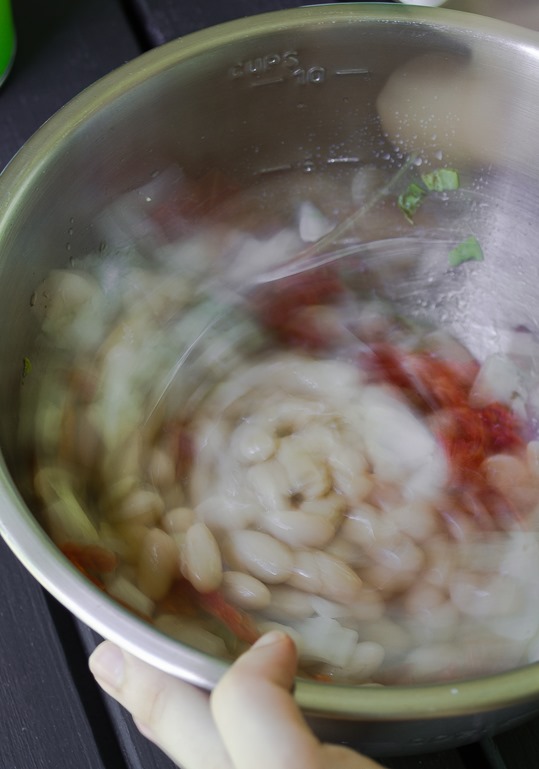
Italian White Bean Salad Mixing

Method:

  1. Let the onions soak in cold water for 5-10 minutes. Drain the water from the onions and lightly pat them dry.
  2. Toss all of the ingredients except for the salt together in a large bowl.
  3. Taste the beans and season with the salt as necessary.
  4. Serve cold or at room temperature.

Italian White Bean Salad

Homemade Peppermint Patties

Homemade Peppermint Patties

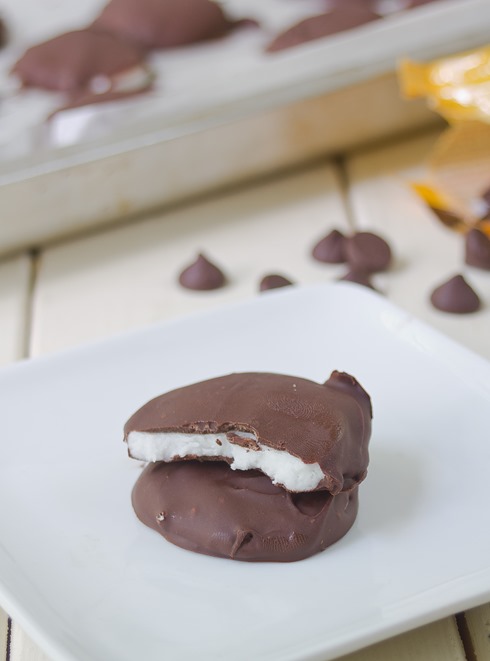
I’m a candy addict. I like having a little after every meal; it just leaves a better taste in your mouth than pasta sauce or vegetables ever could. That’s probably why I’ve blogged this recipe 2 or 3 times in the past couple of years. But it’s so good I have to post it again.

I’ll admit I love the store-bought, corn syrup laden candy you get at grocery stores and movie theaters. Now and again though it’s fun to make your own. And it can be a great way to impress your family and friends.

Homemade Peppermint Patties Filling

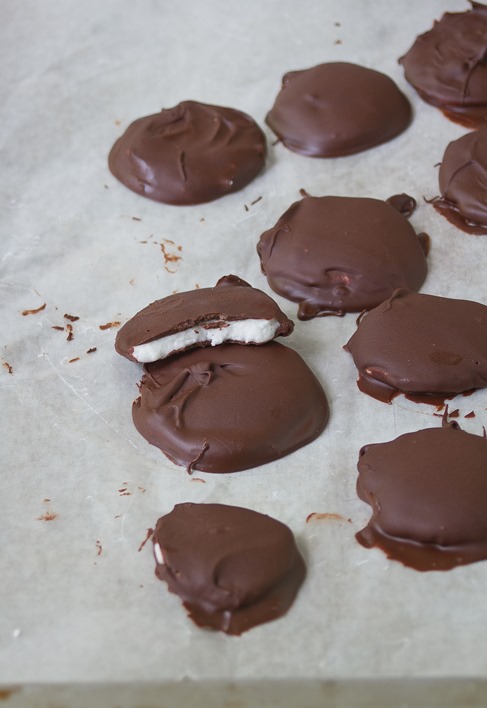
I’d recommend looking for dark chocolate chips for this recipe; the bitterness of the chocolate is a nice contrast to the minty sweet filling. You can use butter in place of the coconut oil if that’s what you have on hand.

Homemade Peppermint Patties

Prep time: 30 minutes

Cook time: 0 minutes

Ingredients(Makes 24 patties):

  • 2 1/4 cup powdered sugar, sifted
  • 1 1/2 Tablespoons agave nectar(or any liquid sweetener)
  • 1 1/2 Tablespoons water
  • 1 Tablespoon coconut oil, softened or melted
  • 1 teaspoon peppermint extract
  • 1 bag(12oz) bittersweet or semisweet chocolate chips

Homemade Peppermint Patties Done

Method:

  1. In a large bowl, mix the powdered sugar, agave nectar, coconut oil, peppermint extract, and water. Continue mixing with your hands until it comes together and forms a dough ball.
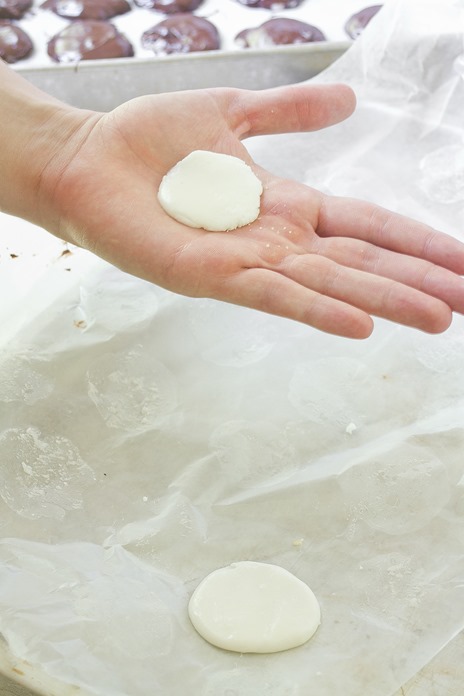
  2. Take off chunks of filling from the dough ball and roll them into 3/4-inch balls. Press the balls down in between your hands and form patties.
  3. Lay the patties out on a baking tray on a non-stick surface and refrigerate or freeze for 20 minutes until firm
  4. Melt the chocolate in a microwave or over a double-boiler. Line a baking tray with parchment paper.
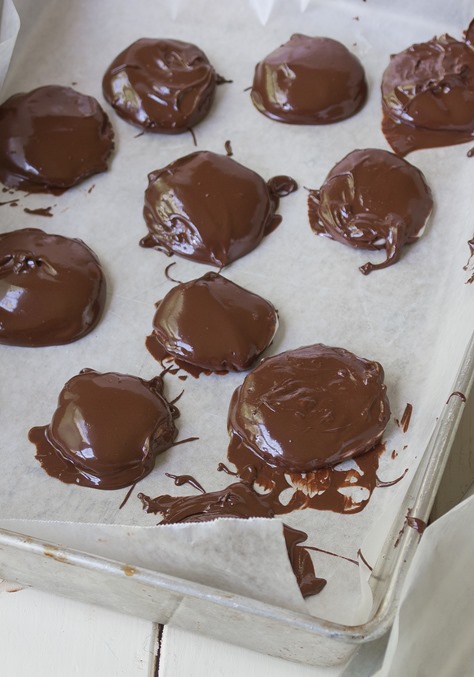
  5. Dip the frozen filling into the melted chocolate with a fork until the top and bottom are covered. Wipe off any excess chocolate from the bottom and lay it on the lined baking tray.
  6. Refrigerate the patties for 10 minutes before removing them from the paper. Keep refrigerated when not eating.

Homemade Peppermint Patties Serving

7 Favorite Summer Recipes

VegetarianGrillingOnGrill_thumb

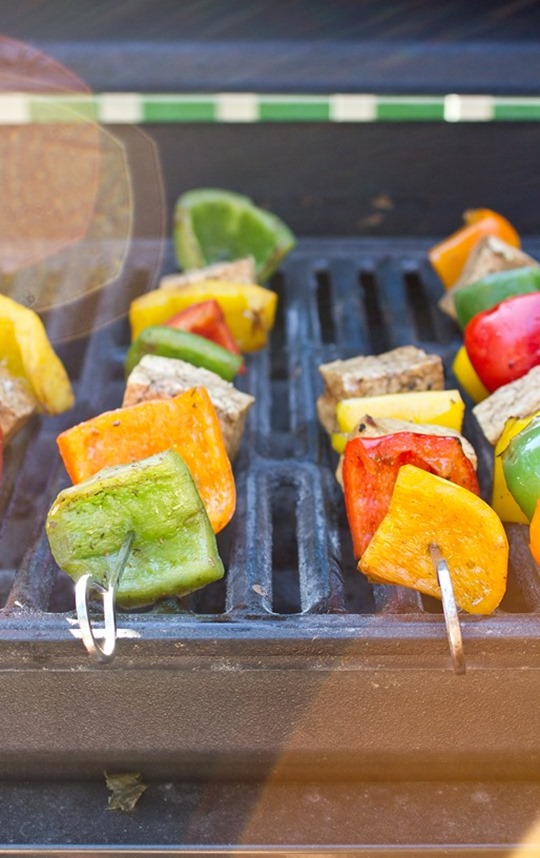
Summer is an appetite killer. I can’t be the only one who has a hard time being creative in the kitchen and thinking of perfect flavors to mix for dinner when it’s 90 degrees outside and humid. I’d rather take out the ice cream and call it a night.

Mashed potatoes and gravy aside, there are still plenty of healthy and not so healthy foods you can make with a little forethought that’ll have you hungry even in the Summer. Here are some of my favorites to make when the temperatures climb.

Drinks

TequilaSunrise_thumb

Tequila sunrises are a perfect Summer drink with only 3 ingredients and the refreshing taste of orange juice. A less complicated drink means more time having fun outside and socializing.

Appetizers

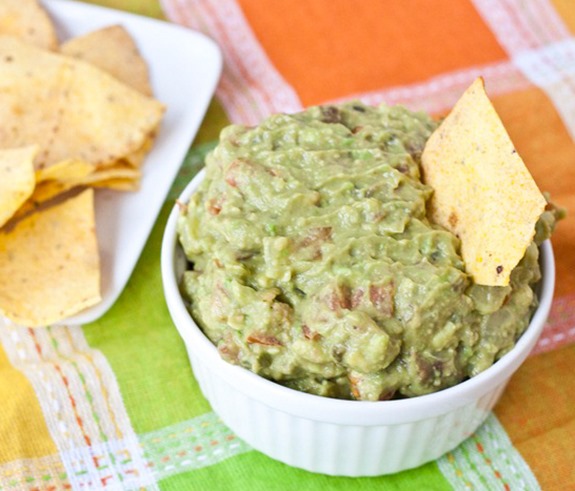
Firecracker-Guacamole-dip_thumb

Firecracker guacamole has a nice spicy kick to wake up your taste buds. And of course it has a fresher taste than store-bought guacamole because it’s all homemade. It’s a winner for hosting a party or bringing to a party.

If you’re grilling, perfect grilled potatoes are the way to go. They’re similar to a thick-cut oven fry but instead get an added smoky flavor from the grill, and a cinch to make while you’re grilling up dinner.

Entrees

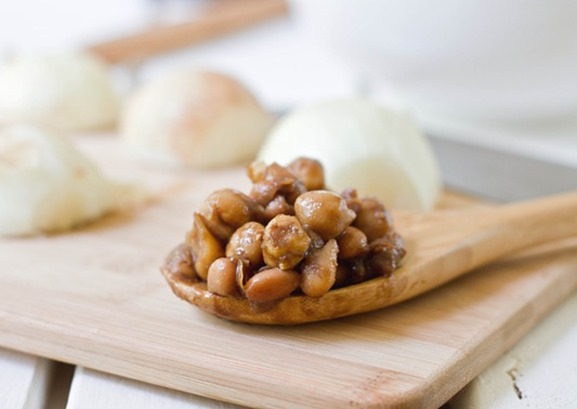
Caramelized-Onion-and-Balsamic-Vinegar-Bean-Salad_thumb

Hot or cold, caramelized onion and balsamic vinegar bean salad makes for a tasty dinner with sweet and savory flavors. You can make a big batch on the weekend and have it any night you feel like a home-cooked meal without the effort.

Easy black bean salad is the dish to make if you only have 5 minutes or don’t feel like turning the stove on. It’s a one-pot winner with a slightly spicy kick and and simple ingredients.

Dessert

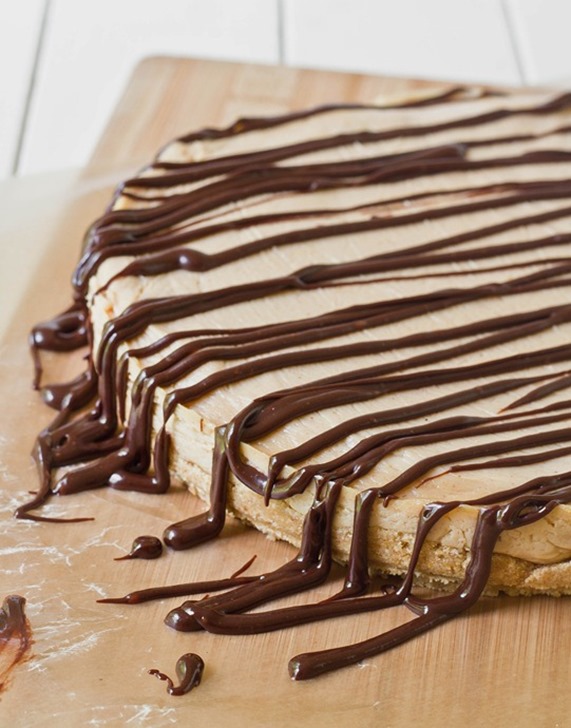
Chubby-Hubby-Cheesecake_thumb

Chubby hubby cheesecake lives up to all the expectations the Ben & Jerry’s flavor brings. The pretzel crust, peanut butter cream cheese filling, and chocolate ganache are always a hit. It’s a great ice-box dessert recipe to bring to the picnic.

If you’re a fan of s’mores stuck without a campfire, no-bake peanut butter s’mores bars are the perfect fix for a sweet treat. They’re easily portioned, too, so make them for a crowd and watch them fly off the plate.

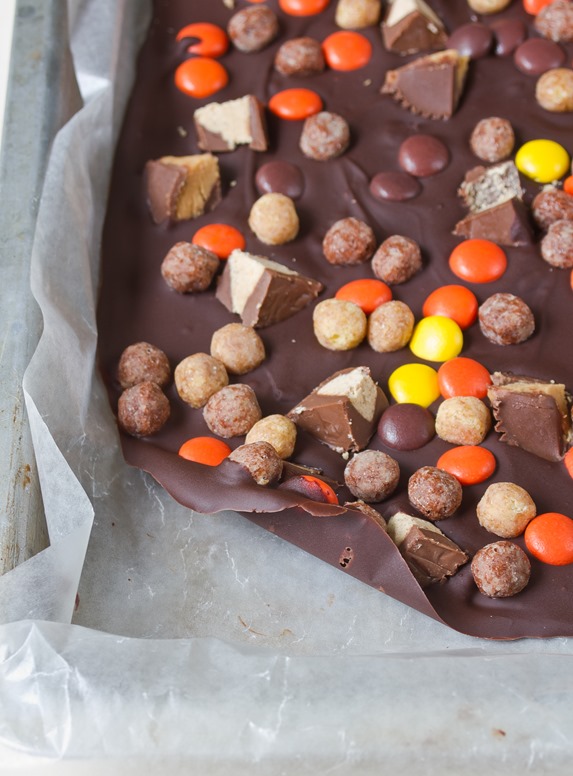
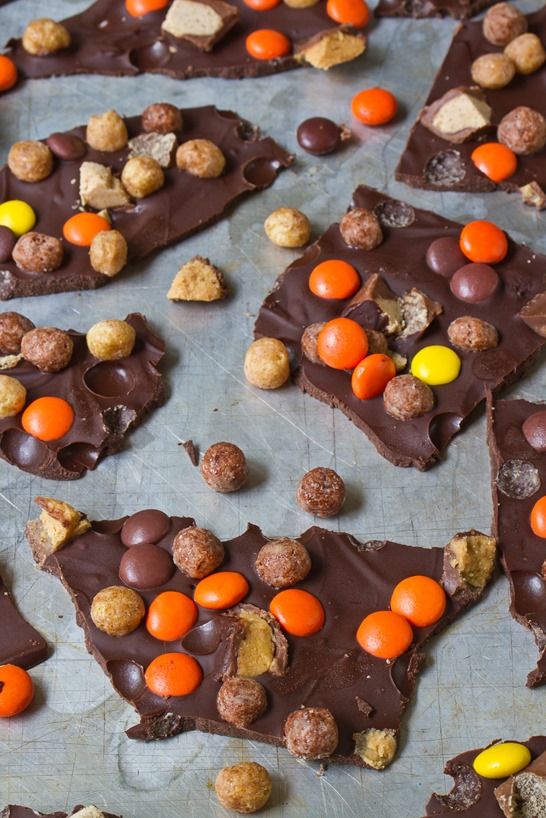
Reese’s Lover’s Bark

Reese’s Lover’s Bark Whole

This is it.

If I stopped blogging tomorrow and this was the last recipe I ever posted, I’d be more than happy with that.

It’s no secret I’m a Reese’s lover. This bark was bound to happen. And it’s one of my favorites—Scratch that. It is my favorite.

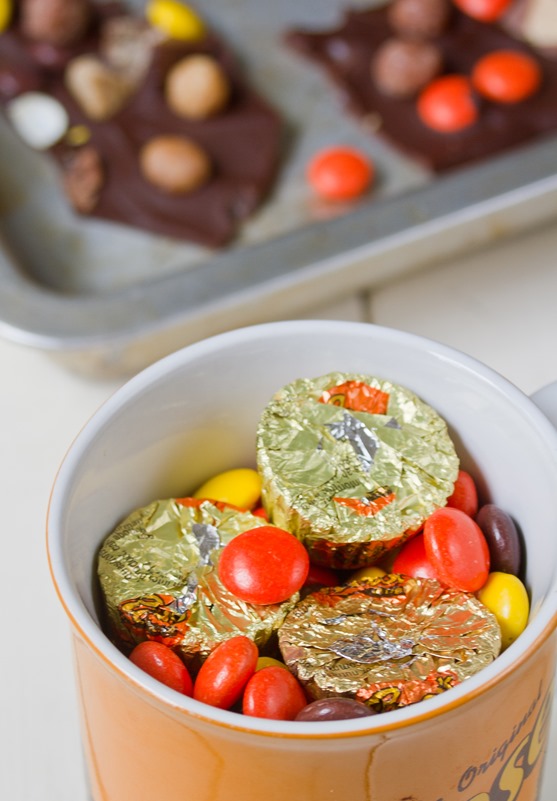
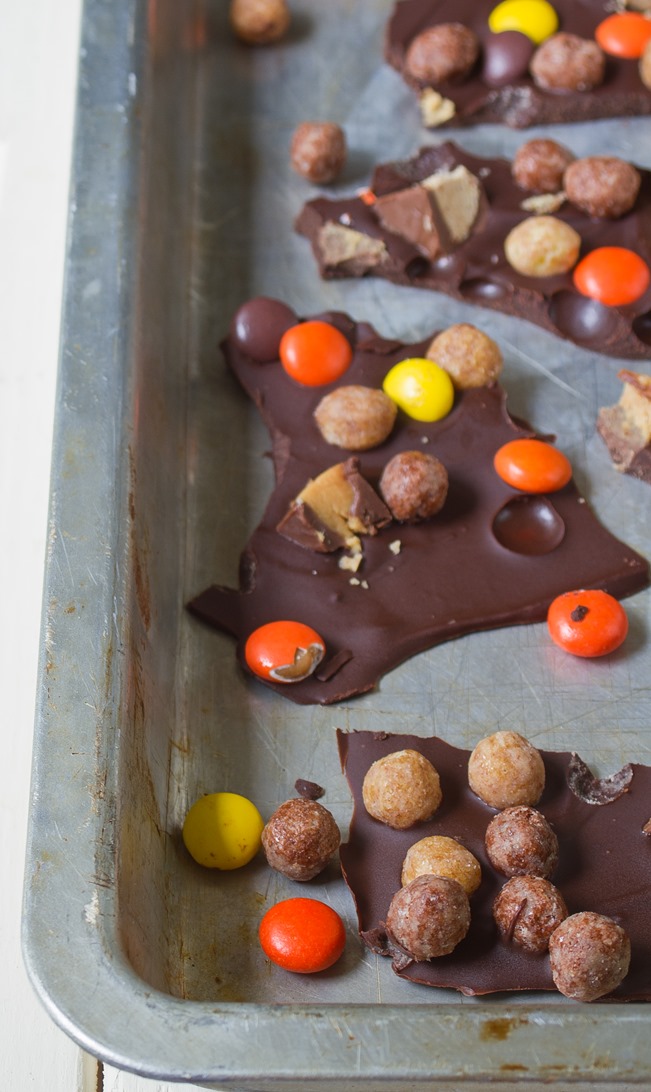
The sweet Reese’s pieces, dark chocolate, and smooth peanut butter cups go perfectly with a little crunch from the Reese’s puffs. You’d be hard-pressed to be disappointed with a bite of this bark.

Reese’s Lover’s Bark

You can use regular-sized Reese’s cups, Reese’s fun-sized candies, or even Reese’s miniatures for the peanut butter cups—whichever you have on hand.

Reese’s is in no way affiliated with this blog post; I’m just a lover.

Reese’s Lover’s Bark

Prep time: 10 minutes

Cook time: 0 minutes

Ingredients(Makes 16-20 servings):

Reese’s Lover’s Bark Ingredients

Method:

  1. In a microwave safe bowl, melt the chocolate chips until they are smooth and liquid.
  2. Spread the chocolate out into a thin layer on a non-stick surface such as wax paper.
  3. One at a time or all together, sprinkle the Reese’s toppings evenly over the melted chocolate.
  4. Gently press the toppings into the chocolate to make sure as many as possible stick into the bark.
  5. Refrigerate for 20-30 minutes until the chocolate is cold and set.
  6. Break the bark into pieces with a knife or your hands while still cold. Keep refrigerated until ready to eat.

Reese’s Lover’s Bark Serving

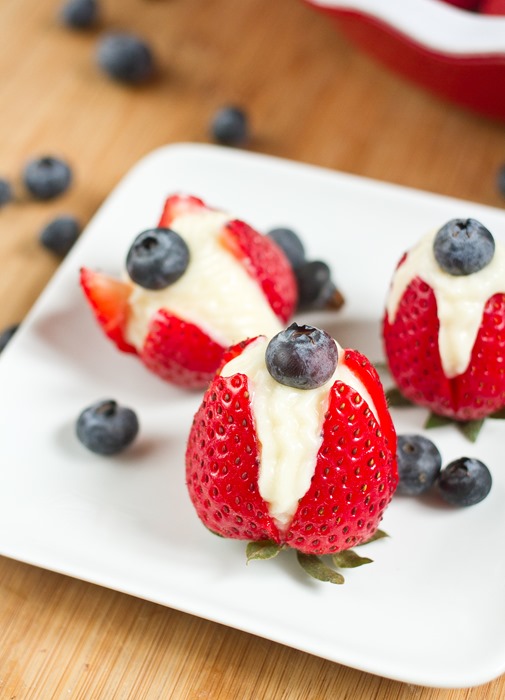
Red, White and Blue Stuffed Strawberries

Red, White and Blue Stuffed Strawberries

When you’re a food blogger, you constantly have to choose between making and blogging a holiday recipe a week in advanced and looking crazy celebrating all by yourself or making a recipe for the actual holiday and posting it a few days later late to the game. Usually I choose the latter but this time I happen to be early to the party; here’s a red, white, and blue recipe a month and a half before July 4th for you.

The Nutella cheesecake strawberries I made last month were a huge hit with my friends. I got asked to make them again but I always like trying something new. Instead of Nutella, these strawberries are filled with white chocolate cream cheese. At times I think I like white chocolate more than dark, and this is one of those times. It goes perfectly with the sweet berries.

Red, White and Blue Stuffed Strawberries Ingredients

Every time I make these stuffed strawberries, the first half come out looking sloppy and the second half look fine. You just have to get into a rhythm and figure out how to do it best. Getting the filling to the right consistency will also make it easier.

Red, White and Blue Stuffed Strawberries

Prep time: 20 minutes

Cook time: 0 minutes

Ingredients:

  • 1lb fresh strawberries
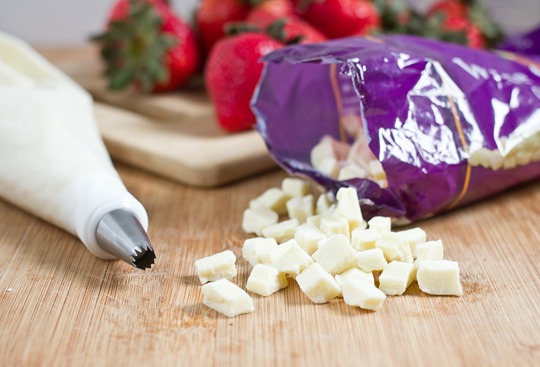
  • 3/4 cup(6oz) white chocolate chips
  • 5 Tablespoons cream cheese, room temperature
  • 2 Tablespoons milk, room temperature
  • 3/4 cup powdered sugar
  • 1/4 cup blueberries

Red, White and Blue Stuffed Strawberries White Chocolate

Method:

  1. In a microwave-safe bowl, melt the white chocolate.
  2. Beat together the melted white chocolate, milk, and cream cheese until smooth.
  3. Beat in the powdered sugar until it’s fully incorporated.
  4. Move the cream cheese mixture into a pastry bag or Ziploc bag with a corner cut off. If the mixture is still runny, put it in the refrigerator for 5-10 minutes to thicken.
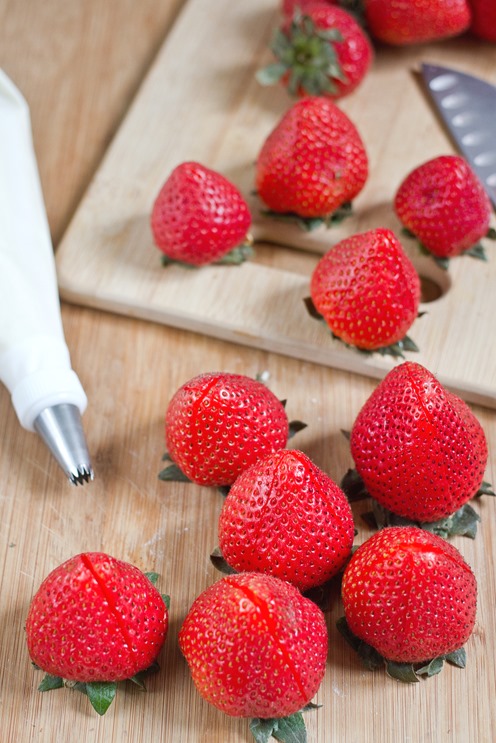
  5. Cut the strawberries twice perpendicularly almost all the way through.
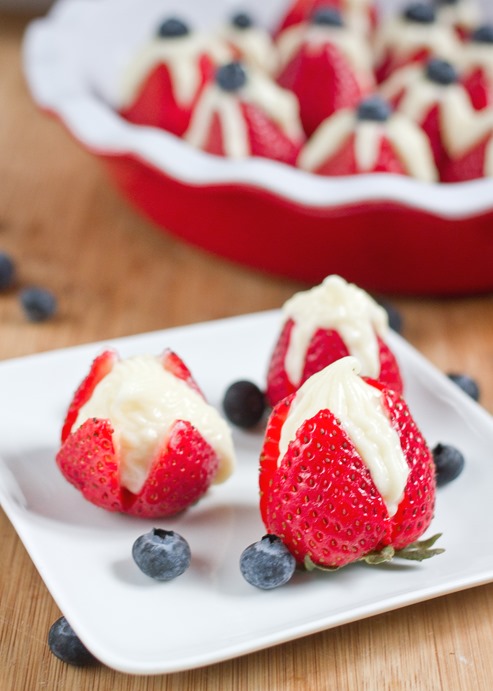
  6. Squeeze the filling into the strawberries starting from the bottom and moving the tip up.
  7. Garnish with a blueberry on top.
  8. Keep refrigerated until ready to serve. These won’t last long even in a refrigerator so eat relatively quickly. 

Red, White and Blue Stuffed Strawberries Serving  

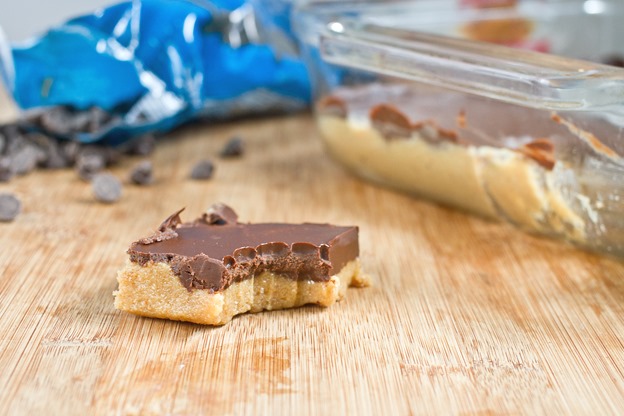
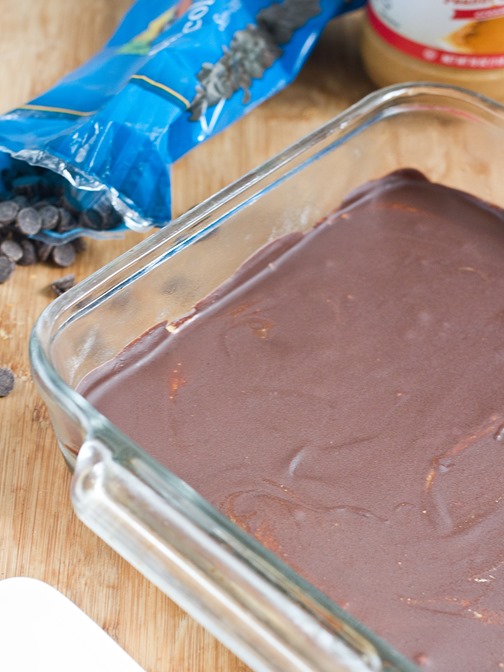
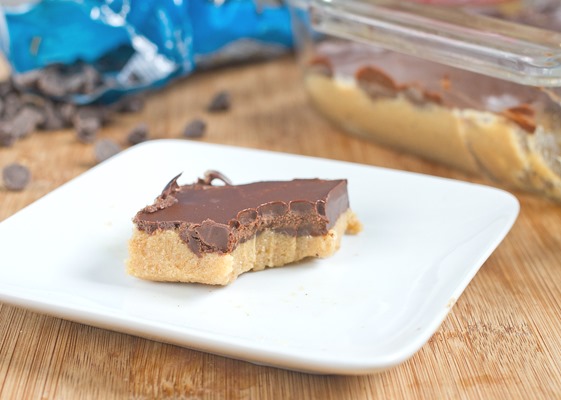
Chocolate Peanut Butter Bars

Chocolate Peanut Butter Bars

It’s been a busy month. This blog(and cooking anything without a microwave in general) have taken a bit of a back seat. Hopefully someday soon I’ll have a more regular schedule and school off my shoulders but right now sporadic will have to do.

Thankfully you can make some pretty great things with a microwave and 5 minutes. I forgot about this recipe for almost a year and just thought of it again when I made a run to a mini-mart to stock up on chocolate and Reese’s cups. They’re probably much cheaper and more delicious than Reese’s cups. So far they’ve made a great study snack and given me something to stress eat at 2am.

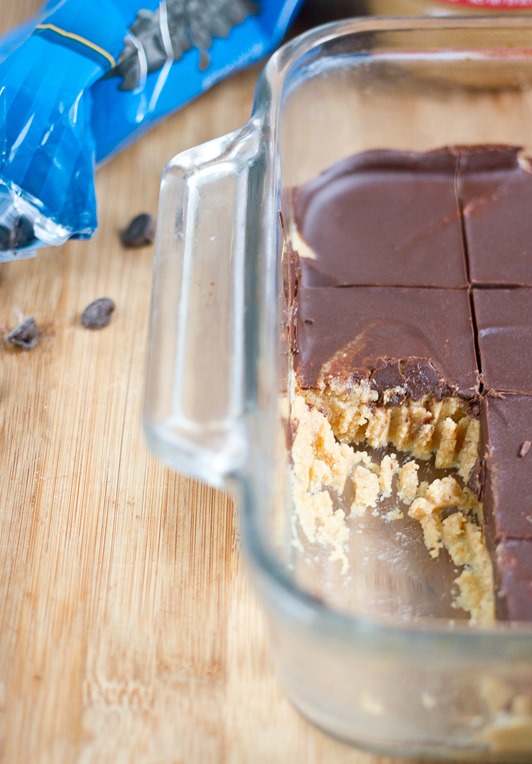
Chocolate Peanut Butter Bars Serving

This recipe is the same as the original post. I tried making it with cane sugar instead of powdered sugar because that’s what I had and—while still delicious—I think the powdered sugar has a much better texture to it. I would also try adding chopped salted peanuts on top of the chocolate if you like a little crunch.

Chocolate Peanut Butter Bars(adapted from Oh Baby Bars)

Prep time: 15 minutes

Cook time: 0 minutes

Ingredients(Makes about 24 servings):

  • 3/4 cup peanut butter, runny or no-stir
  • 7 Tablespoons butter, divided
  • 1 1/2 cups powdered sugar
  • 10oz semi-sweet chocolate chips

Chocolate Peanut Butter Bars Finished

Method:

  1. In a large bowl, melt 6 tablespoons of butter along with the peanut butter until completely liquid.
  2. Add the powdered sugar into the peanut butter and butter mixture and beat until completely incorporated. Press the peanut butter mixture into a loaf pan or a 9 x 9 pan for smaller portions.
  3. Melt the chocolate chips and remaining tablespoon of butter together and mix. Pour this over the peanut butter layer.
  4. Refrigerate until the chocolate has set. Cut at room temperature into 1 x 1 square servings.

Chocolate Peanut Butter Bars Bite

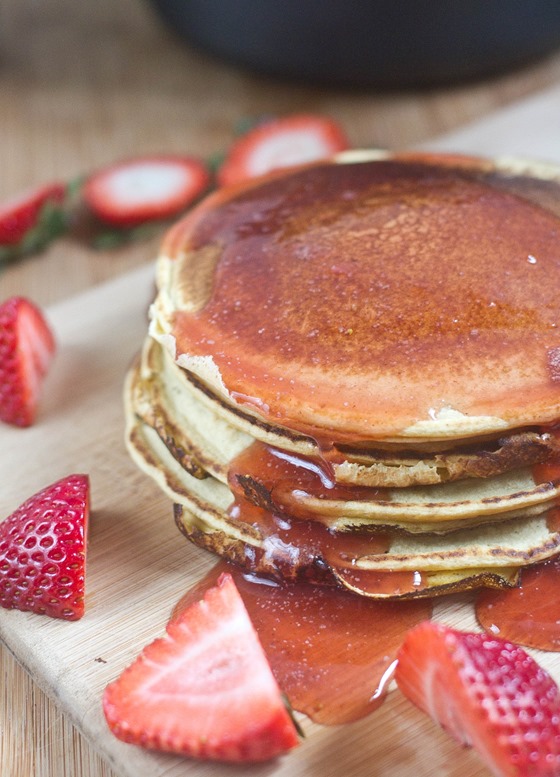
Homemade Strawberry Syrup

Homemade Strawberry Syrup

The best part about making anything at home is the flavors. Artificial dyes and ingredients just never taste as good as the real deal. You can buy strawberry flavored maple syrup that vaguely tastes like skittles with absolutely no maple syrup in it, but why do that when you can make something with actual strawberries?

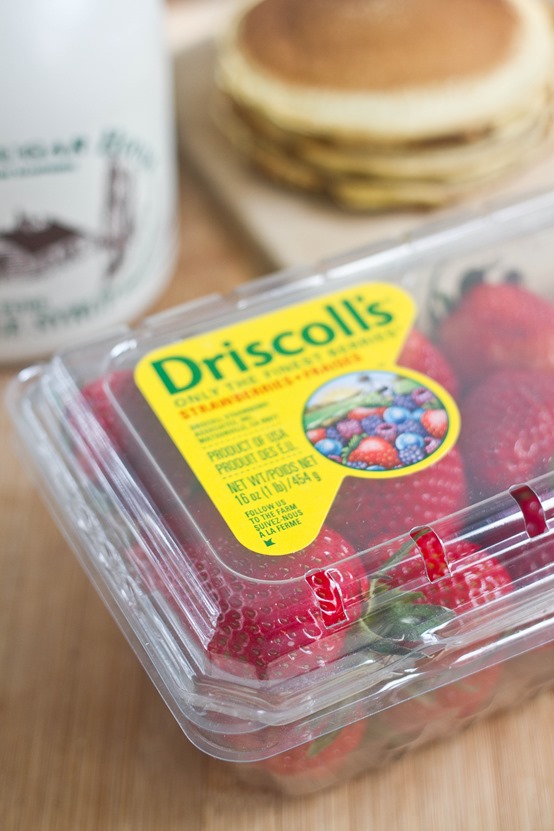
Homemade Strawberry Syrup Strawberries

Since Spring is here, Driscolls offered to send me some coupons to use their fresh berries as a recipe ingredient. I was shocked how many recipes they already have on their website including a large section of gluten-free recipes; 106 and they’re still adding more—that’s no joke.

I was inspired to make this syrup because I hadn’t made chickpea flour pancakes in a long time. At first I was just going to cook the berries into the pancakes but that didn’t seem quite as exciting as making a strawberry maple syrup. All you need is the whipped cream and it’s a decadent breakfast.

Homemade Strawberry Syrup Boiled

I originally planned to use this for pancakes and waffles, but after tasting it it’s hard to think of a food this wouldn’t be delicious on. I’m already planning to pick up a pint of vanilla ice cream from the store to drizzle this on. You can also use it in any recipe in place of maple syrup.

Homemade Strawberry Syrup

Prep time: 5 minutes

Cook time: 15 minutes

Ingredients(Makes about 1 1/2 cups):

  • 1 cup sugar
  • 1 cup water
  • 2/3 cup hulled strawberries
  • 1/3 cup maple syrup
  • 1/2 teaspoon vanilla extract
  • 1/2 teaspoon cinnamon

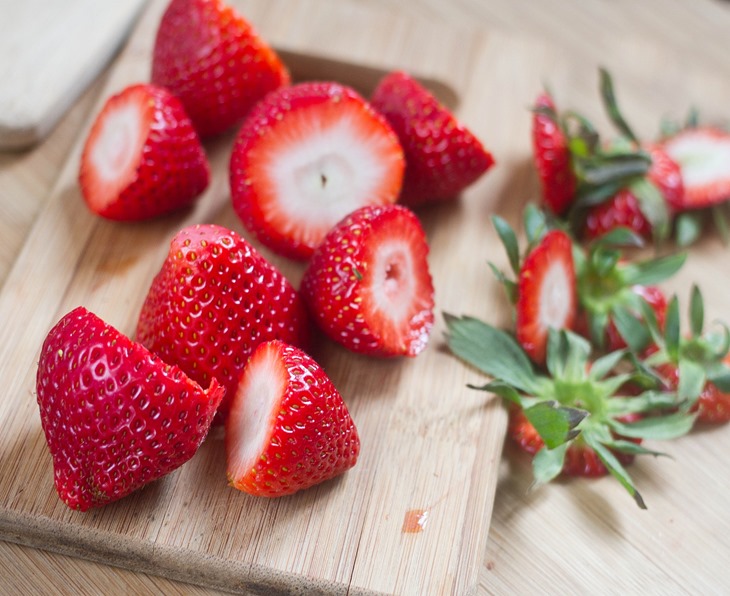
Homemade Strawberry Syrup Strawberries 2

Method:

  1. In a small pot over a burner, combine the sugar and water and heat until the sugar has dissolved.
  2. Boil the water until the simple syrup reduces to about half of its original volume.
  3. While the water is boiling, puree the strawberries and maple syrup in a blender or food processor until they make a smooth sauce.
  4. Off of the heat, combine the strawberry puree and simple syrup and whisk together. Whisk in the vanilla and cinnamon as well.
  5. Put the pot back onto the stove and continue boiling until the syrup reduces to about half of its volume again. Don’t over-reduce the syrup to be quite as thick as maple syrup because once it cools off of the heat it will thicken.
  6. Store any extra sauce in a sealed container in the refrigerator when not enjoying.

Homemade Strawberry Syrup Stack

This is also a really delicious topping on plain oatmeal and oatbran for those days you don’t quite feel like making pancakes.

Hazelnut Mocha Trail Mix

Hazelnut Mocha Trail Mix

Surprisingly for all the sweet teeth I have and my love of chocolate I’ve never been a fan of the fancy drinks at Starbucks. I love the occasional bitterness of black coffee but more often than not I’ll choose green or herbal tea, and if you try swirling chocolate syrup and whipped cream into your green tea you’ll get a few odd looks.
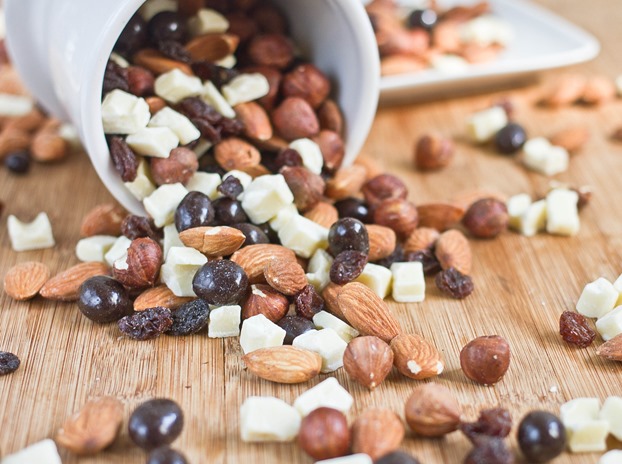
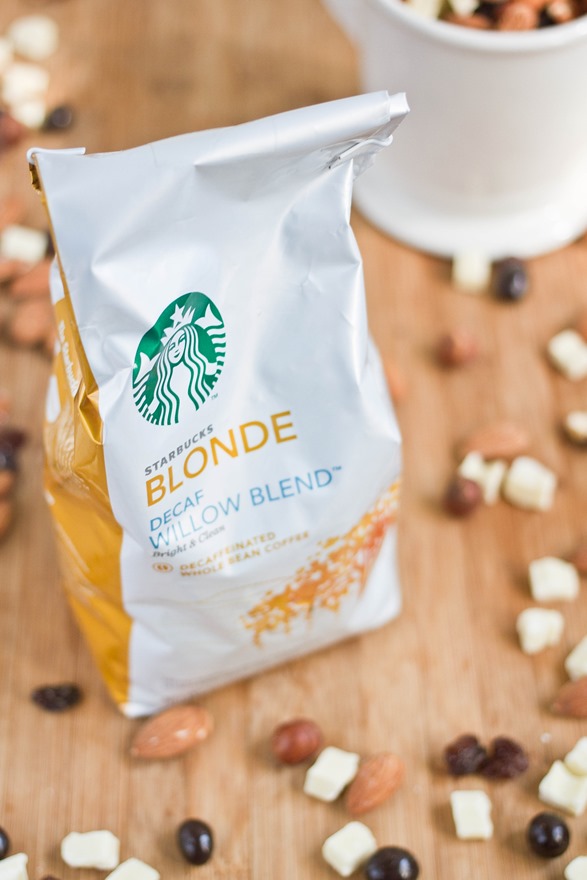
Chocolate covered coffee beans and the like, however, are a different story. They’re right up there with chocolate covered almonds, chocolate covered raisins, and chocolate covered everything else. I’ve never found chocolate covered hazelnuts but something tells me if I did I’d love them, too.
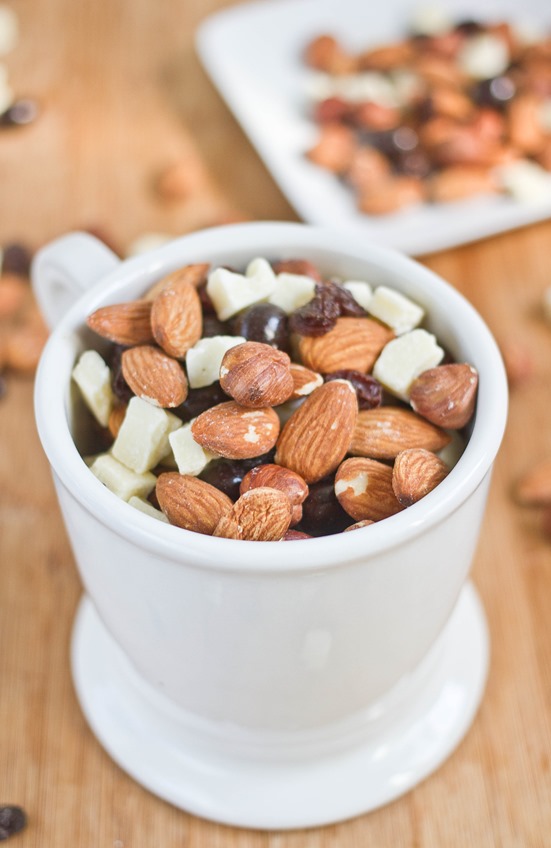
Hazelnut Mocha Trail Mix Yield

This trail mix hits just about every note that a good cup of coffee should. It has bitterness from the coffee beans, sweetness from the white chocolate and raisins, and a rich nuttiness from the hazelnuts and almonds. I think that hazelnuts pair great with chocolate and coffee but if you find yourself lacking them you can easily double the almonds in the recipe.

Hazelnut Mocha Trail Mix

Prep time: 5 minutes

Cook time: 0 minutes

Ingredients(Makes 3 cups):

  • 3/4 cup hazelnuts
  • 3/4 cup roasted almonds
  • 1/2 cup raisins
  • 1/2 cup chocolate covered coffee beans
  • 1/2 cup white chocolate chips

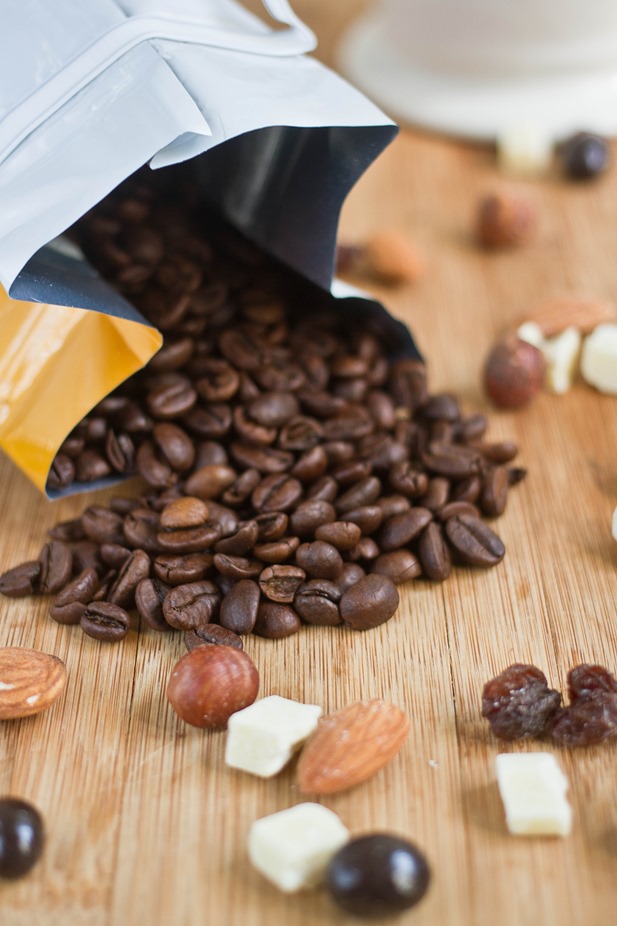
Hazelnut Mocha Trail Mix Coffee Bag

Method:

  1. In a large bowl, combine all of the ingredients and mix well.
  2. Store at room temperature when not enjoying.

Hazelnut Mocha Trail Mix Cup

Bailey’s Hot Chocolate Truffles

Bailey's Hot Chocolate Truffles

Spring is usually the end of hot chocolate and Bailey’s on the rocks, but with the weather we’ve been having this week I think it’s perfectly alright to keep those on the table for a little while longer.

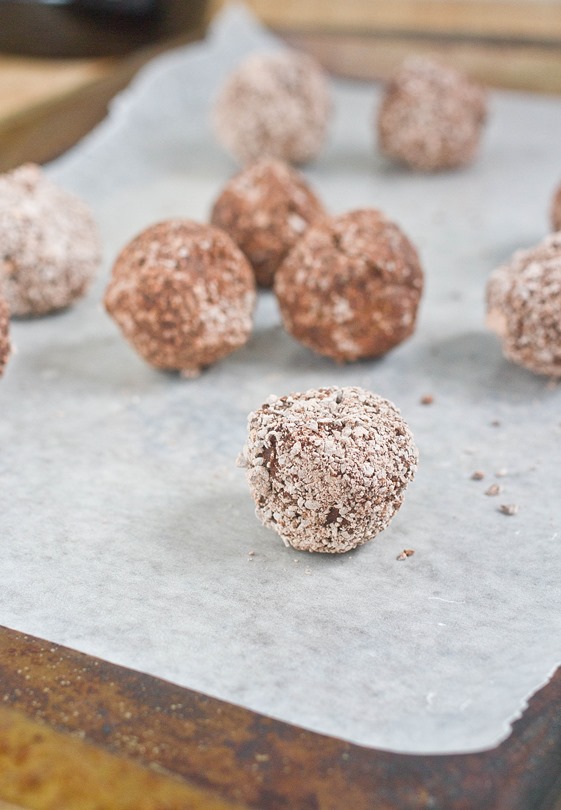
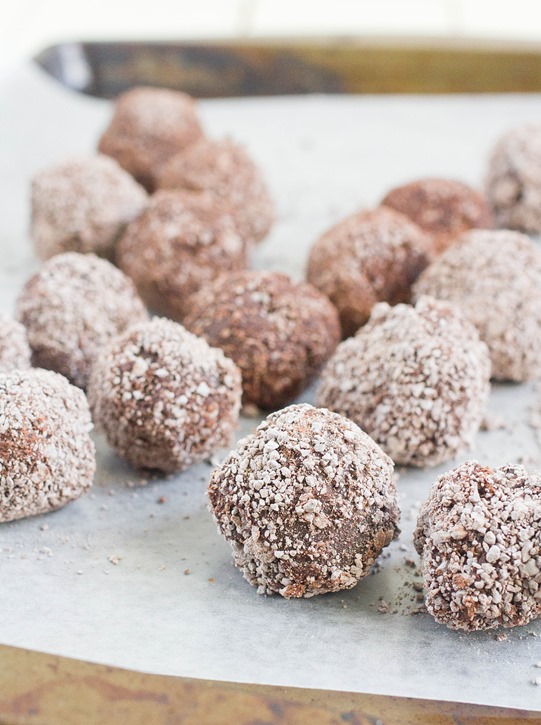
I wanted to make these truffles for a friend and also as an excuse to pick up discounted Irish cream the day after St. Patrick’s day. The alcohol gives them a special warming kick that’s undeniably good. Since I was running low on cocoa powder, I used hot chocolate mix to dust them instead; I think they turned out a lot better than usual because they don’t have that bitter bite that cocoa powder tends to give.

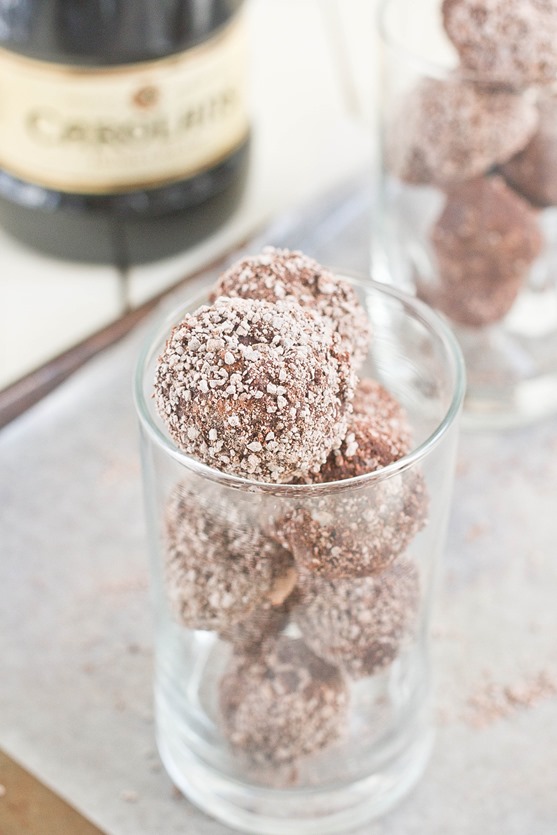
Bailey's Hot Chocolate Truffles Individual

I used American Heritage chocolate drink mix for the coating which was rich and flavorful. I wouldn’t recommend using a mix that is overly processed or full of chemicals. You could also mix 6 Tablespoons of sugar and 2 Tablespoons of cocoa powder for a nearly identical coating.

Bailey’s Hot Chocolate Truffles

Prep time: 25 minutes

Cook time: 0 minutes

Ingredients:

  • 1 cup(8.5oz) semi-sweet chocolate chips
  • 6 Tablespoons Irish cream
  • 2 Tablespoons butter
  • 1/2 cup powdered hot chocolate mix*

*See paragraph above 

Bailey's Hot Chocolate Truffles Yield

Method:

  1. Melt the chocolate chips and butter together in a microwave or over a double boiler.
  2. Mix the Irish cream into the melted chocolate until it’s smooth and shiny.
  3. Refrigerate or freeze the chocolate until it’s semi-soft and doesn’t stick to your hands. You want it to be a little colder than you think it should be since your hands will warm it over time.
  4. Pour the hot chocolate mix into a small bowl or onto a small plate.
  5. With a melon-baller or a spoon, carve out pieces of chocolate about 1-inch in width. Roll the chocolate into as round a ball as you can and drop it into the hot chocolate mix.
  6. Roll the ball around in the hot chocolate mix until the sides are all covered and move it to an air-tight container.
  7. Refrigerate the truffles for 30 minutes for the right consistency before eating.  Keep them refrigerated when not enjoying.