

If you’ve ever had a bowl of cereal, you probably know the best part is the last bit of milk at the bottom(unless the only cereal you’ve ever had is Bran Flakes or Fiber One but that’s a different problem).
General Mills sent me some of their new Trix cereal to try out which was given a makeover for it’s 60th birthday (!!) to be fruitier than the old recipe. (Spoiler alert: No fruit shapes anymore; all of the pieces are circles) I can’t say I’m a Trix aficionado and remember what the old recipe tasted like but these are definitely fruity and delicious–by far the best lazy-night dinner I have in my cupboard when I get home past 8pm.
Living in NYC there’s no shortage of inspiration for out-of-the-box recipes whether it’s a cronut or a frozen hot chocolate. I’ve heard people rave about the cereal-milk from Momofuku’s and thought it was the perfect grown-up way to enjoy a kids’ favorite cereal.
This is just a variation on your standard 2:1 ratio milkshake. Add extra milk or ice cream to make it smoother or thicker.
You can really customize a recipe like this with any cereal–it’s a blank canvas! If Trix aren’t your thing, try Lucky Charms or even Reese’s Puffs with a chocolate peanut butter ice cream.
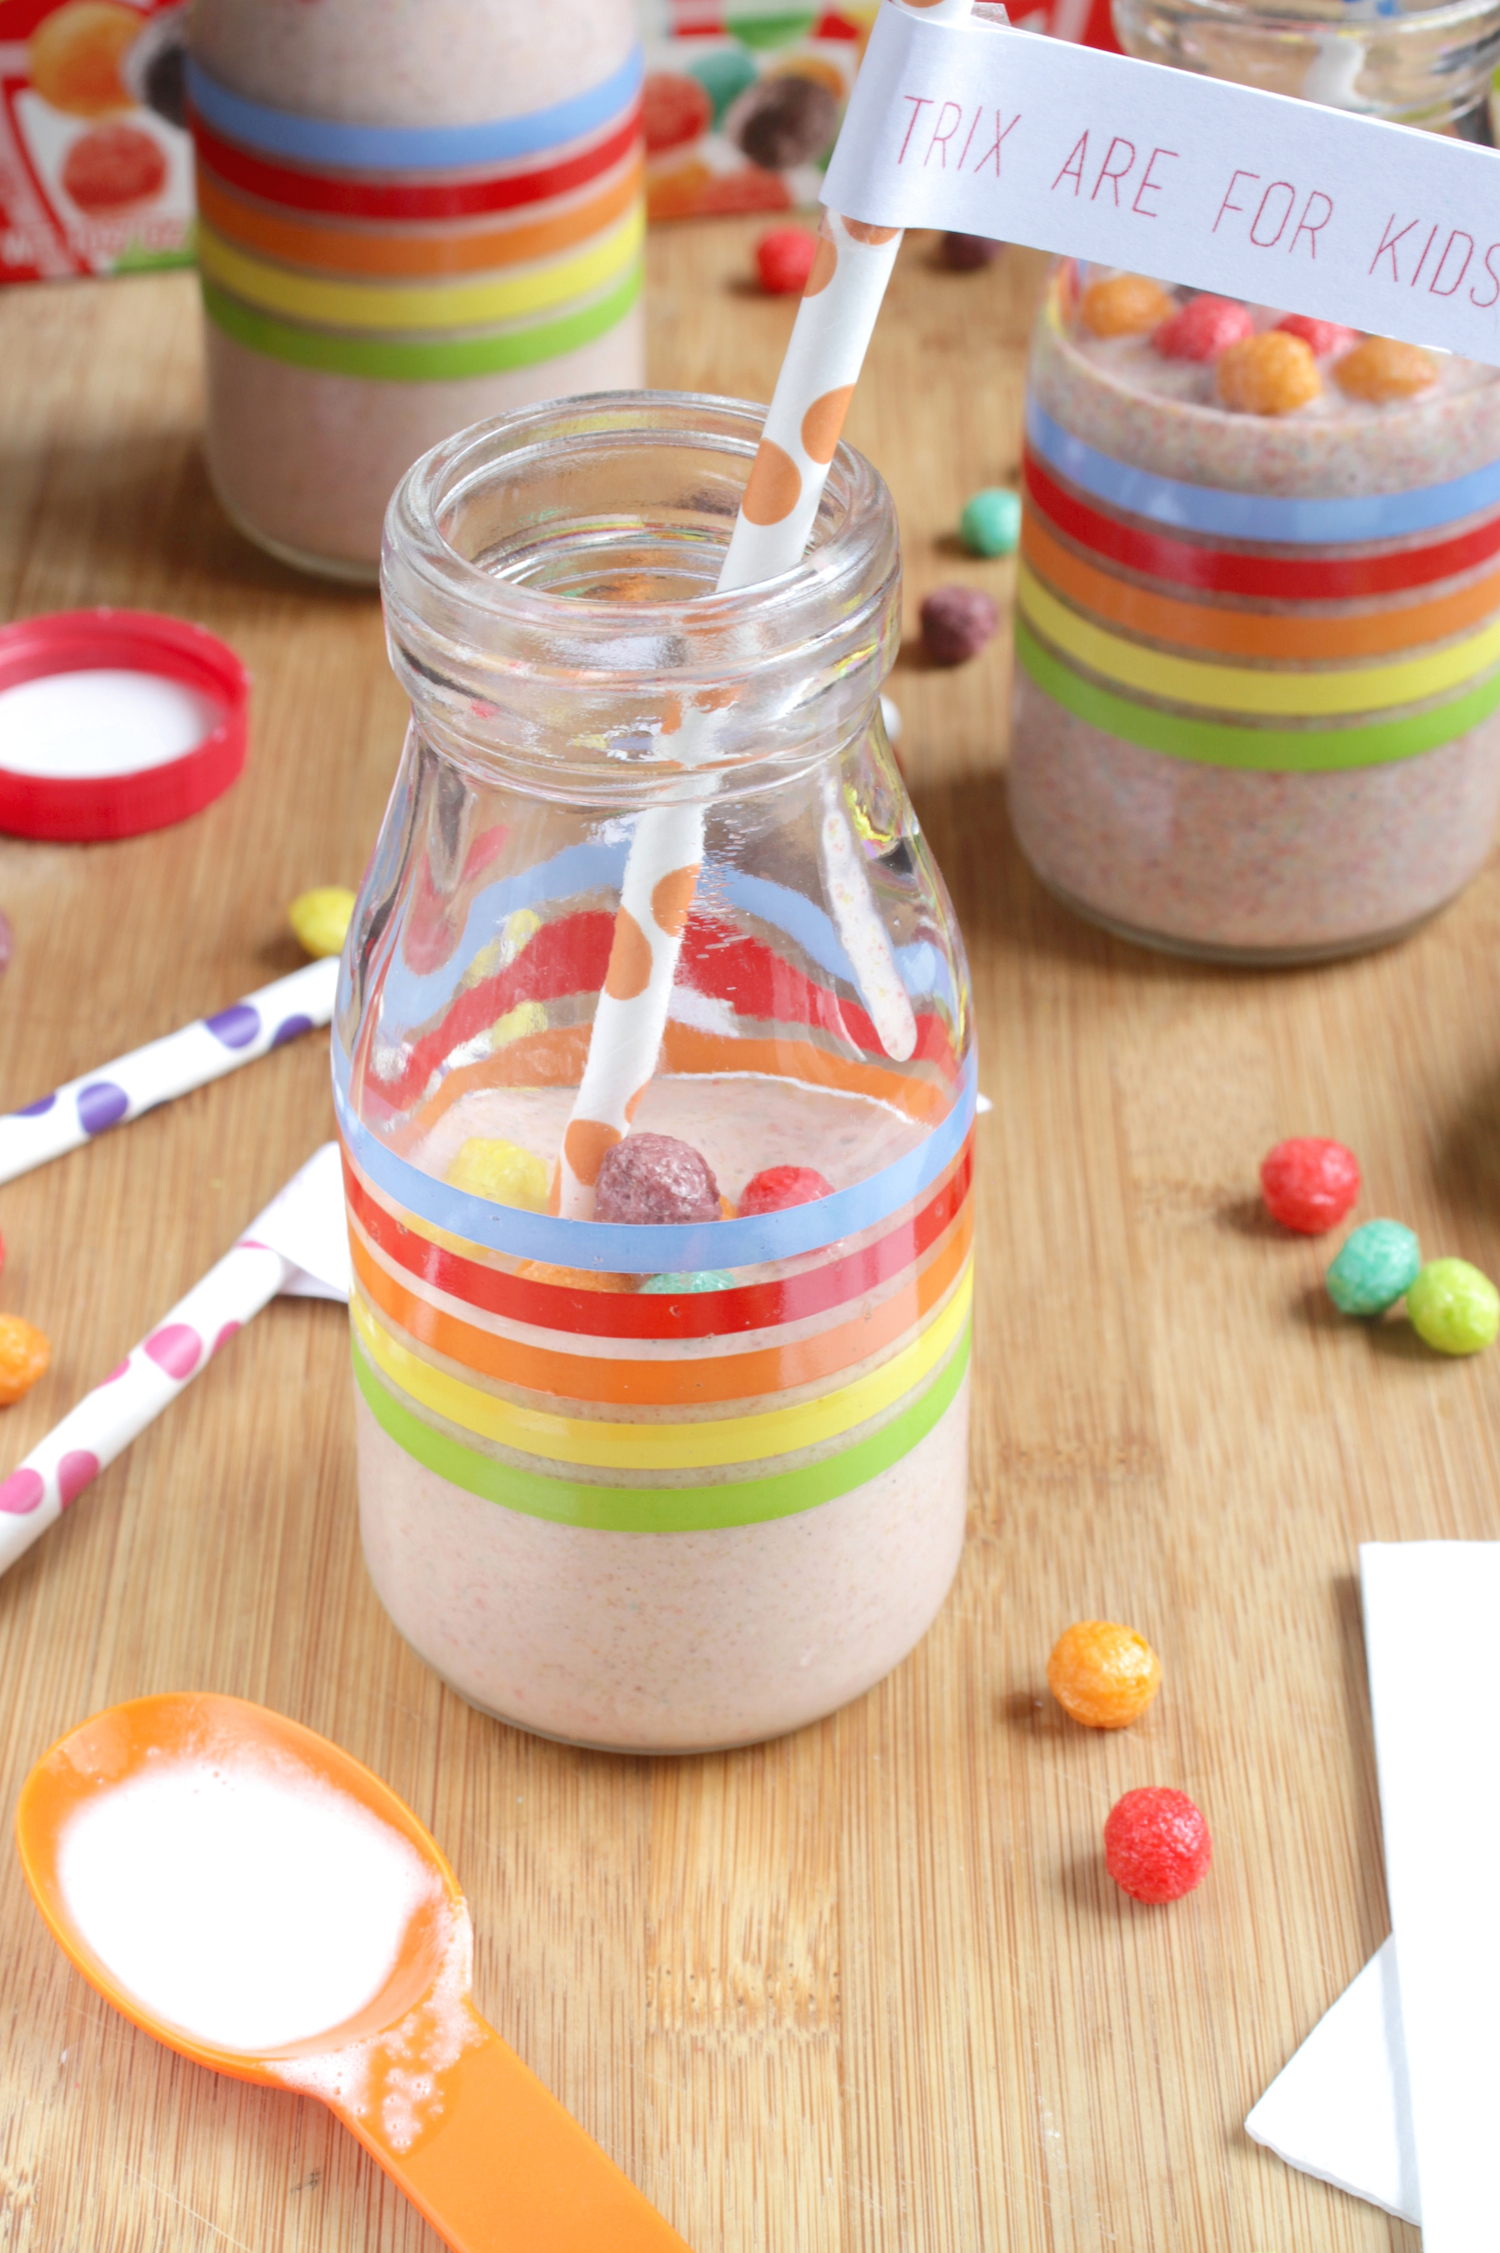
Trix Cereal-Milk Milkshake
Prep time: 10 minutes
Cook time: 0 minutes
Ingredients(Makes 2 servings):
-
1/2 cup Trix cereal plus more for garnish
-
3/4 cup whole milk
-
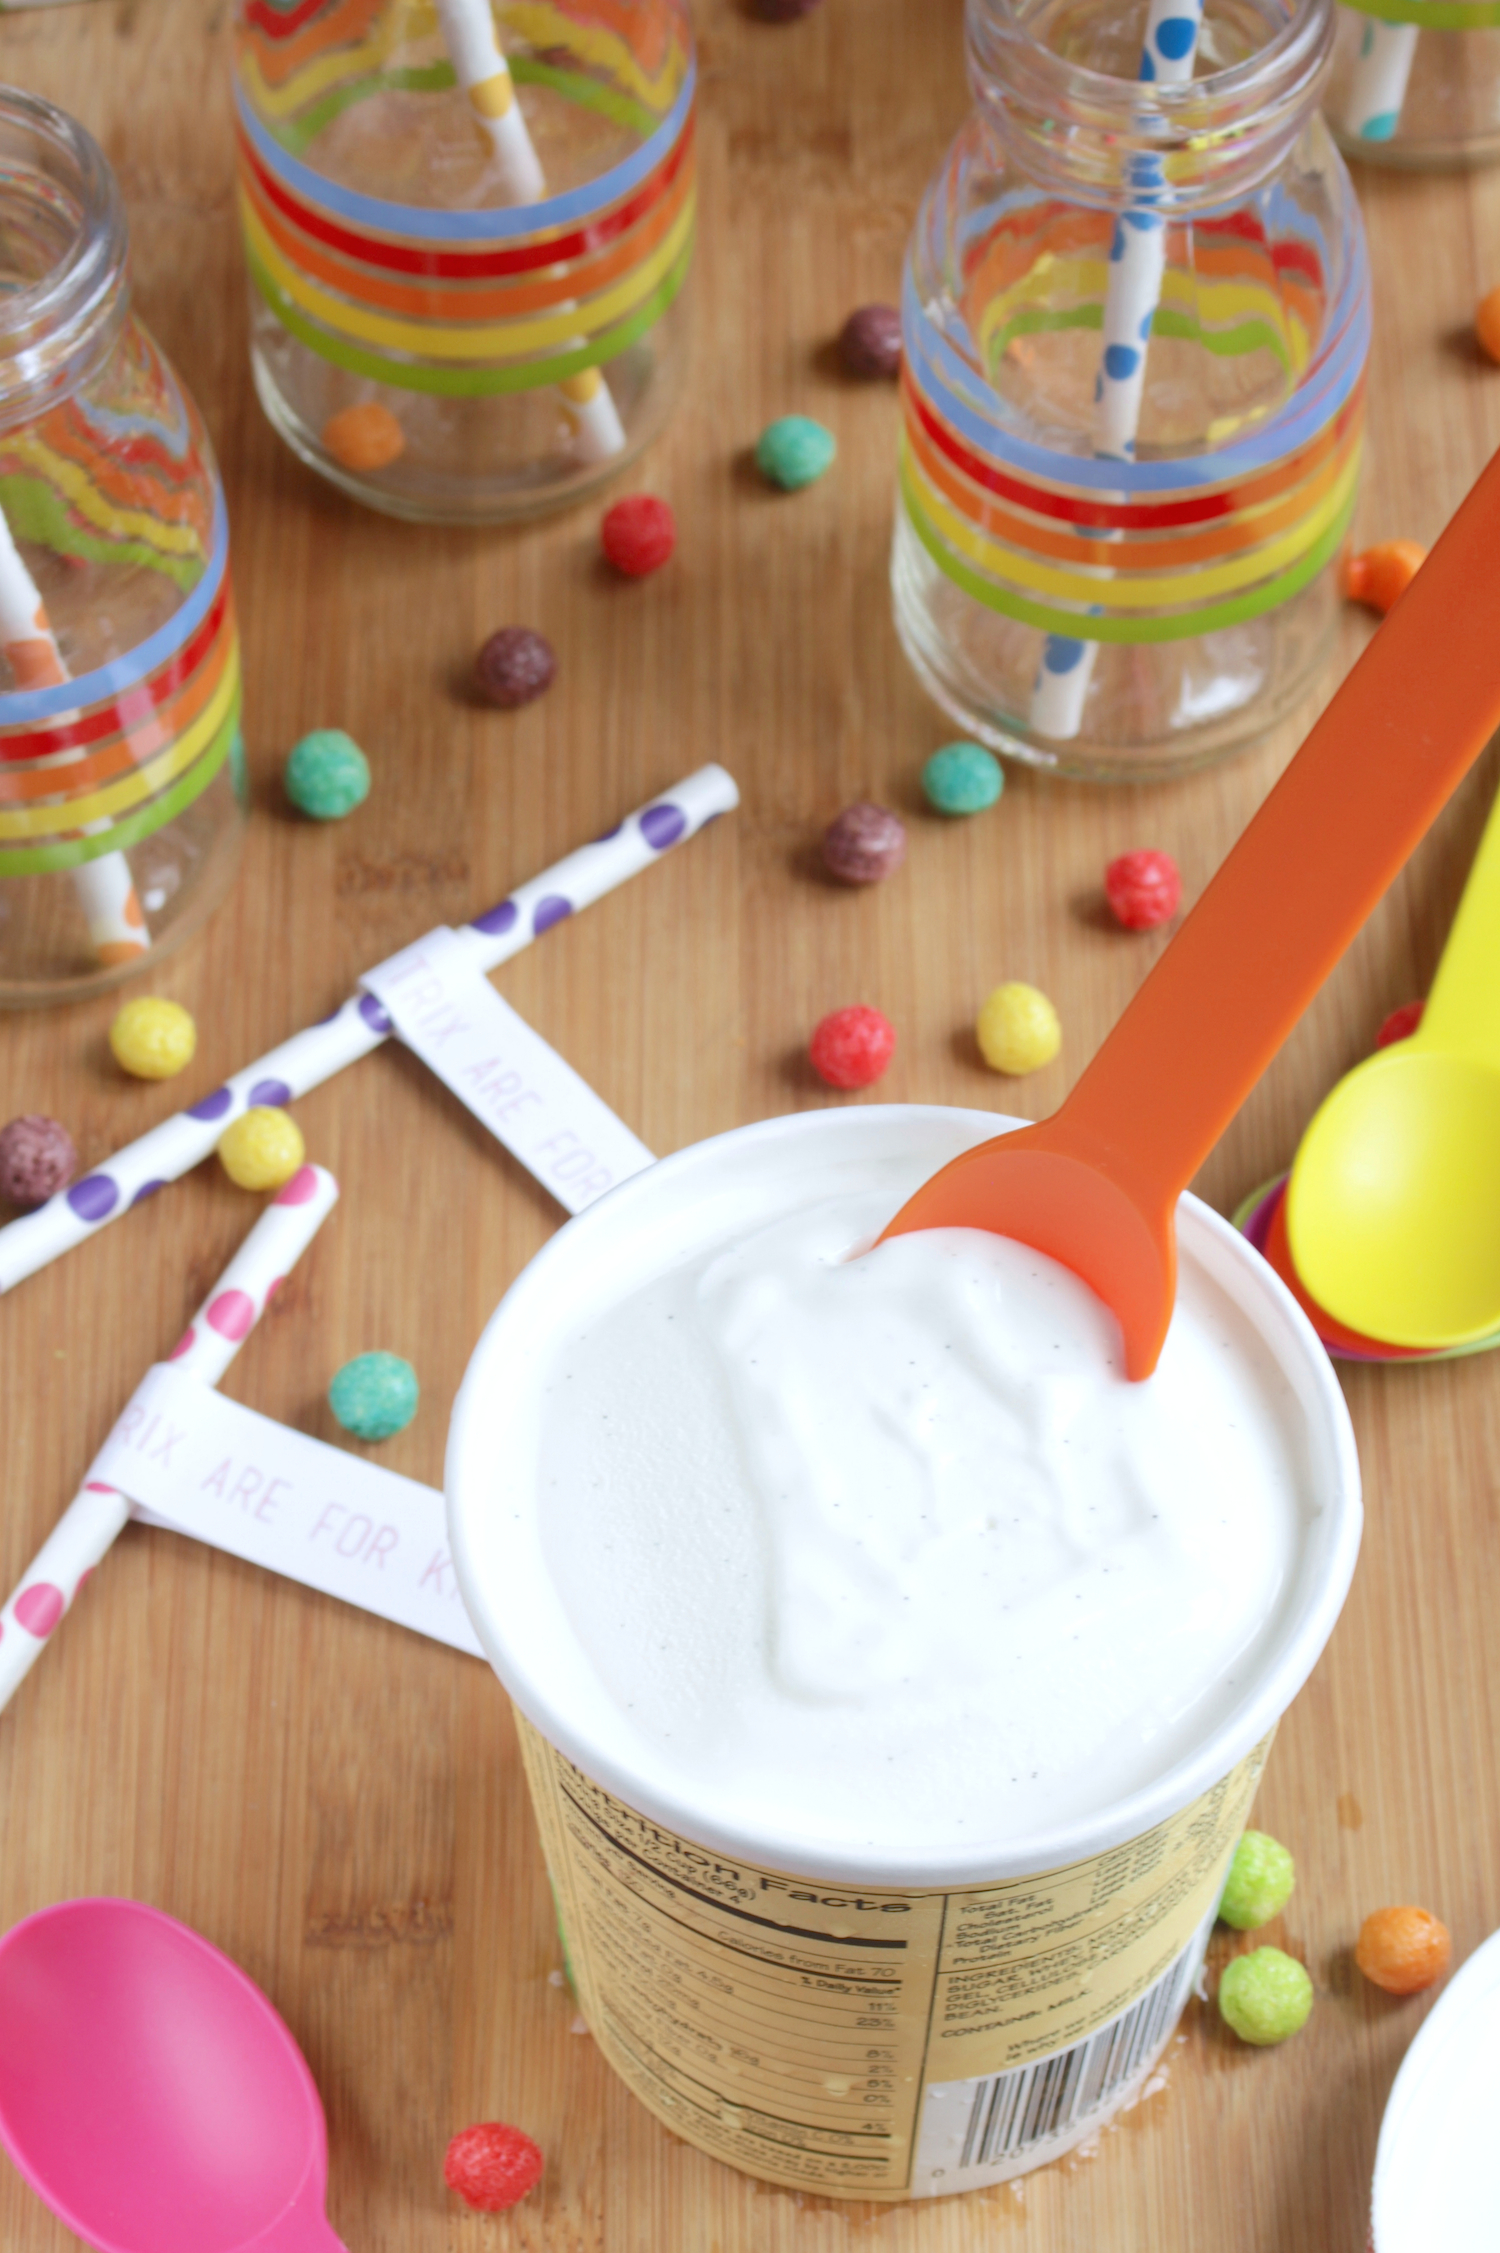
1 1/2 cups vanilla ice cream, softened slightly
Method:
-
Combine the Trix cereal and milk in a blender or food processor and mix until the Trix has fully dissolved into the milk. The milk should be smooth and darker in color.
-
Add in the ice cream and process until creamy.
-
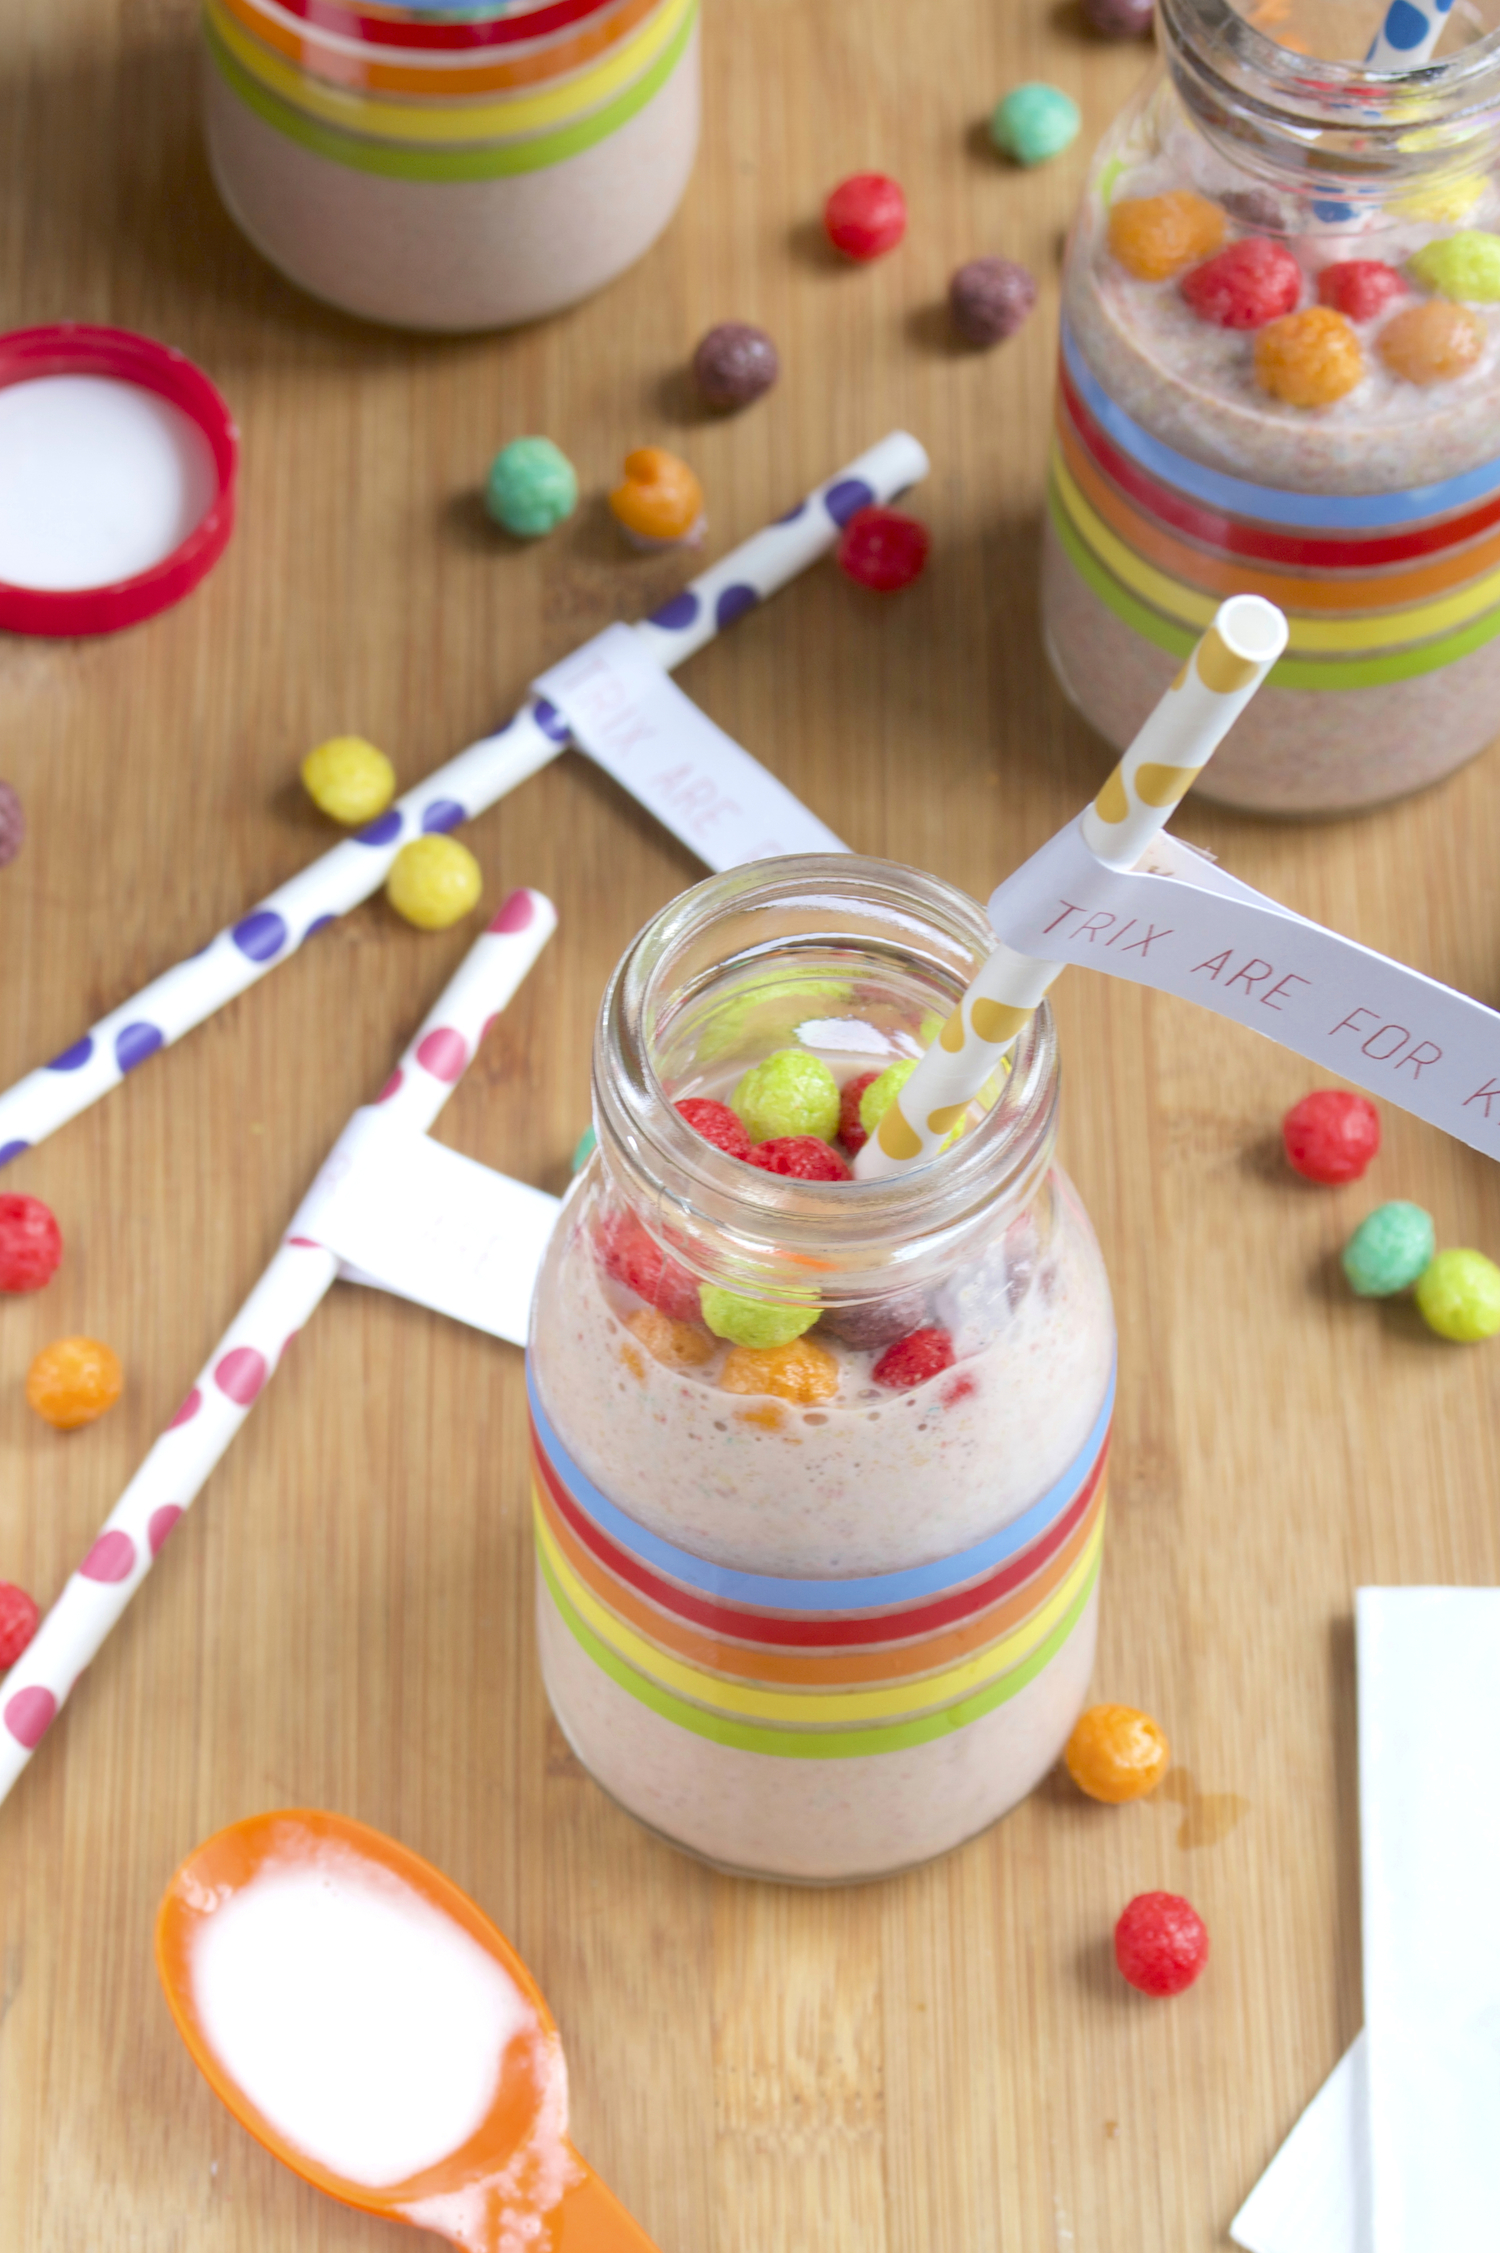
Pour out evenly into two glasses.
-
Garnish with a little more Trix and enjoy with a straw or spoon.


