Tag Archive: Cupcakes

Easy Lemon Buttercream

Easy Lemon Buttercream

One of the best parts about living in NYC is that there are now vending machines where you can get cupcakes. It’s dangerously convenient for anyone. They have 1 gluten-free option, a red velvet with cream cheese frosting, that’s completely delicious. That being said, who can live with just one flavor?

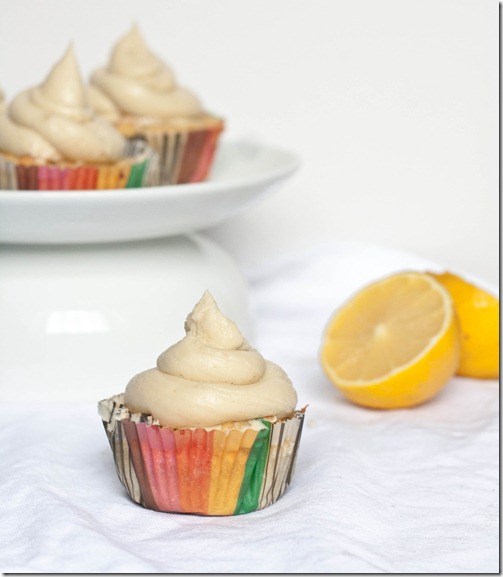
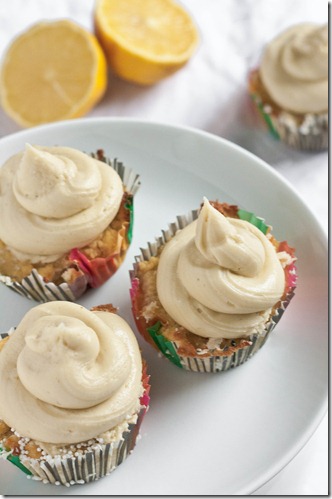
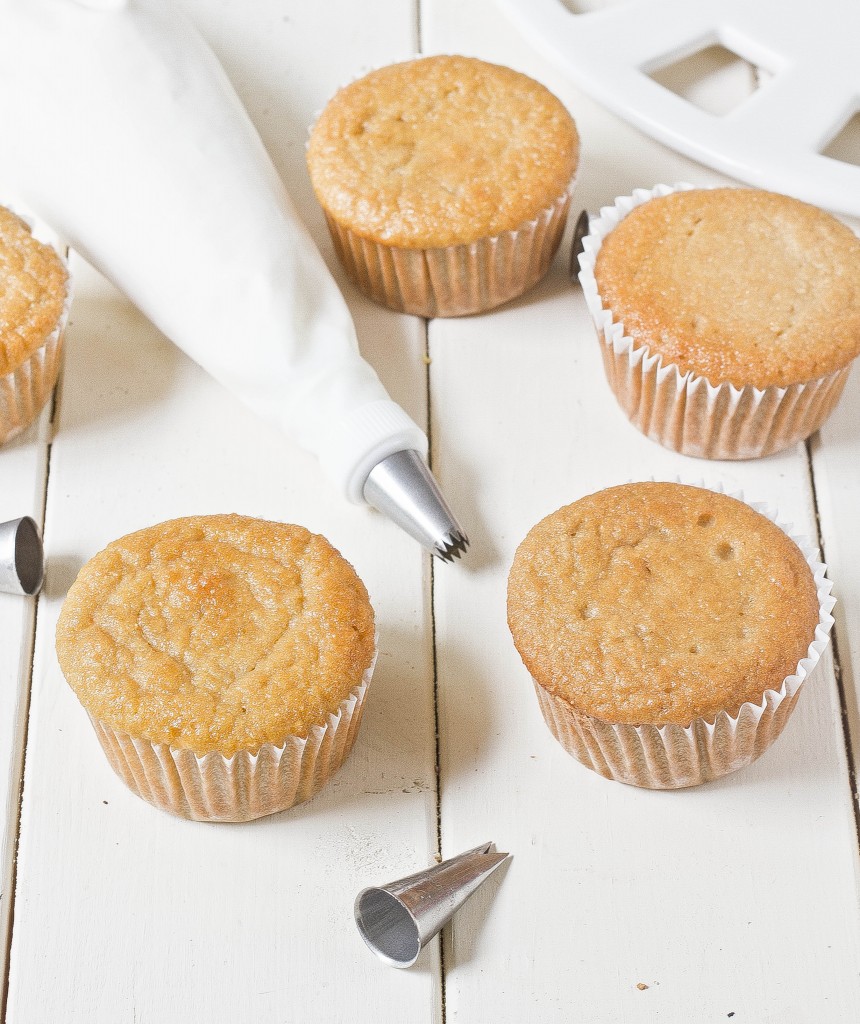
When my birthday rolled around a few weekends ago I made these cupcakes a few days early to bring into work–just a premade vanilla cake mix, coconut milk instead of whole milk, and shredded coconut and lemon zest added in. 

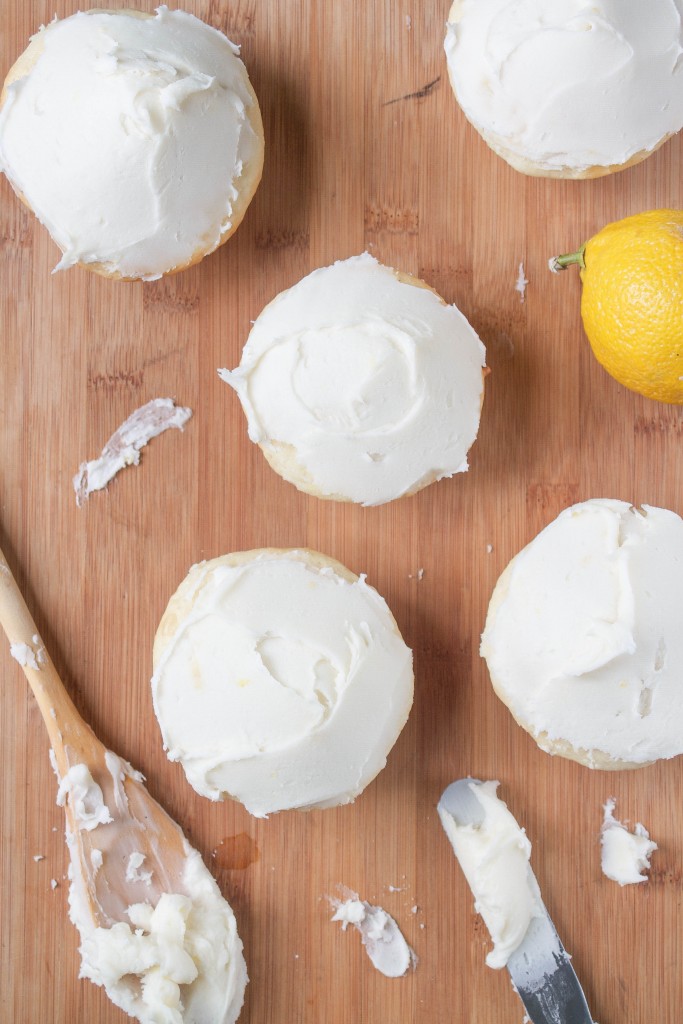
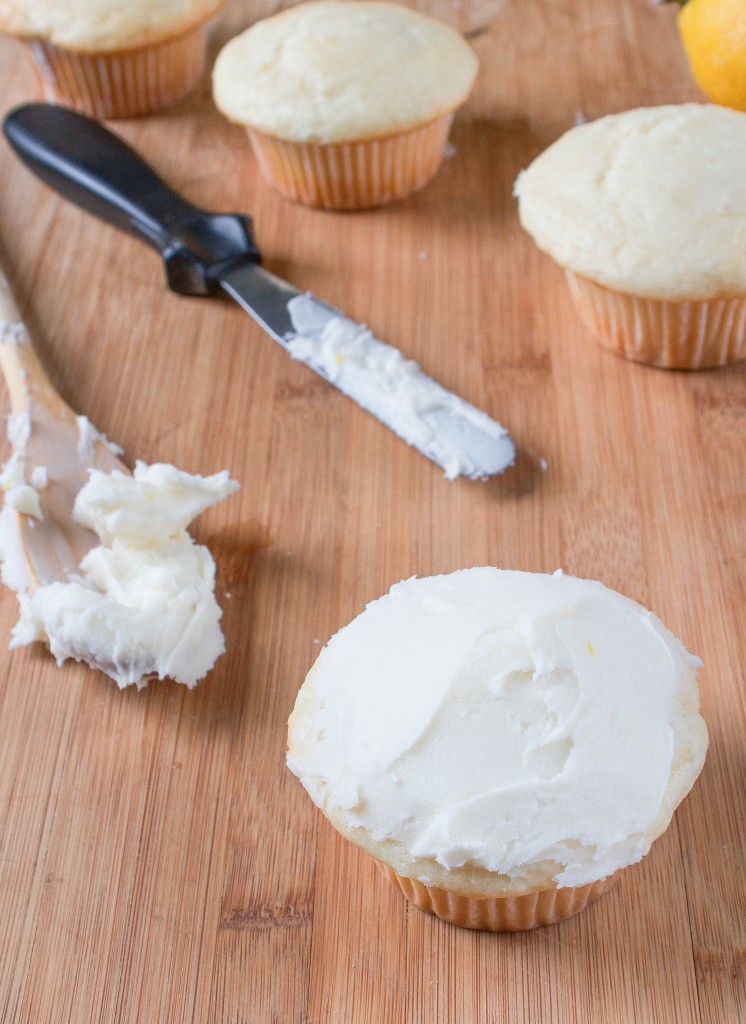
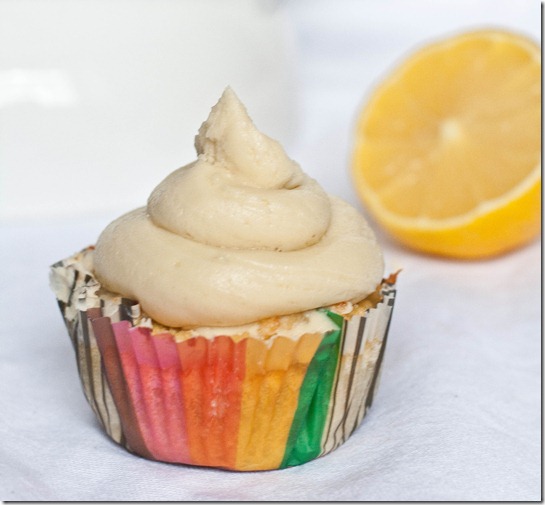
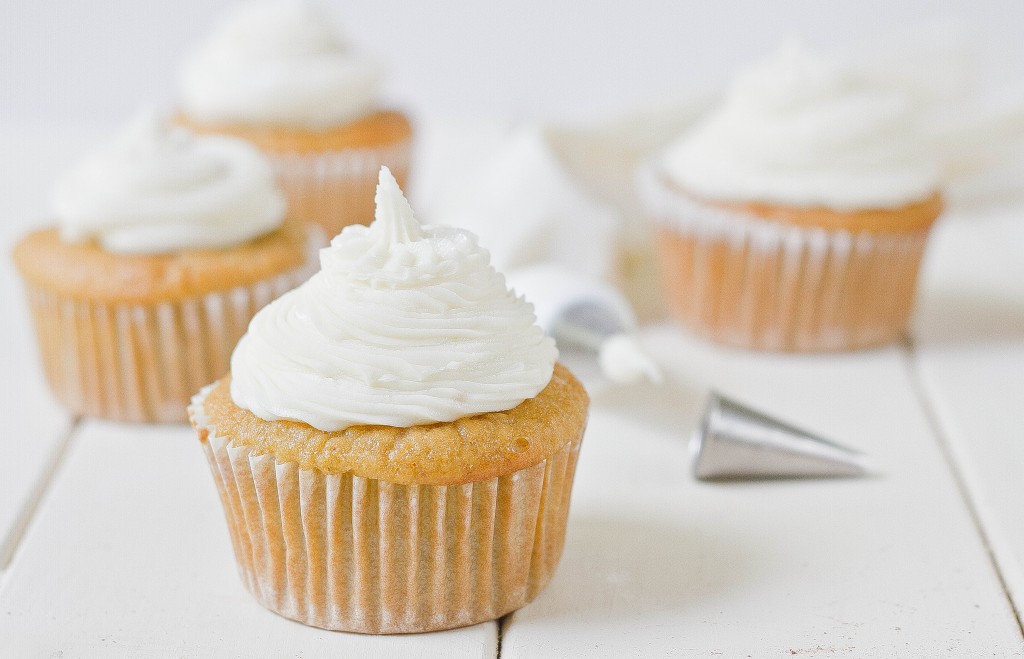
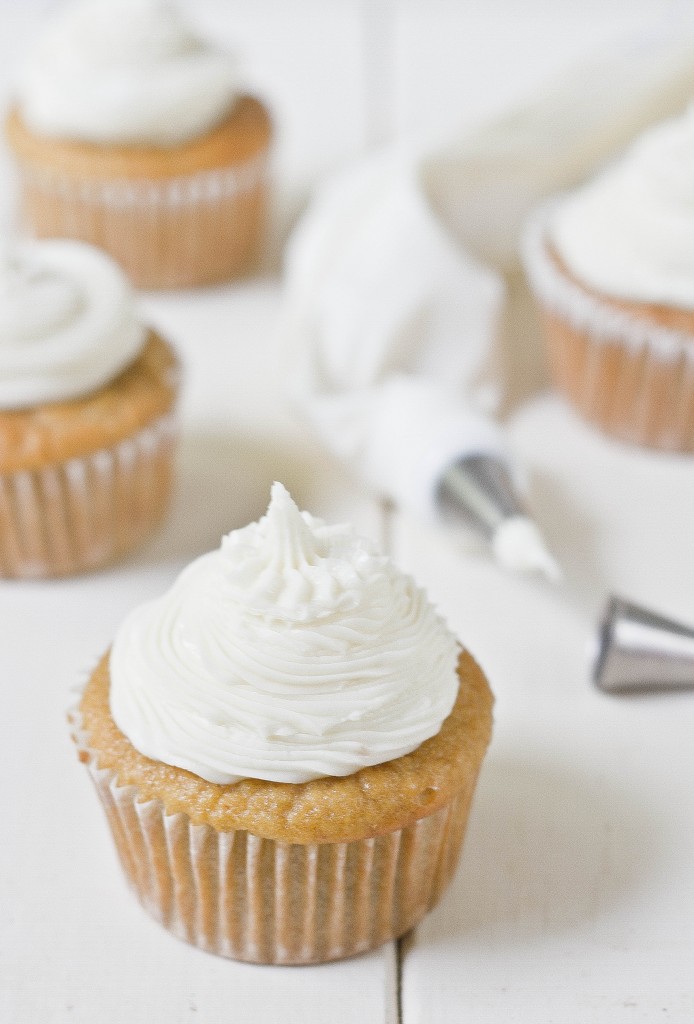
The frosting I made was from scratch but came out just as easy and delicious. Using vanilla extract and lemon zest gives it an extra layer of flavor that you’ll want to lick off the bowl. 

Easy Lemon Buttercream

This frosting works well with any number of lighter-flavored cupcakes. You can try it on cupcakes with vanilla, coconut, berries, or even white chocolate.

Easy Lemon Buttercream

Prep time: 15 minutes

Cook time: 0 minutes

Ingredients(Makes enough for 18 cupcakes):

  • 1 stick butter, room temperature
  • 2 1/4 cup powdered sugar, sifted
  • 1/2 teaspoon vanilla extract
  • 1 1/2 Tablespoons whole milk or half & half
  • 1 teaspoon finely zested lemon

Method:

  1. In a large bowl, combine all of the ingredients. Make sure to use an extra fine zester with the lemons to avoid chunks in the frosting. 
  2. Beat with an electric beater until mixed and the frosting’s smooth and silky. If the powdered sugar stops mixing in, add milk by the teaspoon until it reaches the right consistency.
  3. Frost using a frosting spreader or a pastry bag. If you’re using a pastry bag, add an extra teaspoon of milk before beating to make the frosting smoother and easier to squeeze out. 

Pumpkin Spice Buttercream

Pumpkin Spice Buttercream

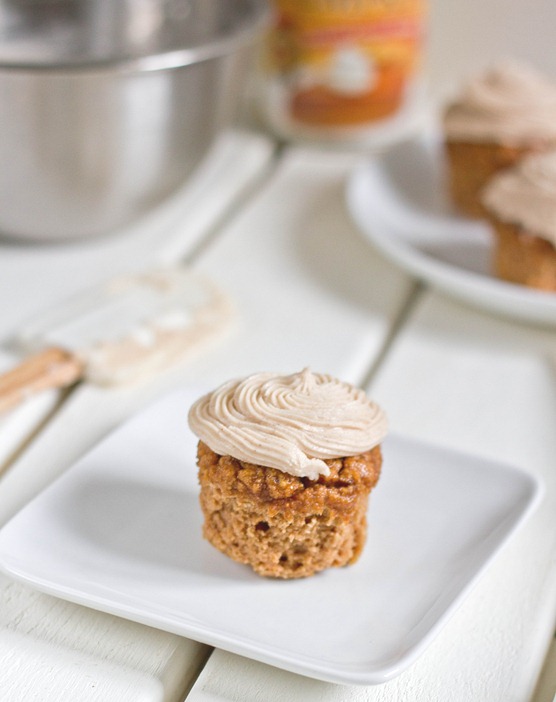
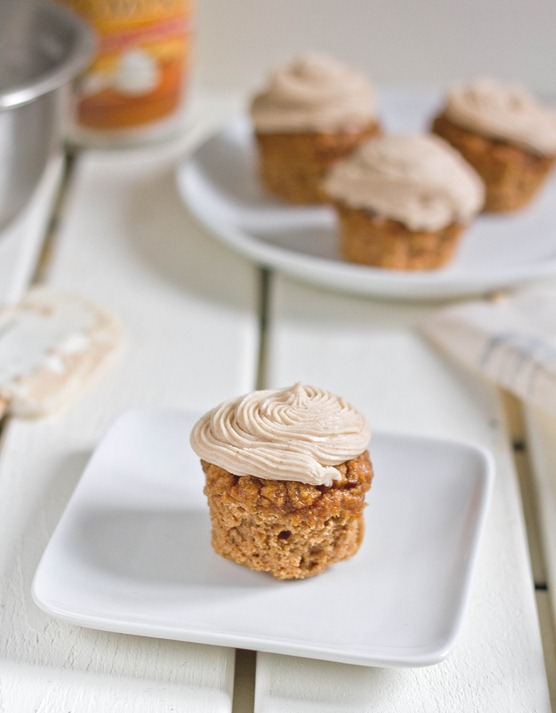
Last weekend I tried to make gluten-free pumpkin cupcakes; the result was a little disappointing and I’ll have to try again to come up with a recipe that isn’t. But what can never disappoint is frosting.

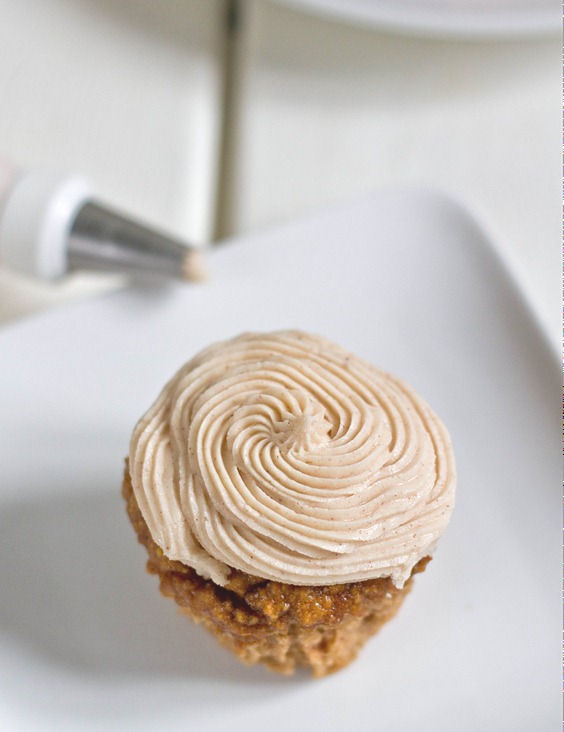
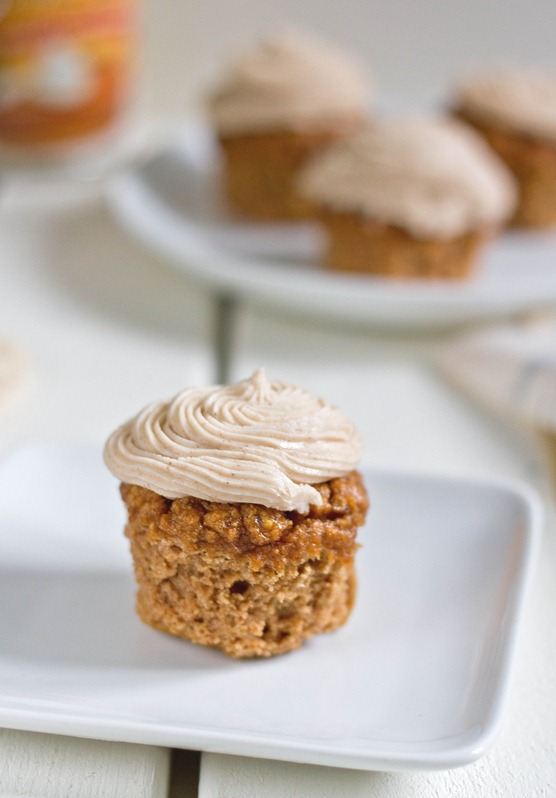
Although there texture was a little rough, the cupcakes still tasted fine so I went ahead and frosted and served them. Frosting can fix just about any cake disaster. Instead of vanilla extract or vanilla bean paste, pumpkin pie spice gives the perfect earthy flavor for Fall. You could easily pair this with a yellow or chocolate cupcake and it’d be just as good.

Pumpkin Spice Buttercream Serving

You can easily make this recipe non-dairy by using a dairy-free margarine and non-dairy milk. Don’t go too heavy-handed with the spice because the sugar really turns up the flavor.

Pumpkin Spice Buttercream

Prep time: 10 minutes

Cook time: 0 minutes

Ingredients(Makes enough for about 10 cupcakes):

  • 1 stick butter, room temperature
  • 2 cups powdered sugar
  • 1/2 teaspoon pumpkin pie spice
  • 1-3 teaspoons milk(optional)

Pumpkin Spice Buttercream Cupcake

Method:

  1. Beat together the room temperature butter, powdered sugar, and pumpkin pie spice until the frosting has an even consistency.
  2. If your frosting is on the thick side, add milk by the teaspoon until it’s at an easier consistency to work with.
  3. Make sure to use the frosting within 2-4 hours of preparing.

Pumpkin Spice Buttercream 2

Hopefully I’ll get the cupcakes right. Eventually. For now eating the frosting is just fine.

Coconut Flour Cupcake Recipes

Paleo Chocolate and Vanilla cupcakes1

Back in January I finally found a use for the coconut flour that had just been sitting around in my pantry for months; it made the perfect cupcakes. Before then, I’d used some gluten-free baking blends with varying success, but they were never quite as good as “regular” cupcakes. Coconut flour, on the other hand, creates cupcakes that are light and fluffy without any odd starchy flavor. You’d never know they’re gluten-free if you didn’t bake them yourself.

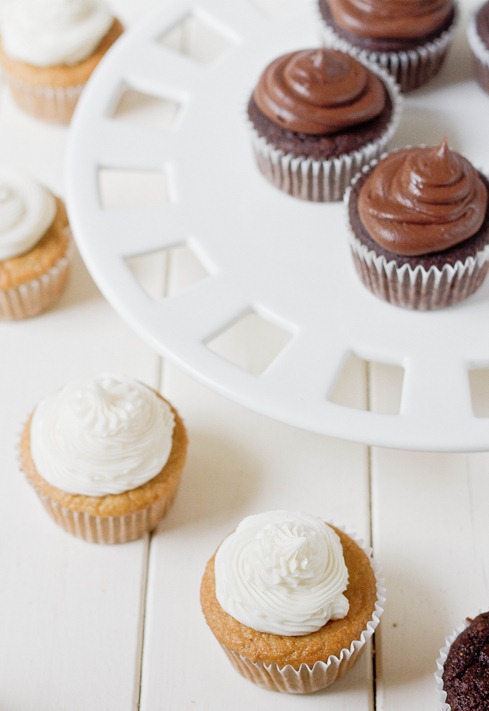
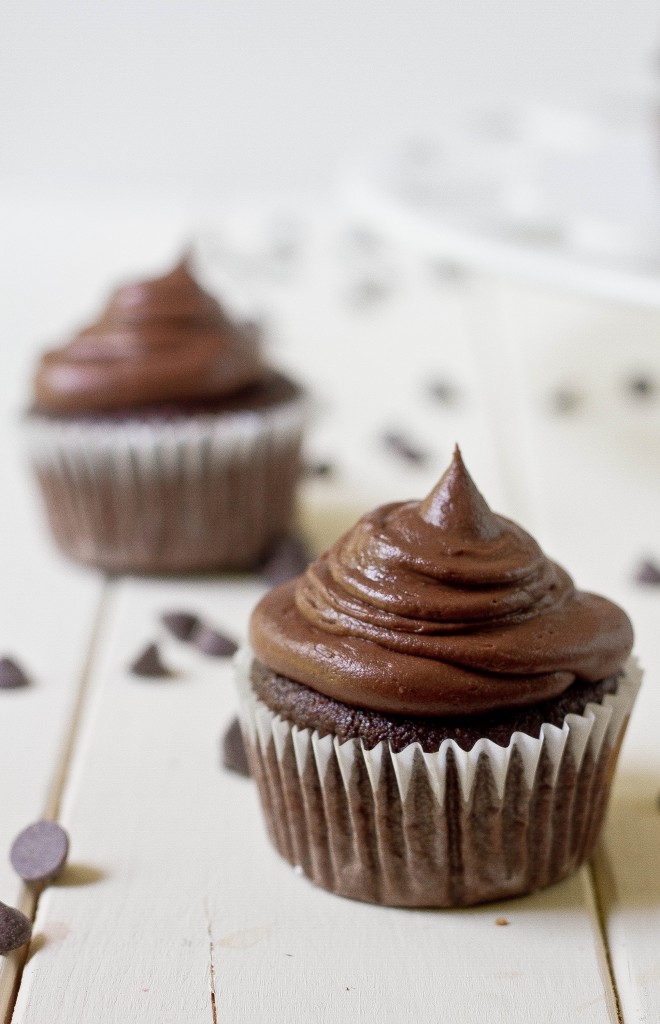
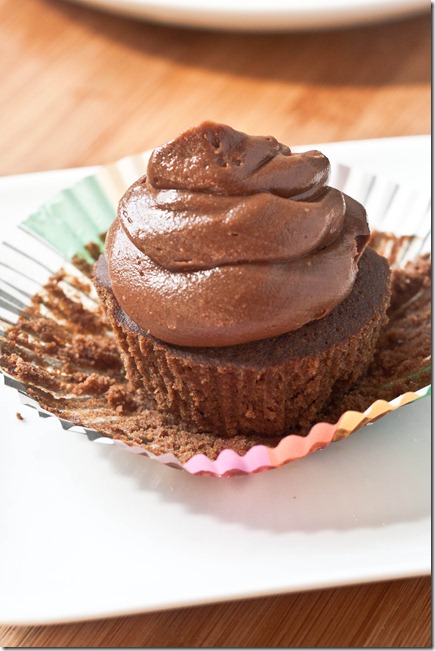
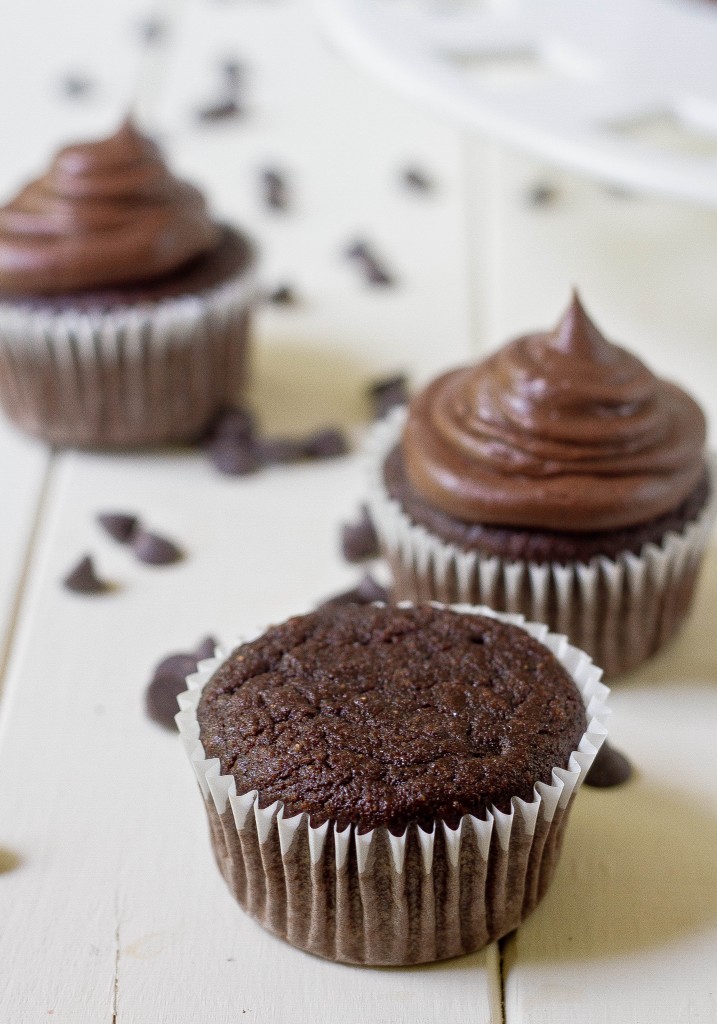
Last month we celebrated several birthdays in my family so I figured it was a chance to revisit these cupcake recipes and taking fresher pictures. I ended up modifying the chocolate cupcake recipe slightly to make them richer and was definitely happy with how they turned out.

These paleo chocolate cupcakes get their depth not from coconut flour but coconut milk. Even without oil or melted chocolate, they stay moist and rich. You can easily perk up the flavor with half a tablespoon of instant coffee granules.

July 12th 046

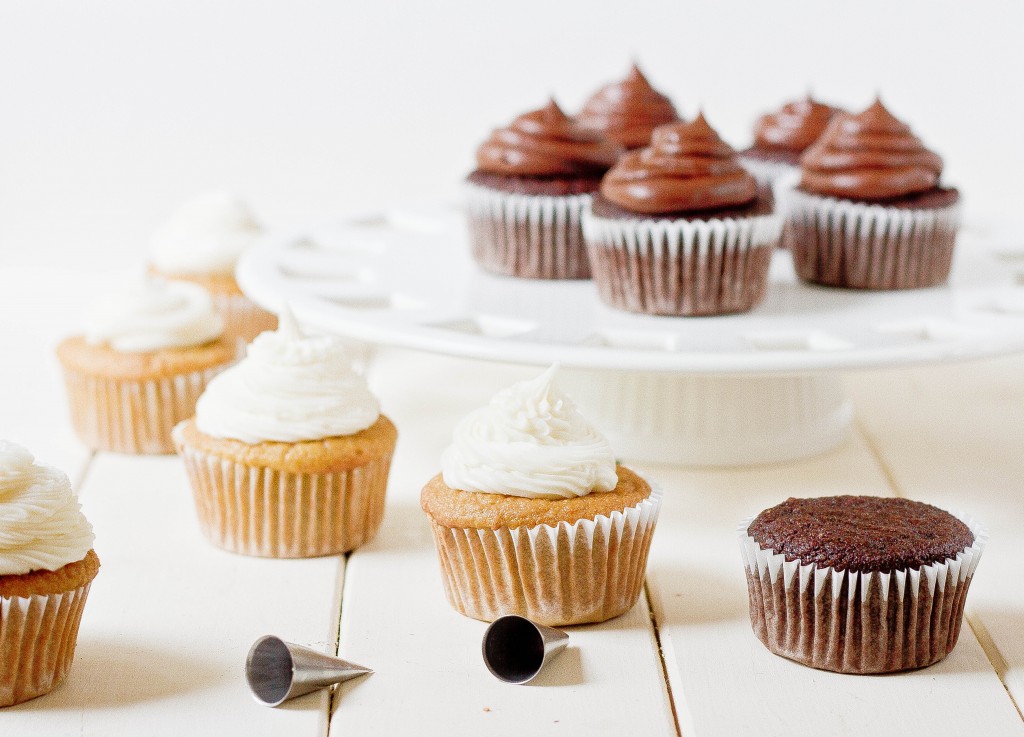
The vanilla paleo cupcakes are simple and sweet. Surprisingly, the coconut ingredients don’t overwhelm the vanilla flavor at all. They’re a perfect canvas for any flavor frosting you can dream up. 

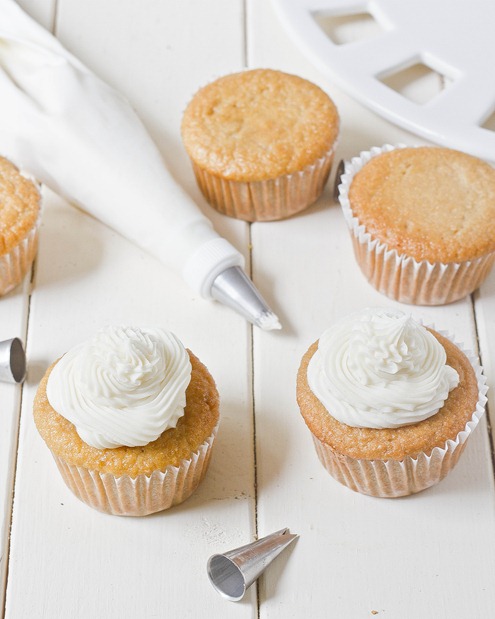
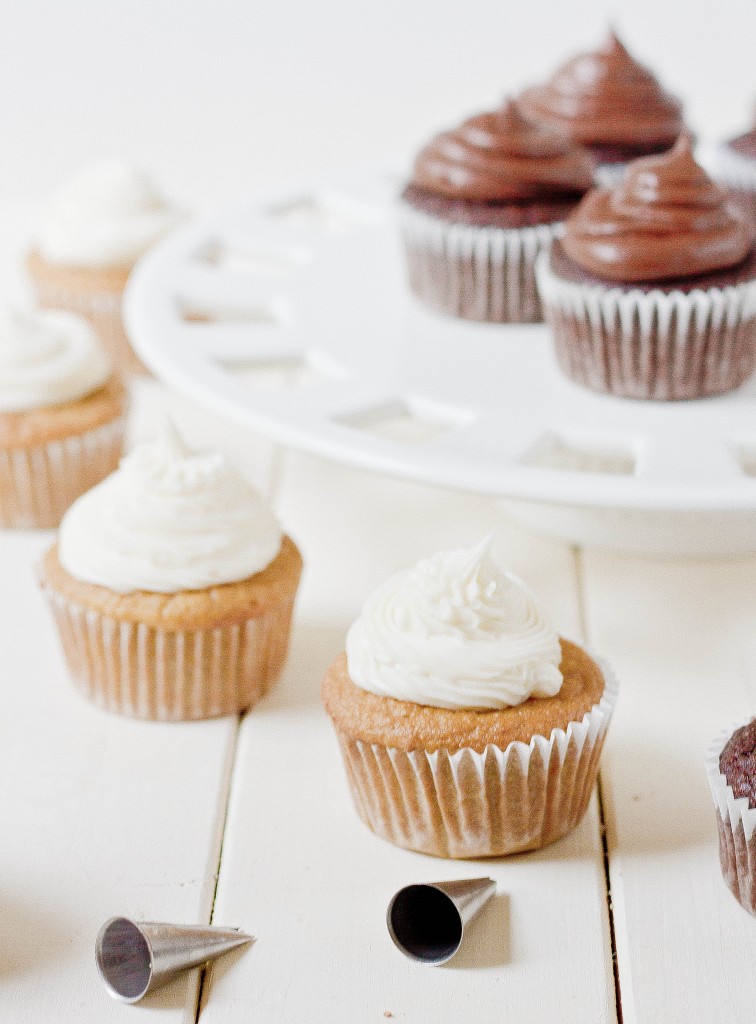
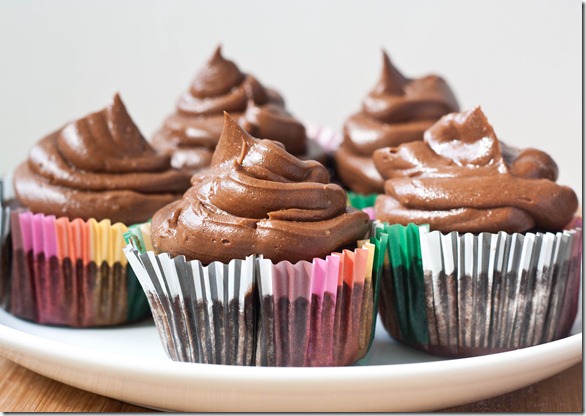
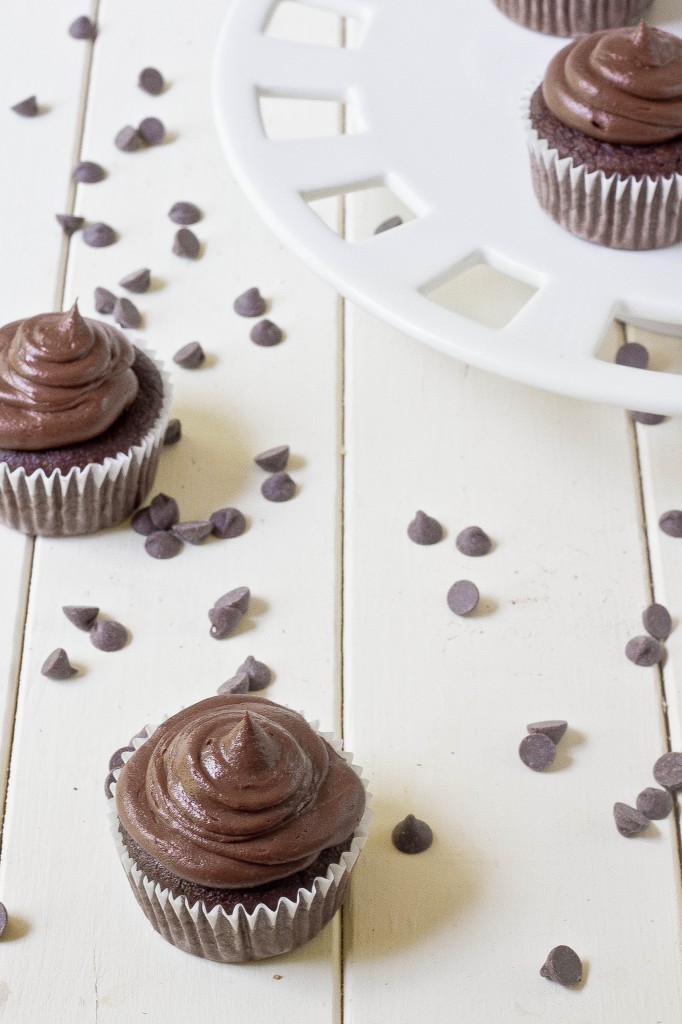
The frosting I use with these cupcakes are just your basic buttercreams. Nothing fancy or paleo; just sugar, butter, melted chocolate, and vanilla. I love the frosting tip set I bought myself a few months ago but I still feel like I need a lot more practice to make them look decent. Does anyone have an August birthday? I’ll bring the cupcakes.

Using Your DSLR For Food Photography

chickpea-flour-pancakes-serving

More pancakes anyone?

Like I said, I haven’t been cooking much this week. So instead of a recipe I’m hoping a post on photography with pictures of food is almost as good.

I got my Canon Rebel for Christmas in 2010. I wasn’t really into photography back then but I figured I should get one like any good food blogger, and I’m pretty sure I’d dropped my old digital camera on the ground one too many times. For a long time I shot in automatic, because that was really easy and the pictures looked fine. But the more I used it, the more comfortable I felt playing with the buttons and nobs. And this year in my photography class using Manual was required, so the training wheels came off and I haven’t looked back. 
IMG_2920-2

There are 3 functions to keep in mind in a camera, and they all work together proportionally: ISO, shutter speed, and aperture.

The shutter speed is how fast the shutter opens and closes. The longer it’s open, the more light that gets in. It’s the easiest thing to control and usually the last thing you want to decide for a photo. If your shutter speed is too slow(1/30th of a second or slower) you might have to start worrying about shaking the camera and getting a blurry photo.

ISO is simply the quality the picture will have. A low ISO like 100 has a lot of detail, even if you make the picture big. A high ISO like 1600 comes out grainy when you try to stretch the photo. However, if you use 1600 ISO, your camera’s shutter speed can shoot 4 times faster than at 100 ISO, so it can be useful to stop blur. Generally, 400 ISO is a good compromise between quality and speed because it’s half way between 100 and 1600(I know it sounds like it’s a quarter way between the two, but trust me. It’s half).

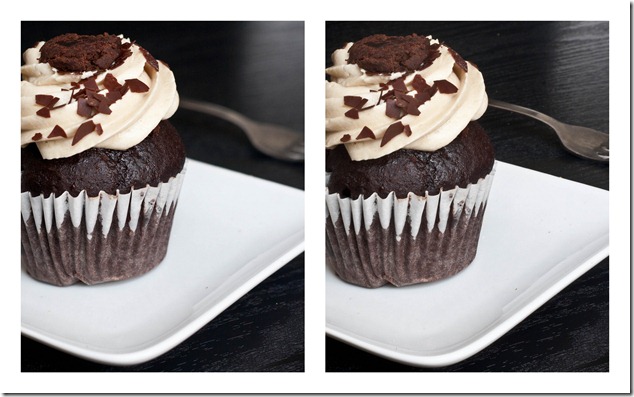
Aperture is the depth of field of a photo, or how much of the photo is in focus. This is easier seen then told:
Lightroom Photos5

The left one has a low aperture(5.0) and the right one a high aperture(22). You can see much more is in focus in the right one. Because of this, the shutter speed on the right one had to be about 10 times as long, which is when a tripod really comes in hand.
Lightroom Photos4

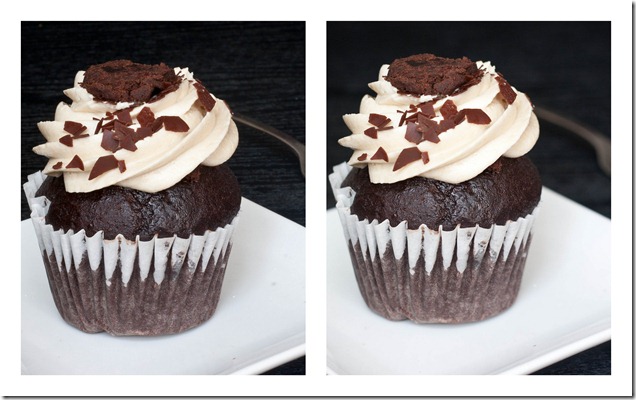
This time, the one on the left has a high aperture(22 again) and the one on the right has the low aperture(5.0).

In this case, I think the pictures with the low aperture look better, mostly because you can’t see the faux wood board I’m using as a table. Also, if you didn’t have a tripod, you’d want to use the lower aperture so that your hand won’t shake while you’re taking the picture. But neither one is universally better than the other; it all depends on what you’re shooting and what effect you’re going for.
Perk-Me-Up-Trail-Mix-coffee

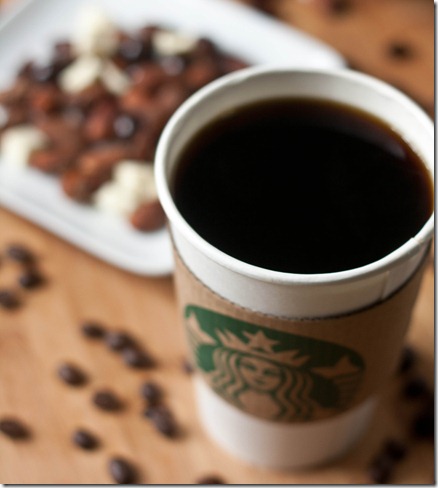
This photo has a really low aperture(2.8) so that only the lip of the cup is in focus. In this case, that was too low and I should have used a higher aperture for a better photo. A general rule is that, when there’s something in the foreground and something in the background, what’s in the foreground should be in focus over everything else. Then again, rules can be broken and no one’s going to arrest you for a bad photo; if that were the case I’d have a life sentence by now. 

So how do you know if you’ve got it all right besides taking a photo and seeing how it looks on the back of your camera?

image

You’ve probably seen this little meter at the bottom of the screen when you look through the view finder. It measures the light in the photo before you actually take the photo. If the exposure is right, the arrow at the center should be at the middle(generally for food photos I think they look a little better if it’s closer to the 1 but that’s another story). If you’re letting too much light into camera, the arrow will be on the + side and you should either lower the shutter speed, lower the ISO, or raise the aperture. If there isn’t enough light in the photo, the arrow will be on the – side and you should slow down the shutter speed, raise the ISO, or lower the aperture.

IMG_2849

*Not a food photo*

When you’re taking pictures of family or friends(or dogs), this can be a lot to keep track of and you might be tempted to put your camera back on automatic. Compromise. Put your camera on AV, which stands for aperture priority. This lets you choose what aperture you want and it will automatically calculate the rest which makes it almost just as easy and you get total control of what’s in focus.

If all of this sounds confusing and overwhelming, that’s OK. This is much easier learned through practice than reading it on a computer screen, so pick up your camera and just start snapping. It’ll all make sense with enough practice under your belt.

Lime In The Coconut Cupcakes

lime-in-the-coconut-cupcakes-2

I apologize this recipe is coming on nueve de Mayo and not last week when it might have been more fitting. If it’s any consolation, I made these on cinco de Mayo and ate a few on seis de Mayo and they were still delicious, so I’m sure whenever you make these they’d be a hit.
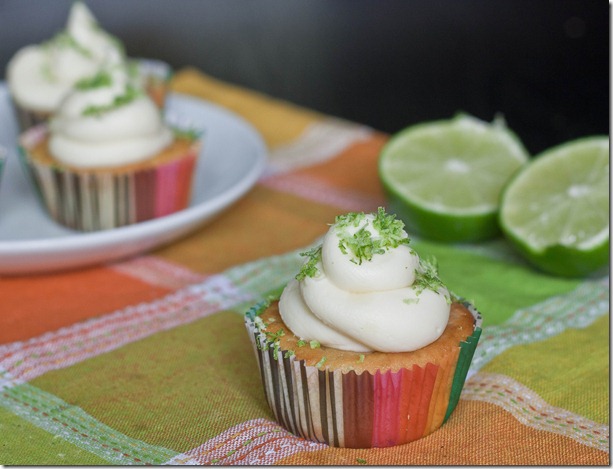
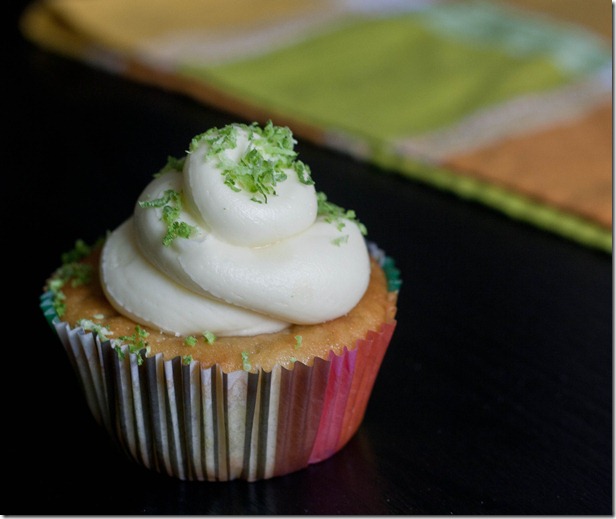
Lime and coconut go perfectly together. Since I always make my cupcakes with coconut flour, adding lime was a no-brainer. These are just the right amount of sweet and citrusy to be light and refreshing.
Lightroom Photos3

I kept the coconut flavor downplayed but if you want to liven them up you can add shredded sweetened coconut flakes to the batter of frosting for an extra layer of flavor. I also think fresh mint would work really well in the buttercream with the lime if you happen to make these at a time of year when that’s available.

Lime In The Coconut Cupcakes

Prep time: 10 minutes

Cook time: 35 minutes

Ingredients(Makes 12 cupcakes):

  • 1/2 cup plus 2 Tablespoons coconut flour
  • 4 eggs
  • 2 egg whites
  • 1/2 cup cane sugar
  • 1 cup coconut milk
  • 2 Tablespoons lime juice(or 1/2 Tablespoon lime extract if you can find it)
  • 1 Tablespoon lime zest
  • 1/2 teaspoon baking soda

lime-in-the-coconut-cupcakes-close-up

Method:

  1. Preheat your oven to 350 degrees and line a dozen cupcake holders.
  2. Combine all of the ingredients together in a large bowl and mix until it forms an even batter.
  3. Scoop equal amounts of the batter into each cupcake well.
  4. Bake for 30-35 minutes or until the tops are firm to the touch.
  5. Remove from the oven. Let the cupcakes cool completely before frosting them.

lime-in-the-coconut-cupcakes-serving

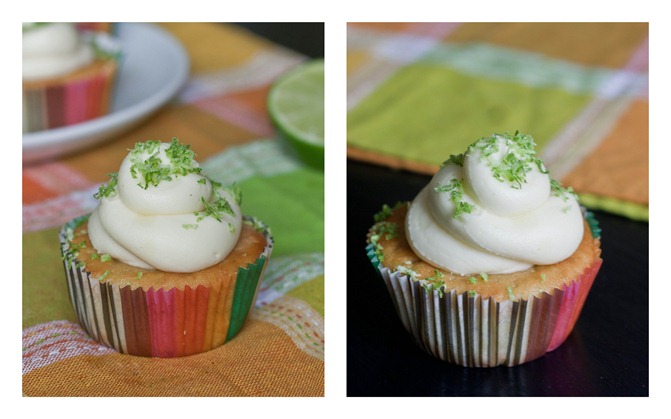
For the frosting, I used roughly 1/2 cup of softened butter, 2 1/2 cups powdered sugar, 1 1/2 Tablespoons of coconut milk, and plenty of lime zest. I say roughly because I did it mostly by eye. I’ve stopped putting effort into making just the right frosting until I get a fancy set of tips like these since they always look blah no matter what I do. 

Mint Carob Cupcakes

mint-carob-cupcakes-serving

Whenever I get an urge to make cupcakes, I don’t even question what flour I’ll use. Coconut flour by far makes the best and lightest gluten-free cupcakes around.

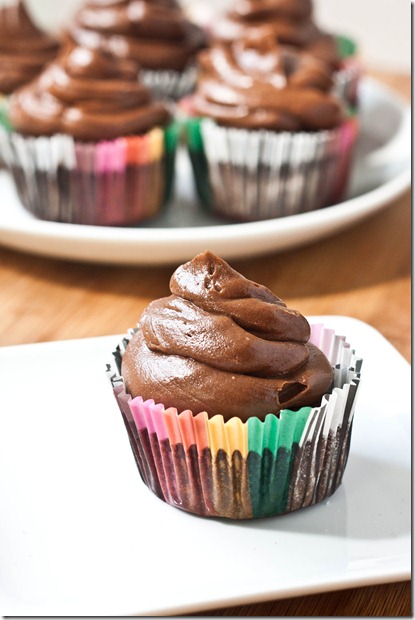
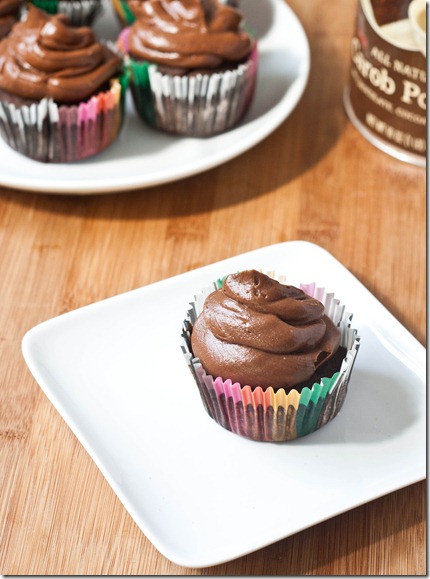
I’d like to say I chose carob because it’s exotic and unique but honestly I picked up carob powder by mistake one day and never figured out what to do with it before now. Since I’m not the biggest fan of carob, I wanted to add mint to distract the flavor a bit. I think the two balanced well to make a tasty cupcake. Of course you could always sub in cocoa powder for the carob powder and these’d be just as good.

mint-carob-cupcakes-batch

The frosting I used was a mint chocolate buttercream. It wasn’t perfect but not a failure, either. Definitely not paleo like the cupcakes. For a first go at chocolate buttercream, I’d say it was a success, even though my frosting talent has a long way to go.

Mint Carob Cupcakes

Prep time: 10 minutes

Cook time: 35 minutes

Ingredients(Makes a dozen cupcakes):

  • 3/4 cup cup coconut flour
  • 4 eggs
  • 2 egg whites
  • 6 Tablespoons carob powder
  • 1/2 cup honey
  • 1 cup almond milk(or any other milk)
  • 2 teaspoons mint extract

mint-carob-cupcakes

Method:

  1. Preheat your oven to 350 degrees and line 12 cupcake holders with paper liners.
  2. Mix together the coconut flour, eggs, egg whites, carob powder, honey, almond milk, and mint extract in a large bowl.
  3. Scoop the batter evenly into the cupcake liners. Hit the pan against the counter a few times to even the batter and knock out any air bubbles.
  4. Bake for 30-35 minutes until the tops are firm to the touch.

mint-carob-cupcakes-peeled

They’re really too good to know they’re gluten-free.

Gluten-Free Lemon Cupcakes

gluten-free-lemon-cupcakes

I really love lemon desserts. Unfortunately they tend to disappear in the winter. Why is that? We still have lemons. I guess their flavor is too bright when it’s cold and you want something warm and comforting. But now it’s Spring and we can eat all the lemons we want.

To make these cupcakes, I took my favorite paleo vanilla cupcake recipe and added lemon. Pretty simple, huh? There’s also a lemon buttercream because—of course—you can’t really have too much lemon. They’re perfect for a lightly flavored dessert, and I would bet even better with some lemoncello.

gluten-free-lemon-cupcakes-plated

This recipe uses coconut flour. There really isn’t any substitute for it. It’s a high-fiber, starchy flour that simulates the binding properties of gluten in wheat really well. I’d consider it a must-have for any gluten-free bakers.

Gluten-Free Lemon Cupcakes

Prep time: 10 minutes

Cook time: 30 minutes

Ingredients(Makes a dozen cupcakes):

  • 1/2 cup plus 2 Tablespoons coconut flour
  • 4 eggs
  • 2 egg whites
  • 1/2 cup cane sugar
  • 1 cup coconut milk
  • 1 Tablespoon lemon juice
  • Zest from one lemon
  • 1/2 teaspoon baking soda

gluten-free-lemon-cupcakes-2

Method:

  1. Preheat your oven to 350 degrees and line a dozen cupcake holders.
  2. Combine all of the ingredients together in a large bowl and mix until it forms an even batter.
  3. Scoop equal amounts of the batter into each cupcake well.
  4. Bake for 25-30 minutes or until the tops are firm to the touch.
  5. Remove from the oven. Let the cupcakes cool completely before frosting them.

Lemon Buttercream

Prep time: 10 minutes

Cook time: 0 minutes

Ingredients:

  • 1/2 cup room temperature butter
  • 2 1/2 cups powdered sugar
  • 1 Tablespoon lemon juice OR 1/2 Tablespoon lemon extract and 1 Tablespoon cream
  • Lemon zest for garnish(optional)

Method:

  1. Beat together the butter, 1 1/2 cups of sugar, and the lemon juice until mix. Slowly sift in the extra sugar until it’s all used up.
  2. Scoop the frosting into a Ziploc bag and snip off one edge. Squeeze the frosting through the cut out corner onto cupcakes in a swirling motion.

gluten-free-lemon-cupcakes-serving

Who else is excited for Spring?

Paleo Chocolate Cupcakes

After the vanilla cupcakes were all gone, I was feeling empty inside. Well, not totally empty—just a little snackish. You know when you want something sweet but not anything really healthy. And since I still had my bag of coconut flour, I thought why not try some chocolate cupcakes?

These are just as good as the vanilla ones if you ask me. They do have a stronger taste of coconut, but I think it helps since the cocoa powder needs a fatty flavor to give it some chocolaty richness.

Paleo Chocolate Cupcakes

Prep time: 10 minutes

Cook time: 35 minutes

Ingredients(Makes a dozen cupcakes):

  • 1/2 cup +2 Tablespoons coconut flour
  • 4 eggs
  • 2 egg whites
  • 1/3 cup cocoa powder
  • 1/2 cup cane or palm sugar
  • 1 cup coconut milk
  • 1/2 teaspoon baking soda
  • 1 teaspoon vanilla extract

Method:

  1. Preheat your oven to 350 degrees and line 12 cupcake holders with paper liners.
  2. Mix together the coconut flour, eggs, egg whites, cocoa powder, sugar, coconut milk, baking soda, and vanilla extract in a large bowl.
  3. Slowly add just enough water so that the batter is slightly runny and easy to mix by hand without exerting too much effort.
  4. Scoop the batter evenly into the cupcake liners. Hit the pan against the counter a few times to even the batter and knock out any air bubbles.
  5. Bake for 30-35 minutes until the tops are firm to the touch.

If you like these cupcakes, you might like my paleo vanilla cupcake recipe.

Paleo Vanilla Cupcakes

Last week was my parents’ anniversary. To celebrate I got them a cheesy present and made dessert; it’s what I do. I figured a cake would be a bit much for 3 people so I went with cupcakes using a secret ingredient I picked up last month at the store.

I’ve had coconut flour before but didn’t bake much with it. It’s really high in fiber so it makes a great cake batter. In most paleo recipes I’ve seen using it, the main structure comes from coconut flour and eggs so that’s what I copied.

The texture of these was perfect—very similar to angel food cake. Surprisingly there wasn’t much coconut flavor to them at all. You could swap any extract for vanilla and have a tasty cupcake I would bet. If you wanted to make these strictly paleo, substitute a low-glycemic sweetener like palm sugar in for the cane sugar.

Paleo Vanilla Cupcakes

Prep time: 10 minutes

Cook time: 30 minutes

Ingredients(Makes a dozen cupcakes):

  • 1/2 cup plus 2 Tablespoons coconut flour
  • 4 eggs
  • 2 egg whites
  • 1/2 cup cane sugar
  • 1 cup coconut milk
  • 2 teaspoons vanilla extract
  • 1/2 teaspoon baking soda

Method:

  1. Preheat your oven to 350 degrees and line a dozen cupcake holders.
  2. Combine all of the ingredients together in a large bowl and mix until it forms an even batter.
  3. Scoop equal amounts of the batter into each cupcake well.
  4. Bake for 25-30 minutes or until the tops are firm to the touch.
  5. Remove from the oven. Let the cupcakes cool completely before frosting them.

I cut the recipe in half when I made these and got 6 cupcakes, which was perfect because we’re only 3 people. It’s a really easy recipe that anyone starting out gluten-free baking could do without problem.

If you like this recipe, you might also like paleo chocolate cupcakes.

Sweet Freedom, Round 2

August 22nd 151

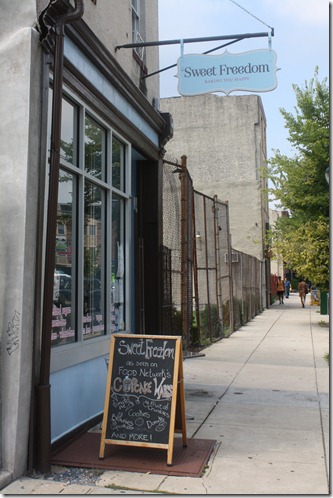
While I was in Philadelphia, I couldn’t help but take a trip to Sweet Freedom Bakery. I came here the last time I was in Philly and fell in love. It’s the only bakery I’ve ever been to where I could order absolutely everything there and not have to ask about the ingredients(which they proudly display), and their baked goods taste just as good as any others.

I intended to a couple of their cinnamon buns(which are incredible) but sadly they had none this time around. There menu had changed a lot since the last time I was there and a lot of the pastries were seasonal. The “cupcake tops” caught my eye.

Nov. 21st 023

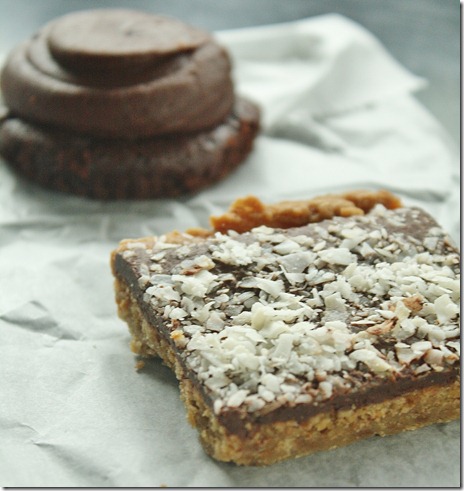
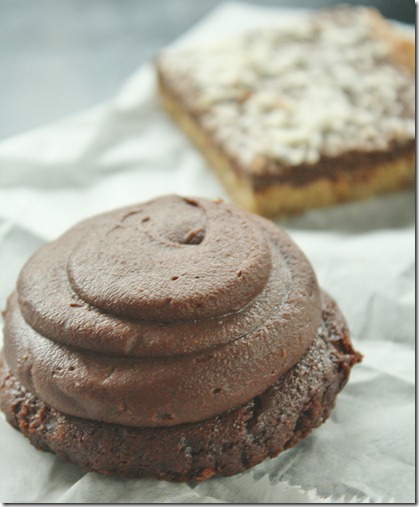
I’m a huge frosting fan. In fact, I’m pretty sure I’ve had layer cakes where I just ate the frosting and filling and left the cake part. Cake just isn’t as delicious. Naturally, anything with a frosting to cake ratio of 2:1 is right up my alley. I tried the chocolate flavor; while the frosting was great, the cake was a little disappointing, which made me glad I didn’t get the whole cupcake. It tasted a little starchy from the gluten-free flours used; I’m guessing the recipe has a bit too much potato or tapioca starch and it overpowers the cocoa.

Nov. 21st 055

The other dessert I tried was their “magic bars”. It looked small and unassuming, but ended up being my favorite of the two. The bottom tasted like a homemade graham cracker-peanut butter crust. On top was a chocolate ganache and flaked coconut. I don’t think I could get tired of chocolate and peanut butter desserts, and this just attested to that. It’s something that also looks easy to make at home so I’ll be trying to replicate their recipe soon.

Obviously I’m a fan of Sweet Freedom Bakery, but I could have told you that before I went. I’d definitely recommend visiting if you’re in the neighborhood.