Tag Archive: Coconut Flour

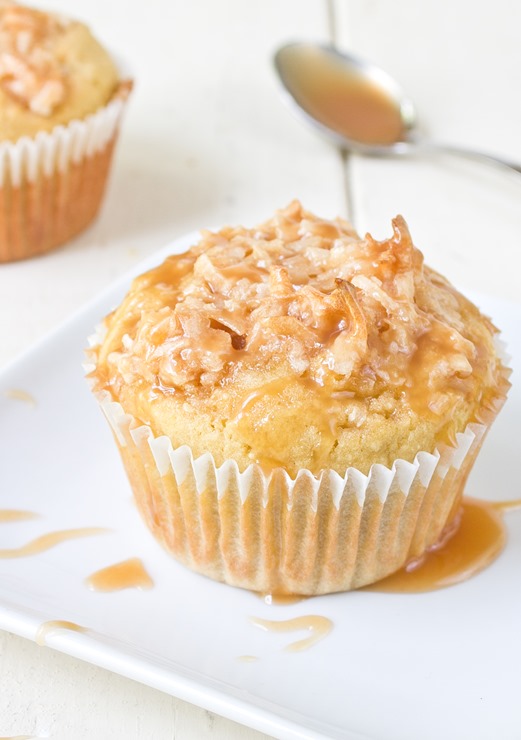
Coconut Caramel Muffins

Coconut Caramel Muffins 2

What do you do with a ton of caramel(besides eating it off of your fingers and spoons) other than bake with it? If you know please tell me because I still have a cup left after making these and about 12 new cavities.

The first thing I thought of was coconut and caramel. It’s sweet and meaty and perfect to add textures. Adding it to muffins became a great way to start the day with something flavorful. These had a decent coconut flavor, but if you just love coconut then I’d recommend swapping in coconut oil for the vegetable oil and carton coconut milk for the regular milk.

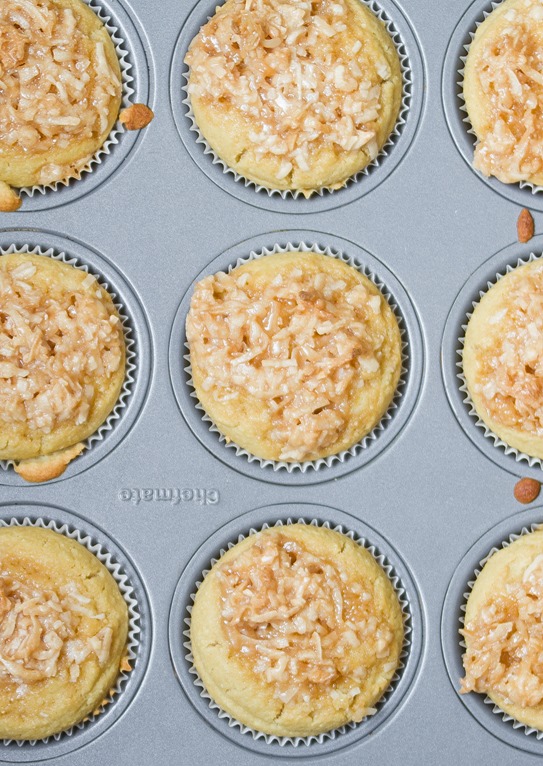
Coconut Caramel Muffins Overhead

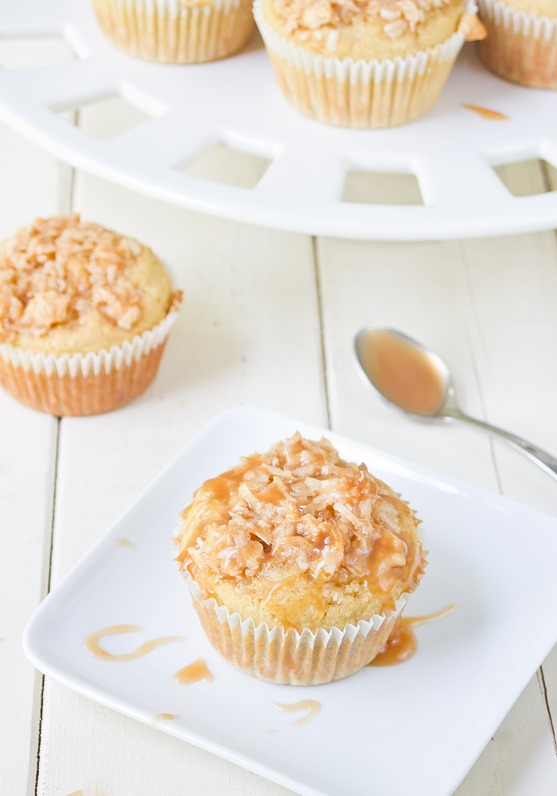
These are “muffins”(as opposed to cupcakes) in my mind because they aren’t all that sweet; they’re a perfect breakfast pastry to have next to a cup of coffee or tea. However, if you wanted them to be sweeter and possibly a dessert, I’d recommend adding 1/2 cup of sugar to the batter.

Coconut Caramel Muffins

Prep time: 10 minutes

Cook time: 25 minutes

Ingredients(Makes 9 muffins):

  • 6 Tablespoons coconut flour
  • 1 cup brown rice flour
  • 1/4 cup sugar
  • 1/2 teaspoon baking soda
  • 1/4 teaspoon salt
  • 3 eggs
  • 1 cup milk
  • 1/2 cup caramel sauce, divided
  • 1/4 cup vegetable oil
  • 6 Tablespoons shredded coconut

Coconut Caramel Muffins Serving

Method:

  1. Preheat your oven to 350 degrees. Line 9 muffin wells with paper liners.
  2. In a large bowl, sift together the coconut flour, brown rice flour, sugar, salt, and baking soda.
  3. In a separate bowl, beat together the eggs, milk, 1/4 cup caramel sauce, and oil until mixed well.
  4. Pour the wet ingredients in with the dry and mix until the batter is even.
  5. Scoop an equal amount of batter into each paper liner.
  6. In a small bowl, mix together the remaining caramel sauce and shredded coconut. Scoop roughly a tablespoon of the coconut mixture in the center of each muffin and press down lightly.
  7. Bake for 25 minutes or until the muffins have set. Remove from the oven and let them cool before serving.

Gluten-Free Pineapple Rum Bread

Gluten-Free Pineapple Rum Bread

I’ve been on a sweetbread kick lately. They’re a lot more appetizing in the morning than a bowl of hot oatmeal, especially with some cool Greek yogurt on the side. At first I had the idea to make a pineapple loaf but quickly realized it needed a little something extra. And what goes better in the Summer with pineapple juice than rum?

Gluten-Free Pineapple Rum Bread Glazing

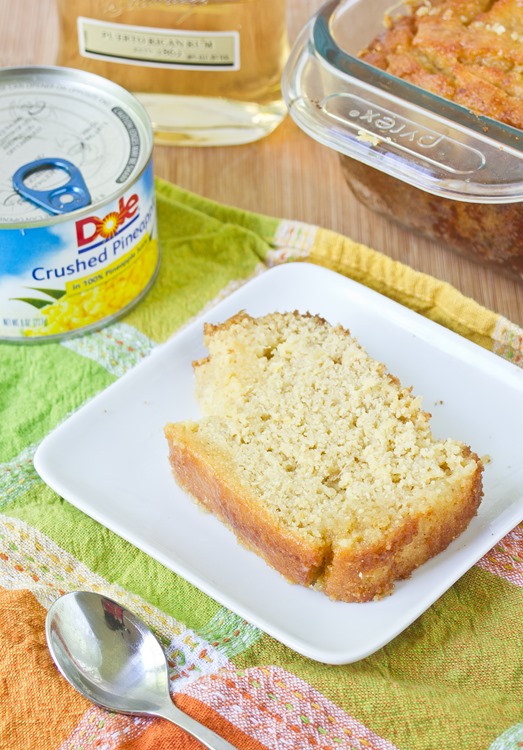
Make sure you buy crushed pineapple and not diced or rings. You can buy canned pineapple that’s exactly 1 cup; just reserve 1 Tablespoon of juice for the glaze. It’s better to add the glaze while it’s still in the loaf pan so that all of it gets absorbed.

Gluten-Free Pineapple Rum Bread

Prep time: 15 minutes

Cook time: 50 minutes

Ingredients(Makes 1 loaf):

  • 1 1/2 cups chickpea flour
  • 6 Tablespoons coconut flour
  • 3/4 teaspoon baking soda
  • 1/4 cup sugar
  • 1/4 cup brown sugar
  • 3 eggs
  • 1/4 cup vegetable oil
  • 1 cup pineapple chunks with juice, 1 Tablespoon of juice reserved
  • 1/4 cup + 1 Tablespoon rum
  • 1/2 cup powdered sugar

Gluten-Free Pineapple Rum Bread Ingredients

Method:

  1. Preheat your oven to 350 degrees.
  2. In a large bowl, mix together the chickpea flour, coconut flour, baking soda, sugar, and brown sugar.
  3. Beat in the eggs, vegetable oil, pineapple chunks, and 1/4 cup of rum until the batter comes together.
  4. Grease an 8-inch loaf pan. Pour the batter in and gently shake it to level out.
  5. Bake for 50 minutes or until the center has set.
  6. Remove the loaf from the oven and let it rest.
  7. In a small bowl, beat together the powdered sugar, 1 Tablespoon of rum and 1 Tablespoon of pineapple juice until the sugar dissolves.
  8. Poke the top of the loaf multiple times with a toothpick and pour the glaze on top. Let the loaf set for another 2 hours until the glaze has been absorbed.
  9. Slice and serve at room temperature. Keep refrigerated when not enjoying.
Gluten-Free Pineapple Rum Bread Serving

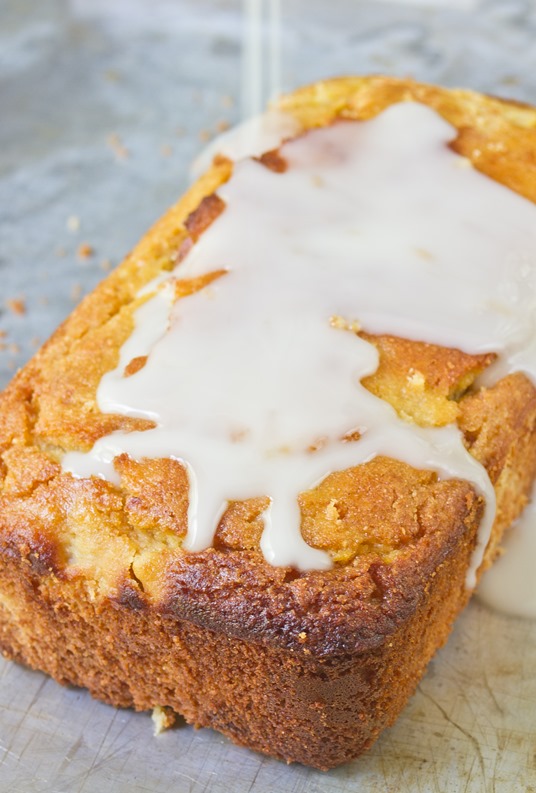
Gluten-Free Pumpkin Bread

Gluten-Free Pumpkin Bread

I usually keep things very organized. I’m a serial to-do list maker and planner. But sometimes my pantry can get a little bit hectic; I’ll throw an ingredient in there and not see it for another 5 months.

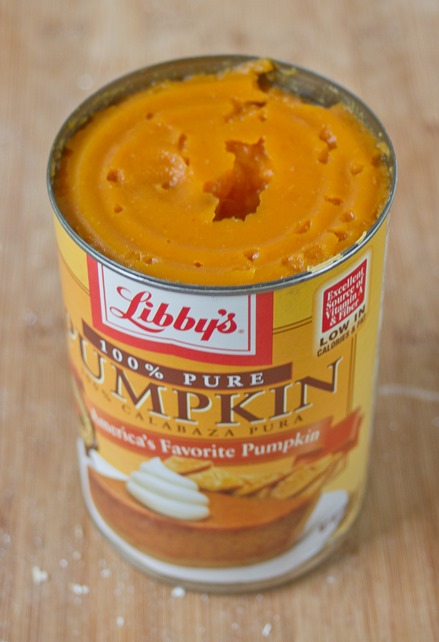
When I moved 2 weeks ago I found 3 cans of pumpkin that never got baked into a pie, custard or pudding. I know it’s not at all the season for pumpkin desserts but there are some things I can’t turn down and a good slice of pumpkin bread is one of those.

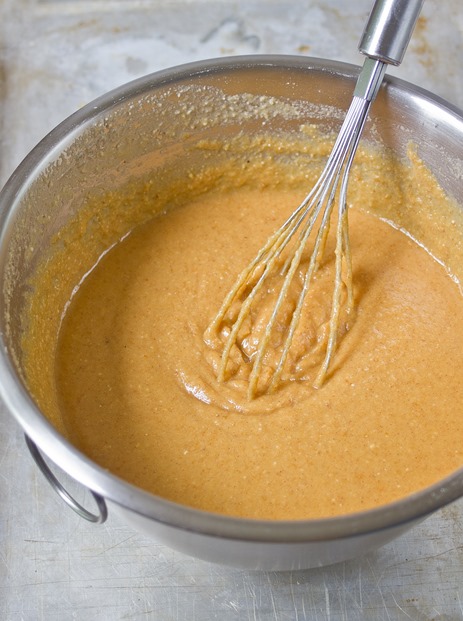
Gluten-Free Pumpkin Bread Batter

My one warning with this recipe(and most gluten-free recipes for that matter) would be not to taste the batter. The batter will taste terrible because raw chickpea flour and coconut flour have weird tastes to them. However, once fully cooked, the funny flavor goes away and all you’ll be able to taste is spices and pumpkin.

Gluten-Free Pumpkin Bread

Prep time: 15 minutes

Cook time: 60 minutes

Ingredients(Makes 1 loaf):

  • 1 1/2 cups chickpea flour
  • 6 Tablespoons coconut flour
  • 3/4 cup cane sugar
  • 1/4 cup brown sugar
  • 3/4 cup pumpkin puree
  • 4 eggs
  • 6 Tablespoons oil
  • 1/2 cup water
  • 1 1/2 teaspoons pumpkin pie spice
  • 1 teaspoon vanilla extract
  • 3/4 teaspoon baking soda
  • 2 Tablespoons brown sugar for topping

Gluten-Free Pumpkin Bread Pumpkin

Method:

  1. Preheat your oven to 350 degrees.
  2. In a large bowl sift together the chickpea flour and coconut flour and set aside.
  3. In a separate bowl beat together the remaining ingredients until well mixed.
  4. Combine the wet and dry ingredients and beat together. Slowly incorporate the water while beating until all of the ingredients are mixed together.
  5. Grease the bottom and sides of a 8-inch loaf pan.
  6. Pour the batter into the loaf pan and shake it gently to level the top.
  7. Sprinkle the remaining brown sugar on top of the batter in a thin layer.
  8. Bake for 60 minutes or until the center of the loaf is baked through.
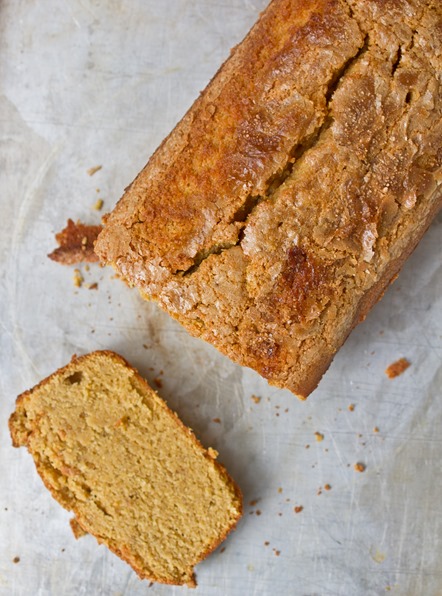
  9. Remove from the oven and let cool completely before slicing.
Gluten-Free Pumpkin Bread Ingredients


Almond Flour Dessert Recipes

It’s no surprise that I like making desserts with almond flour. It’s probably my favorite gluten-free flour to use. It’s great whether you’re trying to eat grain or gluten-free, has virtually no flavor, and has a perfect consistency in baked goods. You can buy it at most stores nowadays(I usually get the Trader Joe’s brand almond meal) or pulse almonds in a food processor to make your own at home(just be careful not to accidentally make almond butter).
Here are a few of my favorite dessert recipes with almond flour in them. A lot of them are readers’ favorites, too. You can read the comments on any of these recipes to find out what substitutions and success other readers had trying out these recipes.

The Basics:

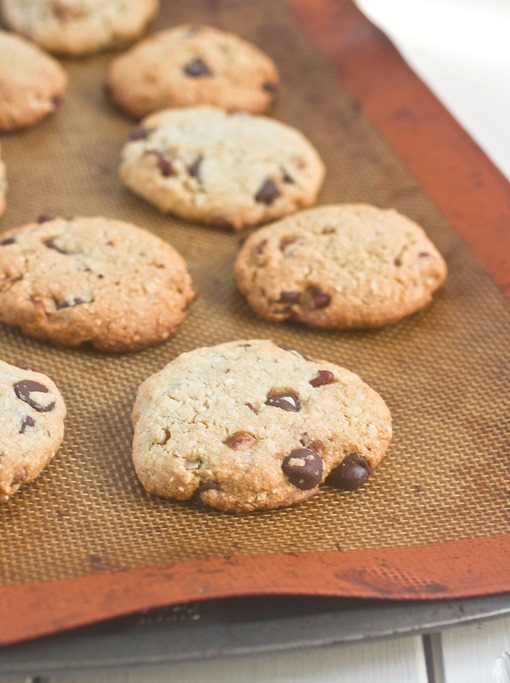
Almond Flour Chocolate Chip Cookies Baked

Almond Flour Chocolate Chip Cookies: Everyone needs a good chocolate chip recipe they can rely on, right? This is definitely the one if you need to follow a gluten-free or grain-free diet. They come out flavorful and with just the right texture to match “regular” chocolate chip cookies. There are over 140 comments on the recipe page so it’s tried and true as well.

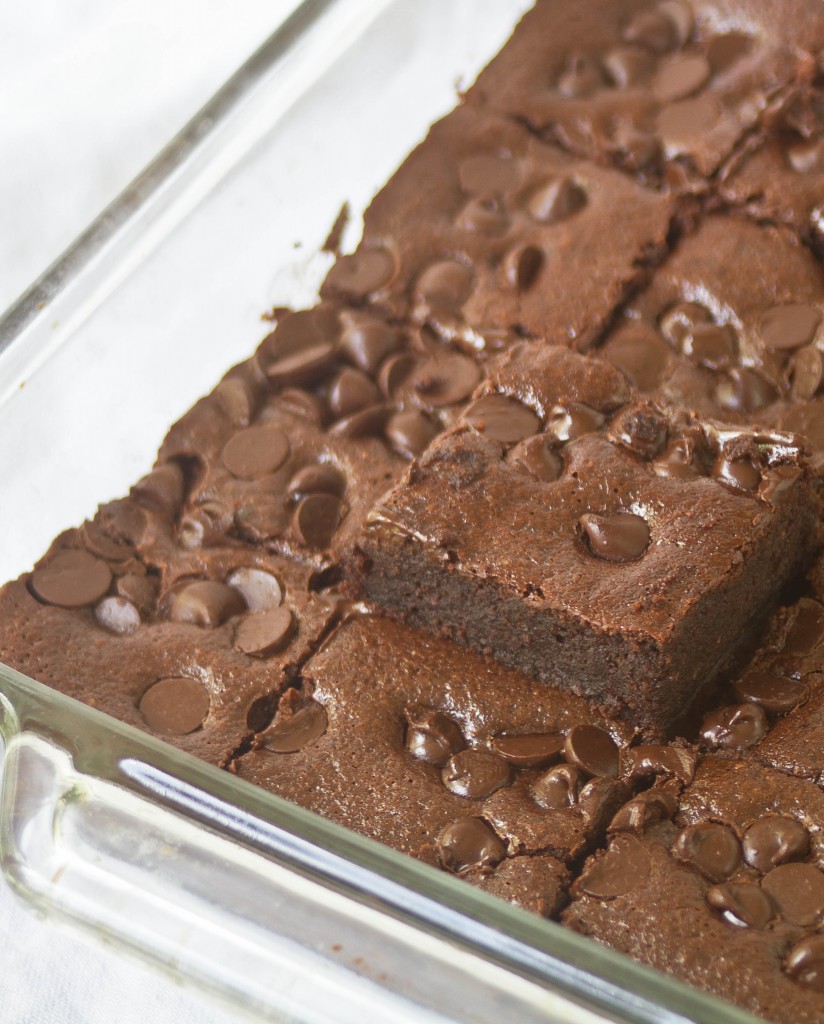
Almond Flour Brownies: Another readers’ favorite are these brownies. They’re also one of my favorites, too. I tend to make them or a variation on them monthly whenever I need a good brownie. They’re also gluten and grain-free, but you would never be able to tell from the taste or texture. They’re just a great, fudgy, chocolaty brownie.

A Little Different:

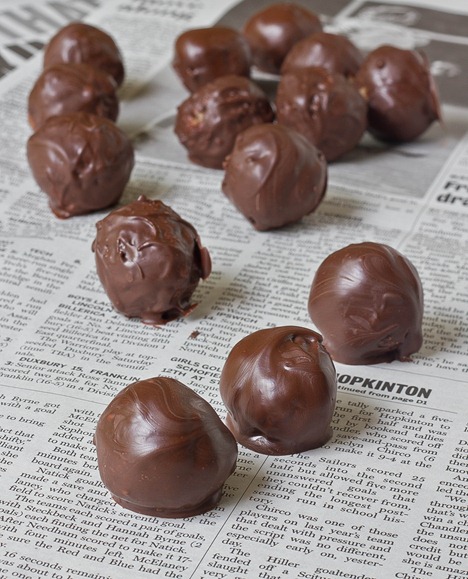
Gluten Free Cookie Dough Truffles newspaper

Gluten-Free Cookie Dough Truffles: Who doesn’t love eating raw cookie dough? That’s what these are, except covered in chocolate. And it’s all entirely safe to eat, gluten and grain-free. This recipe’s too good not to share. Almond flour is the perfect flour substitute in this one because the flavor is virtually undetectable.

Almond Flour Banana Bread: Banana bread is one of my favorite snacks when it’s around the house, especially with a cup of tea on a rainy day. This banana bread is very moist and reminds me of the kind you get at Starbucks. If you have a few browning bananas laying around the house this is a great go-to.

Almond Flour + Coconut Flour:

Gluten-Free Thin Mints

Gluten-Free Thin Mints: Until the Girl Scouts start making gluten-free cookies, the best kind are the ones you can make in your oven. Almond flour and coconut flour give these a great texture while chocolate and mint give them that perfect flavor; you won’t be able to taste the difference!

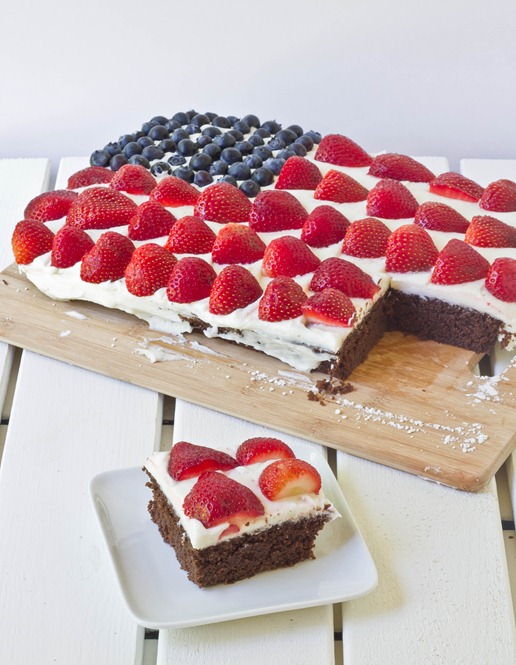
Gluten-Free Chocolate Flag Cake Finished

Gluten-Free Flag Cake: I made this last year and think I might have to make it again. If you’re looking for a good, basic chocolate cake recipe without the grains or gluten this is simple enough for anyone to whip up. Personally I like this with a vanilla cream cheese frosting but you can let your imagination go wild.

Gluten-Free Thin Mints & Other Girl Scout Cookies

Gluten-Free Thin Mints

Needless to say Girl Scout cookie season is a lot less exciting when you can’t have gluten. You feel a little bit guilty walking past the 10-year old girls trying to get you to overpay for charity while secretly wishing you could have some Thin Mints or Samoas.

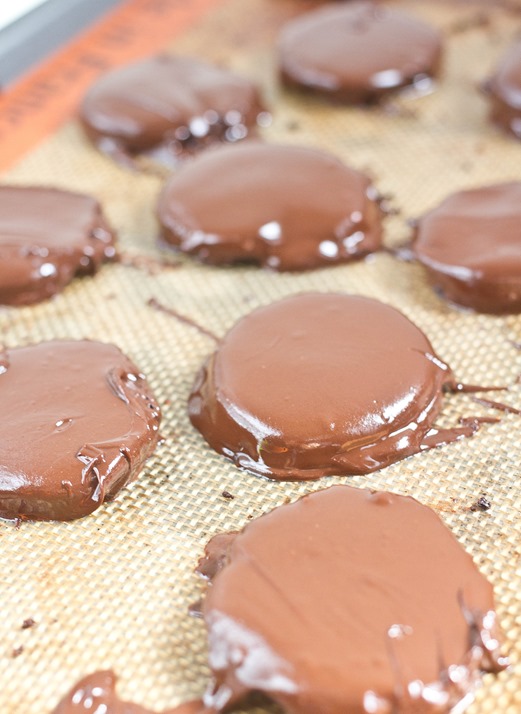
Last year I made these gluten-free thin mints. After the page started being active again thanks to plenty of google searches for people looking for the same, I remembered to make them again this year. I’m not sure why it took me a whole year to make this recipe again because these are cookies I’d gladly eat any month or season.

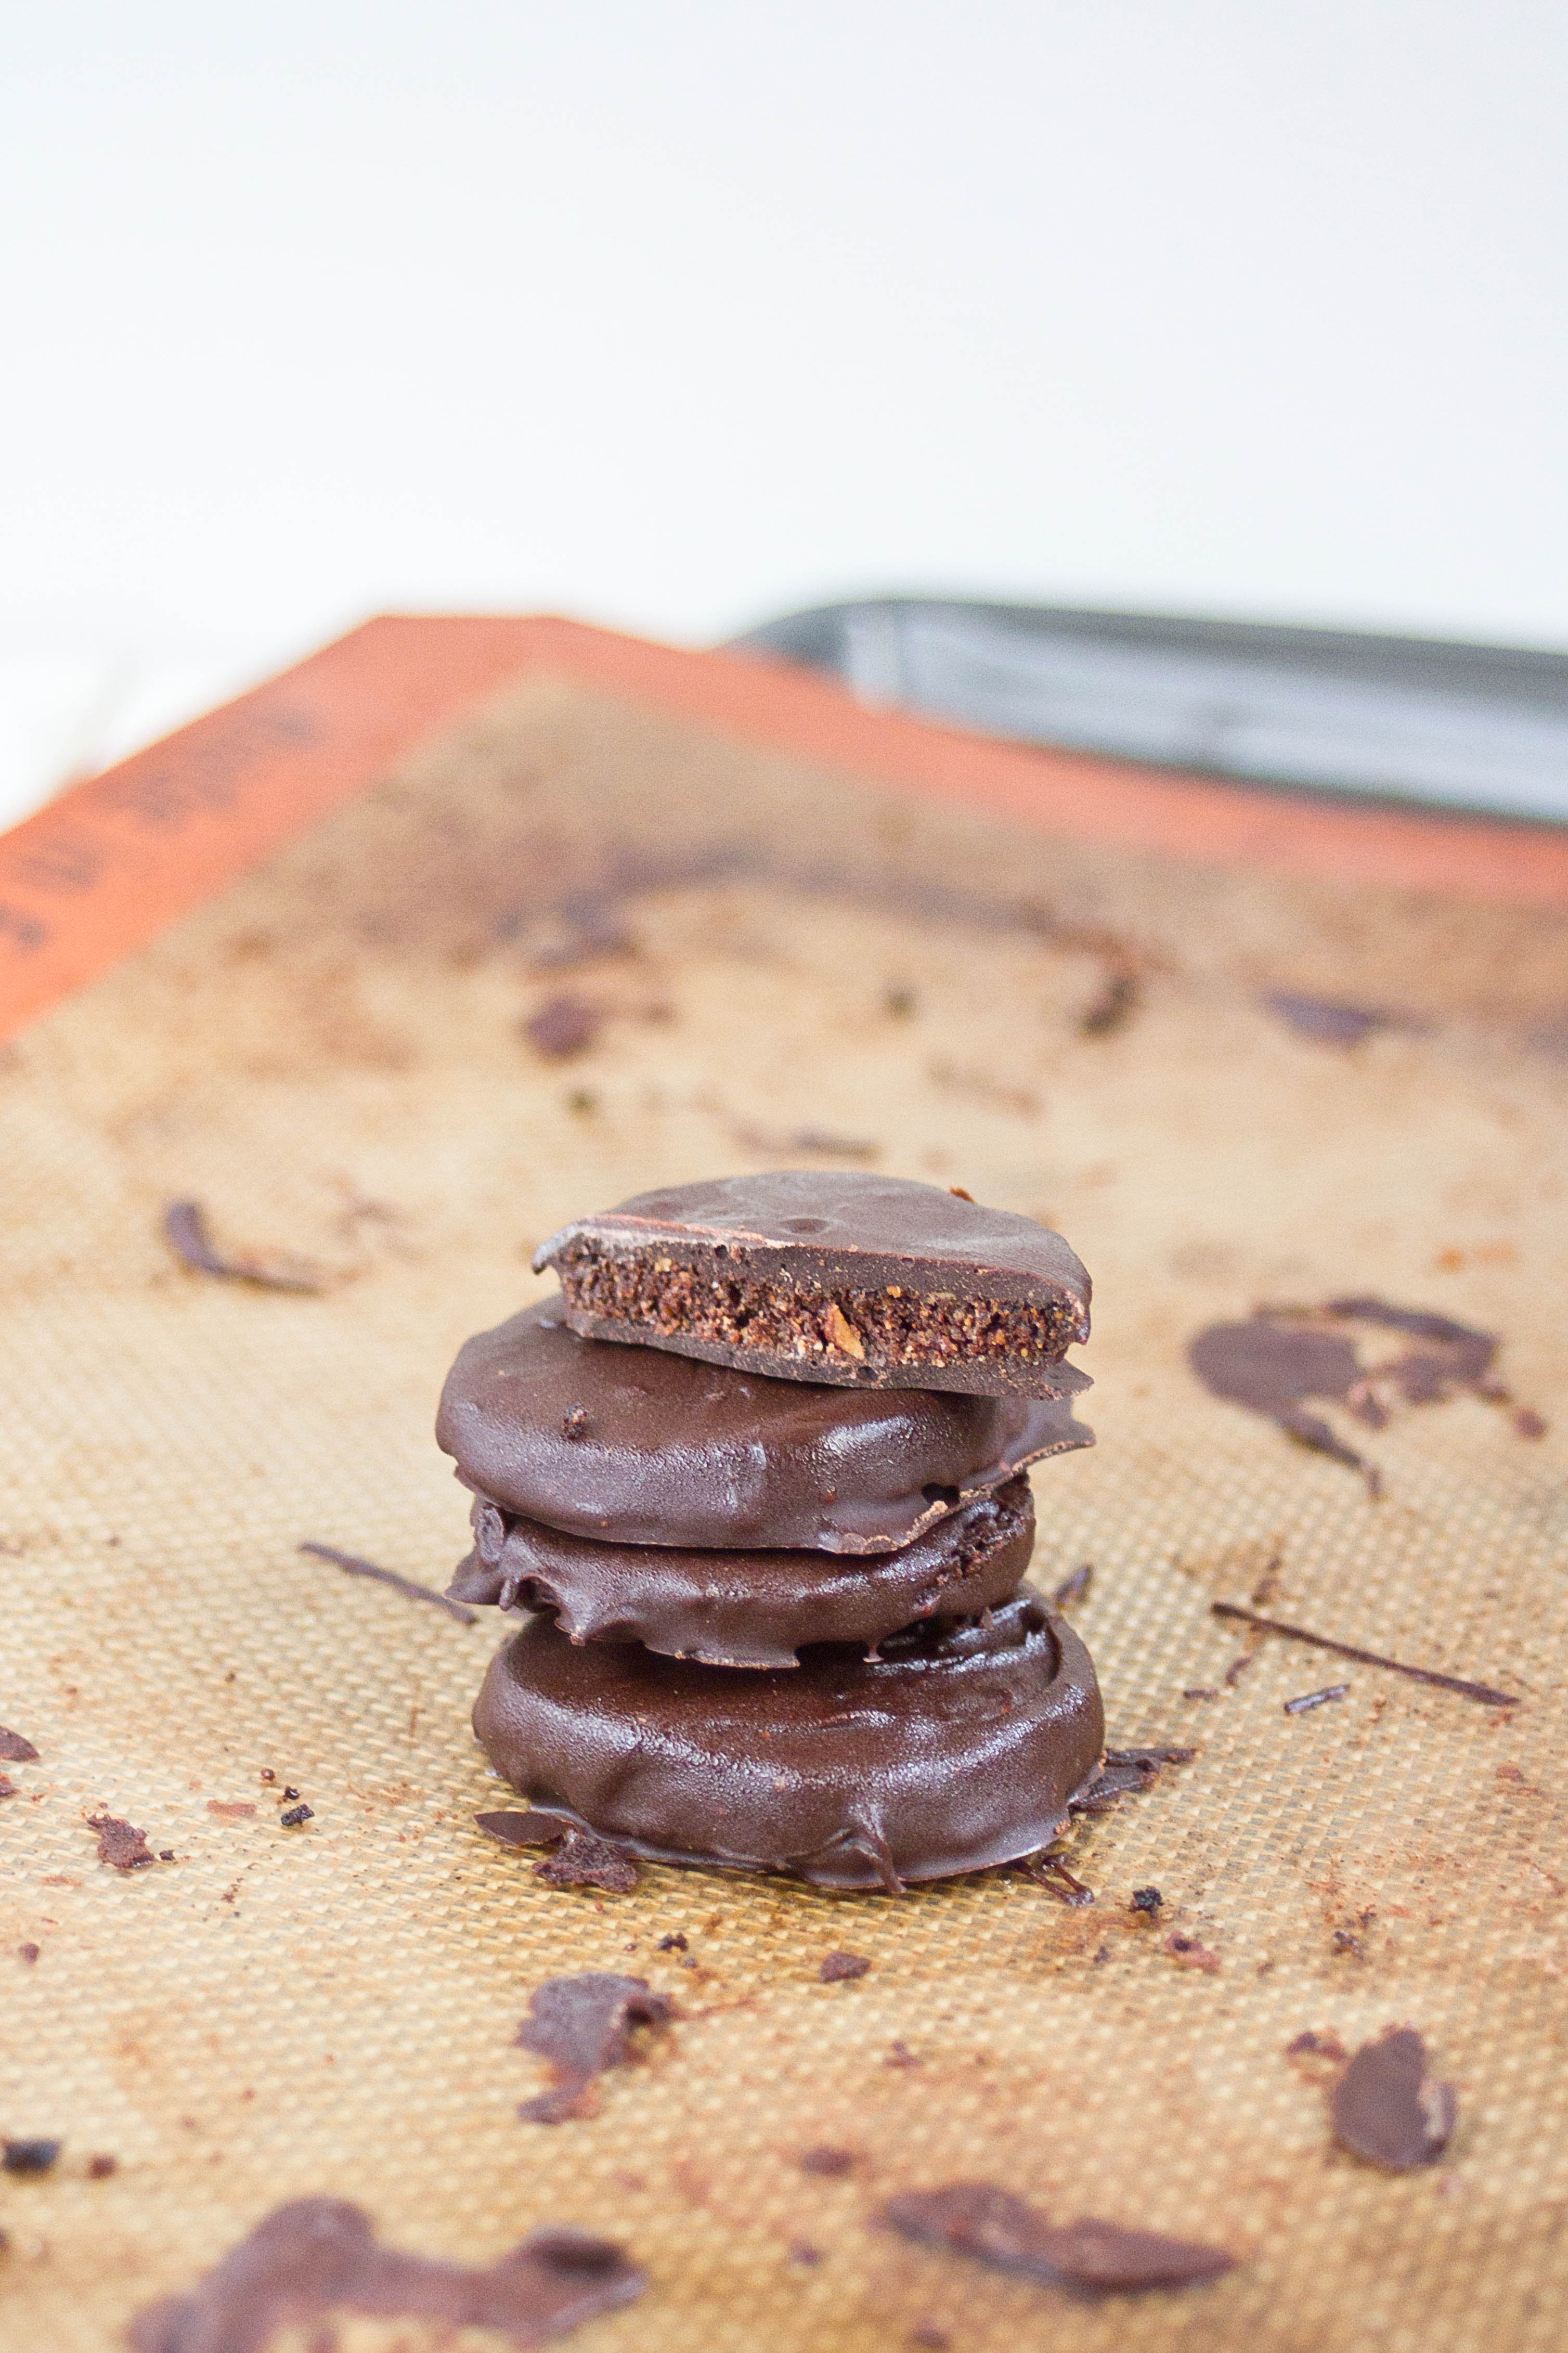
Gluten-Free Thin Mints Stack

The recipe(found here) is made with coconut flour and almond flour, so it’s grain-free as well as gluten-free. It’s not quite paleo as some commenters have pointed out because of the sugar content. But if that’s not your thing and you’re just looking for a sweet treat then this is easily for you.

Here are some other Gluten-Free Girl Scout cookie recipes from around the web I’ve been eyeing:

Your move, Girl Scouts

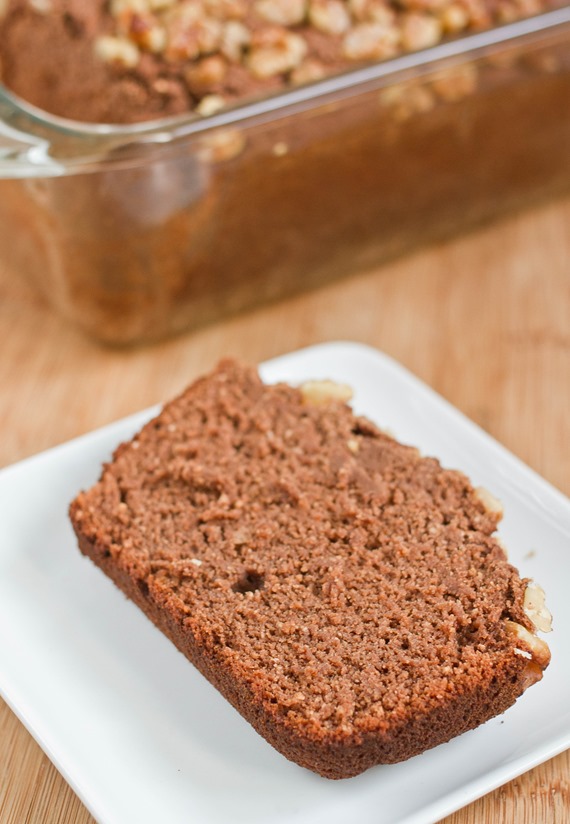
Healthy Chocolate Walnut Bread

Healthy Chocolate Walnut Bread

If February is the month of chocolate, March is probably the month of dessert detox. I could never give up chocolate cold-turkey, though; I would never want to. There are always ways to lighten up chocolate treats to make them better for your every day.

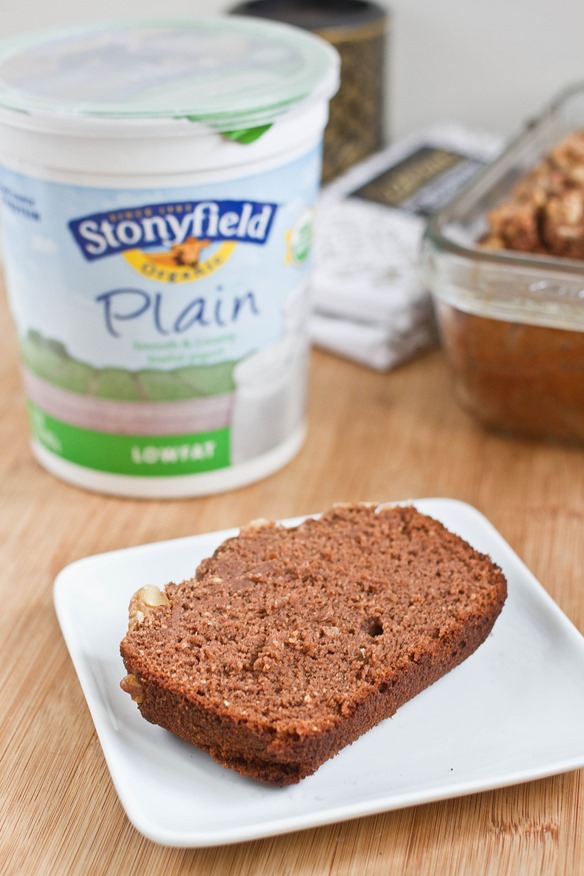
Stonyfield Farm asked some of their Clean Plate Club bloggers to make a chocolate treat healthier using yogurt and Divine Chocolate. Chocolate quick-breads are always delicious but usually too sugary to eat for any meal except dessert; yogurt and less sugar is an easy fix to make this a lighter food.

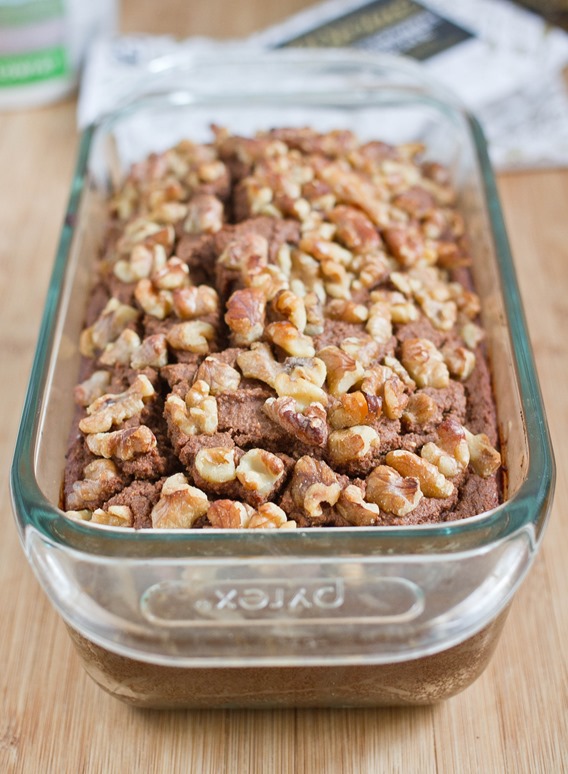
This chocolate loaf looks decadent but has a lot to offer besides fat. It’s only a little sweet—perfect for a quick breakfast with a cup of coffee. The nuts on top offer some healthy fats while using yogurt in place of more oil cuts down the calories. Using a whole-grain flour like brown rice flour also adds nutrients to each slice.

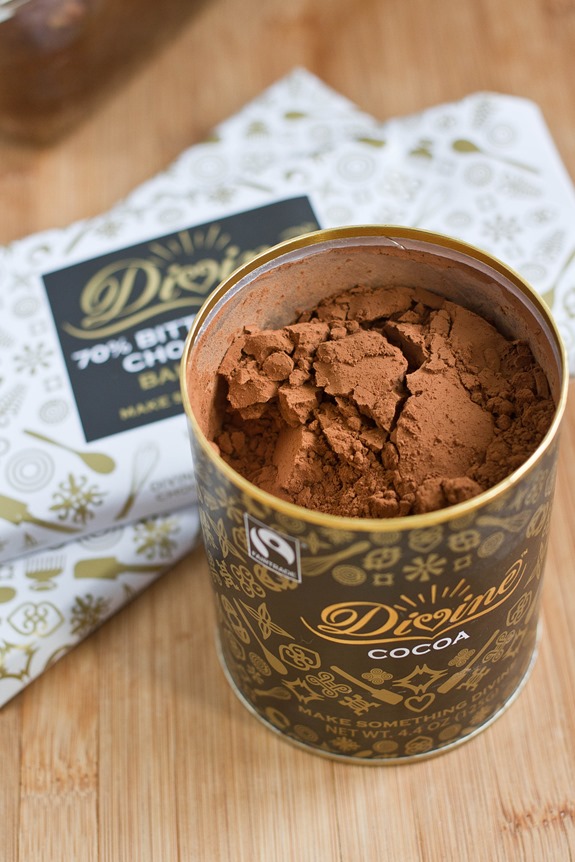
Healthy Chocolate Walnut Bread Cocoa Powder

The Divine Chocolate was incredible to work with. I used the milk chocolate bar to make this recipe but couldn’t stop eating the dark chocolate bar all on its own. It melted incredibly smoothly and evenly; that’s always the benefit of using actual baking chocolate instead of chocolate chips. Instead of plain yogurt you could always use sweetened vanilla yogurt or even one with more flavor to it.

Healthy Chocolate Walnut Bread

Prep time: 15 minutes

Cook time: 45 minutes

Ingredients(Makes 1 loaf):

Healthy Chocolate Walnut Bread Slice

Method:

  1. Preheat your oven to 350 degrees.
  2. In a large bowl sift together the coconut flour, brown rice flour, cocoa powder, and baking soda.
  3. Mix in the eggs, maple syrup, yogurt, water, and oil until the batter is wet and mixed.
  4. Melt the milk chocolate baking bar in a microwave or over the stove top.
  5. Slowly fold the melted chocolate into the batter until entirely mixed.
  6. Grease a 9-inch loaf pan.
  7. Pour the batter into the loaf pan. Add the crushed walnuts on top and press them in gently.
  8. Bake for 40-45 minutes until the center of the loaf is cooked through. Let the bread cool before cutting.

Healthy Chocolate Walnut Bread Slice w Yogurt

You’ll never guess it’s any good for you.

Coconut Flour Cupcake Recipes

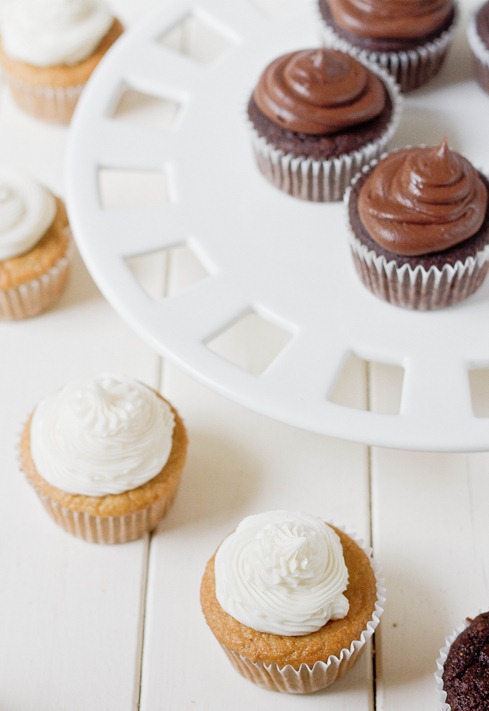
Paleo Chocolate and Vanilla cupcakes1

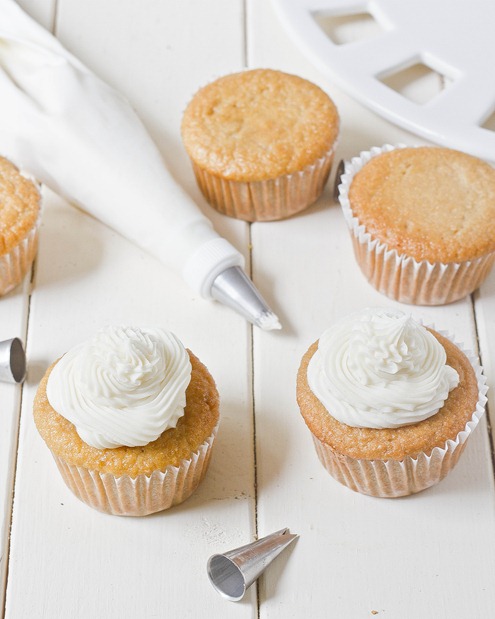
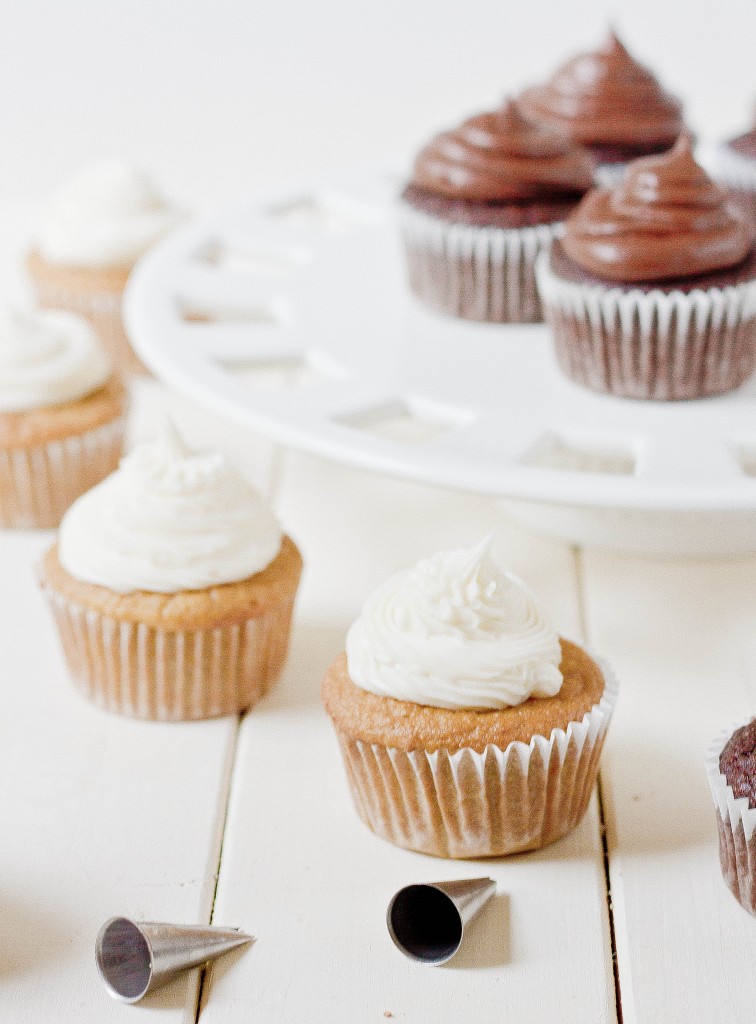
Back in January I finally found a use for the coconut flour that had just been sitting around in my pantry for months; it made the perfect cupcakes. Before then, I’d used some gluten-free baking blends with varying success, but they were never quite as good as “regular” cupcakes. Coconut flour, on the other hand, creates cupcakes that are light and fluffy without any odd starchy flavor. You’d never know they’re gluten-free if you didn’t bake them yourself.

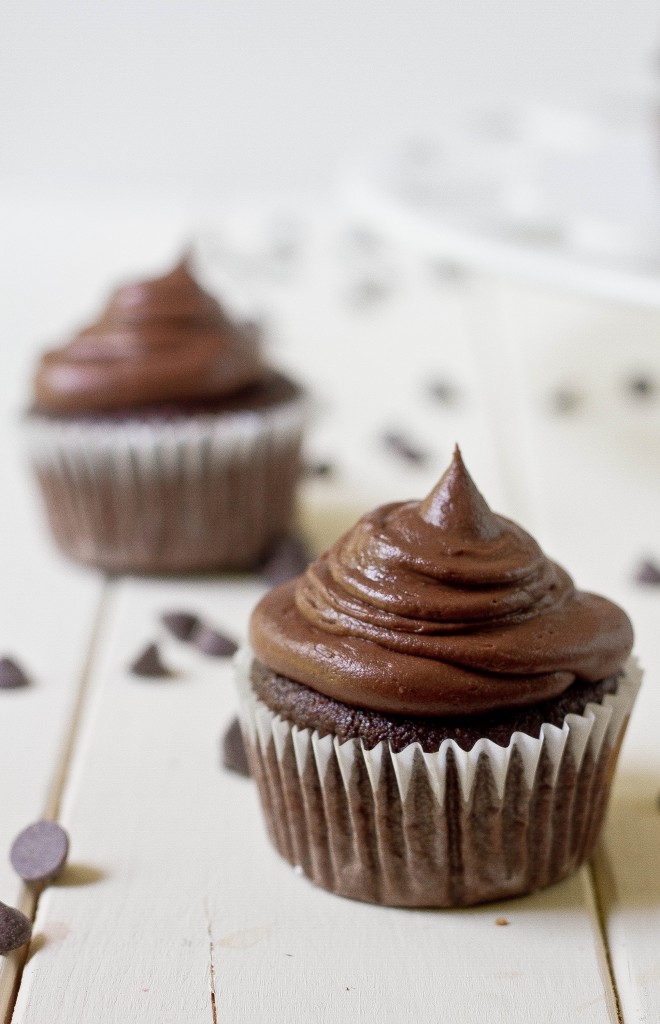
Last month we celebrated several birthdays in my family so I figured it was a chance to revisit these cupcake recipes and taking fresher pictures. I ended up modifying the chocolate cupcake recipe slightly to make them richer and was definitely happy with how they turned out.

These paleo chocolate cupcakes get their depth not from coconut flour but coconut milk. Even without oil or melted chocolate, they stay moist and rich. You can easily perk up the flavor with half a tablespoon of instant coffee granules.

July 12th 046

The vanilla paleo cupcakes are simple and sweet. Surprisingly, the coconut ingredients don’t overwhelm the vanilla flavor at all. They’re a perfect canvas for any flavor frosting you can dream up. 

The frosting I use with these cupcakes are just your basic buttercreams. Nothing fancy or paleo; just sugar, butter, melted chocolate, and vanilla. I love the frosting tip set I bought myself a few months ago but I still feel like I need a lot more practice to make them look decent. Does anyone have an August birthday? I’ll bring the cupcakes.

Gluten-Free Fig Bars

Gluten-Free Fig Bar

It’s amazing how many gluten-free options there are on supermarket shelves these days. Last I checked there are no less than 3 gluten-free “Oreo” knock-offs. Gluten-free pretzels are my newest addiction; they come in plain, chocolate covered, and yogurt covered(still waiting on some savory flavors). But there’s one hugely noticeable absence from the options: Gluten-free Fig Newtons.

Fig Newtons used to be as good as cookie gold to me, only topped by those maple cookies shaped like a maple leaf. I went into the kitchen recently determined to come out with gluten-free Fig Newtons… or at least something similar.

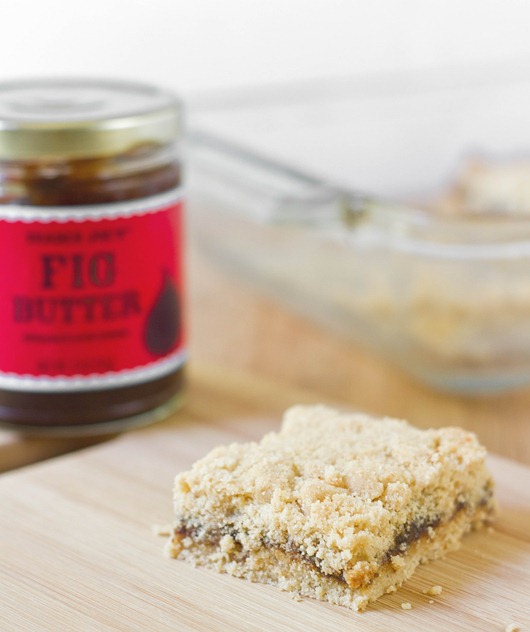
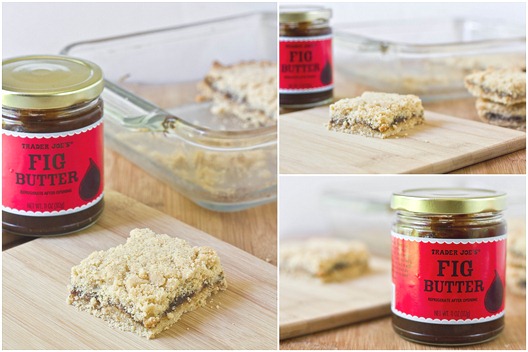
It’s incredibly hard to get gluten-free dough to be elastic without tons of different flours and gums. Instead, I focused on getting the same flavors in a different form with less special ingredients. These bars have a shortbread crust and a top crumble with strong touches of cinnamon and butter; it’s like a portable fig crisp, and there’s certainly nothing wrong with that.

Gluten-Free Fig Bars Fig Butter

Of course you can use any kind of jam to fill these with. Try apple butter for a Fall flavor or mango butter for something more tropical.

Gluten-Free Fig Bars

Prep time: 10 minutes

Cook time: 40 minutes

Ingredients:

  • 6 Tablespoons butter, softened
  • 1 egg
  • 1/2 cup + 2 Tablespoons sugar
  • 1/2 teaspoon cinnamon
  • 1/4 teaspoon salt
  • 1/2 Tablespoon vanilla extract
  • 1/3 cup coconut flour
  • 1 1/2 cups brown rice flour
  • 1/2 cup fig jam or fig puree

Gluten-Free Fig Bars Collage

Method:

  1. Preheat your oven to 350 degrees.
  2. In a large bowl, cream together the butter, egg, sugar, cinnamon, salt, and vanilla.
  3. Add in the coconut flour and brown rice flour and work the dough until the flours have been mixed in.
  4. Grease an 8 x 8 baking pan.
  5. Press about half of the dough into a 1/2-inch thick layer in the pan. Use more than half of the dough if you have to; just make sure it’s thick enough to hold together.
  6. Spread the fig butter into a flat layer on top of the dough.
  7. Crumble the extra dough on top of the layer of fig and press it in lightly.
  8. Bake for 35-40 minutes until the edges begin to brown and the top is golden.
  9. Wait for the bars to cool before cutting in. Store leftovers in a refrigerator.

Gluten-Free Fig Bar Serving

Gluten-Free Chocolate Flag Cake

Gluten-Free Chocolate Flag Cake

Happy (almost) 4th of July! I know I’m five days early, but consider this my obligatory patriotic post.

A few weeks ago I went to an American citizenship party for some friends who recently passed the citizenship test. There was grilling and beans and red, white, and blue napkins so of course there had to be flag cake.

Gluten-Free Chocolate Flag Cake Collage 2

A family friend at this party recently had to cut gluten out of her diet; one of her favorite foods is chocolate cake so naturally I knew the cake I made had to be chocolate. I’d never experimented with almond flour and coconut flour in the same recipe but I thought I’d give it a shot. The texture was just like any good ol’ fashioned American sponge cake. You’d never guess it was gluten-free and grain-free.

The frosting also got a lot of praise, too. Then again, how can something with butter, cream cheese, and a pound of sugar not be good?

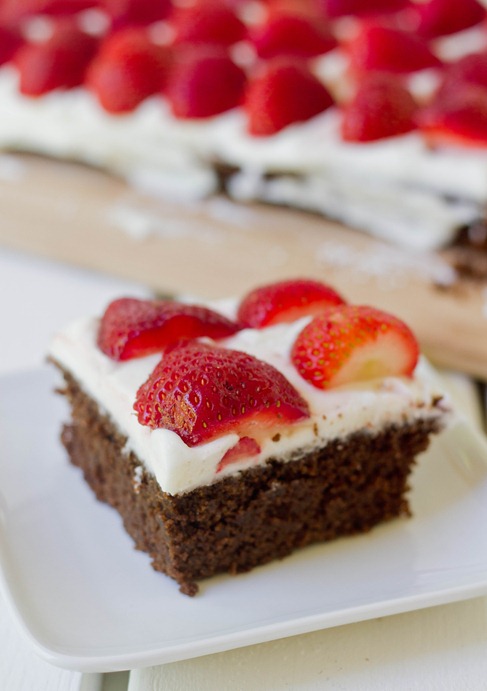
Gluten-Free Chocolate Flag Cake Slice

Make sure to use fresh fruit and to assemble it as close to serving as possible. The more the cake sits out, the more the juices from the strawberries runs into the frosting, and no one wants a runny flag.

Gluten-Free Chocolate Flag Cake

Prep time: 30 minutes

Cook time: 35 minutes

Ingredients(Makes 1 9 x 12 cake):

For the cake:

  • 3/4 cup chocolate chips
  • 1 1/4 cup almond flour
  • 1/2 cup coconut flour
  • 3/4 cup sugar
  • 1/2 cup oil
  • 6 extra large eggs
  • 1 teaspoon vanilla extract
  • 1 teaspoon baking soda
  • 1/2 teaspoon salt
  • 1/2 cup + 2 Tablespoons hot water

For the frosting:

  • 1 4oz stick of butter, room temperature
  • 1 8oz block of cream cheese, room temperature
  • 1 teaspoon vanilla extract
  • 1 1lb box of powdered sugar

 Fruit topping:

  • 1 half pint blueberries
  • 1lb fresh strawberries

Gluten-Free Chocolate Flag Cake Collage 3

Method:

  1. Preheat your oven to 350 degrees.
  2. Melt the chocolate in a double boiler or in the microwave.
  3. While the chocolate is melting, mix together the almond flour, coconut flour, sugar, and oil.
  4. Mix the melted chocolate into the flour mixture completely.
  5. Crack the eggs into the batter and beat each in.
  6. Add in the vanilla, baking soda, and salt.
  7. Add in the hot water and mix until the batter is smooth and slightly runny.
  8. Grease a 9 x 12 baking pan. Pour the batter in in an even layer.
  9. Bake for 35-40 minutes until the center of the cake has set. Remove from the oven and let it cool completely before frosting.
  10. Combine the butter, cream cheese, vanilla extract, and half of the sugar in a large bowl.
  11. With an electric mixer, beat together the ingredients until the sugar is entirely incorporated.
  12. Slowly add more sugar into the mix until all of it is mixed into the frosting.
  13. Spread a few tablespoons of powdered sugar on top of the cake and brush it all around to prevent the frosting from tearing the top of the cake.
  14. Spread the frosting out all over the cake in an even layer and around the sides.
  15. Make a square of blueberries in the top left corner of the cake.
  16. Remove the stem from each strawberry and cut each in half. Lay them out top to bottom in horizontal lines in a flag pattern.
  17. Refrigerate until ready to serve.  

Gluten-Free Chocolate Flag Cake Finished

There were practice American citizenship tests at the party. I scored a 12/20. I think that’s good enough not to be deported, right? Too bad how to make a flag cake isn’t part of the test.

Lime In The Coconut Cupcakes

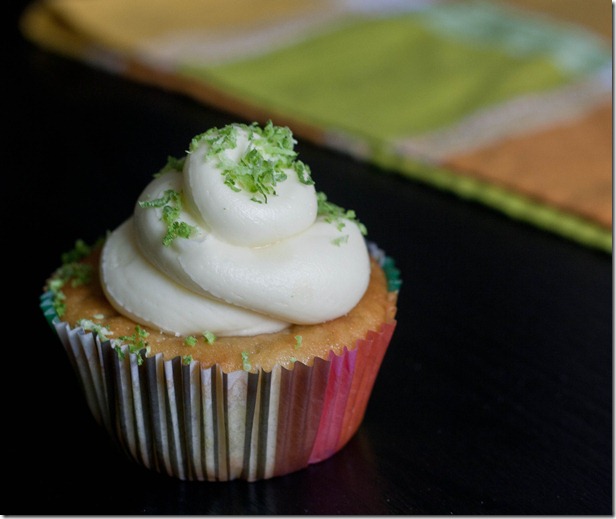
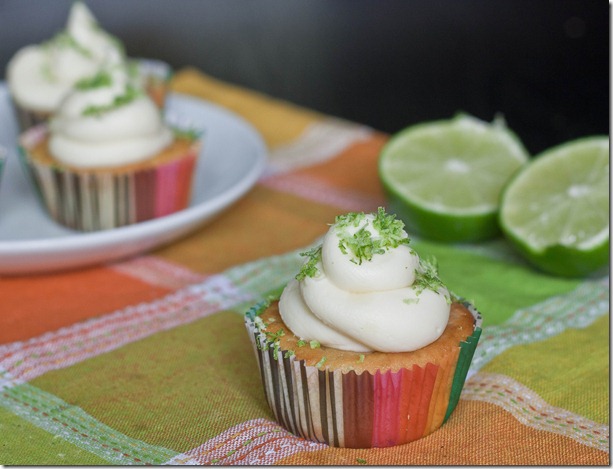
lime-in-the-coconut-cupcakes-2

I apologize this recipe is coming on nueve de Mayo and not last week when it might have been more fitting. If it’s any consolation, I made these on cinco de Mayo and ate a few on seis de Mayo and they were still delicious, so I’m sure whenever you make these they’d be a hit.

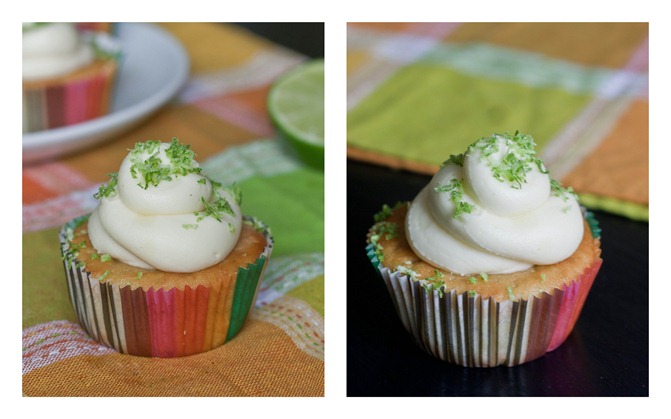
Lime and coconut go perfectly together. Since I always make my cupcakes with coconut flour, adding lime was a no-brainer. These are just the right amount of sweet and citrusy to be light and refreshing.

Lightroom Photos3

I kept the coconut flavor downplayed but if you want to liven them up you can add shredded sweetened coconut flakes to the batter of frosting for an extra layer of flavor. I also think fresh mint would work really well in the buttercream with the lime if you happen to make these at a time of year when that’s available.

Lime In The Coconut Cupcakes

Prep time: 10 minutes

Cook time: 35 minutes

Ingredients(Makes 12 cupcakes):

  • 1/2 cup plus 2 Tablespoons coconut flour
  • 4 eggs
  • 2 egg whites
  • 1/2 cup cane sugar
  • 1 cup coconut milk
  • 2 Tablespoons lime juice(or 1/2 Tablespoon lime extract if you can find it)
  • 1 Tablespoon lime zest
  • 1/2 teaspoon baking soda

lime-in-the-coconut-cupcakes-close-up

Method:

  1. Preheat your oven to 350 degrees and line a dozen cupcake holders.
  2. Combine all of the ingredients together in a large bowl and mix until it forms an even batter.
  3. Scoop equal amounts of the batter into each cupcake well.
  4. Bake for 30-35 minutes or until the tops are firm to the touch.
  5. Remove from the oven. Let the cupcakes cool completely before frosting them.

lime-in-the-coconut-cupcakes-serving

For the frosting, I used roughly 1/2 cup of softened butter, 2 1/2 cups powdered sugar, 1 1/2 Tablespoons of coconut milk, and plenty of lime zest. I say roughly because I did it mostly by eye. I’ve stopped putting effort into making just the right frosting until I get a fancy set of tips like these since they always look blah no matter what I do.